


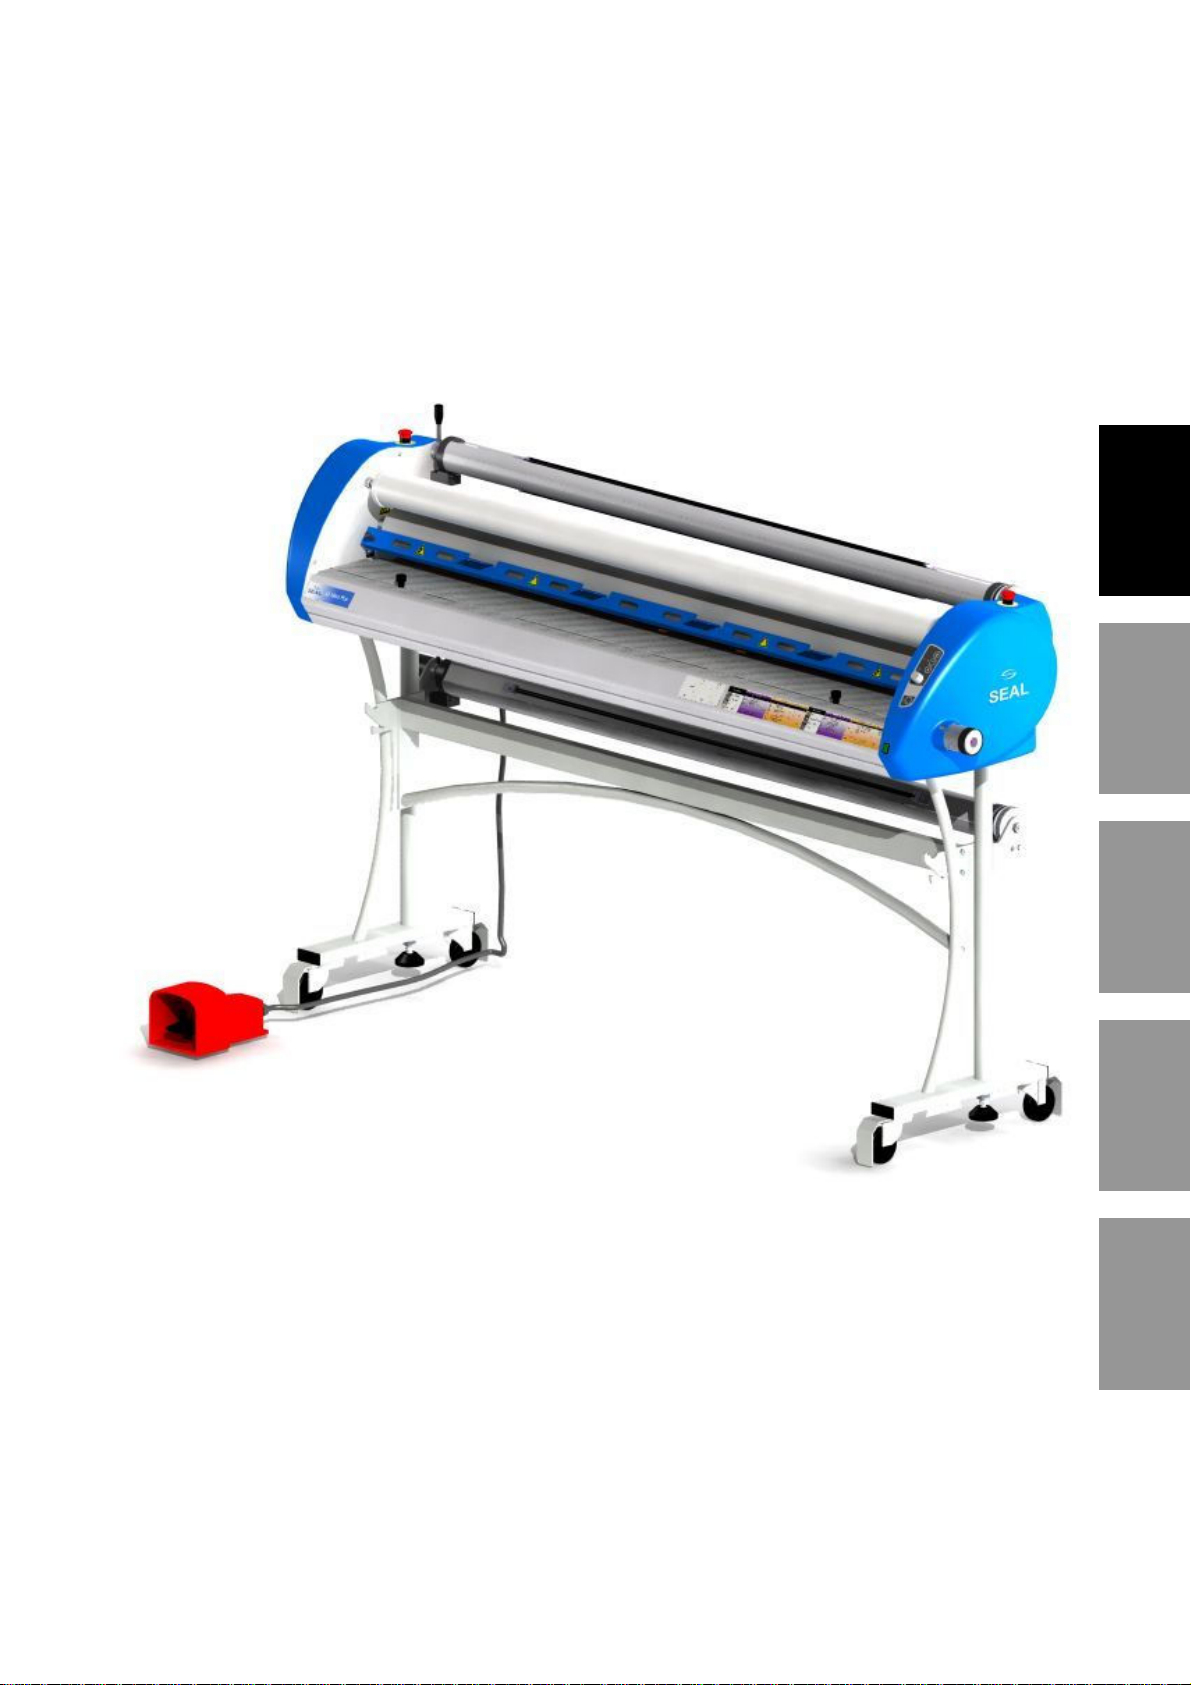
44-62
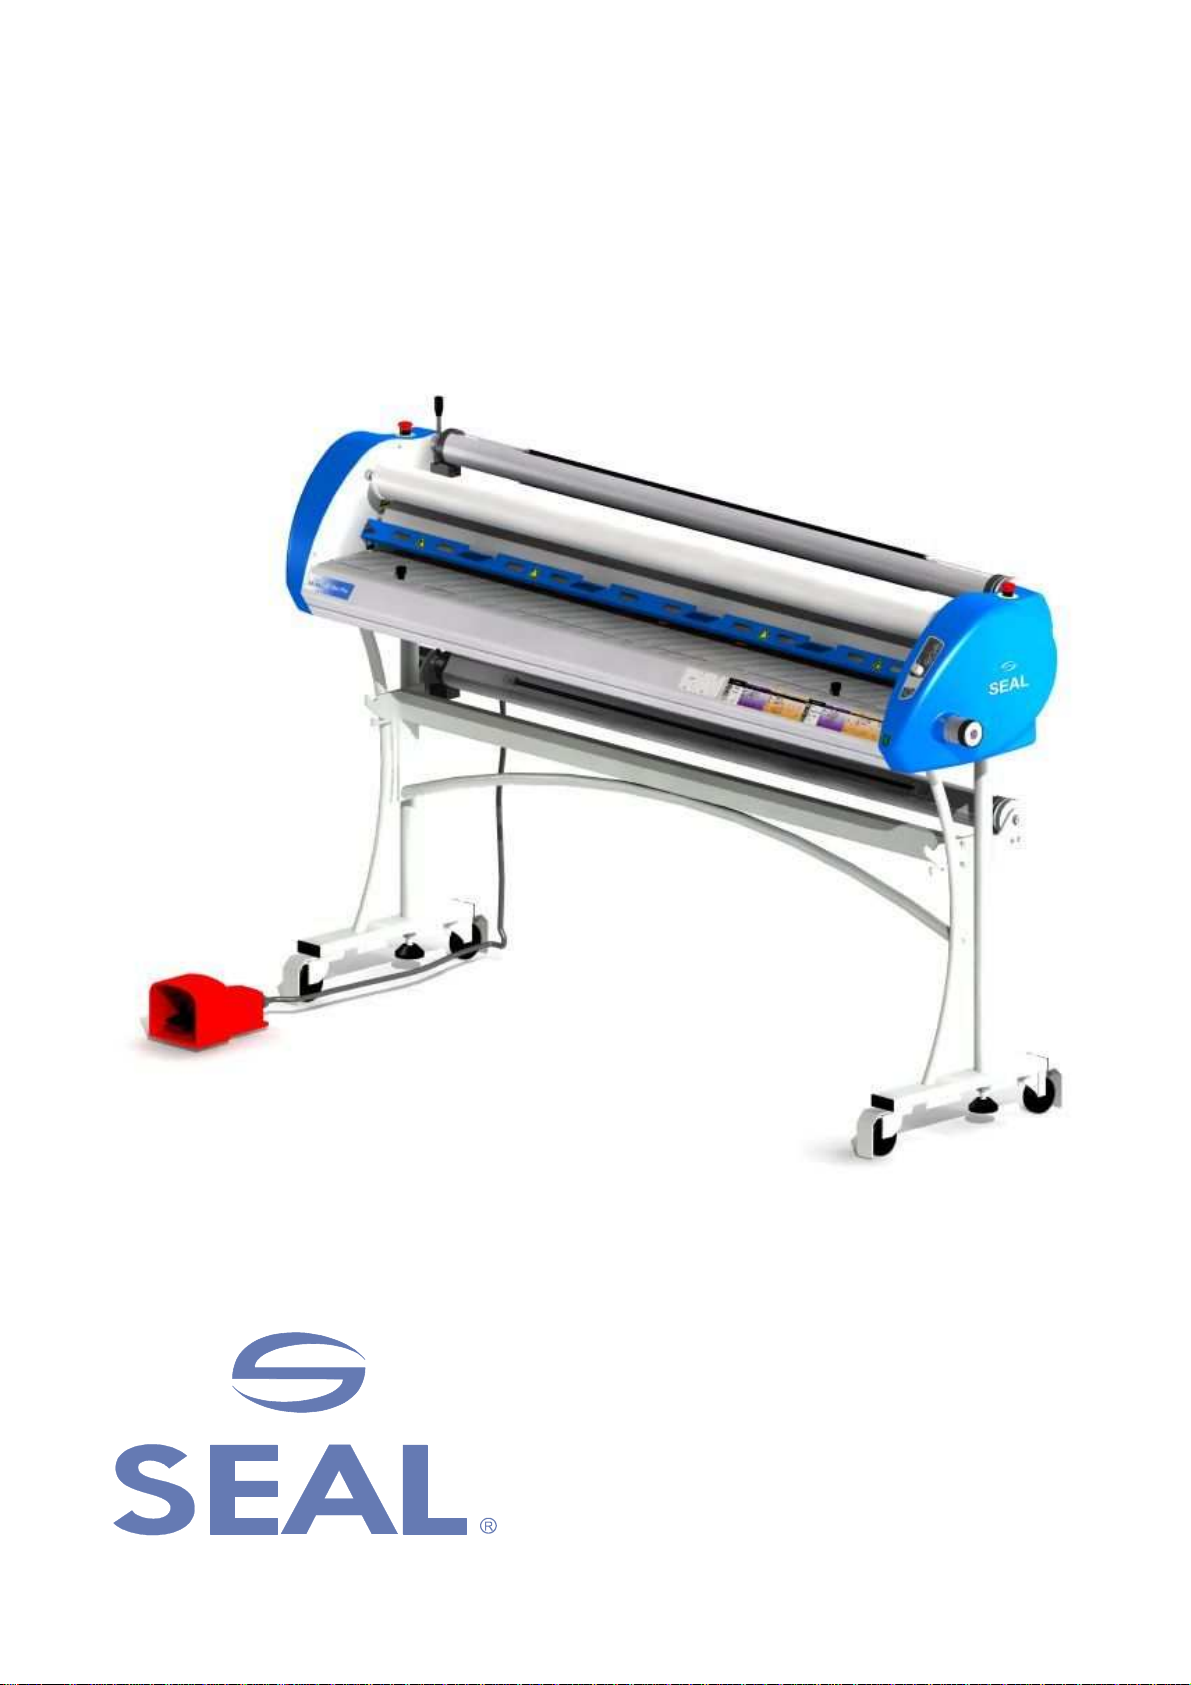
44/62 Ultra Plus
Laminator
User manual
Manuel de l’utilisateur
Betriebsanleitung
Manual de uso
Manuale d’uso
7001507

English
All rights reserved
All information included in this manual as well as information included in supplements or addendum to this manual is subject to
copyright law. This information shall not be used, copied, reproduced, transmitted or disclosed to third parties without our prior written
consent.
SEAL Graphics assumes no responsibility for any errors that may appear in this document nor does it make expressed or implied
warranty of any kind with regard to this material, including, but not limited to, the implied warranties of merchantability and fitness for a
particular purpose.
Seal Graphics shall not be liable for incidental or consequential damages in connection with, or arising out of the furnishing,
performance, or use of this document and the program material which it describes.
Français
Tous droits réservés.
Toutes les informations contenues dans ce manuel ainsi que celles des suppléments ou ajouts à ce manuel sont soumis aux lois sur le
copyright. Ces informations ne doivent pas être utilisées, copiées, reproduites, transmises ou divulguées à des tiers dans notre
autorisation préalable par écrit.
SEAL Graphics n'accepte aucune responsabilité pour toute erreur pouvant apparaître dans ce document et ne donne aucune garantie
tacite ou expresse eu égard à ce matériel, y compris mais sans s'y limiter, à toute garantie tacite de qualité marchande ou
d'adaptabilité à un usage particulier.
SEAL Graphics n'est pas responsable des dommages accessoires ou indirectes liés à ou découlant de la diffusion, performance ou
l'utilisation de ce document et du matériel décrit.
Deutsch
Alle Rechte vorbehalten.
Alle Informationen in diesem Handbuch sowie Informationen in Ergänzungen oder Zusätzen zu diesem Handbuch unterliegen dem
Urheberrechtsgesetz. Die Informationen dürfen ohne unsere Genehmigung nicht verwendet, kopiert, wiedergegeben, übertragen oder
an Dritte weitergegeben werden.
SEAL Graphics haftet nicht für Fehler, die in diesem Dokument auftreten können, noch übernimmt SEAL Graphics Europe BV keinerlei
ausdrückliche oder implizite Garantie in Bezug auf dieses Material, einschließlich, jedoch nicht begrenzt auf die implizierte Garantie der
Marktgängigkeit und Eignung für einen bestimmten Zweck.
SEAL Graphics haftet nicht für auftretende oder Folgeschäden in Verbindung mit oder entstehend aus der Ausstattung, Leistung oder
Benutzung dieses Dokuments und des Programmmaterials, das es beschreibt.
Español
Reservados todos los derechos.
Toda la información incluida en este manual y en los suplementos a anexos de este manual están sujetas a las leyes de derechos de
autor. Queda prohibida la utilización, copia, reproducción, transmisión o divulgación de esta información a terceros sin nuestro
consentimiento previo por escrito.
SEAL Graphics no se hace responsable de los errores que pudieran aparecer en este documento ni tampoco ofrece garantía implícita
o explícita de ningún tipo en relación con el material descrito, incluyendo, aunque sin que ello constituya un límite, las garantías
implícitas de comercialización e idoneidad para una finalidad concreta.
SEAL Graphics no responderá de los daños imprevistos o emergentes relacionados con, o que puedan surgir del suministro,
funcionamiento o el uso de este documento y del material de programa que describe.
Italiano
Tutti i diritti riservati.
Tutte le informazioni di questo manuale, nonché quelle dei supplementi o integrazioni a questo manuale sono soggette ai diritti d'autore
(copyright) Queste informazioni non possono essere usate, copiate, riprodotte, trasmesse o comunicate a terze parti senza il nostro
previo consenso scritto.
SEAL Graphics Europa BV non si assume alcuna responsabilità per eventuali errori che possono comparire nel presente documento,
né offre garanzia esplicita o implicita di alcun tipo in relazione a detto materiale, comprese, ma non limitatamente a, garanzie implicite
di commerciabilità e adeguatezza per un particolare scopo.
SEAL Graphics Europa BV non sarà responsabile per danni accidentali o indiretti relativi a, o derivanti dalla fornitura, dalle prestazioni,
o dall'utilizzo del documento e dal materiale relativo al programma descritti.
Seal Graphics Technologies
715 Progress Way
Sun Prairie, WI 53590, USA
Customer Service 1-800-257-7325
Technical Service 1-800-486-6502
Seal Graphics Europe
Heesweg 16 A
8102 HJ Raalte
The Netherlands
Tel.: 0031 572 346 000
Fax: 0031 572 346 001
2007, Seal Graphics Europe B.V., the Netherlands.
44/62 Ultra Plus
Laminator
English Français Deutsch Español Italiano
User manual
7001708, Rev.A
July 2007
INTRODUCTION
We would like to thank you for purchasing a Seal 44/62 Ultra Plus, designed to give you
many years of reliable service. By following the guidelines outlined in this manual for
proper care and use, you can depend on many years of trouble-free profitability from your
investment.
Your 44/62 Ultra Plus laminator meets the CE Machinery Safety Directive (89/392/EEC,
including 91/368/EEC, 93/44/EEC and 93/68/EEC) and is ETL listed (UL 1950/EN60950).
Statement of intended use.
The 44/62 Ultra Plus laminator has been designed to be used with Seal materials. When
used with this products, you are able to mount, mount and laminate, and encapsulate
prints in one step. Your machine has not been tested with any other materials and is not
recommend for use with products other than Seal supplies.
WARNING:
THIS MACHINE IS DESIGNED FOR MOUNTING AND LAMINATING. ANY
USE OTHER THAN THE INTENDED MAY CAUSE DAMAGE TO THE
MACHINE OR PHYSICAL HARM TO THE USER.
Liability Statement
The details given in this manual are based on the most recent information available to us.
They may be subject to change in the future. We retain the right to make changes to the
construction or the design of our products without accepting any responsibility for
modifying earlier versions previously delivered.
Standardized Symbols
Passages marked this way offer an idea / tip or other information on the
efficient use of this unit.
WARNING:
PLEASE PAY ATTENTION TO ALL PASSAGES MARKED THIS WAY.
THIS INFORMATION IS VITAL TO PREVENTING USER INJURY AND /
OR DAMAGE TO THE UNIT. FAILURE TO FOLLOW THIS
INFORMATION COULD VOID THE USER’S WARRANTIES AND
TRANSFER ALL SAFETY OBLIGATIONS TO THE USER.
2 Introduction

TABLE OF CONTENTS
Introduction 2
Table of Contents 3
1
Specifications 5
1.1 Technical Specifications 5
1.2 Electrical specifications 6
1.2.1
US versions 6
1.2.2
EU versions 6
2
Safety / Important Safeguards 7
2.1 Safety symbols used on the equipment. 7
2.2 Emergency stop-buttons 7
3
Unpacking and Installation 8
3.1 Ambient Conditions 8
3.2 Surroundings 8
English
3.3 Power supply 8
3.4 Workspace Requirements 8
3.5 Setting up the laminator in 4 steps. 9
3.5.1
Adjustable feet 11
4
Unit description 12
4.1 Control panel 13
4.2 Motor control 13
4.2.1
Slow-mode 14
4.2.2
Reversing the machine 14
4.3 Unwind brakes 15
4.4 Roller nip settings 15
4.5 Image guide storage place. 15
5
Process Control Sheet 16
Table of Contents 3

6
Application Processes 17
6.1 Loading the machine 17
6.1.1
Loading film onto a machine equipped with the interlock bracket. 17
6.1.2
Loading film onto a machine equipped with the cam lock system. 18
6.1.3
Loading the unwind shaft into a machine equipped with the interlock bracket. 18
6.1.4
Loading the unwind shaft into a machine equipped with the cam lock system. 18
6.2 Webbing the films 19
6.3 Feeding images 21
6.3.1
How to feed images: 21
6.4 Laminating and adhesive coating (Decaling) 22
6.5 Decaling without liner 23
6.6 Mounting 24
6.6.1
To mount decals onto a substrate 24
6.7 Encapsulating 25
6.8 Pre-Coating 26
6.9 Mounting using a ProSEAL® Mounting Board 26
6.10 Mounting and Lamination using a ProSEAL®pouch Board. 27
6.11 Encapsulating with a ProSEAL® Flexible Pouch using a ProSEAL® Carrier
Board 28
7
Maintenance & Cleaning 29
8
Troubleshooting 30
9
Glossary of Terms 31
10 Limited Warranty 32
11 Index 33
4 Table of Contents

1 SPECIFICATIONS
1.1 Technical Specifications
Imperial Metric
Max. Working Width
processes up to 50°C 44 Ultra Plus
62 Ultra Plus
processes up to 125°C 44 Ultra Plus
62 Ultra Plus
44” maximum
62” maximum
42” maximum
60” maximum
1118 mm max.
1574 mm max.
1067 mm max.
1523 mm max.
Max. Speed
Temperature settings
Dimensions (HxWxD)
44 Ultra Plus
62 Ultra Plus
Shipping dimensions (HxWxD)
44 Ultra Plus
62 Ultra Plus
Weight
Net Weight 44 Ultra Plus
62 Ultra Plus
Shipping Weight 44 Ultra Plus
62 Ultra Plus
Maximum roll diameter
Unwind 6.3” 160 mm
Release liner wind-up 4” 100mm
Maximum roll weight
7 ft/min
Off (ambient temp.)
125°F, 195°F, 250°F
43.7”x58.3”x22”
43.7”x76.3”x22”
28.4”x63”x24.8”
28.4”x81”x24.8”
222 lbs
297 lbs
331 lbs
416 lbs
2.13 m/min.
Off (ambient temp.)
50°C, 90°C, 120°C
1110x1480x560 mm
1110x1940x560 mm
720x1600x630 mm
720x2060x630 mm
101 kg
140 kg
135 kg
189 kg
English
Unwind 44 Ultra Plus 40 lbs 18.1 kg
62 Ultra Plus 60 lbs 25.2 kg
Roller Opening (Nip) settings
Roller Pressure
44 Ultra Plus
62 Ultra Plus
Roller Construction
Keep the area around your laminator clear with adequate space around it so you can feed,
receive and trim mounted and / or laminated images.
Specifications 5
0, 1/16”, 1/8”, 3/16”,
1/4”, 5/16”, 1/2”
7.52 lbf/in
4.90 lbf/in
Two siliconized steel rollers.
0, 2, 3, 5, 6, 8, 13mm
1.32 N/mm.
0.86 N/mm
1.2 Electrical specifications
Push the power button (at least 1 sec.) and the forward (or reverse) button on the control
panel, to run the laminator.
1.2.1EU versions
44 Ultra Plus 1N/PE 230VAC +/-10%, 50/60Hz, 9A
62 Ultra Plus 1N/PE 230VAC +/-10%, 50/60Hz, 13A
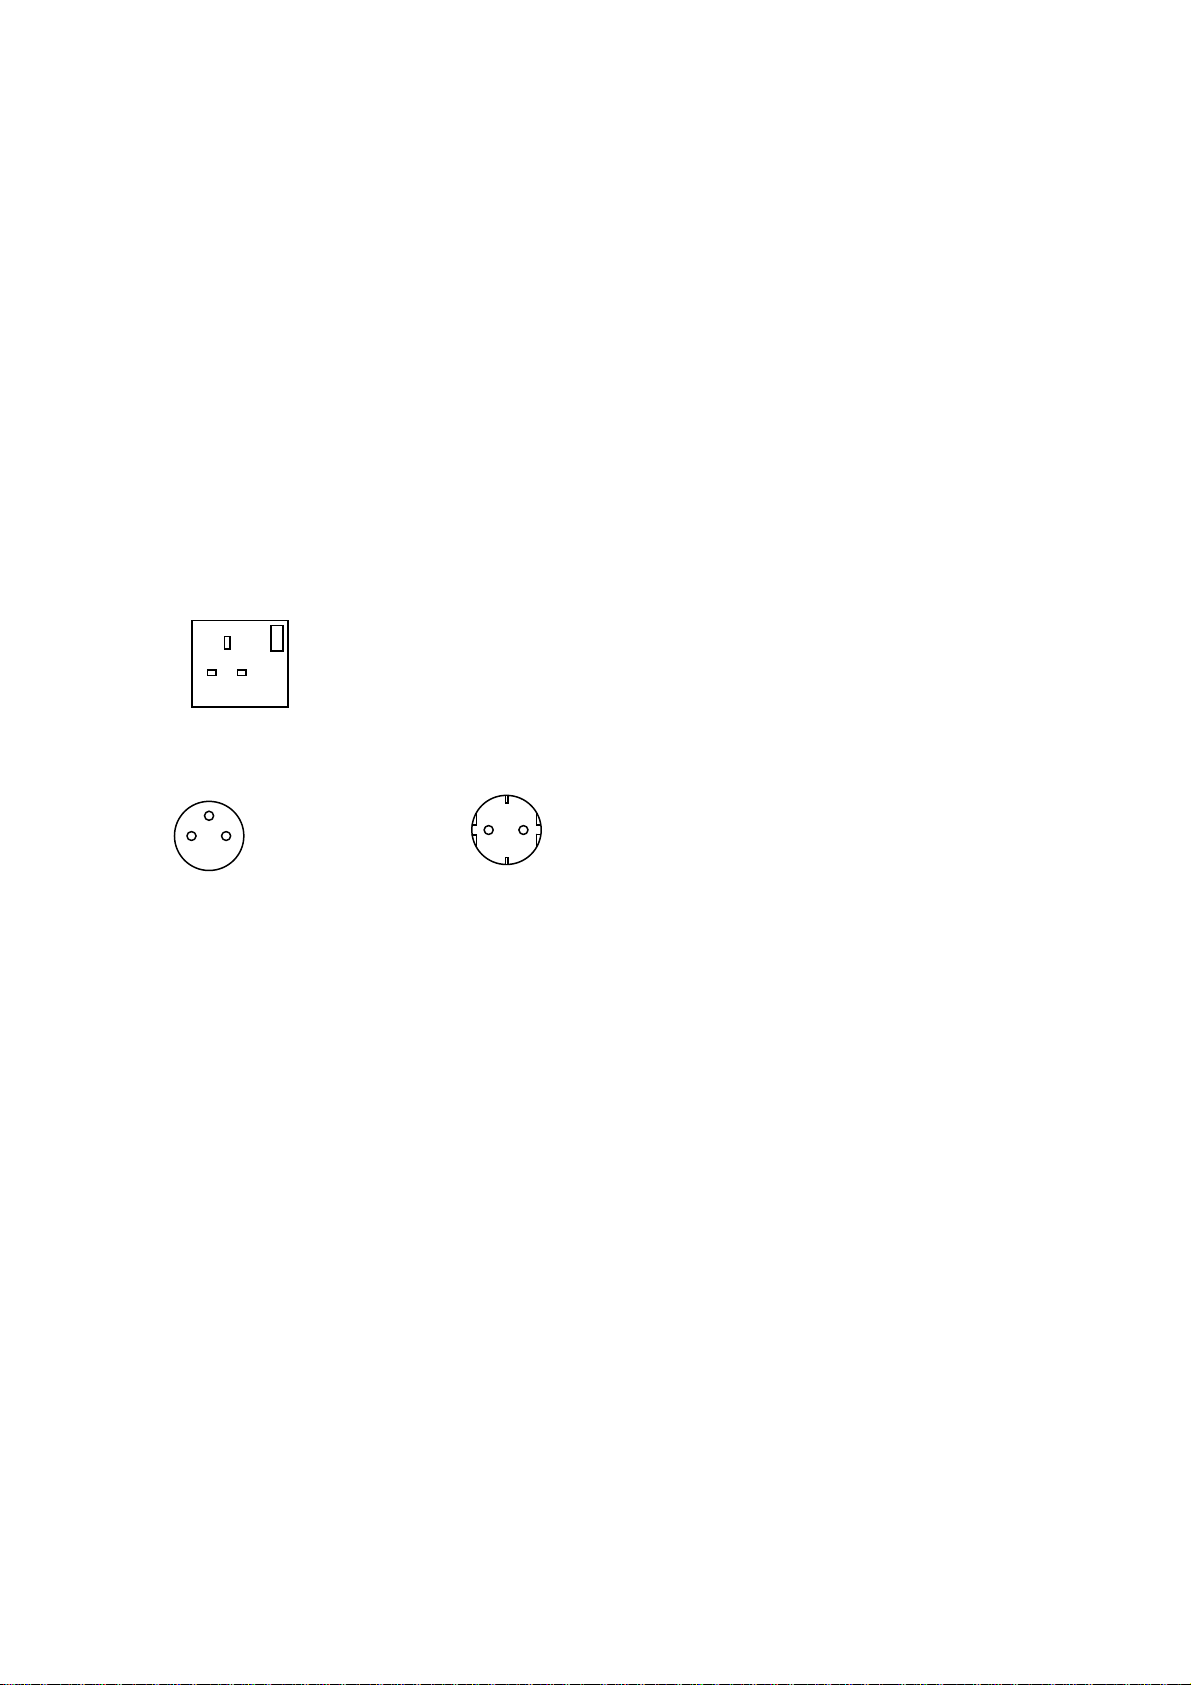
For the EU versions, in the UK, the following is applicable:
For the EU versions, mainland Europe, the following is applicable:
France
Belgium
Use the provided Schuko plug.
BS 1363 – 13A
wall receptacle:
Use the provided
BS 1363 plug
Germany, The Netherlands
Portugal, Spain
6 Specifications
2 SAFETY / IMPORTANT SAFEGUARDS
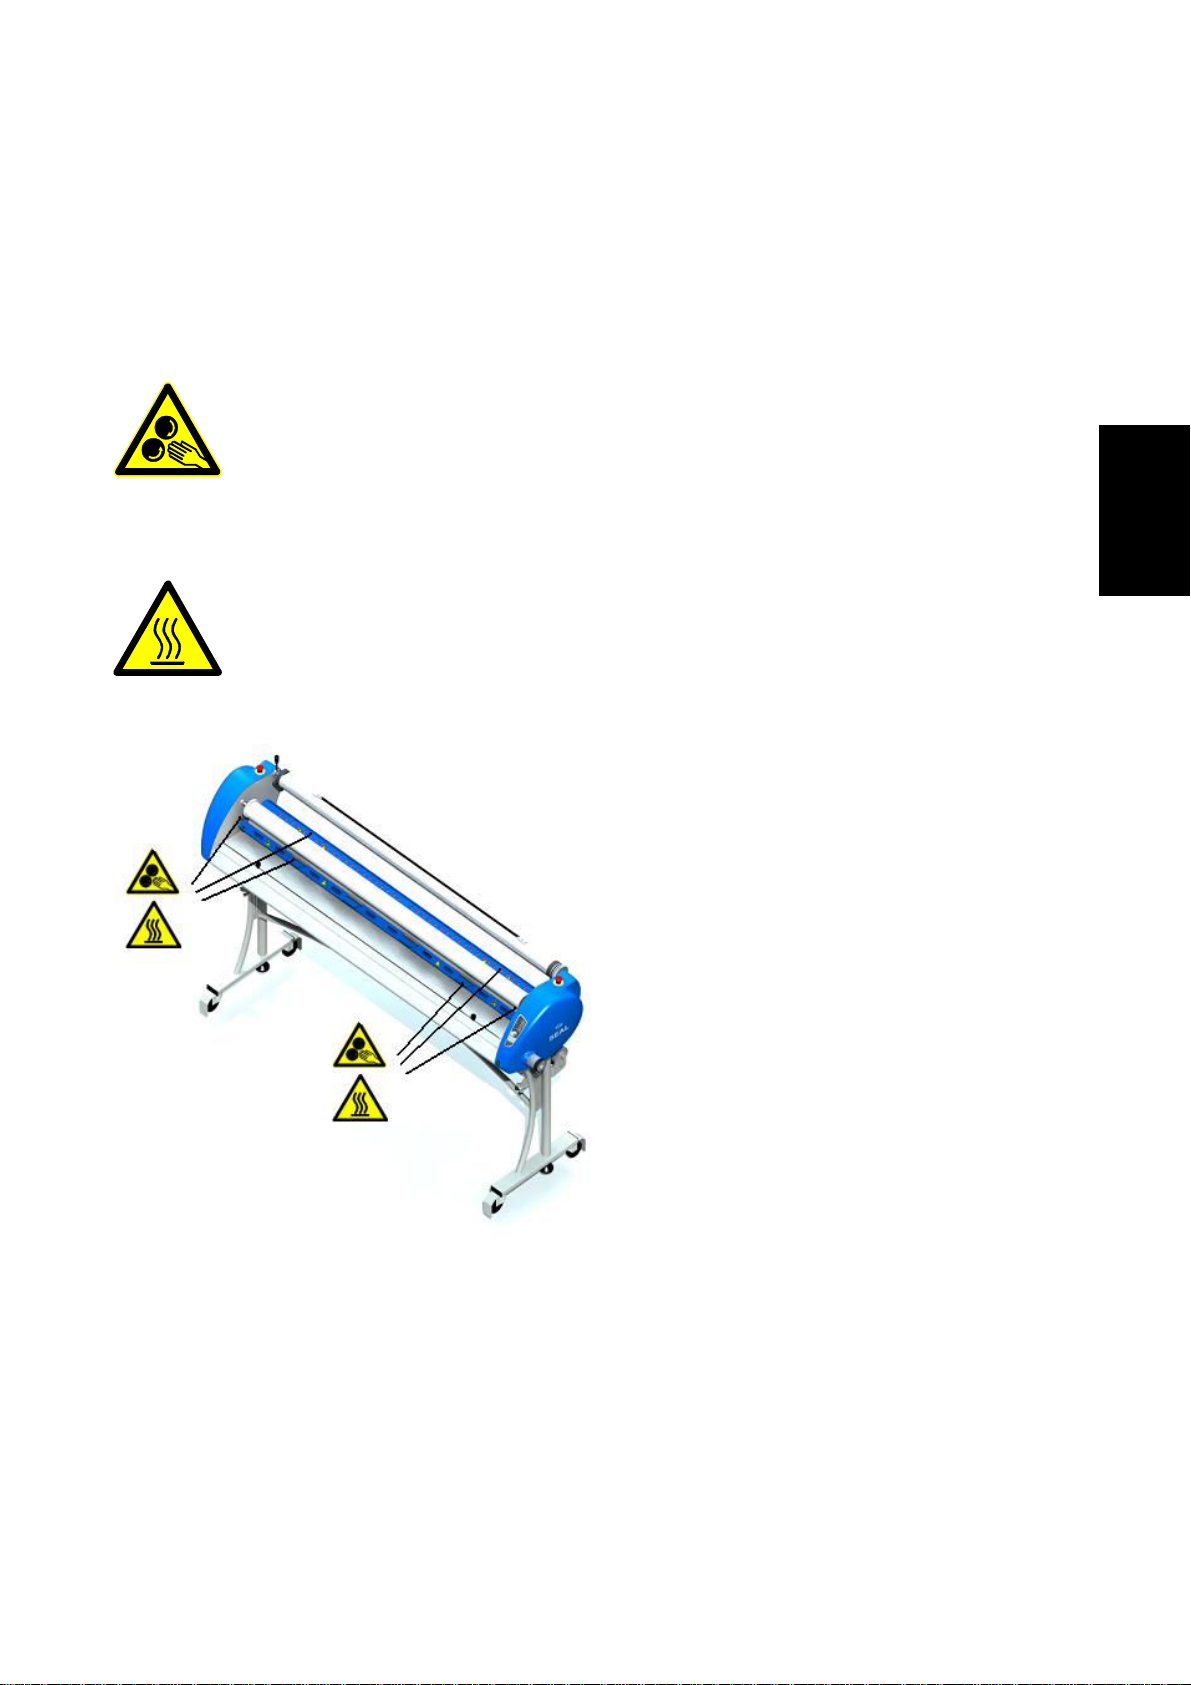
2.1 Safety symbols used on the equipment.
ROTATING PARTS
MECHANICAL HAZARD. FAILURE TO USE CAUTION NEAR EXPOSED
ROLLERS COULD RESULT IN PHYSICAL INJURY. BE CAREFUL THAT
ITEMS SUCH AS LOOSE CLOTHING, LONG HAIR AND JEWELRY DO
NOT BECOME ENTANGLED IN ROTATING PARTS.
HOT OBJECTS
FIRE HAZARD. THE LAMINATOR CONTAINS A HEATED TOP ROLLER
WHICH MAY REACH TEMPERATURES OF 135°C (275°F). THERE IS A
DANGER OF SEVERE BURNS IF THE HEATED TOP ROLLER IS
TOUCHED DURING USE.
English
Figure 1
2.2 Emergency stop-buttons
There are two buttons; they are located on the top of the left and right plastic covers of the
machine.
The Emergency-stop buttons shut down the rotation of the rollers and should only be used
in case of an emergency. Once pressed, these buttons lock, and they must be rotated to
be reset before the machine can be used again.
Safety / Important Safeguards 7

3 UNPACKING AND INSTALLATION
Please read and fully understand the entire manual before proceeding to use your
laminator.
3.1 Ambient Conditions
The following environmental conditions are ideal for the best operation of the laminator.
Ambient Temperature
The best temperature for the 44/62 Ultra Plus is between 16°C and 35°C (50°F and 95°F).
Do not expose the laminator to direct sunlight as output quality may be affected.
Relative humidity
For best results, the ambient relative humidity for the 44/62 Ultra Plus should lie between
70% and 90%.
Water and moisture
If the laminator is installed in a damp room or near water, the electrical power supply must
be in accordance with the standards prevailing in the country concerned.
3.2 Surroundings
Install the laminator in surroundings that are as clean and dust free as possible in order to
obtain the highest quality end product. The materials that are used on this laminator can
have an electrostatic charge and will attract dust, adversely affecting the output.
3.3 Power supply
Connect the machine in accordance with the details given on the identification plate
attached to the rear of the machine. Refer also to the technical specifications in this
section for more information.
3.4 Workspace Requirements
This unit should be situated away from heat sources such as heat registers or stoves.
The laminator’s location or position should not interfere with its proper ventilation.
There should be enough space around the laminator to feed-in, exit, and trim mounted
and/or laminated images.
The background dust level must not exceed that found in a typical office/computer room
environment.
The work area should be level, flat, and well lit.
8 Unpacking and Installation
3.5 Setting up the laminator in 4 steps.
1. Remove the cardboard box and the plastic bag as described on the outside of the box.
2. Pick the box behind the laminator which contains the stand parts.
3. Mount the LH-side part of the stand as shown in next figure. (The LH-part is
recognizable by a spring utility on the bracket.) Use two serrated washers and two
socket screws M6x16 (see fig.2)
Do not tighten the screws completely.
English
Figure 2
4. Mount the RH-part of the stand onto the laminator as shown in figure 3. Use the
serrated washers and the socket screws M6x16.
Do not tighten these screws completely.
Figure 3
Unpacking and Installation 9
 Loading...