

MAXTOR FUSION
User’s Guide
™

MAXTOR FUSION USER’S GUIDE
Contents
Introduction . . . . . . . . . . . . . . . . . . . . . . . . . . . . . . . . . . . . . . . . . . . . . . . . . . . . . . . . . . . . . . . . 1
Maxtor Fusion Features . . . . . . . . . . . . . . . . . . . . . . . . . . . . . . . . . . . . . . . . . . . . . . . . . . . . . 1
About this Guide . . . . . . . . . . . . . . . . . . . . . . . . . . . . . . . . . . . . . . . . . . . . . . . . . . . . . . . . . . . . 1
System Requirements . . . . . . . . . . . . . . . . . . . . . . . . . . . . . . . . . . . . . . . . . . . . . . . . . . . . . . . 1
Handling Precautions . . . . . . . . . . . . . . . . . . . . . . . . . . . . . . . . . . . . . . . . . . . . . . . . . . . . . . . 1
Maxtor Product Support . . . . . . . . . . . . . . . . . . . . . . . . . . . . . . . . . . . . . . . . . . . . . . . . . . . . . 2
Getting to Know Maxtor Fusion . . . . . . . . . . . . . . . . . . . . . . . . . . . . . . . . . . . . . . . . . . . 3
Importing Files From a Recent Event . . . . . . . . . . . . . . . . . . . . . . . . . . . . . . . . . . . . . . . . . . . 3
Sharing Files by Invitation . . . . . . . . . . . . . . . . . . . . . . . . . . . . . . . . . . . . . . . . . . . . . . . . . . . . 4
Linking Files to Online Groups . . . . . . . . . . . . . . . . . . . . . . . . . . . . . . . . . . . . . . . . . . . . . . . . 6
Using the Maxtor Fusion . . . . . . . . . . . . . . . . . . . . . . . . . . . . . . . . . . . . . . . . . . . . . . . . . . . 7
Login In as a User . . . . . . . . . . . . . . . . . . . . . . . . . . . . . . . . . . . . . . . . . . . . . . . . . . . . . . . . . . 7
Importing Files . . . . . . . . . . . . . . . . . . . . . . . . . . . . . . . . . . . . . . . . . . . . . . . . . . . . . . . . . . . . . 7
Sorting Your Files with the View Controls. . . . . . . . . . . . . . . . . . . . . . . . . . . . . . . . . . . . . . . . 9
Viewing and Setting Detailed File Information . . . . . . . . . . . . . . . . . . . . . . . . . . . . . . . . . . 10
Organizing Files Using Categories and Folders . . . . . . . . . . . . . . . . . . . . . . . . . . . . . . . . . 11
Sharing Files . . . . . . . . . . . . . . . . . . . . . . . . . . . . . . . . . . . . . . . . . . . . . . . . . . . . . . . . . . . . . . 13
Searching and Tagging . . . . . . . . . . . . . . . . . . . . . . . . . . . . . . . . . . . . . . . . . . . . . . . . . . . . . 14
Exporting Files . . . . . . . . . . . . . . . . . . . . . . . . . . . . . . . . . . . . . . . . . . . . . . . . . . . . . . . . . . . . 16
Setting User Preferences . . . . . . . . . . . . . . . . . . . . . . . . . . . . . . . . . . . . . . . . . . . . . . . . . . . 16
System Administration Tasks . . . . . . . . . . . . . . . . . . . . . . . . . . . . . . . . . . . . . . . . . . . . . . . . 16
Frequently Asked Questions. . . . . . . . . . . . . . . . . . . . . . . . . . . . . . . . . . . . . . . . . . . . . . 19
Appendices . . . . . . . . . . . . . . . . . . . . . . . . . . . . . . . . . . . . . . . . . . . . . . . . . . . . . . . . . . . . . . . . 21
Appendix I – Setup Wizard . . . . . . . . . . . . . . . . . . . . . . . . . . . . . . . . . . . . . . . . . . . . . . . . . . . 21
Adding Additional User Accounts . . . . . . . . . . . . . . . . . . . . . . . . . . . . . . . . . . . . . . . . . . . 21
Dynamic DNS . . . . . . . . . . . . . . . . . . . . . . . . . . . . . . . . . . . . . . . . . . . . . . . . . . . . . . . . . . 22
Email Invitation . . . . . . . . . . . . . . . . . . . . . . . . . . . . . . . . . . . . . . . . . . . . . . . . . . . . . . . . . 23
Port Forwarding . . . . . . . . . . . . . . . . . . . . . . . . . . . . . . . . . . . . . . . . . . . . . . . . . . . . . . . . . 24
Appendix II – Maxtor Fusion Checklist . . . . . . . . . . . . . . . . . . . . . . . . . . . . . . . . . . . . . . . . . 25
© 2006 Maxtor Corporation. All rights reserved. Changes are periodically made to the information herein which will be incorporated in
revised editions of this publication. Maxtor may make changes or improvements to the product(s) described in this publication at any
time and without notice. Maxtor is a registered trademark of Maxtor Corporation. All other brands or products are trademarks or
registered trademarks of their respective holders. Maxtor Corporation, 500 McCarthy Blvd., Milpitas, California 95035 USA

MAXTOR FUSION USER’S GUIDE
INTRODUCTION
Thank you for selecting a Maxtor product.
Maxtor Fusion™ lets you simply organize and personalize
all your digital photos, videos, music and documents and
selectively share your experiences with family, friends
and colleagues either privately or publicly in a secure
environment. While providing one central safe location for
all your digital content, Maxtor Fusion’s simple, web-based
interface makes blending and assembling all types of files
easy, provides versatility with support for all operating
systems, and enables quick remote access to all your
content from anywhere, anytime. The gigabit Ethernet
connection to your network router enables fast access
and two USB ports are provided for easy storage expansion
with additional hard drives.
Maxtor Fusion Features
– Simple interface to organize, personalize and
selectively share all types of digital content
– Secure environment for private and public sharing
– Email invitations to specified guests safely takes them
directly to what you want to share
– Assemble different types of content to share more
expressive digital experiences
– Easily create unique combinations of photos and
videos from the same event for different people
– One central safe location for all your digital content
– Remote access to all your digital content anytime,
anywhere
– High capacity storage for large amounts of data
– Supports Windows XP SP2 and Macintosh OS X (10.4
or higher)
– Fast gigabit Ethernet connection to network router
– Easy expansion – Two USB ports for additional hard
drive storage
About This Guide
This User’s Guide contains four sections:
–The
Introduction
care, and support information.
–
Getting to Know Maxtor Fusion
load and share files with others. It provides brief,
straightforward information on how to accomplish
tasks such as importing and sharing files.
–
Using the Maxtor Fusio
many features and capabilities, and provides more
comprehensive instructions on using Maxtor Fusion.
Frequently Asked Questions
–
common questions.
In addition, there are appendices which provide information
which is useful when running the Setup Wizard, and a place
to record important system information.
The following symbols and conventions are used in this
guide:
Bold Used for menu, command, and keyboard selections you
Italics
make and screens you will see.
Used for emphasis and to identify new terms, which
may also be defined in the Glossary.
provides a brief overview of features,
shows how to quickly
n describes how to use the
provides a Q&A for
System and Network Requirements
Please see the Maxtor Fusion Setup Guide for complete
system requirements, network hardware prerequisites,
and installation procedures.
Handling Precautions
Please handle your new Maxtor Fusion with care! Follow the
precautions listed here or you could damage the internal
components and void the product warranty. Review the
Maxtor Limited Warranty for more information.
PAGE 1
MAXTOR FUSION USER’S GUIDE
Follow these precautions to prevent data loss
– Do not bump, move or drop the Maxtor Fusion while in
operation.
– Do not disconnect the power cord from your Maxtor
Fusion without first shutting it down through the
browser interface, or using the power switch on the
back of the unit.
– Do not set any liquids or drinks on or near the Maxtor
Fusion. Liquids will damage the internal electronics.
– Do not open the Maxtor Fusion enclosure. This can
cause loss of data and will void the product warranty.
Maxtor Product Support
Maxtor Corporation provides a comprehensive product
support section on its web site, including the latest software drivers, product specifications, a complete troubleshooting section, and the Maxtor Knowledge Base.
Visit www.maxtorkb.com for the following information:
– Search the Knowledge Base
We store all resolved problems and FAQ’s in our
knowledge base. Search by product, category,
keywords, or phrases.
– My Stuff
Login to modify or view your FAQ update
notifications or update your personal profile.
– Most Popular Help Topics
Top five most frequently asked questions.
– Software Download
Download installation and update software
for your Maxtor Fusion.
Maxtor Worldwide Support
Visit www.maxtor.com and click worldwide support or
contact us for product support outside of the USA.
Much of the information found is this User Guide can also
be found in the online help.
Navigation
Although the Maxtor Fusion interface runs from within a
browser window, it uses its own navigational buttons rather
than the forward, back, refresh buttons of your browser.
During the installation process, please refrain from using
the buttons on your browser
buttons provided in the Setup Wizard screens.
Next
Clicking on the Next button moves to the next step of the
Setup Wizard. Please note that all of the information
requested must be filled in for the setup process to be
completed successfully.
Back
Clicking on the Back button moves to the previous step of the
Setup Wizard. Information that was previously entered can
be changed by deleting or overwriting the previous entries.
Quit
Clicking on the Quit button exits the Setup Wizard. You may
quit at any time but will need to return and complete all of
the steps of the Setup Wizard before you can use Maxtor
Fusion. The information and settings you enter do not take
effect until the very end of the process.
Help
– use the Next and Back
Clicking on the Help button opens a browser window with
this help file.
PAGE 2

MAXTOR FUSION USER’S GUIDE
GETTING TO KNOW MAXTOR FUSION
This section shows how – in just a few steps – to put your
Maxtor Fusion to work quickly by importing files and sharing
them with others. Once you have done this, you can import
your entire archive of photos, videos, music, and documents.
See “Importing Files” on page 7.
Importing Files From a Recent Event
You've just returned from a weekend of whitewater river
rafting. You've got some great pictures, and want to share
them with others. The picture files are too big to email, and
not everyone wants every picture. With the Maxtor Fusion,
it's easy to share your pictures with individuals and groups,
and let people view and download the pictures they want.
PAGE 3
Anyone with a user account and a web browser can import
files. To use a web browser to import files:
1. Copy or move your picture files from your camera to your
computer.
2. Click on the Launch desktop icon to open your browser
and then log in to your Maxtor Fusion.
3. Click on the Pictures category and then click the
Organize button. Create a new folder for the rafting
pictures by typing in a folder name, such as “Rafting,” in
the New Folder box and then click the enter arrow to the
right of the box.
4. The folder you just created in the left-hand column of the
browser window. Click on the folder to open it.
5. To import your pictures to the Rafting folder, click on
the Import button.
MAXTOR FUSION USER’S GUIDE
At the bottom of the Import pop-up window click on
< YES
> next to the message
“Need to Import folders/files at once in bulk?”
Depending on your browser settings you may need to
agree to the launching of the File Dropbox.
NOTE: To use the File Dropbox your computer must
have Java installed. To learn more about Java go to
www.java.com – you can download the latest version
by clicking on the Download Now button.
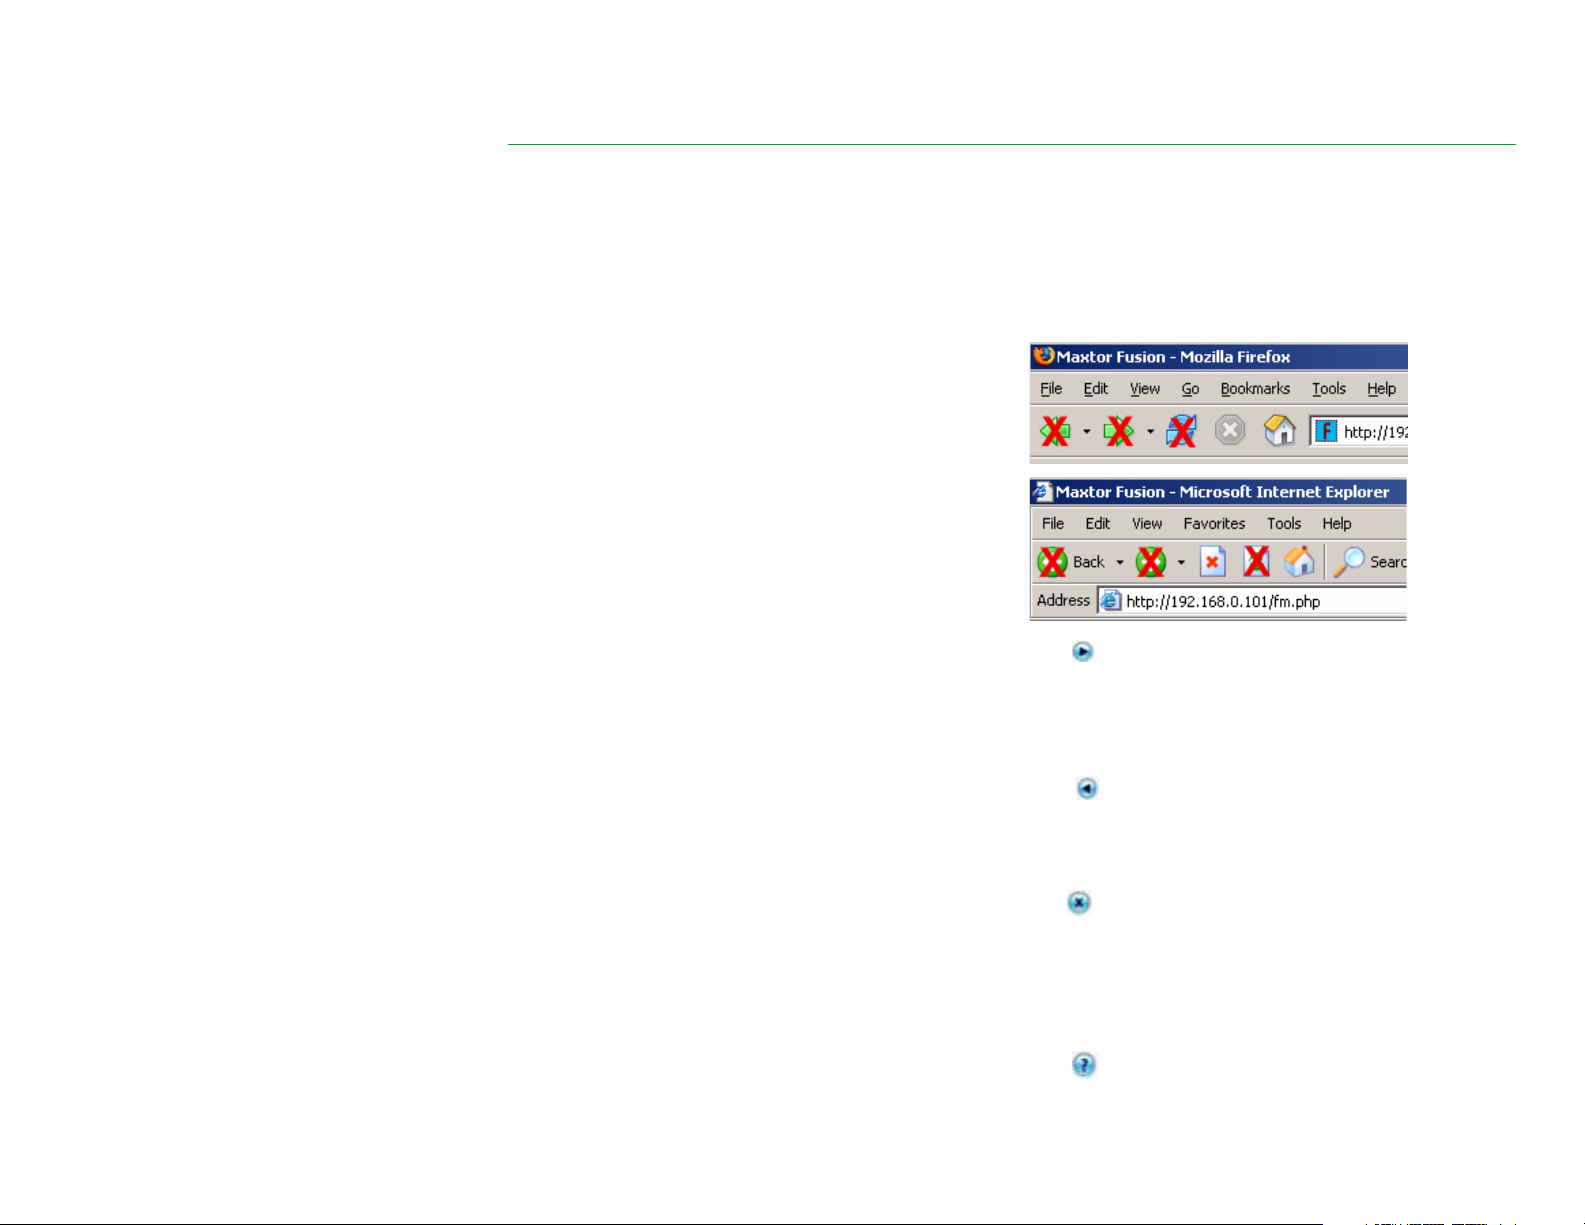
6. From your computer’s file manager, drag and drop the
pictures from your rafting trip, either as a file group or
as a folder, from your file manager to the File Dropbox
window. Note that the maximum file size is 2 GB.
7. Click on the IMPORT ALL button to copy the files from
your computer to the Rafting folder in your Maxtor
Fusion.
8. After the import operation has finished, close the File
Dropbox by clicking on the X icon in the upper corner.
9. Click Refresh to display the thumbnails of the pictures
you just imported.
NOTE: When pictures are imported to your box,
thumbnails are automatically created for each file. It
may take several minutes to generate the thumbnails
for every imported picture. As the thumbnails are
being generated the default camera icon thumbnails
will be replaced by the picture thumbnail. Thumbnail
generation progress can be monitored through a
message in the screen tip as you mouse over a
thumbnail. Clicking Refresh will replace the camera
icons with newly generated thumbnails.
Sharing Files by Invitation
Once your files are imported onto your Maxtor Fusion,
sharing them is easy. You can invite individuals and groups to
look at and download your content, and you can make files
publicly available. It's easy to invite an individual to share
your content – you need only select the files and enter their
email address.
Sharing Files with an Individual
1. Select one or more files – you can select more files by
using the Shift, Control (PC), or Command (Apple) key
when clicking the mouse button.
2. Once files are selected, click on the SHARE button at the
top of the browser screen.
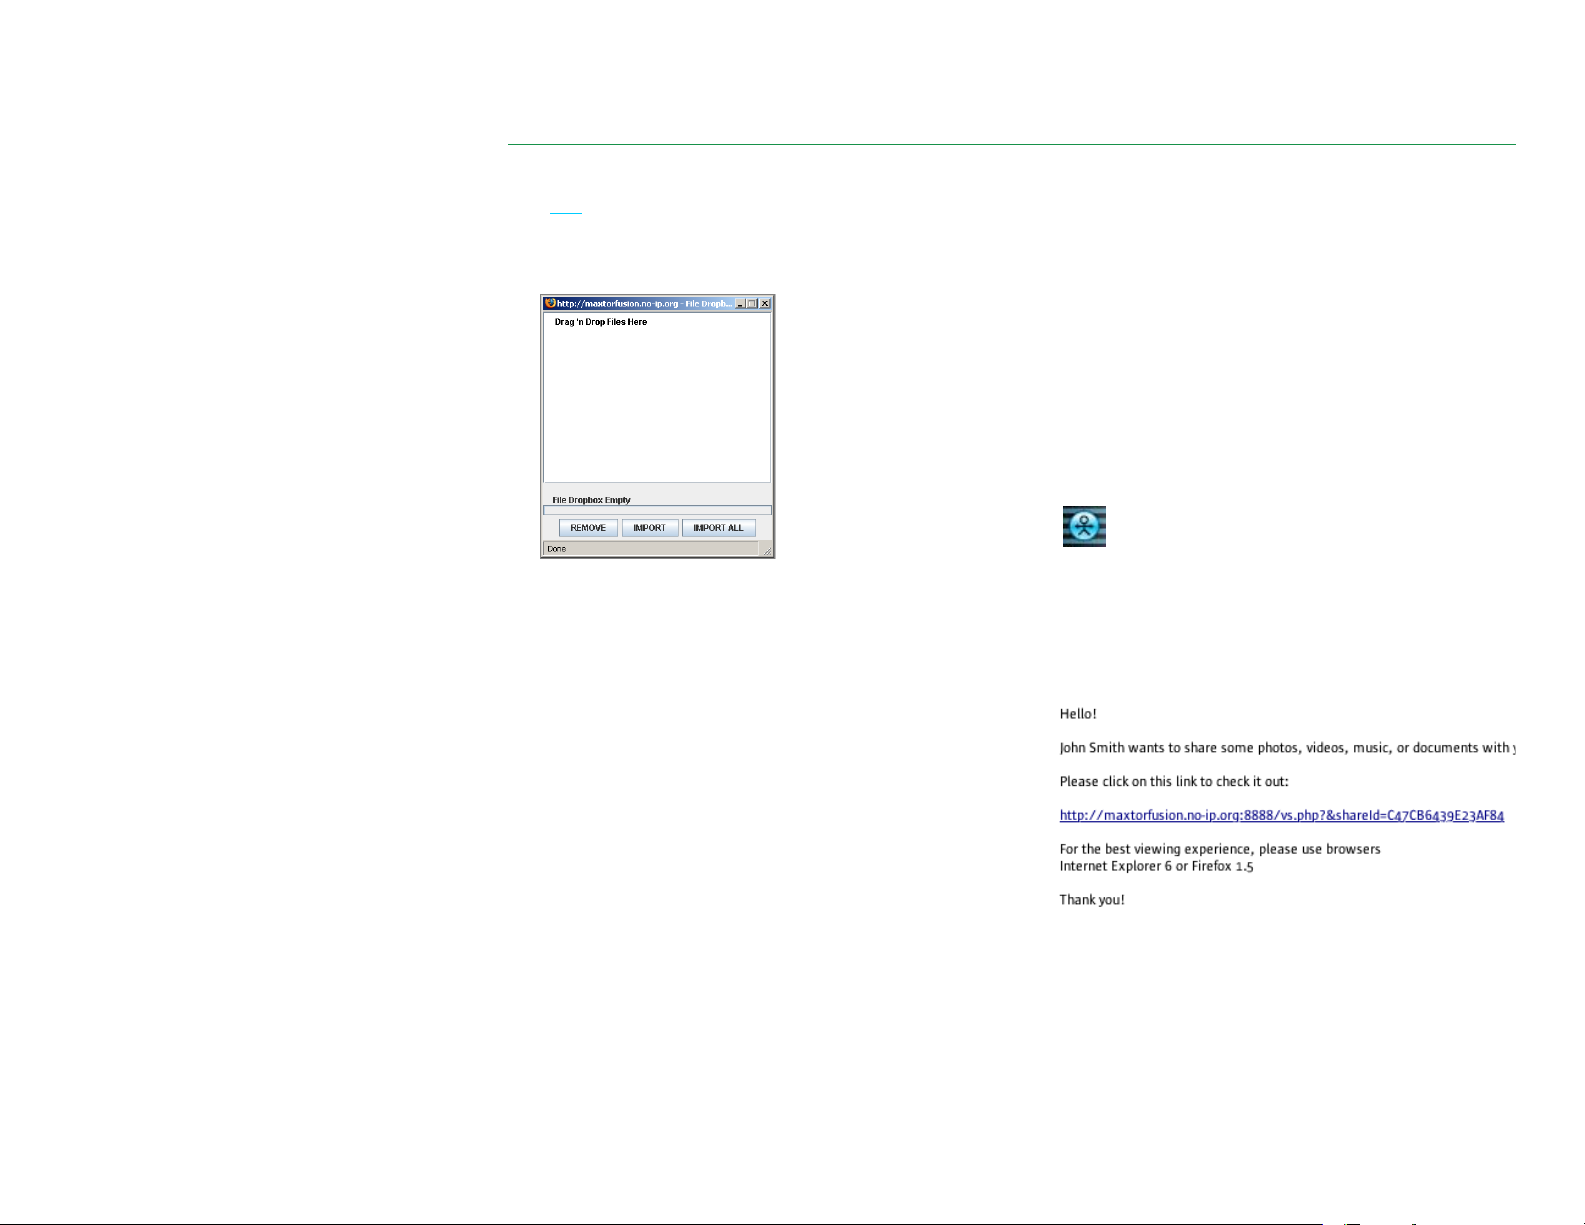
3. In the text box next to PERSON: type in an email address.
4. Click on the arrow to the right of this box, and click OK to
confirm that you want to share the selected file(s). An
email containing a link to the shared files will be sent to
the email address, similar to the picture below.
NOTE: The email message containing the link to the
shared files can be forwarded by the recipient to other
email addresses. Any recipient of the link will be able
to view and download the files as though they were the
original recipients.
PAGE 4
MAXTOR FUSION USER’S GUIDE
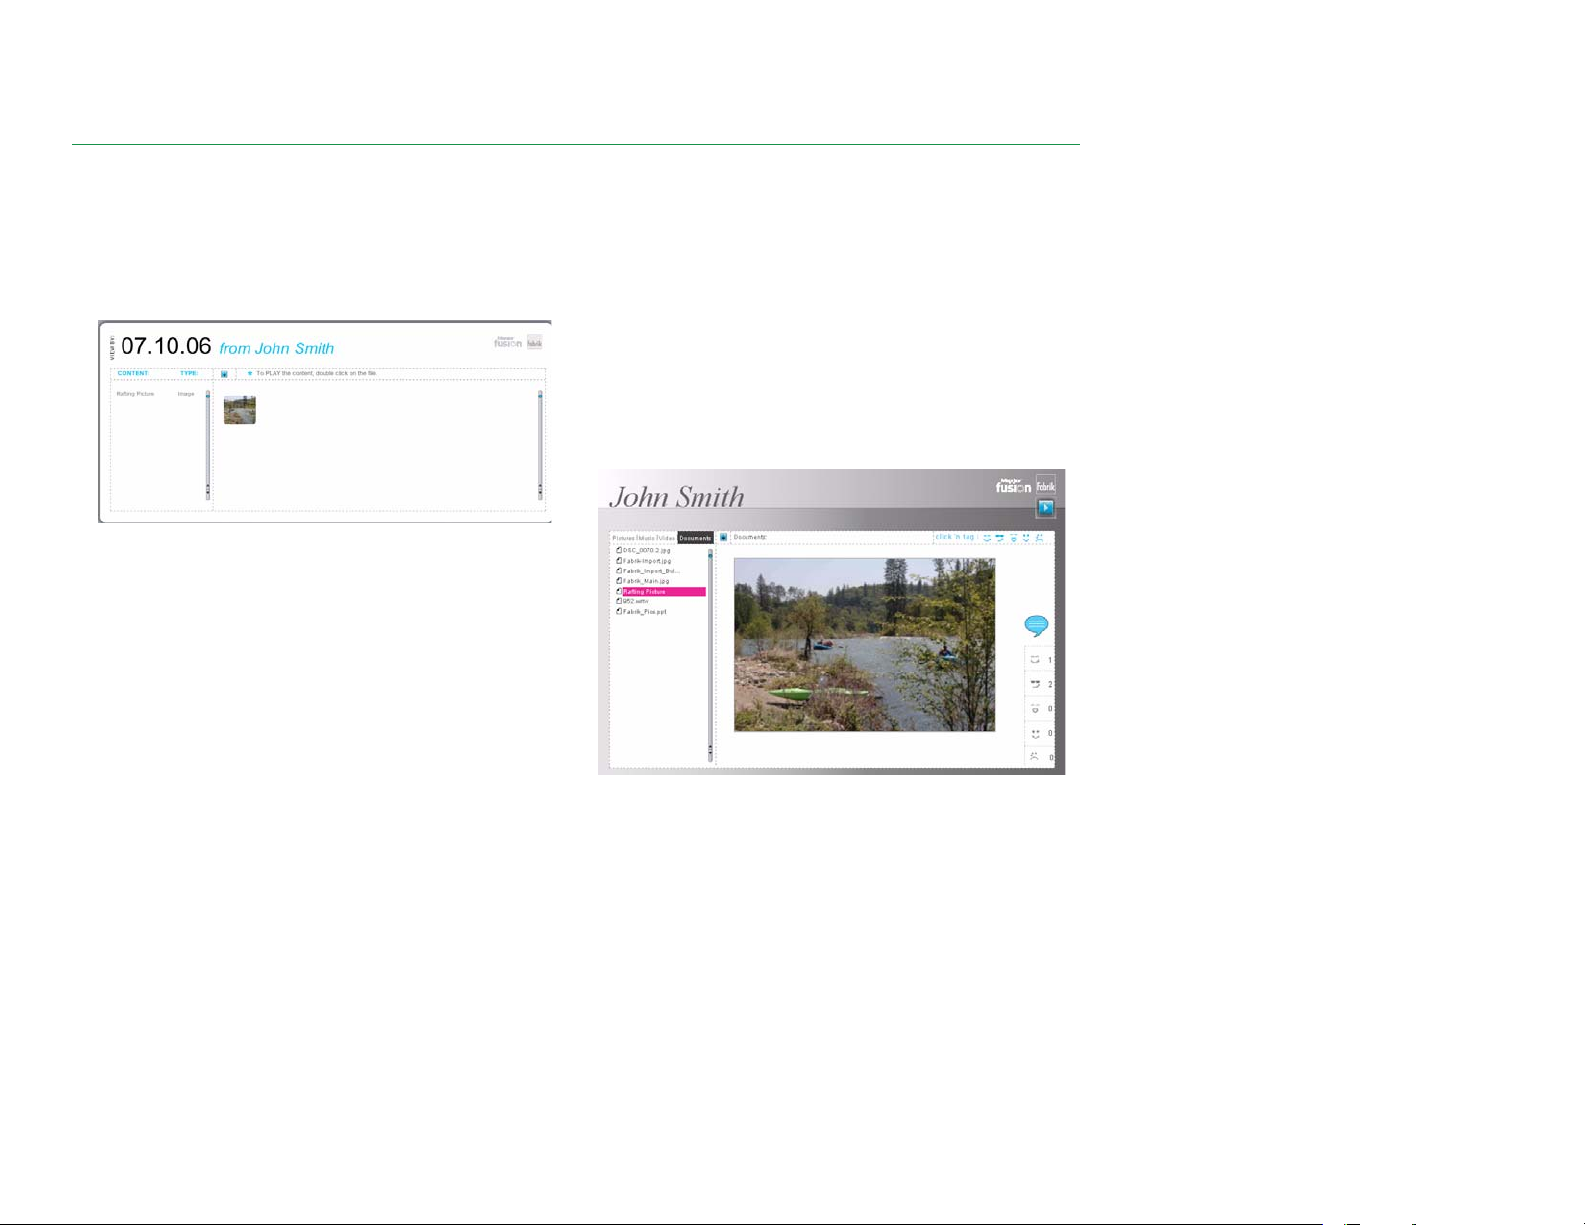
5. When your recipient clicks on the emailed link, a browser
will open and thumbnails of the files that you shared with
them will be displayed in their browser – see below. By
double clicking on a thumbnail, they can launch a picture
slide show or play a video or music file depending on the
types of files that you have shared with them.
Sharing Files with the Whole World
This is really easy – within each category, select the files you
want to share with the world, then click on MAKE PUBLIC.
The files will be available at your public URL link in the
respective Categories (Documents, Music, Pictures, and
Video).
NOTE: You can find the link information by clicking on
Set Preferences, then selecting the User Preferences
tab (automatically selected) – your personal link is
listed on the line starting with Your Public URL/Link.
Anyone with a web browser can access and download
the files you make public.
PAGE 5
Viewers can vote on their favorite files! Just double-click on
a file, and then select the icon in the upper right-hand corner
that expresses your thoughts. A running total is kept in the
lower right hand corner of the web page.
To remove files from your Public Site area click on Public
Site, select the files to be removed and then drag and drop
them to the Trashcan icon.
NOTE: When files are moved to the Trashcan from
the Public Site, they are not deleted. They are only
removed from public view. The original files are
maintained within their respective categories.

MAXTOR FUSION USER’S GUIDE
Linking Files to Online Groups
You can link up to five pictures at a time to popular online
communities such as MySpace and eBay. The microlink
button automatically generates a link (URL) that users can
click on to view the pictures in a dedicated browser window
and HTML code (IMG) that can be used to embed the selected
pictures into a web page.
MySpace
1. Select up to five pictures by holding down the Control key
(Command key for Mac users) and then mouse clicking
the desired pictures.
2. Click on the microlink icon.
3. Select the IMG tab. In the pop-up window, select the
entire link – it starts with “<img” – and copy (Control-C
or Command-C) to your computer's clipboard.
4. Login to your MySpace account and click on Edit Profile.
5. Select the area where you wish the photo to appear
– for example, About Me – and paste (Control-V or
Command-V) the HTML IMG code into the box.
6. Click on Save All Changes, and you’re all set.
eBay
1. Log into eBay and create a new listing to sell.
2. Go through the listing steps until you reach Item
Description. Copy and paste the HTML IMG code into the
description.
3. You can add additional images to your eBay listing using
URL links. Continue with your listing until you reach the
section “Add Pictures,” click on the tab Your Web Hosting
and paste the URL link into the Picture 1 Web Address.
NOTE: You may need to use a photo editor to adjust the
picture to the size you need.
For more information and support on embedding content or
linking files to other sites, please refer to the support or help
section of the destination web site.
PAGE 6
MAXTOR FUSION USER’S GUIDE
USING THE MAXTOR FUSION
Maxtor Fusion offers a new level of flexibility and control for
storing, organizing, accessing, and sharing personal digital
content. Maxtor Fusion offers a simple yet powerful way to
help transform scattered video, pictures, music, and
documents files into personalized digital experiences that
can be shared to reflect an event, an occasion, a person, an
activity, or even a mood. With the easy-to-use interface,
shown below, you can import files and share them with
others, and even create picture links to web sites such as
MySpace and eBay.
Maxtor Fusion is designed to share personal files. Please
obey all applicable copyright laws.
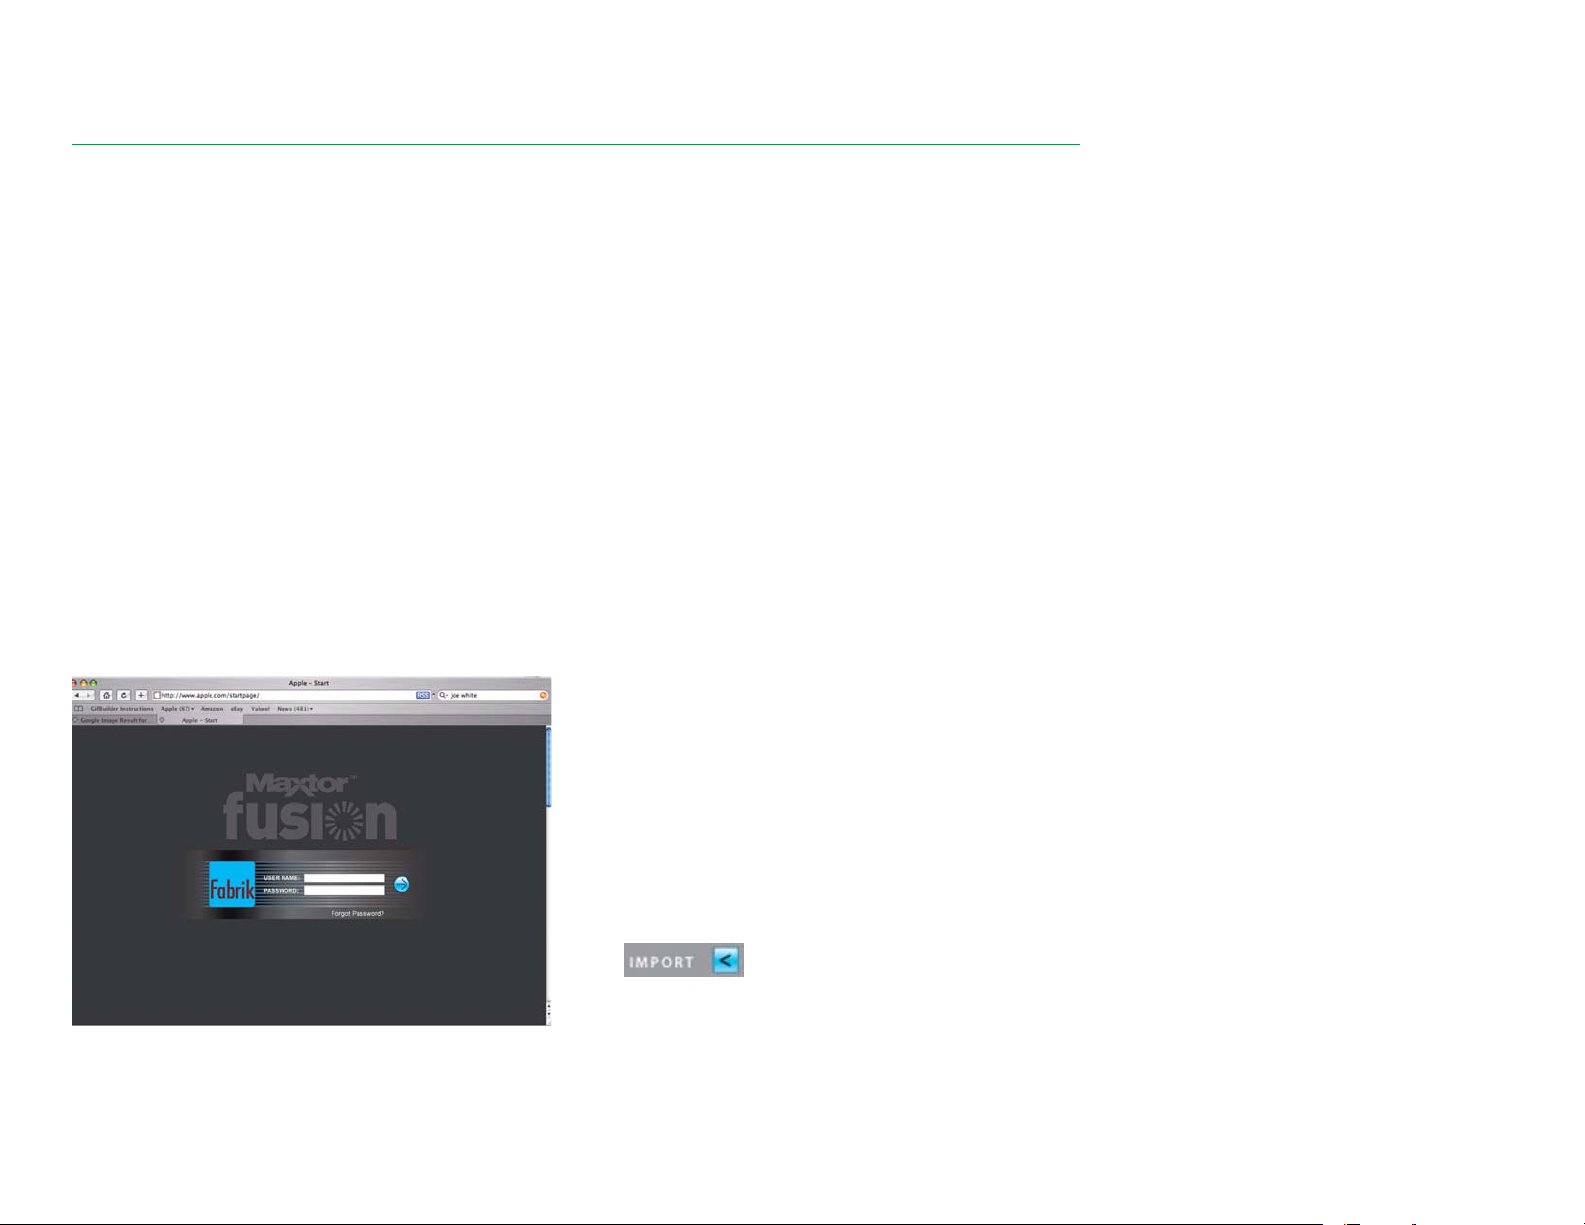
Login In as a User
The admin user assigns Usernames and Passwords. If you
have installed the Maxtor Fusion icons on your desktop,
double-click the Launch icon to open a browser at the login
screen. Or, type in the DNS Hostname or IP address of the
Maxtor Fusion. Log in using your Username and Password.
Importing Files
One of the first things you’ll want to do is import files onto
your Maxtor Fusion. There are two ways to add files to your
Maxtor Fusion: through the web browser interface or over
your local network (LAN) using your PC’s file manager
(Windows Explorer or Mac Finder). If you have a large numbers of files to load onto Maxtor Fusion, it is recommended
that you use the LAN interface. The files you import are
copied – the original files on your computer are not changed
or moved.
If you’ve added a lot of files to your Maxtor Fusion and
wonder if you have enough space to import more files, you
can check the disk space gauge in the upper right-hand part
of the interface. If you need more information than just the
percentage of disk space that’s available, click the icon for a
detailed and categorized listing.
Importing Using the Web Interface
This option is best for uploading content to your Maxtor
Fusion when you are accessing it from outside of your home
network or working from someone else’s computer.
The rest of this section will assume your are logged in.
PAGE 7
1. Select the folder where you would like the imported files
to be placed by clicking on the Category and then clicking
on a desired folder and sub-folder. The categories are in
the upper left hand side and are labeled:
Video
, and
Documents
column of the interface when in the thumbnail views.
Sub-folders are displayed along side the thumbnails in
the main viewing area. To learn how to create a new
folder, refer to “Creating Folders” on page 11.
2. Click on IMPORT in the upper right-hand corner.
. Folders are displayed in the left
Pictures, Music
,
 Loading...