

Scitec EH2000,H2000,H2000VRI,H2001,H2001-09,H2000VRI H2000 User Manual
H2001-09 / H2001/ H2000VRI / H2000
Telephone User Guide
H2001-09
Coming soon
H2001-09/H2001/H2000VRI/
H2000 Single-Line Phones
This telephone user guide details installation, programming,
and operation instructions for Scitec healthcare telephones.
Please refer to the Scitec website News section and click on
Product Notes for updates to this and other Scitec products.
Package Contents
H2001-09/H2001
• Telephone
• Straight line cord
• Clip (for attaching telephone to a bed rail)
H2000VRI/H2000
• Telephone base unit
• Telephone handset unit
• Coiled handset cord
• Straight line cord
Installation
Each healthcare telephone is designed for use behind a registered PBX system. The telephone user or system installer must
supply an RJ-11 modular wall jack to connect this telephone to
the PBX system. The PBX “station port”
type must be “Industry Standard Analog” or “POTS.” This telephonecannot be used with “digital” PBX station ports. Insert one
end of the coiled handset cord into the jack on the BOTTOM
END of the base unit. Insert the other end of the cord into the
jack on the BOTTOM END of the handset. The handset of the
unit should now be placed into the base of the unit. Connect
the straight line cord from the wall jack to one of the line jack
located underneath the base unit. Lift the handset. A dial tone
should be heard in the receiver.
Attaching the handset (H2000VRI/H2000)
Connect the supplied coiled handset cord between the jack on
the end of handset and the jack marked with a “handset” symbol
on the left side of the telephone base unit. Place the handset
on the telephone base unit or if wall-mounted, hang it on the
desk/wall-mount clip to depress the hook switch.
Wall-mounting (H2000VRI/H2000)
• The wall/desk handset clip located on the front of the phone. In
its wall-mount position, the clip extends up to hold the handset
in place. Gently pull it up and turn ½ turn to change from desk
to wall mount. This clip is spring-loaded and not removable, so
that it cannot be lost.
• Turn the telephone over so the telephone face is down.
• Connect line cord to the jack on rear of phone.
• Hold telephone in front of the 2 mushroom shaped mounting
posts on the wall jack plate. Line up keyholes on wall-mounting
bracket with posts. After engaging wall-mounting bracket with
posts, slide telephone down slightly. When properly installed,
the telephone will be rmly attached to the wall.

H2001-09 / H2001/ H2000VRI / H2000
Telephone User Guide
H2000VRI/H2000 Operation
RINGER VOLUME - Adjusts ringer volume to LOW or HI.
Located on the left side of the phone near the dataport.
HEARING AID-COMPATIBLE HANDSET - ADA/HAC-compatible
HANDSET JACK - Modular jack to connect coiled handset cord
from handset to base unit.
DATA PORT - Provides access to the telephone line for optional
connection of modem, fax, or answering machine. Located on
the left side of the phone near the ringer control.
DIALING KEYS - 0 - 9 dialing keys.
VOLUME SWITCH - Volume control switch on the handset
steps through the three available handset volume levels [Normal
- Medium - High].
VISUAL RINGING INDICATOR - Indicates phone is ringing or a
message is waiting. Responds to NEON/90V message waiting
light format. (H2001-VRI model only)
To Place A Call
Lift the handset, then dial the number desired.
To Answer A Call
Lift the handset.
Adjusting Handset Volume
Press the [VOL] key. Each press of [VOL] moves to the next of
three possible settings of [Low - Medium -High], and repeats
back to Low volume on the forth press. Adjust as desired.
Adjusting Ringer Volume
The ringer volume control switch is located on the left side of the
telephone. There are two ringer volume settings, high and low.
Adjust as desired.
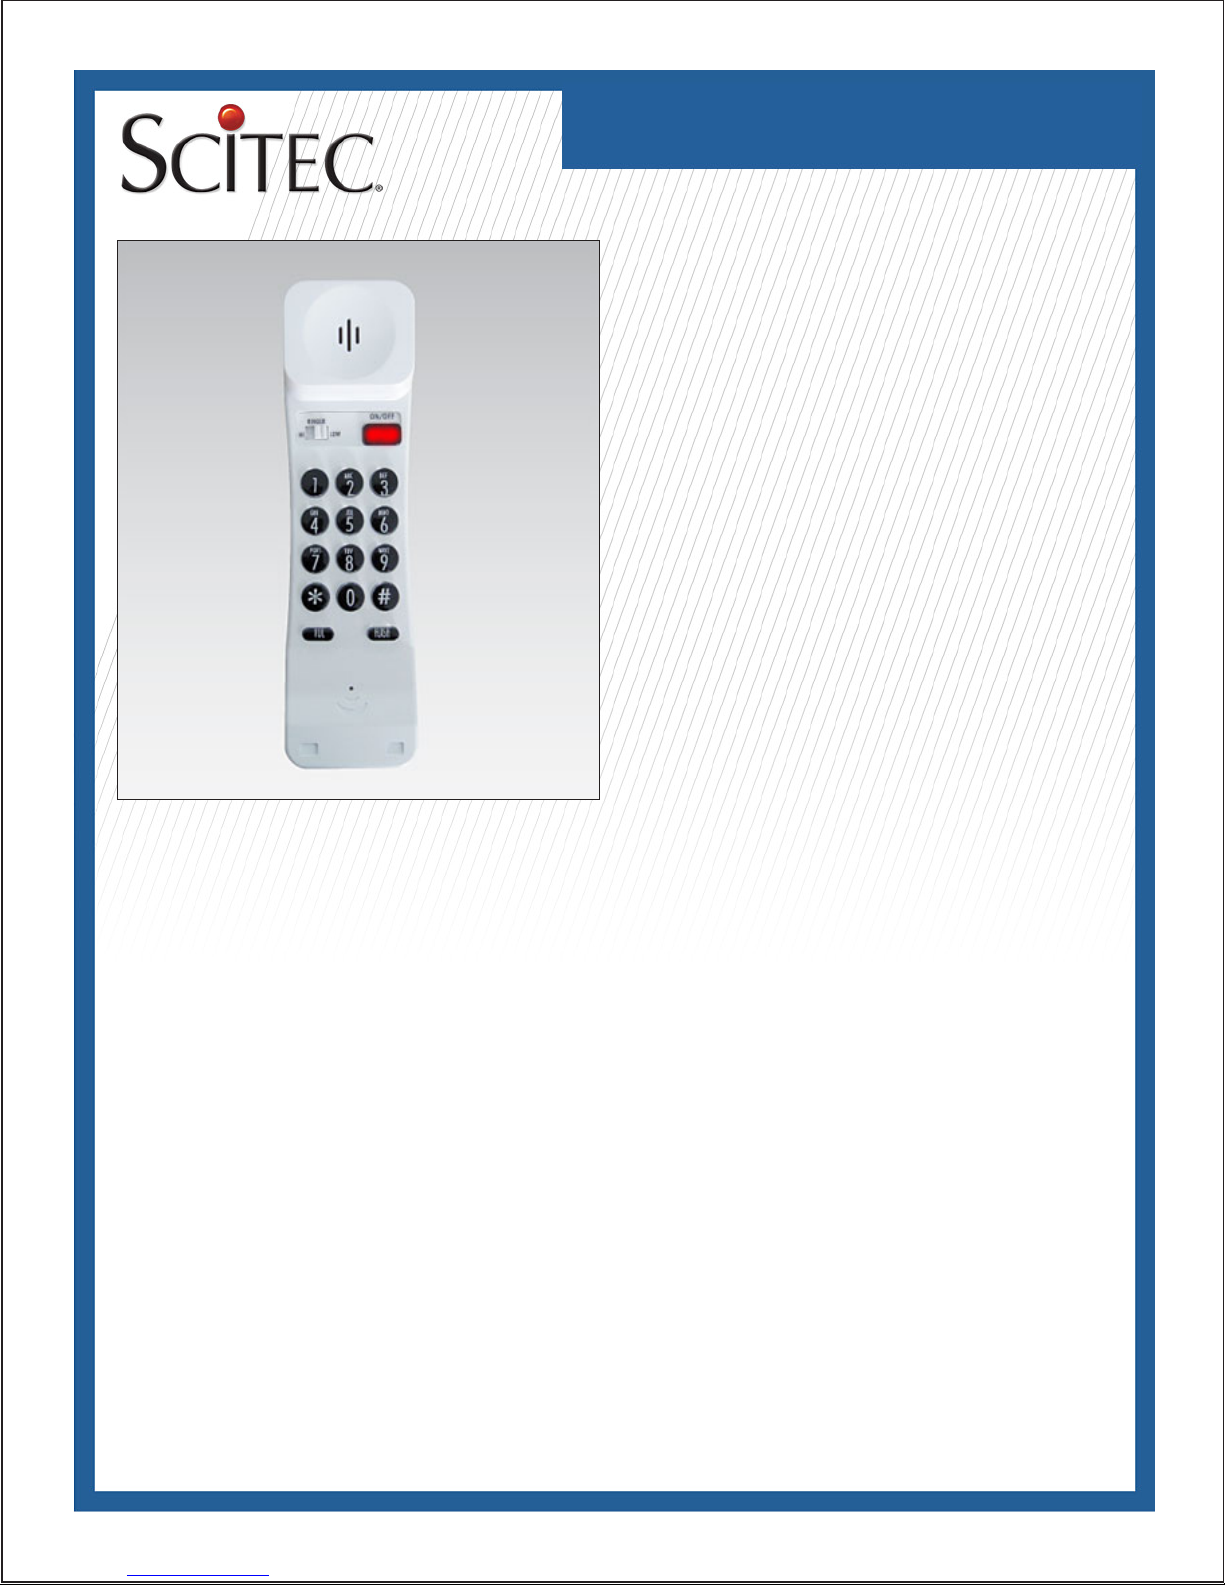
H2001-09/H2001 Operation
Placing A Call
Press the [PUSH FOR ON-OFF] key, then dial number as
desired.
Taking A Call
Press the [PUSH FOR ON-OFF] key.
Adjusting Phone Volume
Press the [VOL] key, each press steps through the volume settings of [Low - Medium - High - Low]. Adjust as desired.
Ringer Volume Control
Slide the [Off-Low-Hi] volume switch to adjust ringer volume. In
all ringer modes, ringing will be accompanied by a ashing light
on the telephone.
Flash Key
Enters a 600ms hook switch ash for accessing special telephone system features.
Lighted Keypad
0-9, *, and # dialing keys are Illuminated for low light conditions.
 Loading...