

Scitec Aegis 5S-c,Aegis-5S-c User Manual
Aegis-5S-c Telephone
User Guide

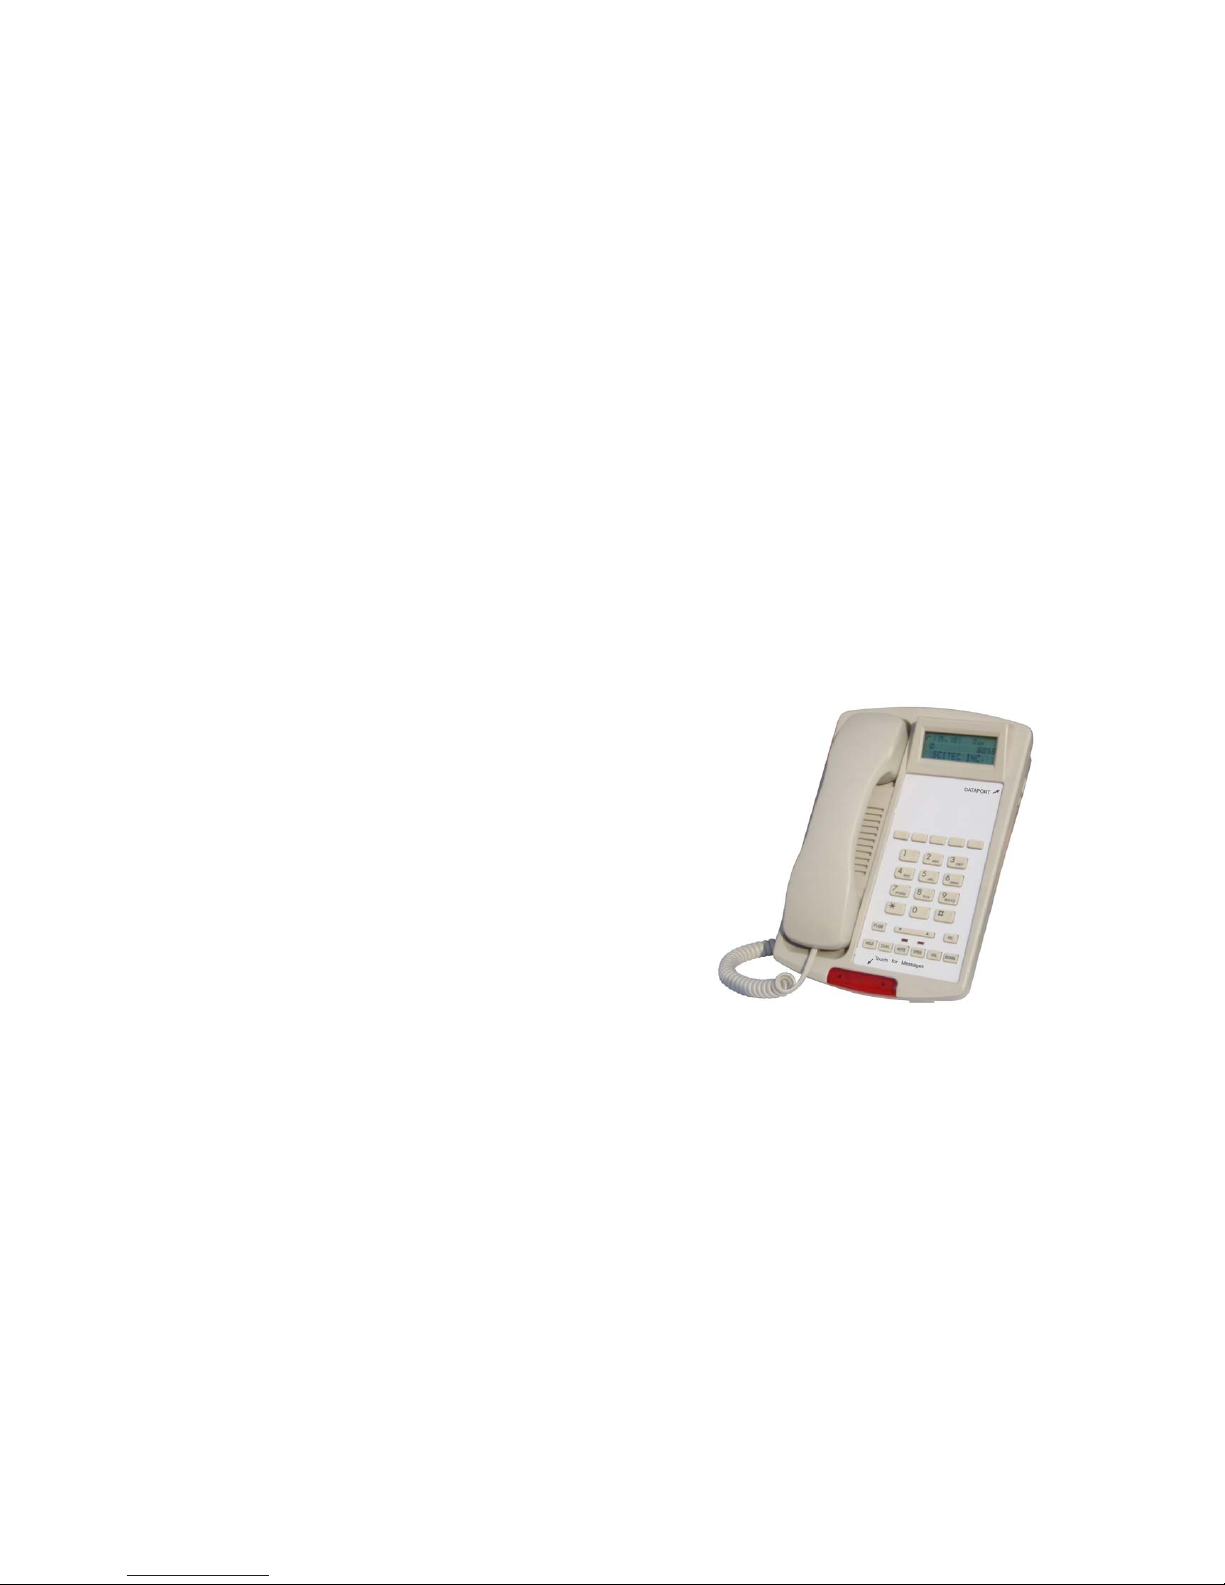
Scitec Aegis 5S-c
Call Waiting Caller ID Feature Phone
Telephone Features:
• High performance voice-switched (half-duplex) speakerphone
with in-use LED indicator.
• Feature keys for flash, hold, redial and mute functions.
• Six user-programmable speed-dial keys, including the [SiTouch]
voice-mail access key. To prevent tampering, programming keys
are hidden under the removable faceplate.
• Visual ringing indicator and message waiting light are located
under the [SiTouch] key for easy visibility. Message waiting light
responds to both NEON/90V and Centrex/CLASS/VMWI formats.
• Electronic ringer with three-position volume control. (OFF, LOW,
and HIGH)
• Separate volume controls for handset and speakerphone
• Data port jack for connecting another device to the extension, such
as a computer modem, fax machine, or credit card terminal.
Caller ID Features:
• Caller ID function is telephone line-powered. AC adaptors or
batteries are not required.
• Caller ID Type I (on-hook) and Type II (call waiting) compatible.
Caller ID Type II may be disabled if desired.
• Retains up to 60 messages in memory
• High-contrast three line LCD display displays name (up to 15
characters), telephone number (up to 14 digits), date, and time
simultaneously
• Programmable 3-digit local area code; automatically prefixes long
distance telephone numbers with a “1” when using one-touch dial
back. Caller ID number can be called back as recorded or prefixed
with a selected PBX code.
• Two Caller ID delete modes: single call or all calls
• Real time clock with 12-hour format is automatically set by an
incoming call or may be set manually if desired

Installation -
The Aegis-5S-c telephone is designed for use behind a registered
PBX system. The telephone user or system installer must supply an
RJ-11 6-position 2-wire modular wall jack to connect this telephone to
the PBX system. The PBX “station port” type must be “Industry
Standard Analog” or “POTS.” This telephone cannot be used with
“digital” PBX station ports.
Unpacking your telephone:
Verify that the package contains the following supplied items:
• Telephone base unit
• Wall Mount Adaptor
• Handset
• Coiled handset cord
• Straight line cord
• This user guide
Assembling your telephone:
If you will be wall-mounting your Aegis-5Sc, it is best to do the
conversion before connecting the handset and line cords. If you will
using the 5S-c on a desktop, skip to the section “Attaching the
handset”
Wall-mounting your telephone:
1) The wall/desk handset clip located on the front of the phone
directly above the speaker grill. In its wall-mount position, the clip
extends up to hold the handset in place. Gently pull it up and turn
½ turn to change from desk to wall mount. This clip is
spring-loaded and not removable, so that it cannot be lost.
2) Turn the telephone over so the telephone face is down.
3) Connect line cord to the jack on rear of phone. Route the line cord
through the line cord channel. Pass the other end of the line cord
through the rectangular hole in the back of the mounting bracket.
Coil up any excess line cord length for placement between the
telephone and the wall-mounting bracket.
4) Position the wall-mounting bracket so that the Scitec “Sun”
designs are toward the front edge of the phone and the four
retaining tabs on the bracket line up with the slots in the bottom of
the phone. Firmly press on the bracket to snap it into place.
5) Connect the free end of the RJ-11 line cord to the wall jack.
Hold telephone in front of the 2 mushroom shaped mounting posts
on the wall jack plate. Line up keyholes on wall-mounting bracket
with posts. After engaging wall-mounting bracket with posts,
slide telephone down slightly. When properly installed, the
telephone will be firmly attached to the wall.

Attaching the handset:
Connect the supplied coiled handset cord between the jack on the
end of handset and the jack marked with a “handset” symbol on the
left side of the telephone base unit. Place the handset on the telephone
base unit or if wall-mounted, hang it on the desk/wall-mount clip to
depress the hook switch.
Installing your telephone:
For desktop use, connect the supplied straight modular cord
between the jack on the rear of telephone and the telephone system
wall jack. Lift the handset, and a dial tone should be heard if the
telephone is correctly installed.
5S-c Key, Switch, and Connector Description -
1) 0-9, *, #: Standard 3 x 4 telephone keypad for dialing.
2) M1 ~M5 – One-touch memory dialing keys. Note that these keys
are named M1 through M5 for reference but are not labeled on the
telephone. These are the five blank keys in a row above the
numeric dialing keys on the keypad.
3) SiTouch – Red touchbar key on front edge of phone. Functions as
an additional speed dial memory key and is usually programmed
by the user to access voice-mail functions on a PBX. Also, the
message-waiting and visual ringing indicator lamps are located
beneath the SiTouch key for easy visibility.
4) VOL - Adjusts the handset volume (3 levels)
5) ▲ - Displays the previous Caller ID entry. Also used when setting
user options
6) ▼ - Displays the next Caller ID entry. Also used when setting
user options
7) DEL - Deletes Caller ID entries
8) DIAL - Dials the selected Caller ID entry
9) SET – Selects and sets user options
10) STORE - Stores numbers into speed dial memory keys M1 ~M5
11) FLASH - Generates a hook flash at the programmed flash time
(600ms , 300ms or 100ms)
12) REDIAL - Redials the last-dialed telephone number
13) PAUSE - Used to enter a pause during speed dial key
programming
14) SPKR - Sets the hands-free speakerphone function on or off. The
LED above this key lights when the speakerphone is on.
15) RINGER - Slide switch on rear of telephone to set ringer volume
high, low or off.
16) VOLUME - Slide control for adjusting the speakerphone receive
volume. This control is located on the right side of the telephone.
17) HOLD
– Functions as “local hold” key or a programmable
“system hold” key, depending on the user option setup. As a local
hold key, holds the telephone line off hook, even with the handset
 Loading...