

Schwinn IC PRO Bike Owners Preventative Maintenance Manual
Schwinn IC PRO Bike
Owners Preventative Maintenance Guide
Schwinnequipment.com
Schwinn IC PRO
Owner’s Maintenance Guide
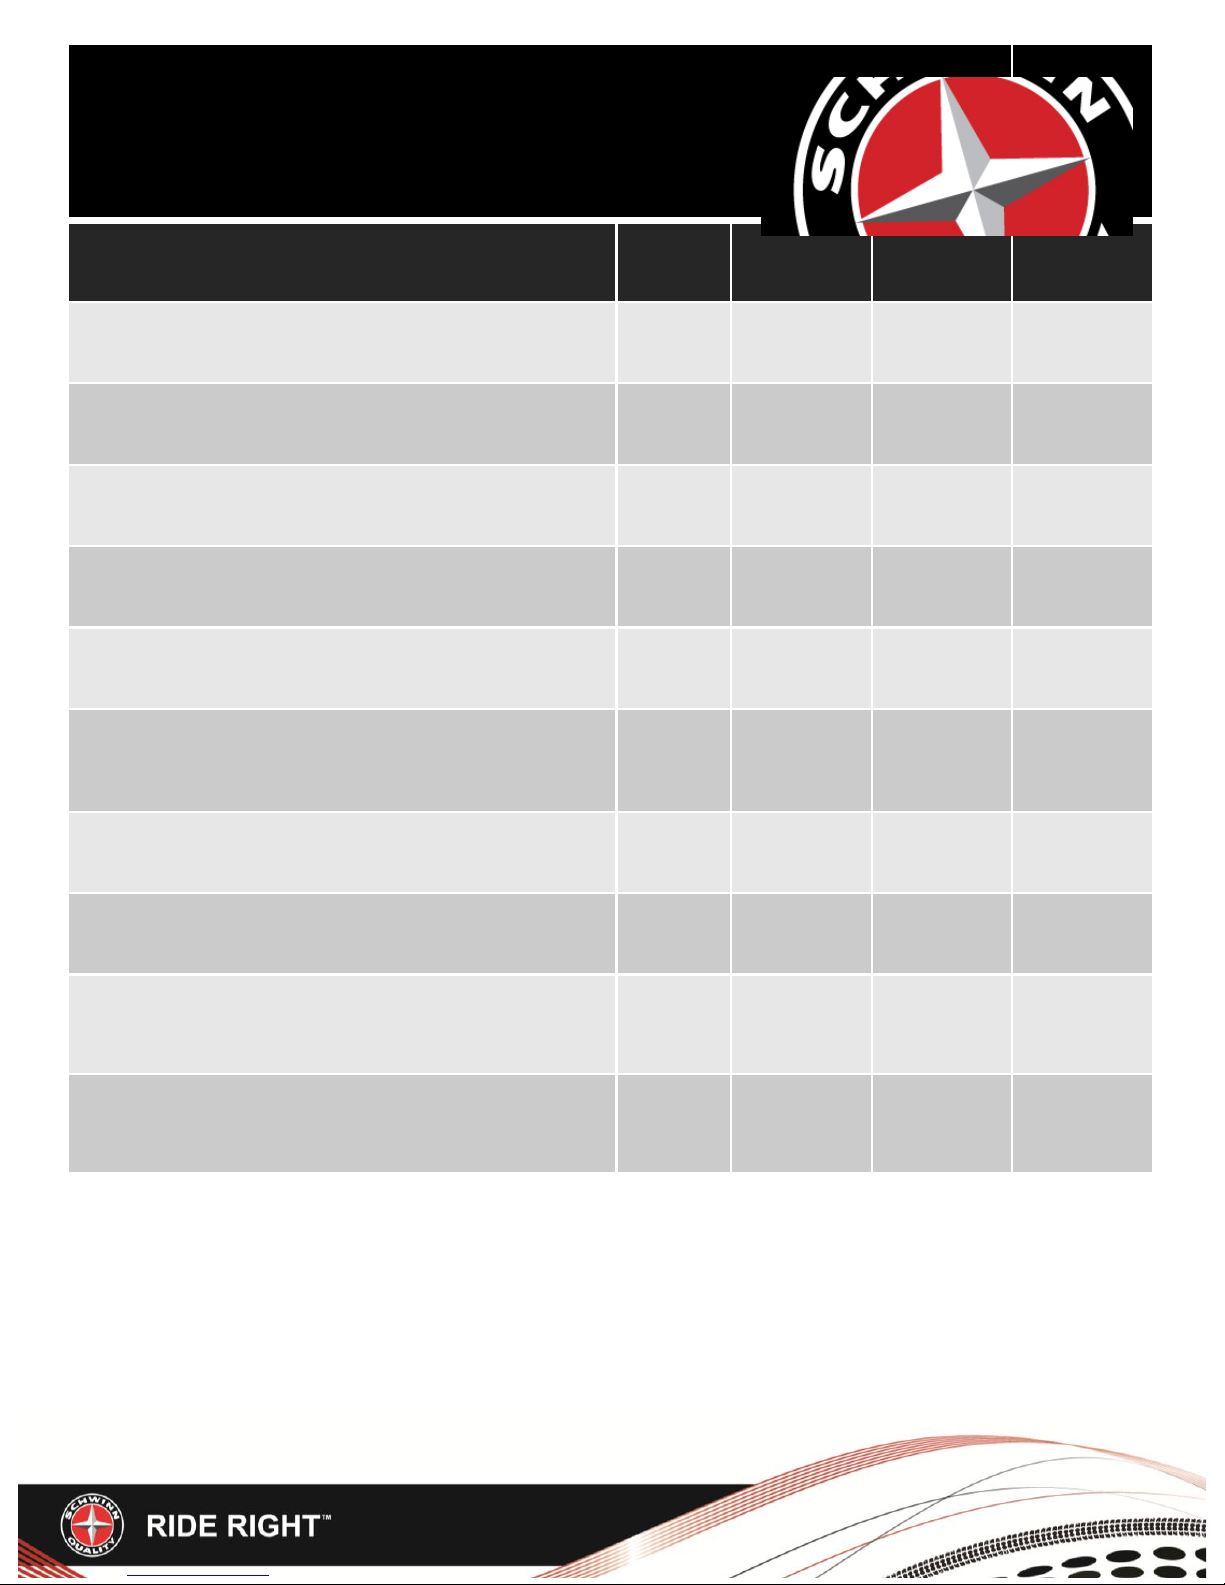
Recommended maintenance Daily Weekly Monthly Quarterly
Release the brake knob at the end of each
class. See activity 1
X
Remove the handlebar post after the last class
and clean. See activity 2
X
Clean bike . See activity 3 X
Inspect for any damaged or worn parts
(i.e. Pedal straps). See activity 4
X
Inspect bike for any loose parts .
See activity 4
X
Clean and lubricate pop pins, flywheel, and
handlebar/seat posts.
See activities 5, 6 and 7
X
Check crank arm bolts. See activity 8 X
Lubricate brake pads. See activity 9, 10 and 11 X
Lubricate the drive chain. See activity 12 X
Lubricate knob thread . See activity 13 X
Tools and lubricants required:
• 14mm wrench
• 15mm pedal wrench
• Phillips screwdriver
• 3, 4 and 8mm Allen key
• Schwinn Silicone spray (Part # 72016) or other Silicone-based spray
• Teflon based lubricant
• Multipurpose grease
• Cloth
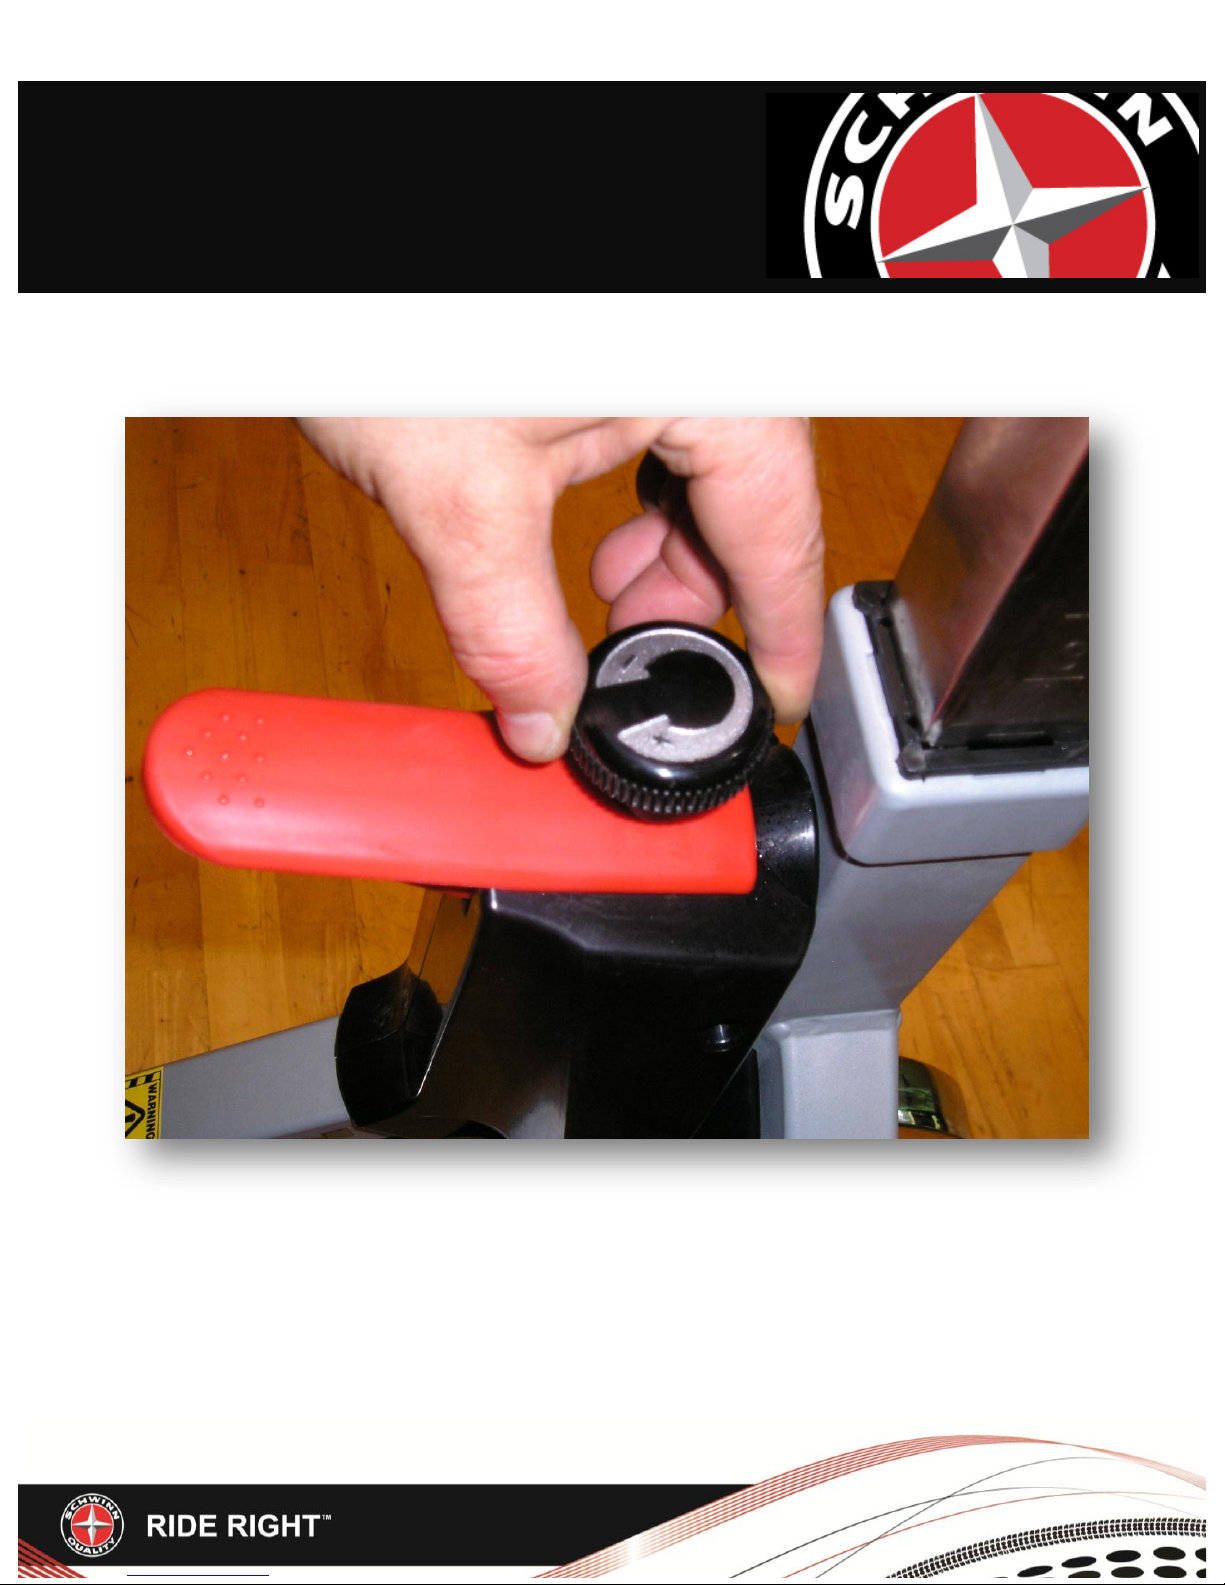
Adjust resistance knob to the least resistance at the end of each
workout.
ACTIVITY 1 - Daily
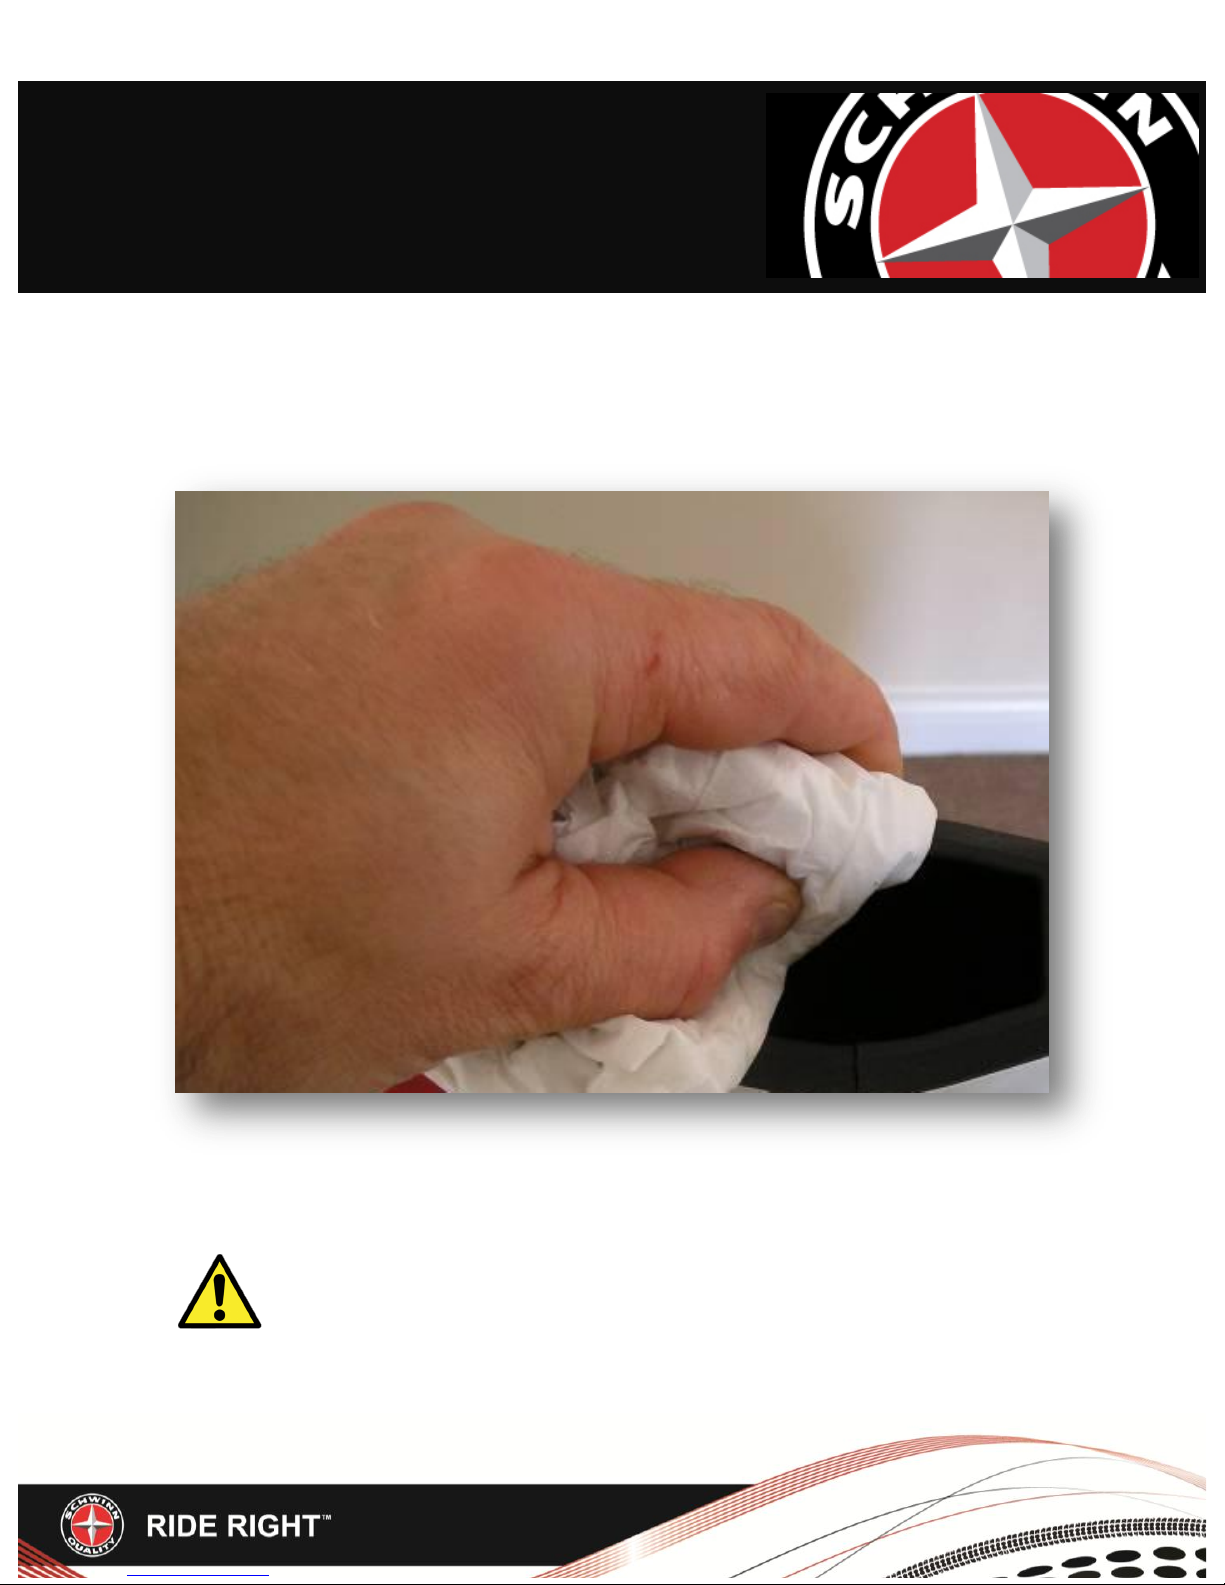
Remove handlebar post, clean sleeve and leave beside bike
overnight to allow handlebar sleeve to dry.
ACTIVITY 2 - Daily
IMPORTANT NOTE: Never use a petroleum-based
solvent when cleaning.
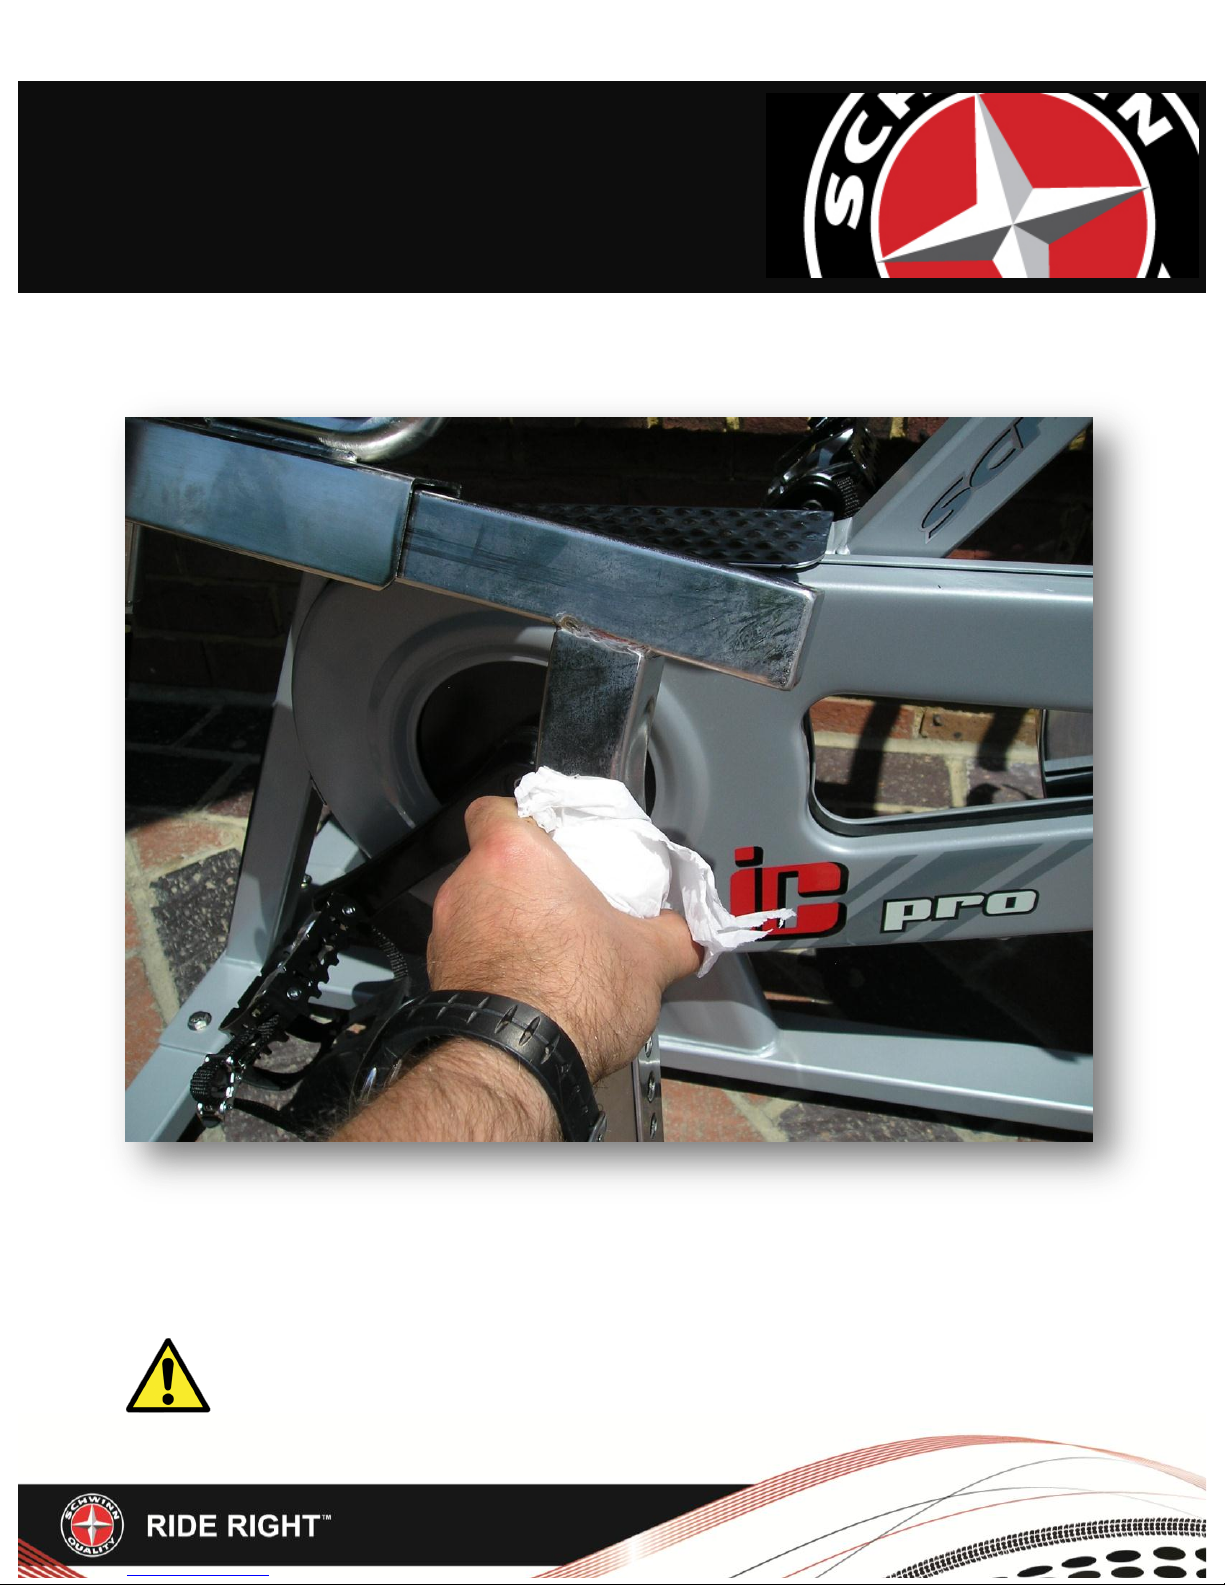
Spray some Schwinn Silicone or other silicone-based spray onto a
clean cloth and clean the bike; this will preserve the condition of the
bike.
ACTIVITY 3 - Daily
IMPORTANT NOTE: Never use a petroleum-based solvent
when cleaning.
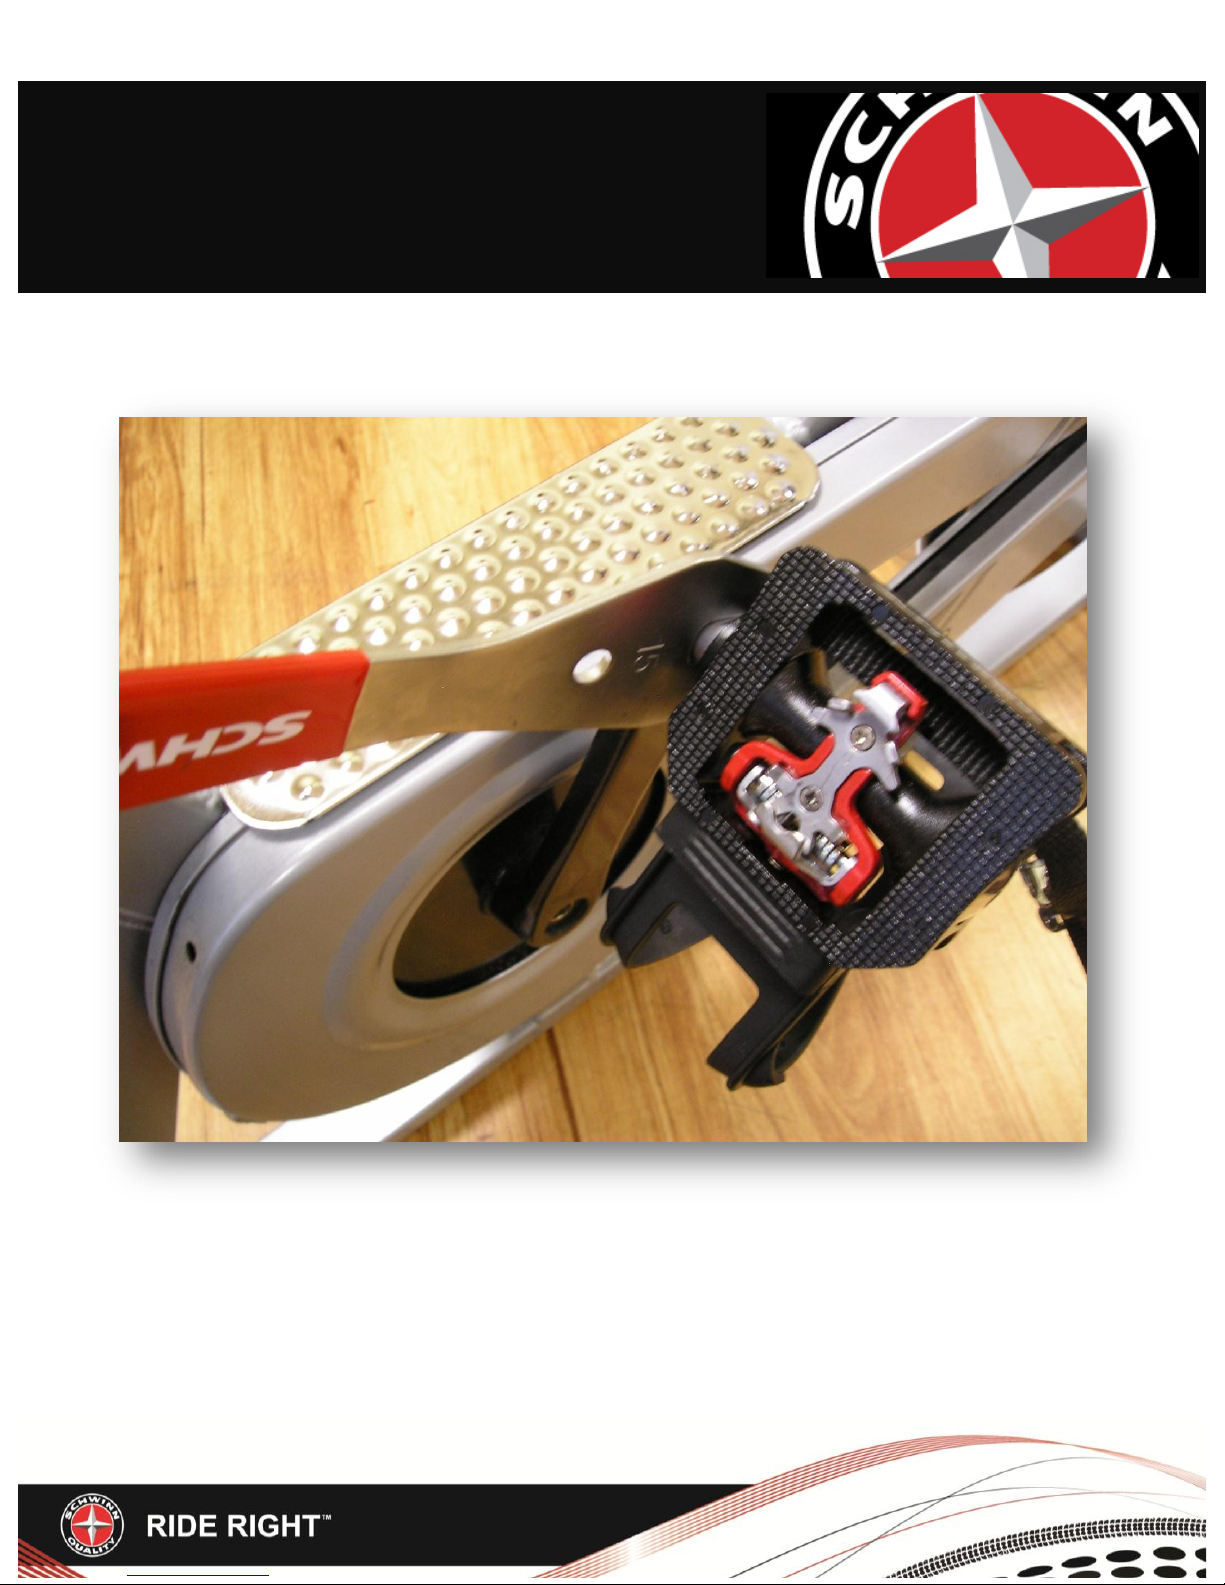
Check the pedal threads are tight using a 15mm open-ended wrench;
tighten the left pedal by turning anti-clockwise and tighten the right
pedal by turning clockwise. Additionally check for any loose parts (i.e.
pop pins, seat, water bottle holders & leveller feet) and tighten as
required.
.
ACTIVITY 4
 Loading...