

Schneider Electric TPFLS10LED, TPFLS20LED, TPFLS50LED, TPFLS100LED, TPFLS20SENLED Installation Manual
Page 1
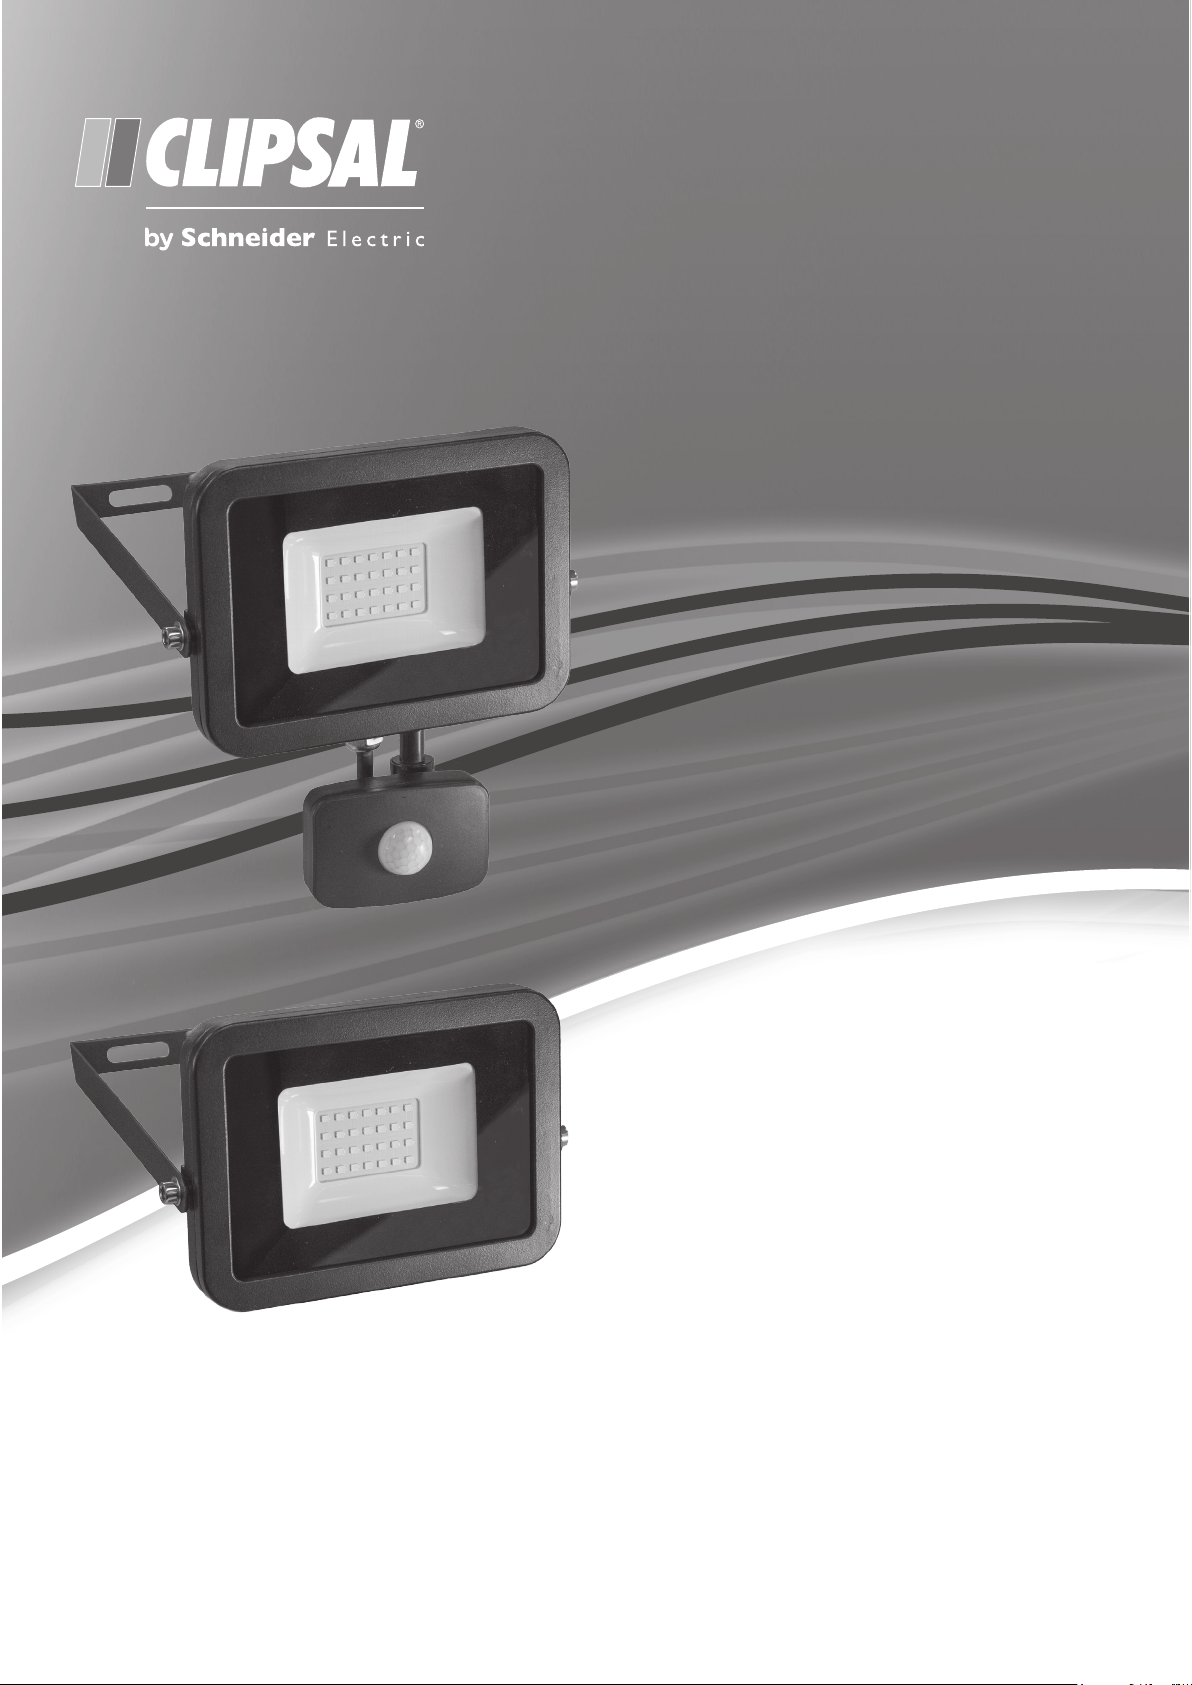
LED Floodlight
TPFLS Series
TPFLS10LED
TPFLS20LED
TPFLS50LED
TPFLS100LED
TPFLS20SENLED
Installation Instructions
REGISTERED DESIGN • REGISTERED PATENT
F2837/01
Page 2

Product Range
TPFLS10LED 10 W LED Floodlight, 240 V a.c., 4000 K, IP65
TPFLS20LED 20 W LED Floodlight, 240 V a.c., 4000 K, IP65
TPFLS50LED 50 W LED Floodlight, 240 V a.c., 4000 K, IP65
TPFLS100LED 100 W LED Floodlight, 240 V a.c., 4000 K, IP65
TPFLS20SENLED 20 W LED Floodlight, 240 V a.c., 4000 K, IP44 – with PIR sensor
Installation Requirements
DANGER
RISK OF ELECTRIC SHOCK, EXPLOSION OR ARC FLASH
• This product must only be installed and serviced by appropriately qualied and/or licenced electrical personnel.
• Isolate the electrical supply before doing any work on this product.
• Ensure that the product has been correctly installed and tested for safe operation before reconnecting the electrical supply.
Failure to follow these instructions will result in death or serious injury.
CAUTION
RISK OF BURN INJURIES
During and after use, the product may be hot. Do not touch the product until it has completely cooled down.
Failure to follow these instructions can result in minor injuries or equipment damage.
• The product is Class 1.
• Check whether the product has been damaged during transport. Do not operate/install any product which appears damaged in any way.
Return the complete product to the place of purchase for inspection, repair or replacement.
• Take care not to pull any electrical wires during unpacking as this may damage the connections.
• Isolate the electrical supply before commencing any work on this equipment.
• Select a suitable location for installation.
Installation Instructions
1 Remove all packaging material from the product.
2 Use mounting bracket to mark hole centres for xing.
3 Secure mounting bracket using appropriate fasteners.
4 Safely terminate wiring, paying particular attention to all markings.
Mounting Options – TPFLS Series (no sensor)
Mounting Options – TPFLS20SENLED (with PIR Sensor)
Page 3

Sensor Adjustment Procedure (TPFLS20SENLED only)
Light Level Adjustment
(LUX)
Unit can be adjusted so that
the sensor only operates at
or below the set ambient
light level.
Timer Setting
(TIME)
This setting varies the
time span that the floodlight will remain ON after
it is triggered.
Sensitivity Level
(SENS)
Determines the detection area by increasing
or decreasing the
sensor range.
Max.
12 m
Min.
5 m
Max.
10 m
Min.
10 s
Max.
2000 lux
Min.
10 lux
260°
180°
120°
5 m
min. Sensitivity
12 m
max. Sensitivit
y
When the power is on, the unit will be able to detect movement within the adjustable sensor range. There are 3 adjustment settings on the back
of the sensor unit for Light Level Adjustment (LUX), Timer Setting (TIME), and Sensitivity Level (SENS).
Sensor Alignment Sensor Detection Area
Commissioning Procedure (TPFLS20SENLED only)
Note: When setting the TIME, LUX or SENS adjustments keep clear of the eld of view when assessing the eect of the adjustment.
1 Connect unit to mains power and allow at least 30 seconds for the unit to stabilise before making any adjustments.
2 Set the TIME adjustment fully anti-clockwise (10 second timer).
3 Set the LUX adjustment to respond to light or dark conditions during commissioning.
4 Set SENS adjustment fully clockwise (maximum range set).
5 Aim the sensor head towards the desired eld of view.
6 Walk slowly around the desired eld of view to conrm if oodlight is activated from within the desired area.
7 Set SENS as desired for required range.
8 Set LUX as desired for activation at dusk.
9 Set TIME interval to desired time.
For optimum performance, please ensure the oodlight mounting height is between 2-3m.
Note: When resetting the LUX level, allow 30 seconds for the sensor to stabilise to normal operation.
Dimming
The product series is not dimmable.
Troubleshooting
Problem Possible Cause Possible Resolution
Light turns on for no apparent reason Momentary power failure None, unit will reset after a time-out
Unseen target Check for dogs, cats or pests
Light turns on during daylight Wrong setting on LUX Reset according to Commissioning Procedure
Light does not turn on in dim or dark
Extreme draughts of hot or cold None, unit will reset after a time-out
Tree branches or bushes moved by wind
Vehicle or pedestrian trac on edge of
eld of view
Wrong setting on LUX Reset according to Commissioning Procedure
conditions
Page 4

Problem Possible Cause Possible Resolution
W L LW
H
H
Light remains permanently on Moving source being detected. Remove unwanted source. If unable to resolve,
reposition the sensor head (horizontally and vertically).
The light should turn o after a time out. If the light
remains on, call the Installer.
Note: Do not mount too close to air conditioner vents, ues, water fountains, sprinklers or pet doors.
Product Specication
Parameter TPFLS10LED TPFLS20LED TPFLS50LED TPFLS100LED TPFLS20SENLED
Voltage Rating 240 V a.c., 50 Hz
IP Rating IP65 IP44
Total Power Consumption 10 W 20 W 50 W 100 W 20 W
Beam Angle 100°
Lumen Output 900 lm 1800 lm 4500 lm 9000 lm 1800 lm
Operating Temperature –10 °C to +40 °C
Operating Humidity +10 to +95% RH, non-condensing
Storage Temperature –10 °C to +60 °C
Storage Humidity +10 to +95% RH, non-condensing
Colour Rendering Index > 70
Colour Temperature 4000 K
Lifespan (L70) 30,000 hours
Dimensions L x W x H (mm)
(see diagrams below)
Cord length 900 mm
Sensor Detection Angle N/A 120˚
Sensor Time Span N/A 10 s to 10 mins
Sensor Lux Level Range N/A 10 lux to 2000 lux
Sensor Sensitivity Range N/A 5 m to 12 m
116 x 27 x 86 166 x 29 x 122 210 x 33 x 155 357 x 45 x 260 166 x 29 x 122
Note: TPFLS20SENLED Floodlight does not have a sensor override function.
Warranty
TPFLS20SENLED
For warranty information contact https://www.schneider-electric.com.au/en/about-us/legal/terms-and-conditions.jsp
Schneider Electric reserves the right to change specications, modify
designs and discontinue items without incurring obligation and whilst
every eort is made to ensure that descriptions, specications and
Australia
Schneider Electric (Australia) Pty Ltd
Customer Care Australia: 1300 369 233
Email: customercare.au@schneider-electric.com
www.schneider-electric.com.au
New Zealand
Schneider Electric (NZ) Ltd
Customer Care NZ: 0800 652 999
After hours (NZ Only): 0800 735 4357
Email: sales@nz.schneider-electric.com
www.schneider-electric.com
other information in this catalogue are correct, no warranty is given
in respect thereof and the company shall not be liable for any error
therein.
© Schneider Electric 2017
This material is copyright under Australian and international laws.
Except as permitted under the relevant law, no part of this work
may be reproduced by any process without prior written permission
of and acknowledgement to Schneider Electric. Schneider Electric
acknowledges that the Australian Standard Certied Product logo is a
trademark of SAI Global.
September 2017F2837/01
 Loading...