

Schlage LiNK WCW100,LiNK WCE100 User Manual
Camera User Guide
POWER
NETWORK
POWER
NETWORK
Plastic
Nut
Plastic
Washer
Threaded
Post
WCW100 Wireless Camera
There are two cameras available for use with Schlage
LiNK.
WCW100
The WCW100 is a wireless camera that communicates
with the LiNK system through your existing wireless
router.
WCE100
The WCE100 is a wired camera that communicates with
the LiNK system through your existing router.
DO NOT connect Ethernet or power before
enrolling the camera.
!
For indoor use ONLY!
WCE100 Wired Camera
Wireless Antenna (WCW100 Only)
Rotate the wireless antenna onto the threaded post to ensure clear wireless
communication. Antenna can be adjusted to obtain a better signal. Best results
are usually obtained by positioning the antenna vertically.
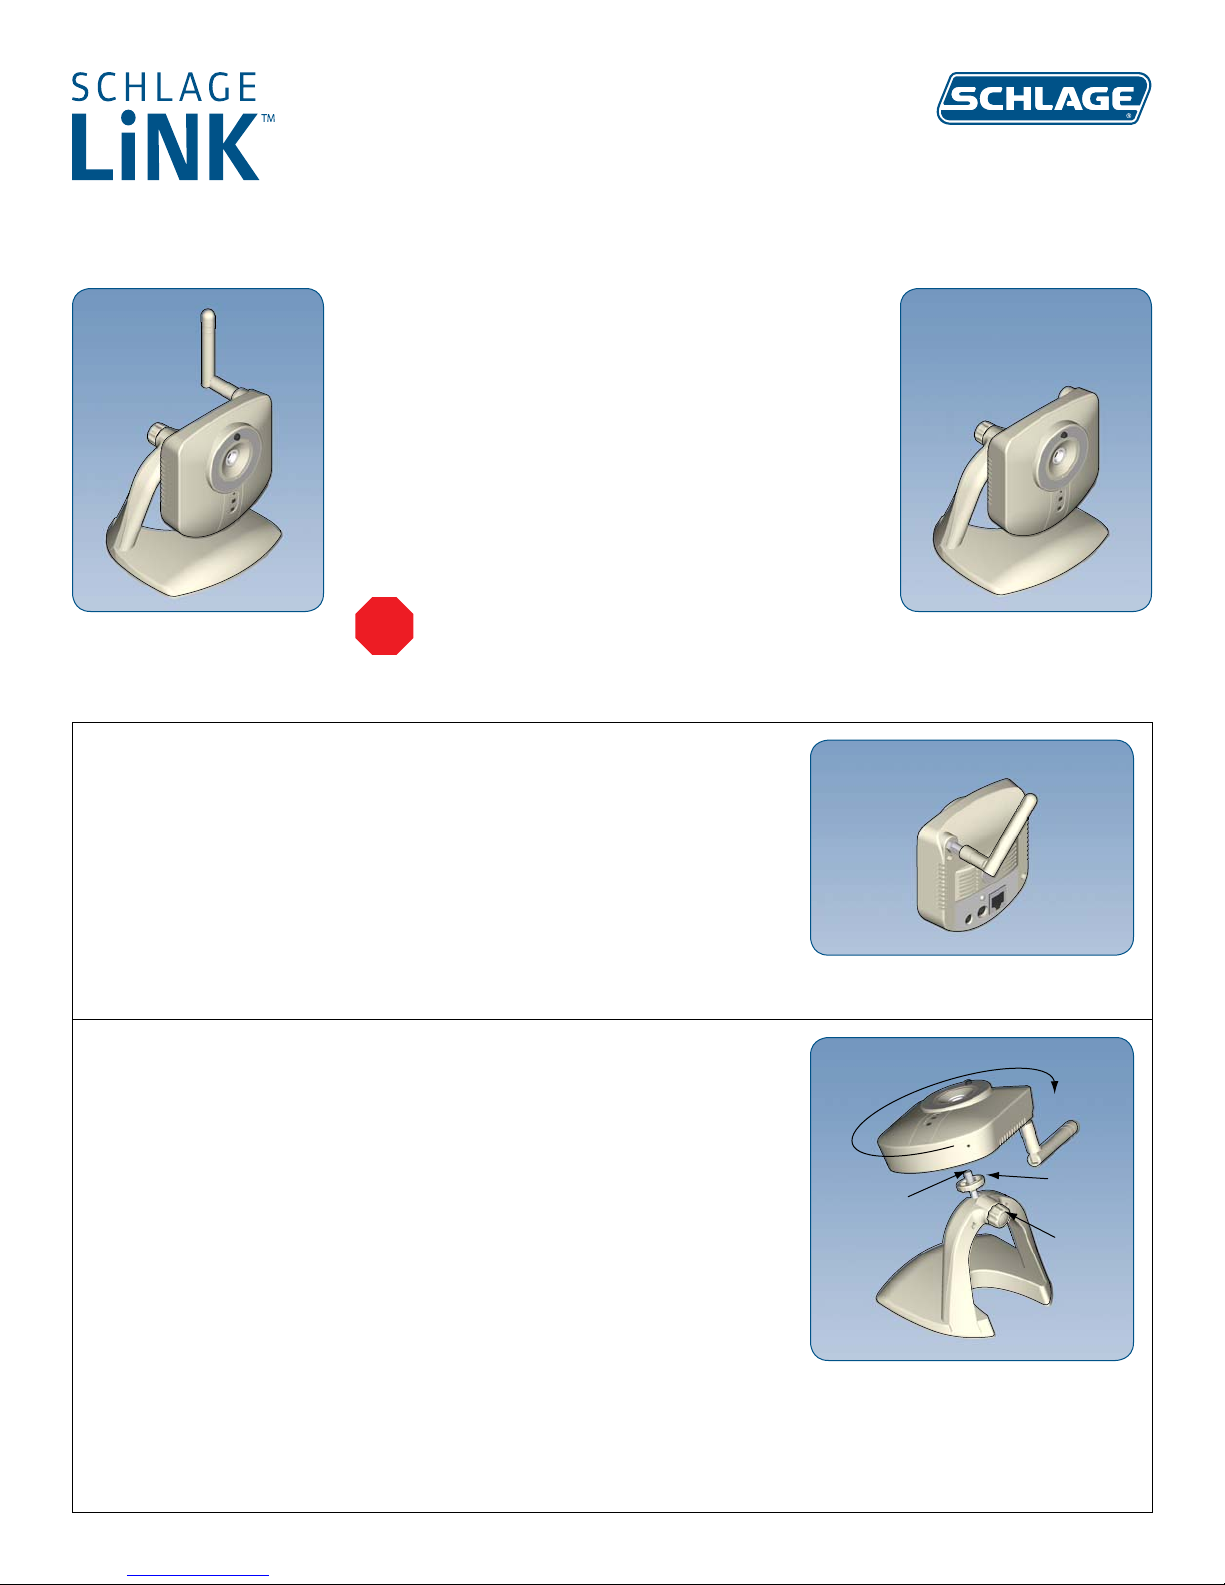
Camera Stand
Install the camera stand to provide a steady base for the camera.
Loosen the plastic nut on the back of the camera.1.
Rotate the threaded post upwards.2.
Rotate the camera onto the threaded post until it stops.3.
Tighten plastic washer against camera to secure.4.
Attaching the Antenna
Attaching the Camera to the Stand
POWER
NETWORK
Privacy
Button
NETWORK
POWER
Do Not
Use
Power, Ethernet and MAC ID
WPS
POWER
LAN
Speaker
OUT
5V/1A
IC ID: 7954A
WCW100
XXXXXXXXXX
XXXXXXXXXX
Do Not
Use
IC ID: 7954A
WCW100
XXXXXXXXXX
XXXXXXXXXX
WPS
POWER
LAN
Speaker
OUT
5V/1A
DO NOT connect power and Ethernet until instructed to do so by the web
site, during the enrollment process.
MAC ID is located on the label on the back of the camera.
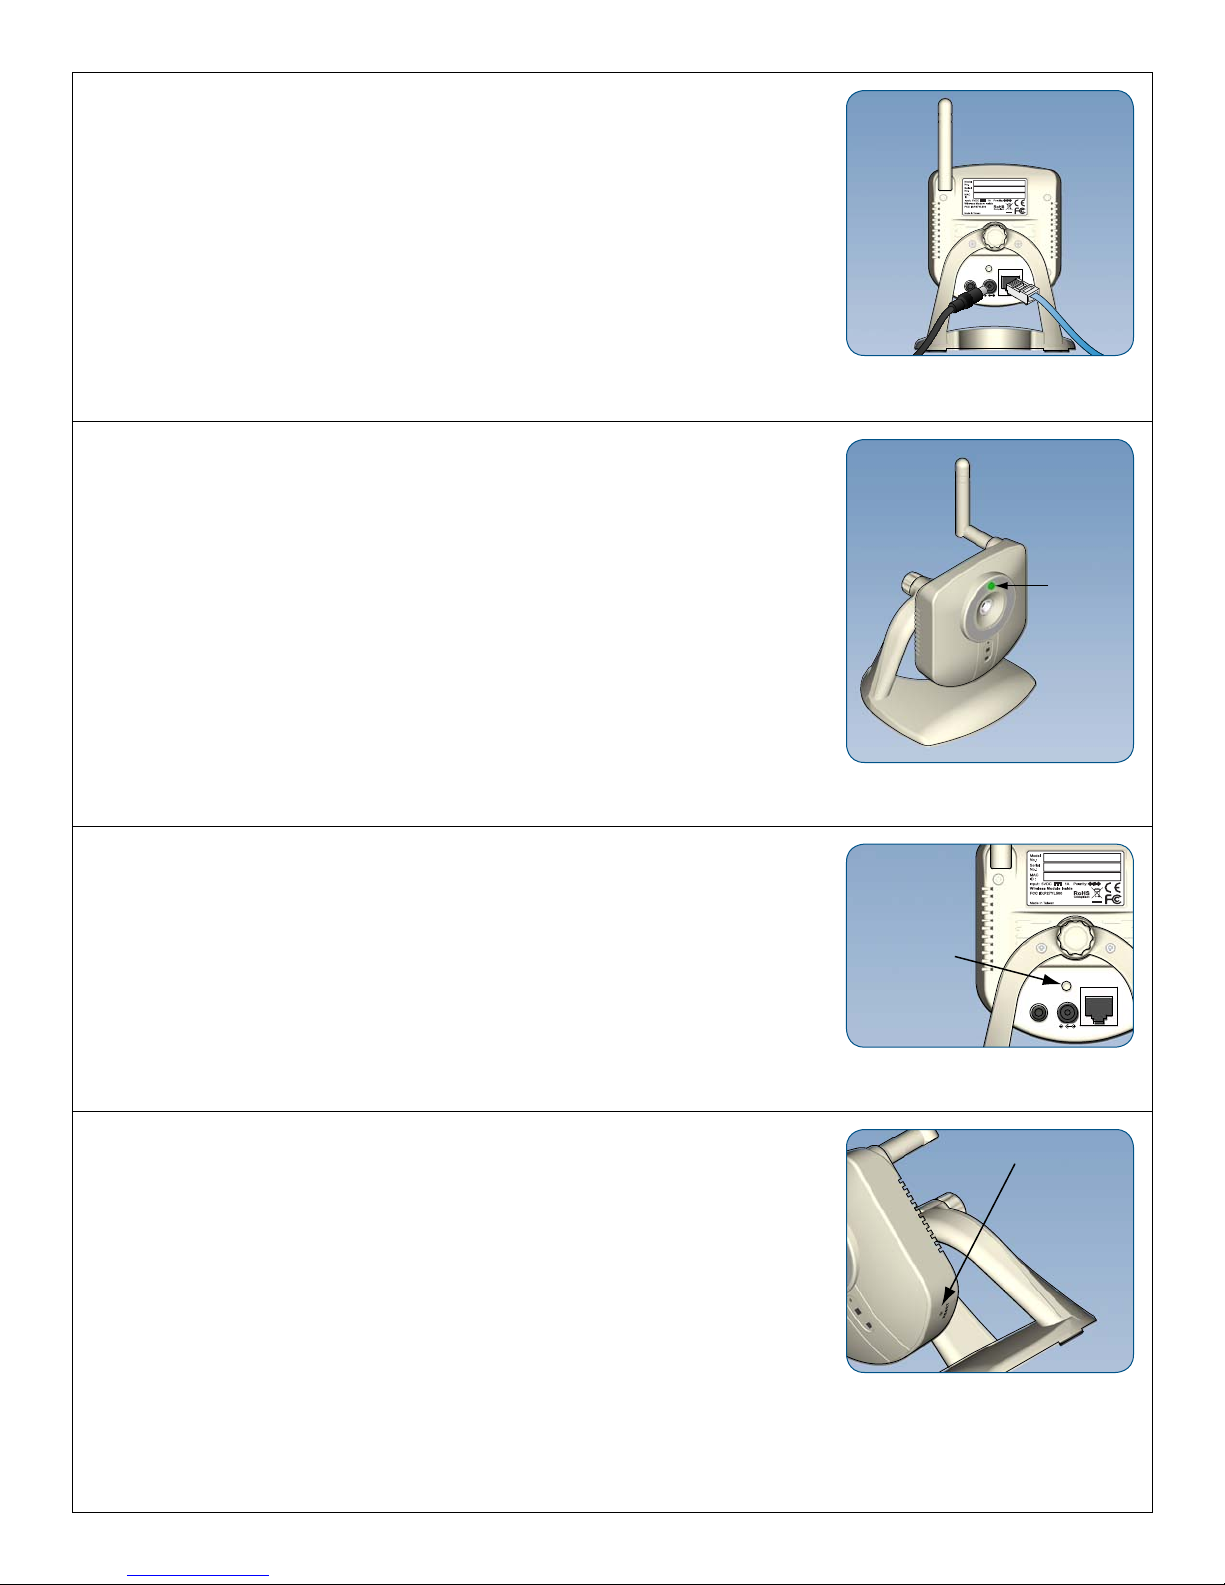
Privacy Button
The privacy button can be used to temporarily suspend video transmission.
Enable Privacy
Press the privacy button. Button will light green when activated.
Disable Privacy
Press the privacy button. Green light will go out when video transmission
resumes.
Power and Ethernet
WPS Button
NOT use the WPS button. Pushing this button may prevent the camera from
enrolling to the LiNK system properly.
If the button is accidentally pushed, power must be disconnected and then
reconnected to the camera before enrolling the camera.
Reset Button
DO NOT use the reset button.
If this button has been pressed, you will need to fi rst remove and then add the
camera back into your account. See Enrolling the Camera for more information.
Privacy Button
WPS Button
Reset Button
 Loading...