

Schlage COBRA MPM,COBRA MPMA Installation Instructions And User Manual
Inst allation Instructions and Users Manual
MMPPMM && MMPPMMAA
MORTISE LOCKING SYSTEM
FORM 57018 Rev. B 02-10-2005
AUTOBOLT
LATCHBOLT
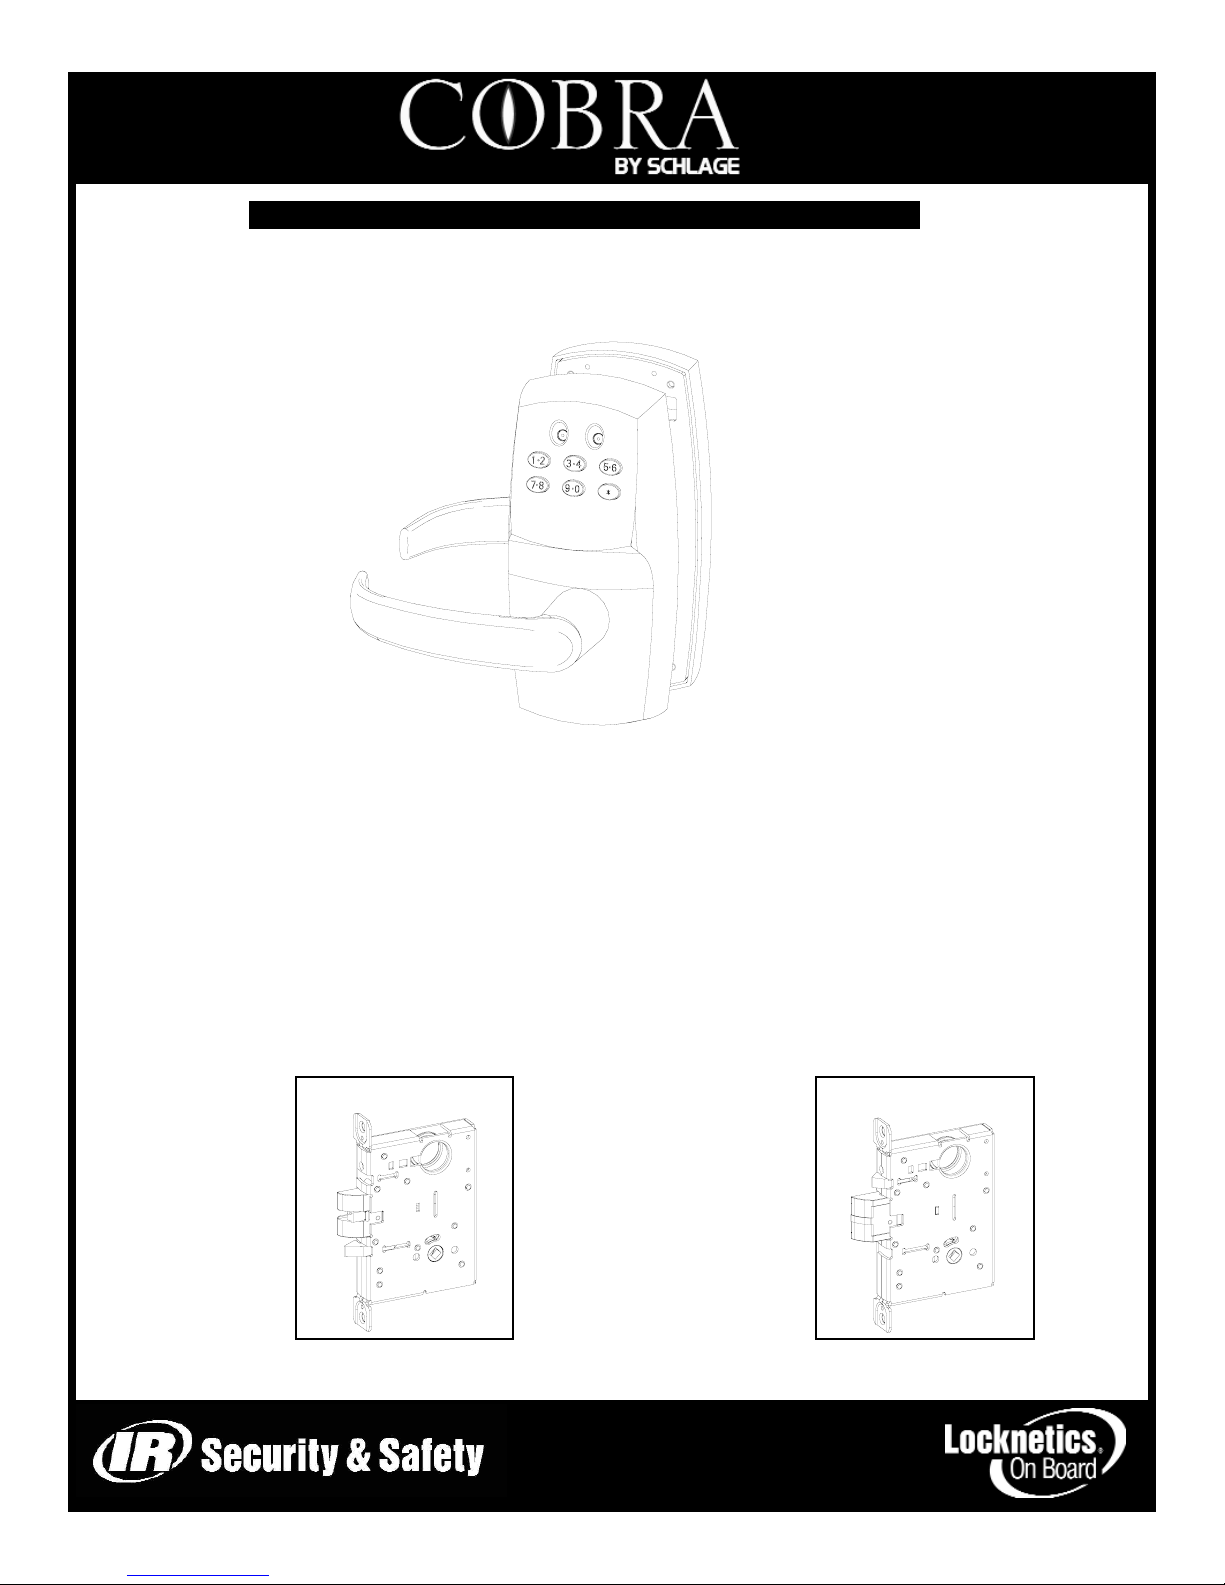
MMPPMM MMPPMMAA
Manually Progammed Mortise
Lockset. Up to 100 codes can be
manually programmed.
SCHLAGE COBRA MPM
FORM 57018 Rev. B 02-10-2005PAGE 2
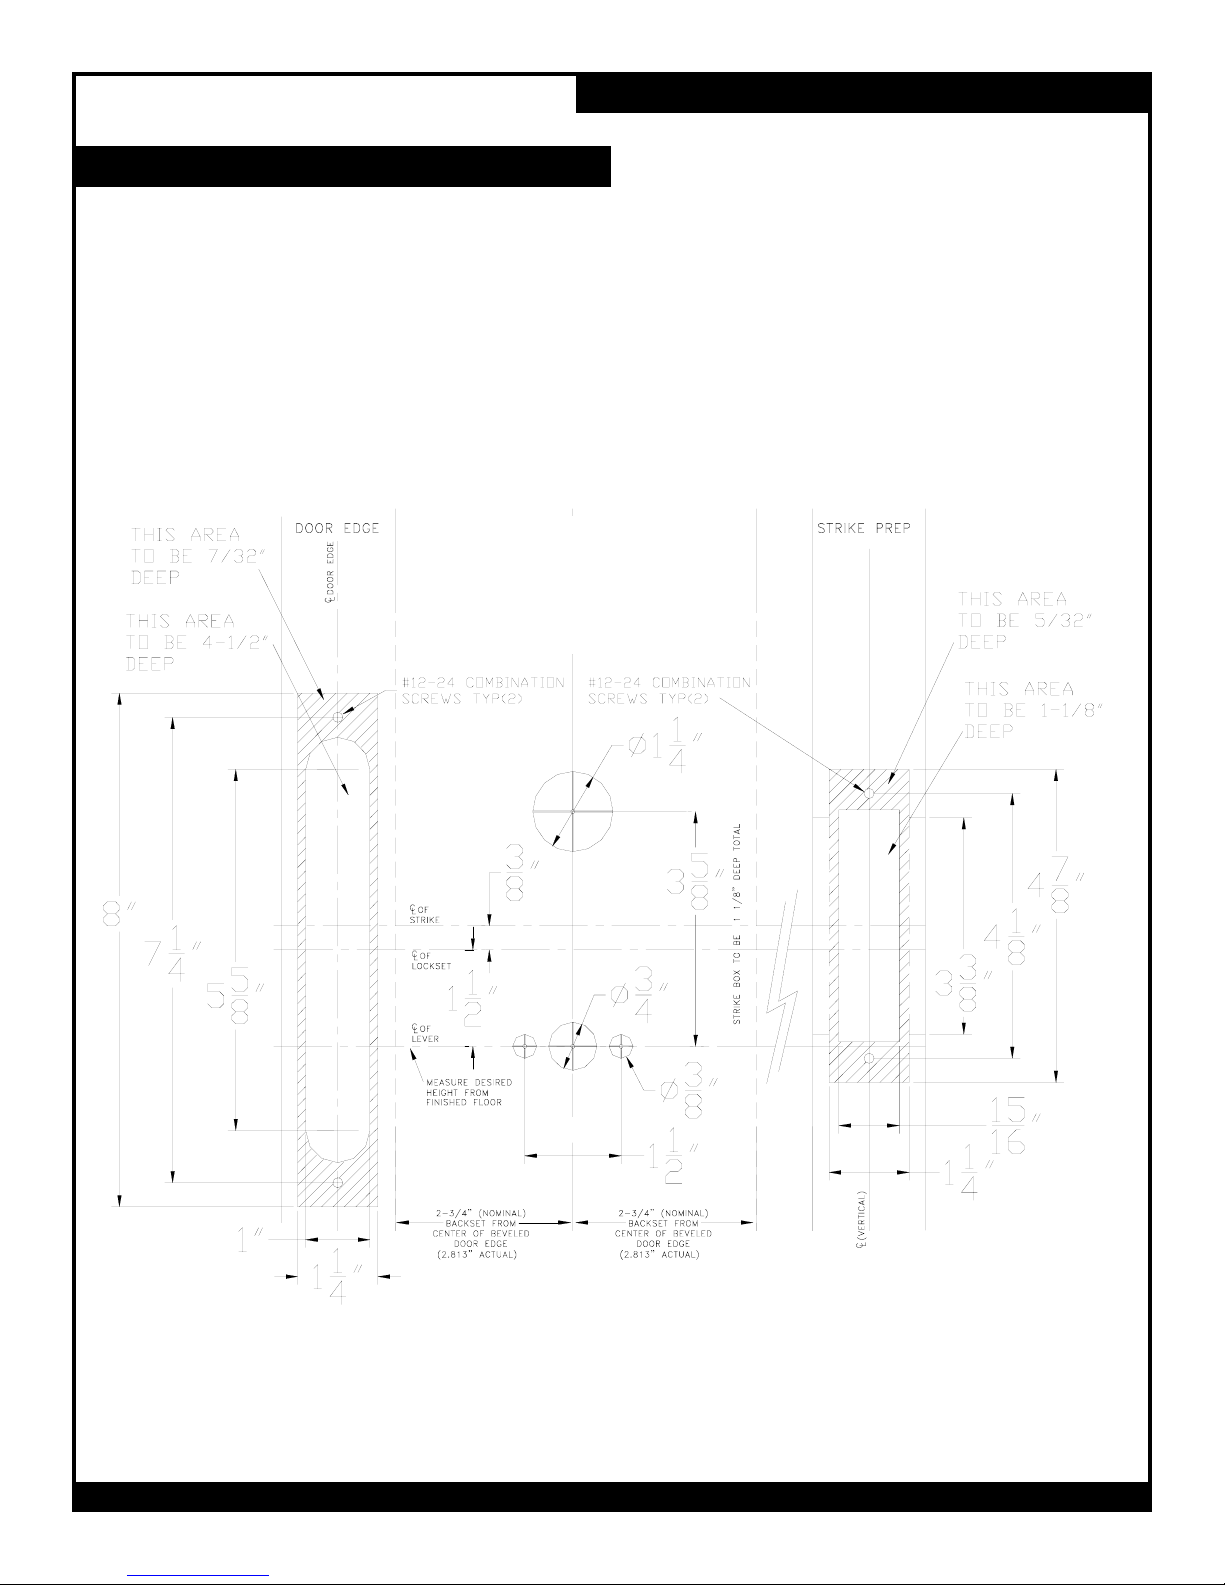
Use the paper template or information below to prep door, latch and frame. Dimensions are in
inches.
1. PREP DOOR & FRAME FOR LOCK:
DOOR PREP FOR
COBRA SPM/MPM
ALL HOLES ARE THRU
INSTALLATION INSTRUCTIONS SCHLAGE COBRA MPM
FORM 57018 Rev. B 02-10-2005PAGE 3
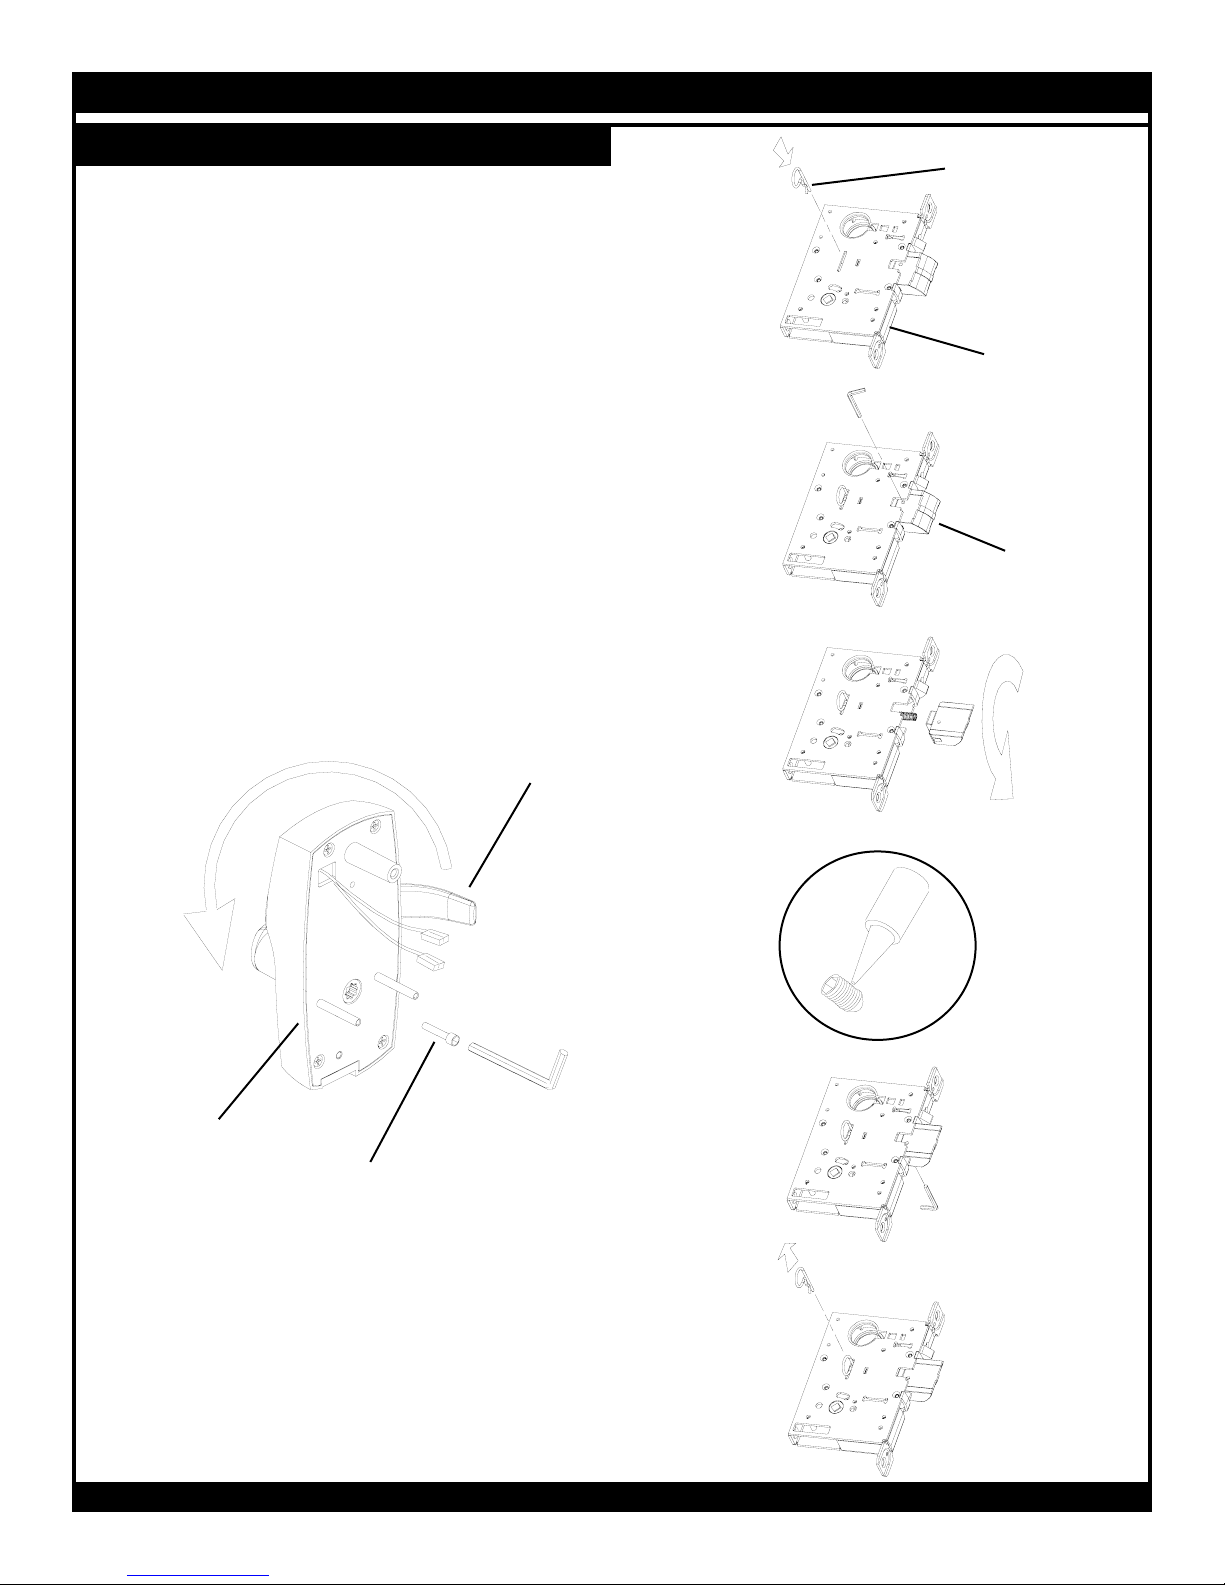
NOTE: The locks are shipped as ordered from factory. If it is
necessary to change the hand of the lock, follow the steps
below:
TO CHANGE HAND OF LOCK CASE:
A. With bolt fully extended, insert change pin (included in the
hardware pack) into hole. (It will snap over a groove on the
main shaft, holding it in place.)
B. Remove set screw in bolt so bolt can be removed.
C. Rotate bolt and reinstall on to shaft. Do not remove spring.
D. Apply thread locking compound to set screw.
Loctite 242 recommended.
E. Install and tighten set screw (from other side, as shown).
F. Remove change pin.
5/32” SOCKET CAP SCREW
LOCTITE
242 RECOMMENDED
OUTSIDE ESCUTCHEON
OUTSIDE HANDLE
CHANGE PIN
LOCK CASE
BOLT
(AUTOBOLT SHOWN)
TO CHANGE HAND OF LEVERS:
A. Loosen 5/32” socket cap screw and remove lever.
B. Rotate handle to opposite position.
C. Apply thread locker to screw. Loctite 242 recommended.
D. Reinstall handle.
E. Repeat for inside escutcheon (not shown).
A
B
C
E
D
F
2. CHANGE LOCK HAND (IF NECESSARY):
 Loading...