

Page 1
Removing the windscreen
Tools
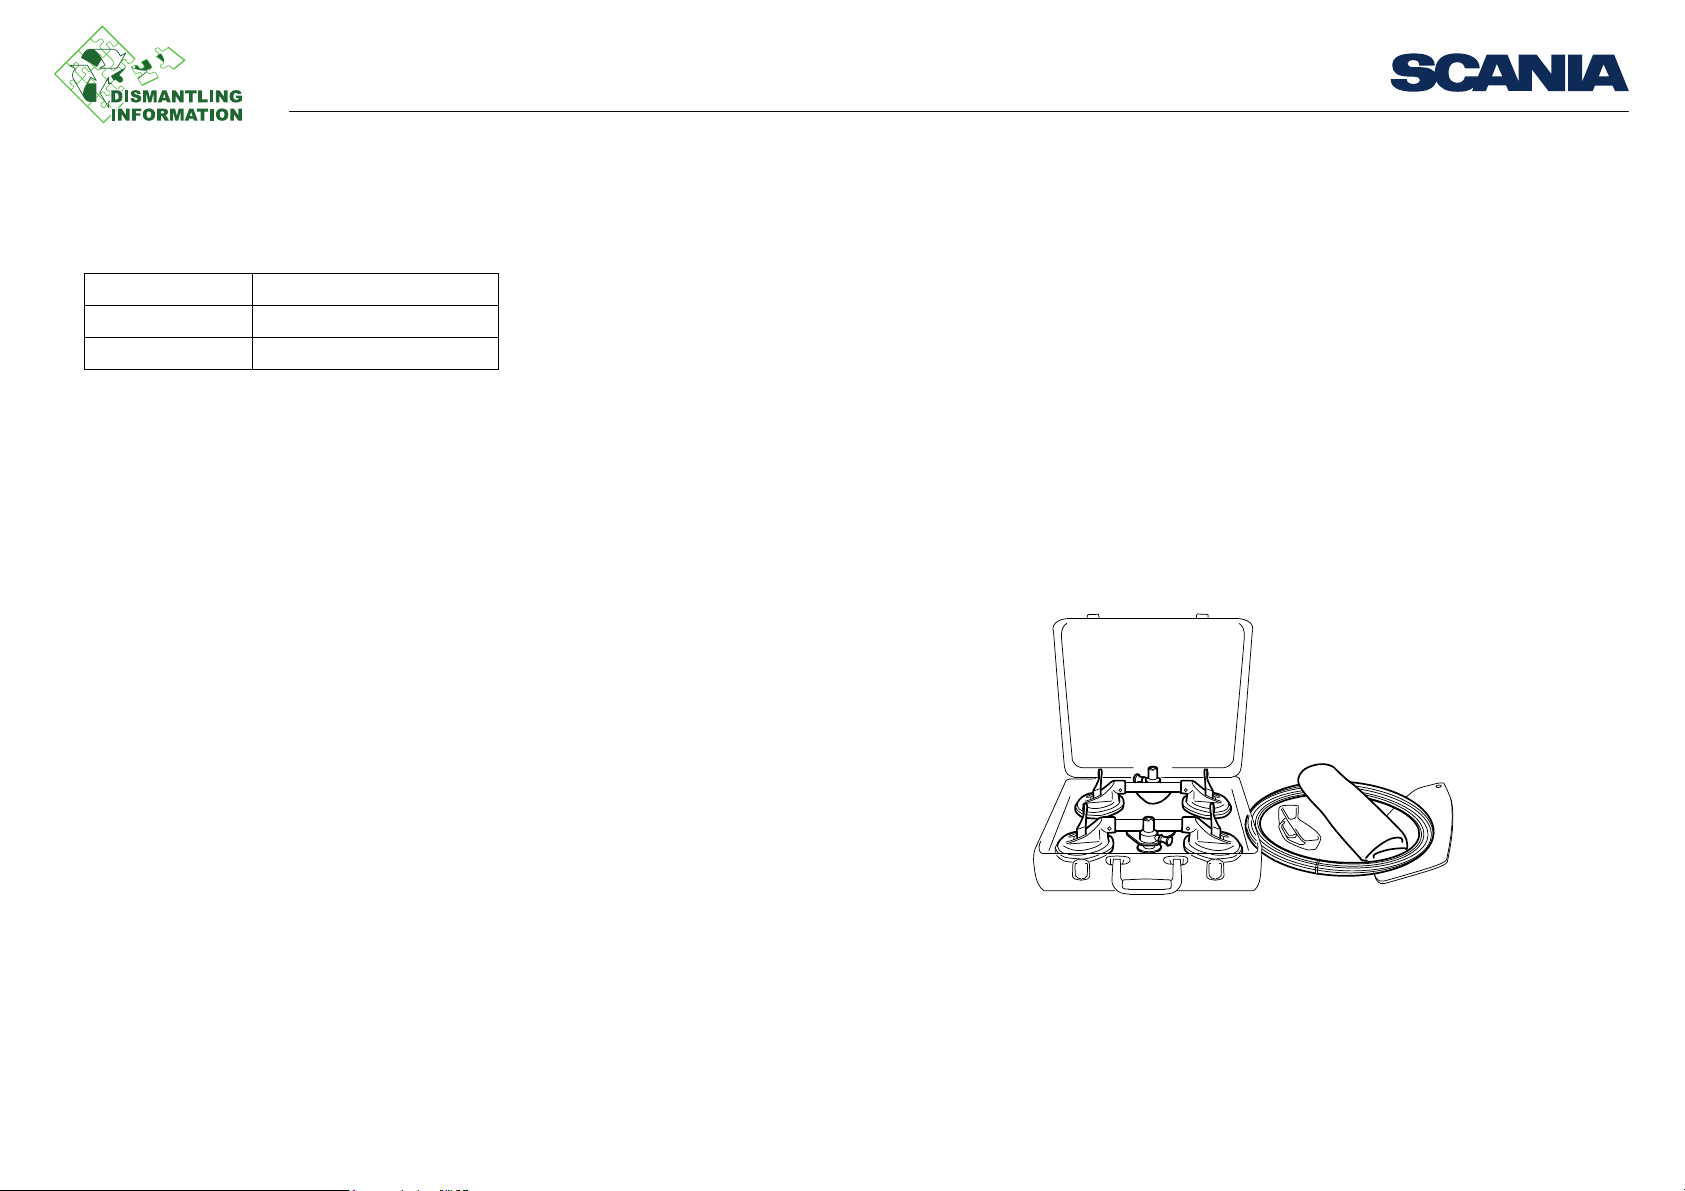
Examples of suitable tools from Scania:
Part number Designation
588 656 Hand tools
588 662 Lifting tool
Work description
1. Remove interior panels at the door pillars and the defroster panel inside the wind-
screen.
2. Remove the following external parts:
– Front grille panel.
– Windscreen wipers and their covers.
– Sun visor, see separate instructions for removing the external sun visor.
3. Cut about 8 metres of wire.
4. Insert the wire puller from inside under the windscreen in the special recess in the
body, about 10 cm from the bottom left-hand corner of the windscreen.
5. Fasten both ends of the wire to the wire puller and pull them a little way into the
cab.
Tools
03:17-00 Issue 1 en-GB 1 (4)
©
Scania CV AB 2012, Sweden
Page 2
Removing the windscreen
IMPORTANT!
A
B
1
2
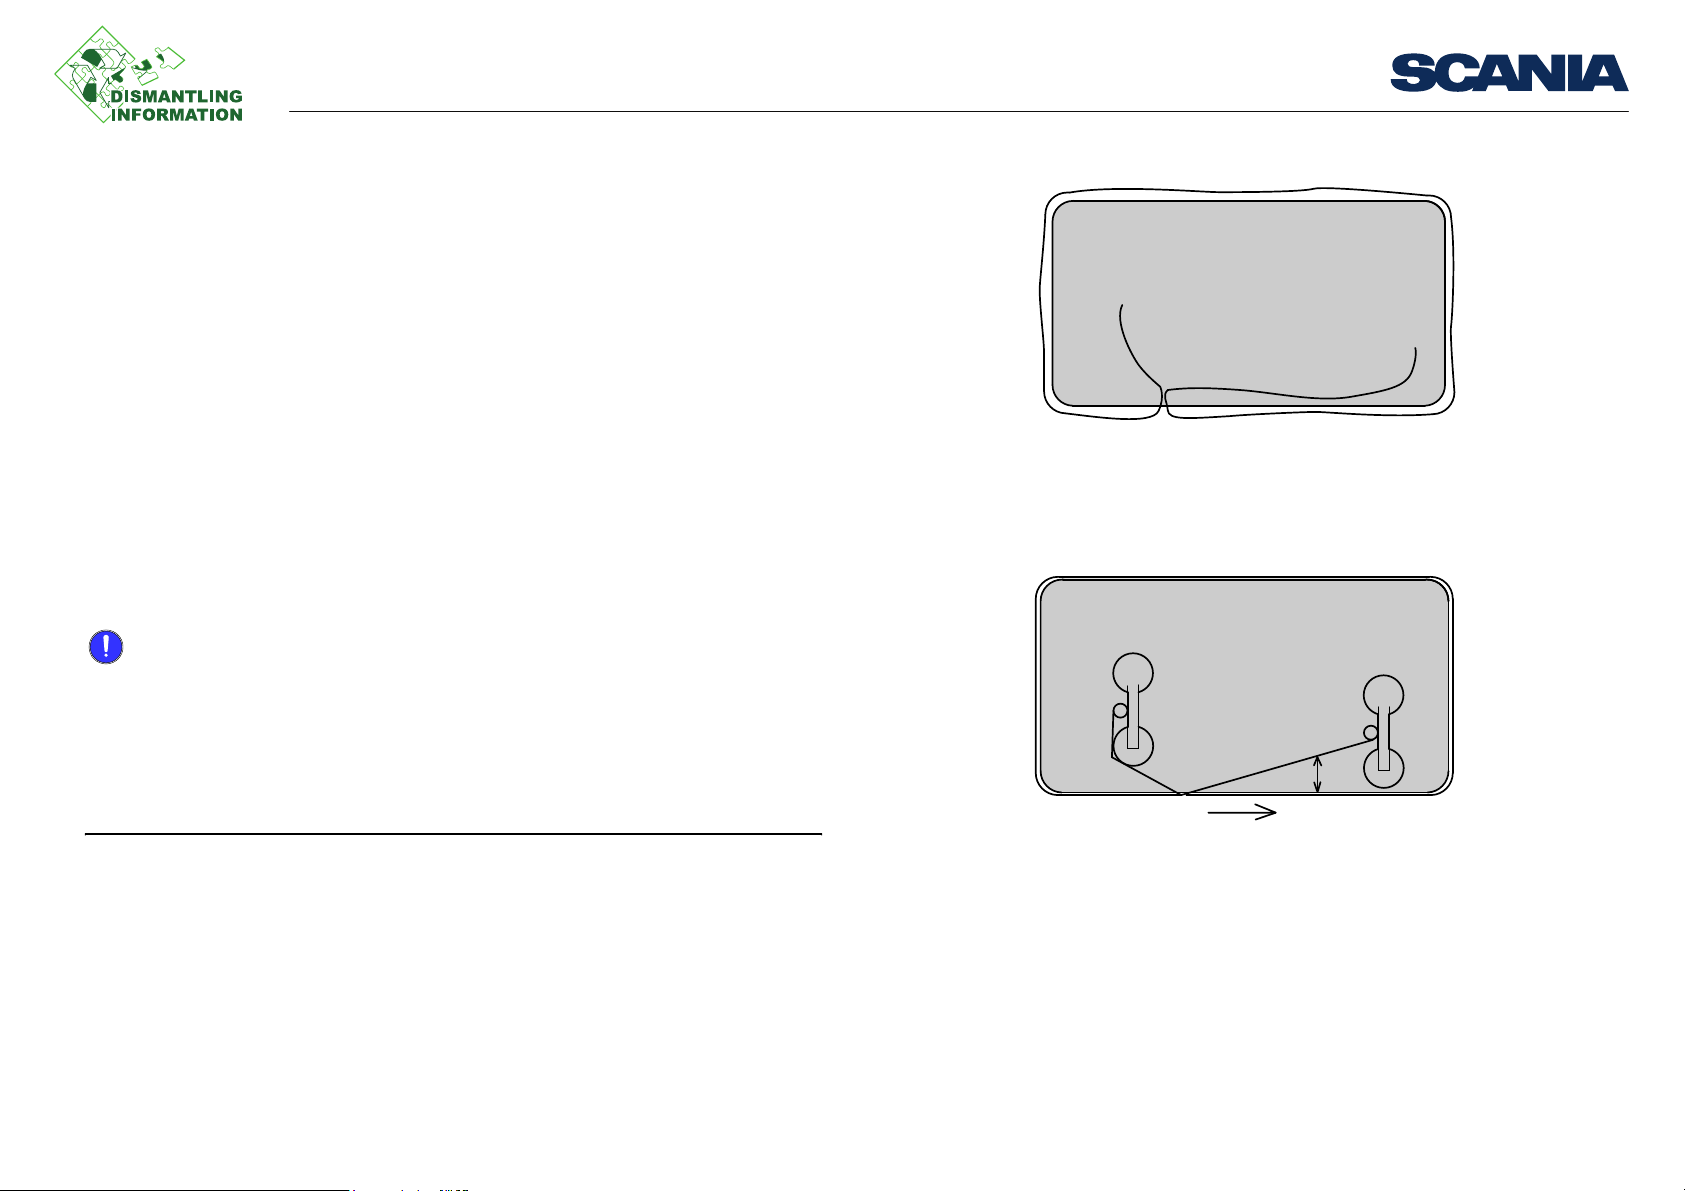
6. Lay the wire around the windscreen and pull in the excess wire in the cab. The
wire should lie under the spacing washers.
Make sure a longer piece of wire is on the right-hand side viewed from inside the
cab.
7. Mount the winches on the inside of the windscreen and fasten the ends of the
wires to them.
8. Start winding in the right-hand wire with winch A, see illustration. Keep the cut-
ting angle 2 as small as possible, max 45°.
Work description
• Use the supplied plastic disc to protect the interior, being especially careful at the
corners.
• The accompanying chisel tool with vacuum cup must be used at all the corners,
to guide the wire against the windscreen in order to avoid damaging the interior.
• Ensure that the windscreen is clean where the vacuum cups are to be attached.
03:17-00 Issue 1 en-GB 2 (4)
©
Scania CV AB 2012, Sweden
Page 3

Removing the windscreen
A
B
1
1
A
B
9. Move the winch as the wire is drawn in.
10. Continue cutting loose the windscreen as illustrated.
Work description
03:17-00 Issue 1 en-GB 3 (4)
©
Scania CV AB 2012, Sweden
Page 4

Removing the windscreen
1
A
B
1
A
B
11. Stop before reaching the top left-hand corner.
12. Then use winch B and cut loose the windscreen from the other direction.
13. Before completely cutting loose the windscreen, 4 vacuum cups must be fastened
to the outside of the windscreen while being held by 2 people.
Work description
03:17-00 Issue 1 en-GB 4 (4)
©
Scania CV AB 2012, Sweden
 Loading...