

Sartorius arium pro DI, arium pro VF, arium pro UF, arium pro UV Quick Start Operating Instructions

Quick-Start Operating Instructions
arium® pro VF|UF & DI|UV
Operating Panel and General Operation in Operating Mode
Fig. 1: Operating panel
The arium® pro VF|UF & DI|UV is operated via an operating panel with four function keys and
a slider bar for dispensing water manually.
The function keys are referred to in the following as L, M, R, and Eco/Home (see Fig. 1).
The L, M, and R keys are assigned to corresponding functions, depending on where you are in
the display menu.
Display
The display is organized into the following three main areas:
1. Header: – > Display of current time and date or
– > Display of the open menu item
– >Display of the menu level
Menu r Settings
1. Submenu level
r r Display
2. Submenu level
r r r Conductivity
3. Submenu level
Tab. 1: Menu levels
2. Work area: – Display of the current conductance and flow diagram
– Display of menus (e.g. Limits)
3. Footer: – Display of the current key assignment for L, M, and R keys
4
Operating Mode
Menu
Save data
Settings
System status
Care
Dispense
Single printout
Print interval
Print when sampling
Save once
Save interval
Save when sampling
Settings
Displayed values
Limit(s)
ECO mode
Flow rate sensor
Accessories
Date|Time
Language
Acoustic signals
Display
PIN
Reset to default
Device
Measured values
Timer
Service
Warnings
Errors
Sanitization
Replace cartridges
Replace ultrafilter
1
)
Rinse ultrafilter
1
)
Rinse TOC
3
)
Depressurization
UV lamp timer
2
)
Sterile final filter timer
Favorite mode
Set favorites
Volume-controlled
Timer-controlled
Fig. 2: arium® pro VF|UF & DI|UV menu
Copyright by Sartorius Lab Instruments GmbH & Co. KG | Goettingen, Germany.
No part of this publication may be reprinted or translated in any form or by any means without the prior
written permission of Sartorius Lab Instruments GmbH & Co. KG. Specifications subject to change without notice.
Sartorius Lab Instruments GmbH & Co. KG | Goettingen
Publication No.: SLG6103-e151005 | Order No: 85032-537-11
Vers. 10 | 2015
1
) arium® pro VF|UF only
2
) arium® pro DI|UV only
3
) arium® pro VF|UV TOC only
Eco/Home
1
2
3
SliderRML
15:32 10.04.12
0.055 µS/cm c
1.0 ppb TOC
Menu Care
Operating Mode
In operating mode, the L key is assigned to Menu, the M key to Care (service functions),
and the R key to Dispense (for controlled water dispensing).
“Menu” key (L) Go to the system menu with this key.
“Care” key (M) Go to the service area with this key. This area contains menu items for
maintenance (such as Sanitization, Change Cartridges, etc.)
“Dispense” key (R) Go directly to controlled dispensing of water with this key. This
area provides the option of time-controlled or volume-controlled
dispensing. In this screen you can enter the favorite mode.
Slider bar Slider bar for dispensing water manually.
“Eco/Home” key An eco function and home function are assigned to this key.
Use the home function to go back to the operating display from
wherever you are in the display menu.
During processes such as water dispensing or cleaning, the home
function cannot be used.
Use the eco function to switch the system from operating mode to
recirculation mode. In recirculation mode, the water in the system is
recirculated for 15 minutes every hour. This process helps to ensure
good quality of water even during long periods of operation.
To switch to eco mode, hold down the key for three seconds. To switch
back to operating mode, press the Eco key again.
Dispensing
Water dispensing can be manual, volume-controlled, or time-controlled.
Manual Dispensing
Water can be manually dispensed using the dispenser slider bar on the right side of the
display.
Slide your finger down the slider bar to increase the volume flow, or up the slider bar to
reduce the volume flow. Tap the top of the slider bar (symbol of a crossed-out drop of water)
to stop dispensing, or tap the bottom of the slider bar (symbol of three drops of water) to set
the volume flow to its maximum.
Dispensing can also be stopped by pressing the (R)
Stop
key.
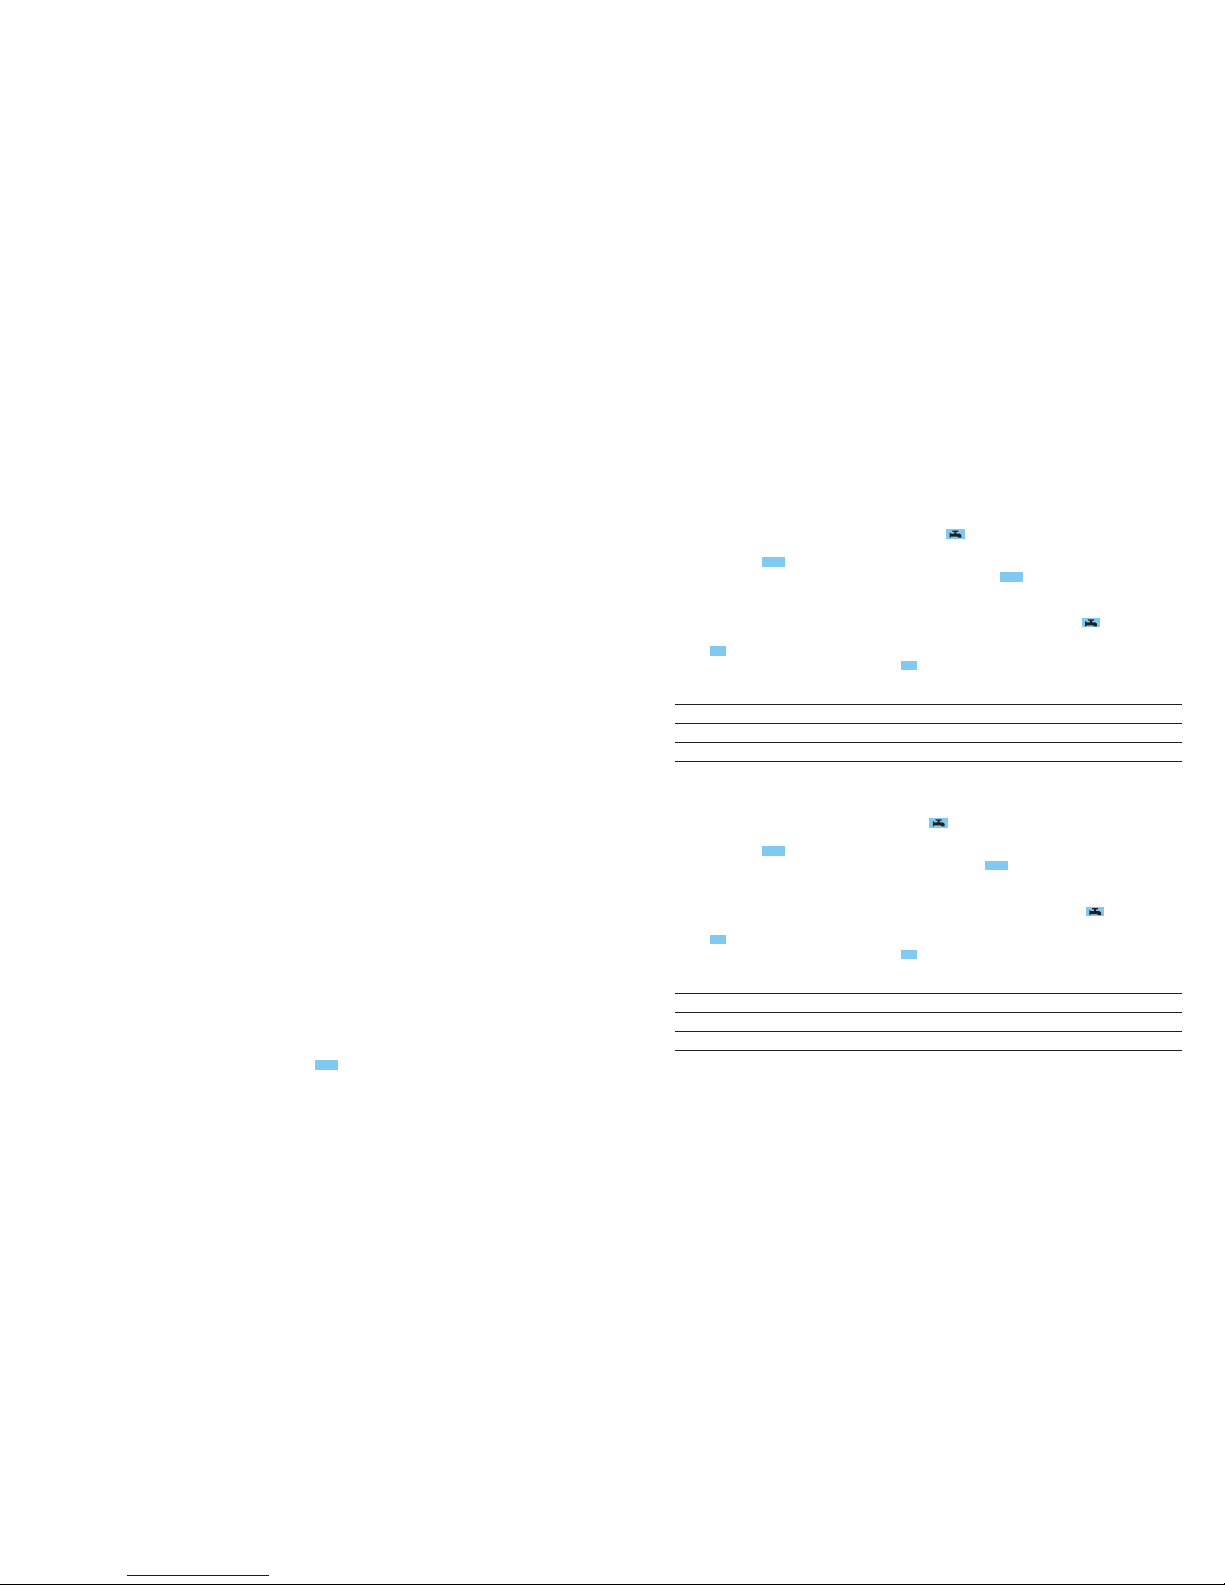
Volume-Controlled Dispensing
y For volume-controlled dispensing, press the (R)
key in operating mode and switch to
volume-controlled.
y Press the (R)
Start
key to start dispensing.
y The remaining dispense volume is displayed. Press the (R)
Stop
key to stop dispensing.
Setting the Dispense Volume:
y To change the dispense volume, go to dispense mode by pressing the (R)
key.
y Use the (M) q key to select the displayed volume, confirm your selection by pressing the
(R)
key, and set the desired volume using the (L) p and (M) q keys.
y Confirm your entry by pressing the (R)
key.
Dispense Volume Interval
0.05 L – 2.0 L 0.1 L (0.05 L in the 1st interval)
2.0 L – 20.0 L 1.0 L
20.0 L – 60.0 L 5.0 L
Tab. 2: Configurable dispense volume
Time-Controlled Dispensing
y For time-controlled dispensing, press the (R)
key in operating mode and switch to time-
controlled dispensing.
y Press the (R)
Start
key to start dispensing.
y The remaining dispense time is displayed. Press the (R)
Stop
key to stop dispensing.
Setting the Dispense Time:
y To change the set dispense time, go to dispense mode by pressing the (R)
key.
y Use the (M) q key to select the displayed time, confirm your selection by pressing the
(R)
key, and set the desired time using the (L) p and (M) q keys.
y Confirm your entry by pressing the (R)
key.
Dispense Time Interval
30 sec – 10 min 30 sec
10 min – 30 min 1 min
30 min – 60 min 5 min
Tab. 3: Configurable dispense time
2 3
 Loading...