How it Works
Log In / Sign Up
Buy Points
How it Works
FAQ
Contact Us
Questions and Suggestions
Users
Samsung
Loading...
W
WT8204EG/XTL
WT8205
WT8205EG
WT8207AG
WT8207AG/XTL
WT8502
2
WT8502EG
WT8503
2
WT8503EG
WT8504AG
WT8504AG/XTL
WT85S3
4
WT85S33
WT8600
2
WT8700
3
WT89
2
WT89J7P
2
WT90C1
4
WT90C13
WT90H2
3
WT90H2EW/XSG
WT90H2P
WT90J8SEQ
WT9200
4
WT9207AG
WT9300
5
WT9304AG
2
WT9304AG/XTL
WV16M9945KV
2
WV55M9600A Series
WV55M9600AV
4
WV55M9600AV/A5
WV55M9600AV/A5-00
WV55M9600AV/A5-01
WV55M9600AV/A5-02
WV55M9600AW
WV55M9600AW/A5
WV55M9600AW/A5-00
WV55M9600AW/A5-01
WV60M9900AV
4
WV60M9900AV/A5-00
WV60M9900AV/A5-01
WV60M9900AW
WV60M9900AW/A5-00
WV60M9900AW/A5-01
WV9600M
WVC830APD
WVN1
WVN2
WV SCP-2270
WV SCP-2270H
WV SCP-2370
WV SCP-2370TH
WW10C1QM
WW10H8
WW10H8430EW
WW10H8 series
2
WW10H9
2
WW10H9400EW
WW10H9600EW
4
WW10H9600EW-EO
WW10H9600EW-EU
WW10H9 Series
2
WW10M86
WW10M86BQOA
WW10M86INOA
WW10M86KNOA
3
WW10M86KNOA/LP
WW10N644RPWLE
WW10N645RPW
WW10N64PRBW
2
WW10N64PRBW/LP
WW10N64PRBX
WW10N64PRBX/LP
WW10N64PRPW
2
WW-65K42E09WDLP
WW 71 J 4473 MW
WW 71K 5400 WW
WW 8EK6415 SSW
WW 91K 7605 OW
WW-AM134CW
WW-DA155UW
WW-HA136UW
WW-HA137UW
WW-HC135UH
WW-HC135US
WW-HC135UW
WW-HD137UW
WW-HF135UV
WW-HH137CW
WW-HK135UW
WW-KA103RTW
WW-KA105RTW
WW-PA177UW
WW-PB166UW
WW-PD177UB
WW-PD177UW
WW-PJ177CW
WW-PK157CW
WW-PP177CW
Loading...
Loading...
Nothing found
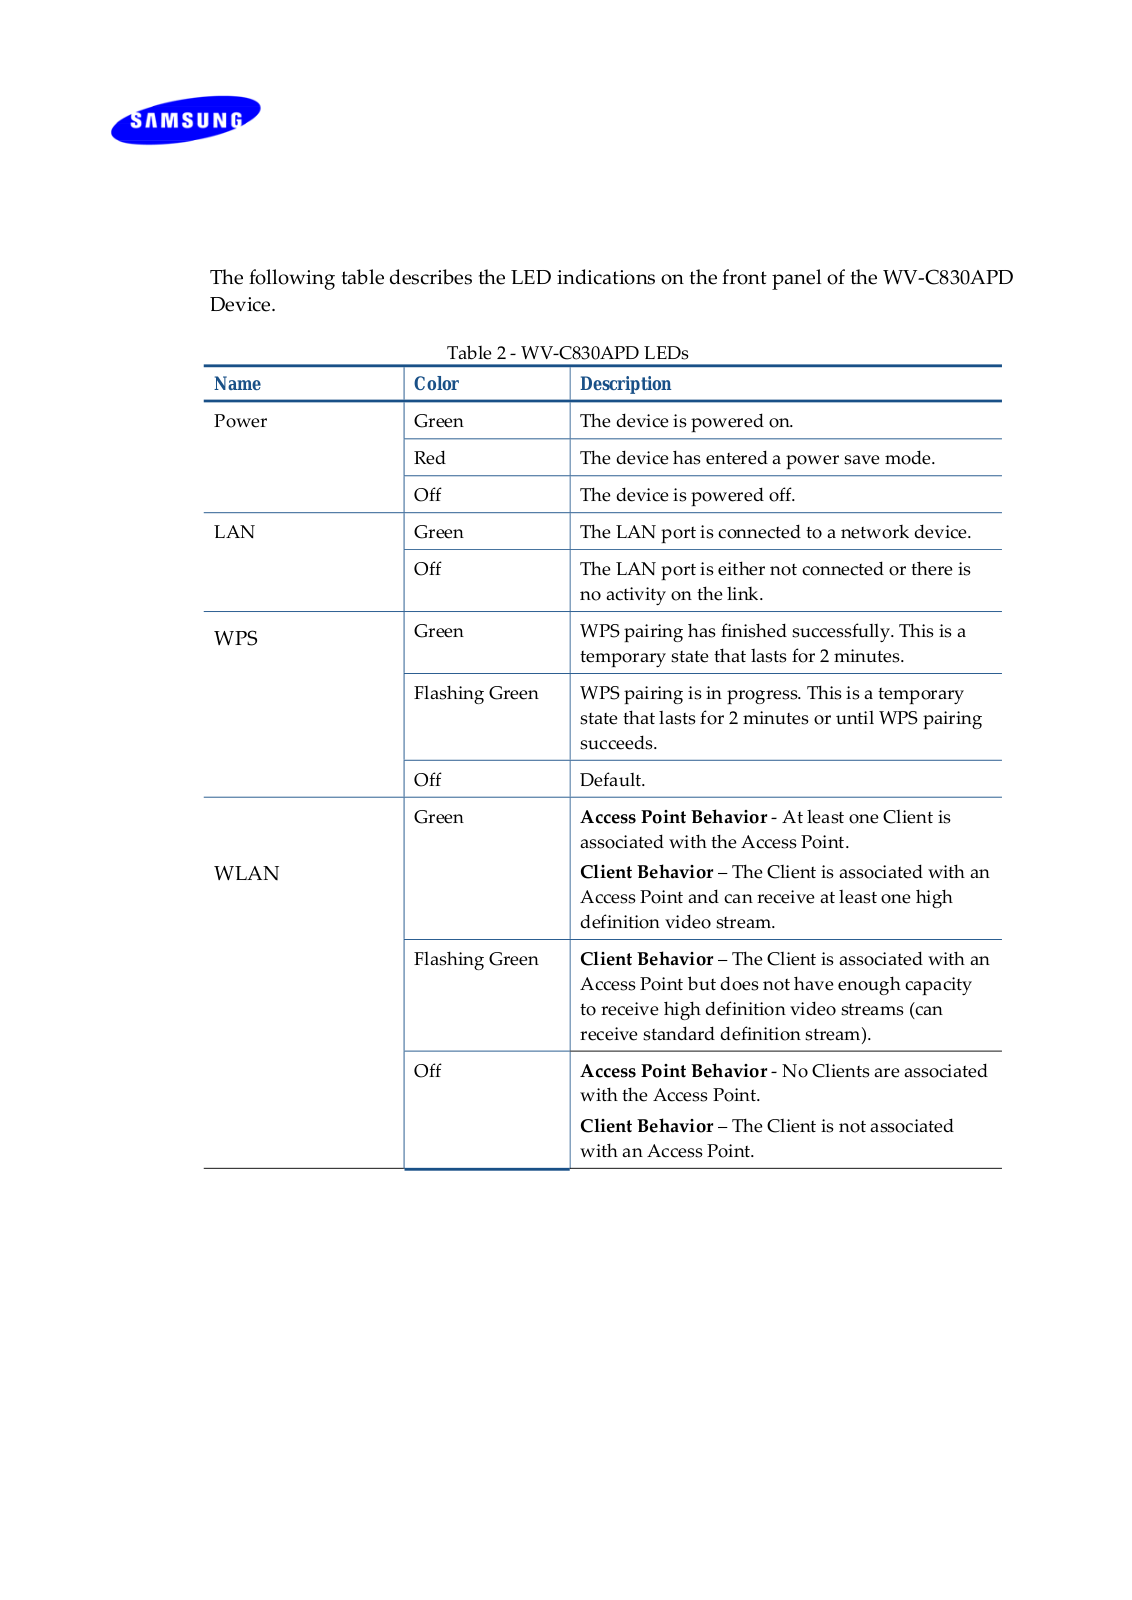
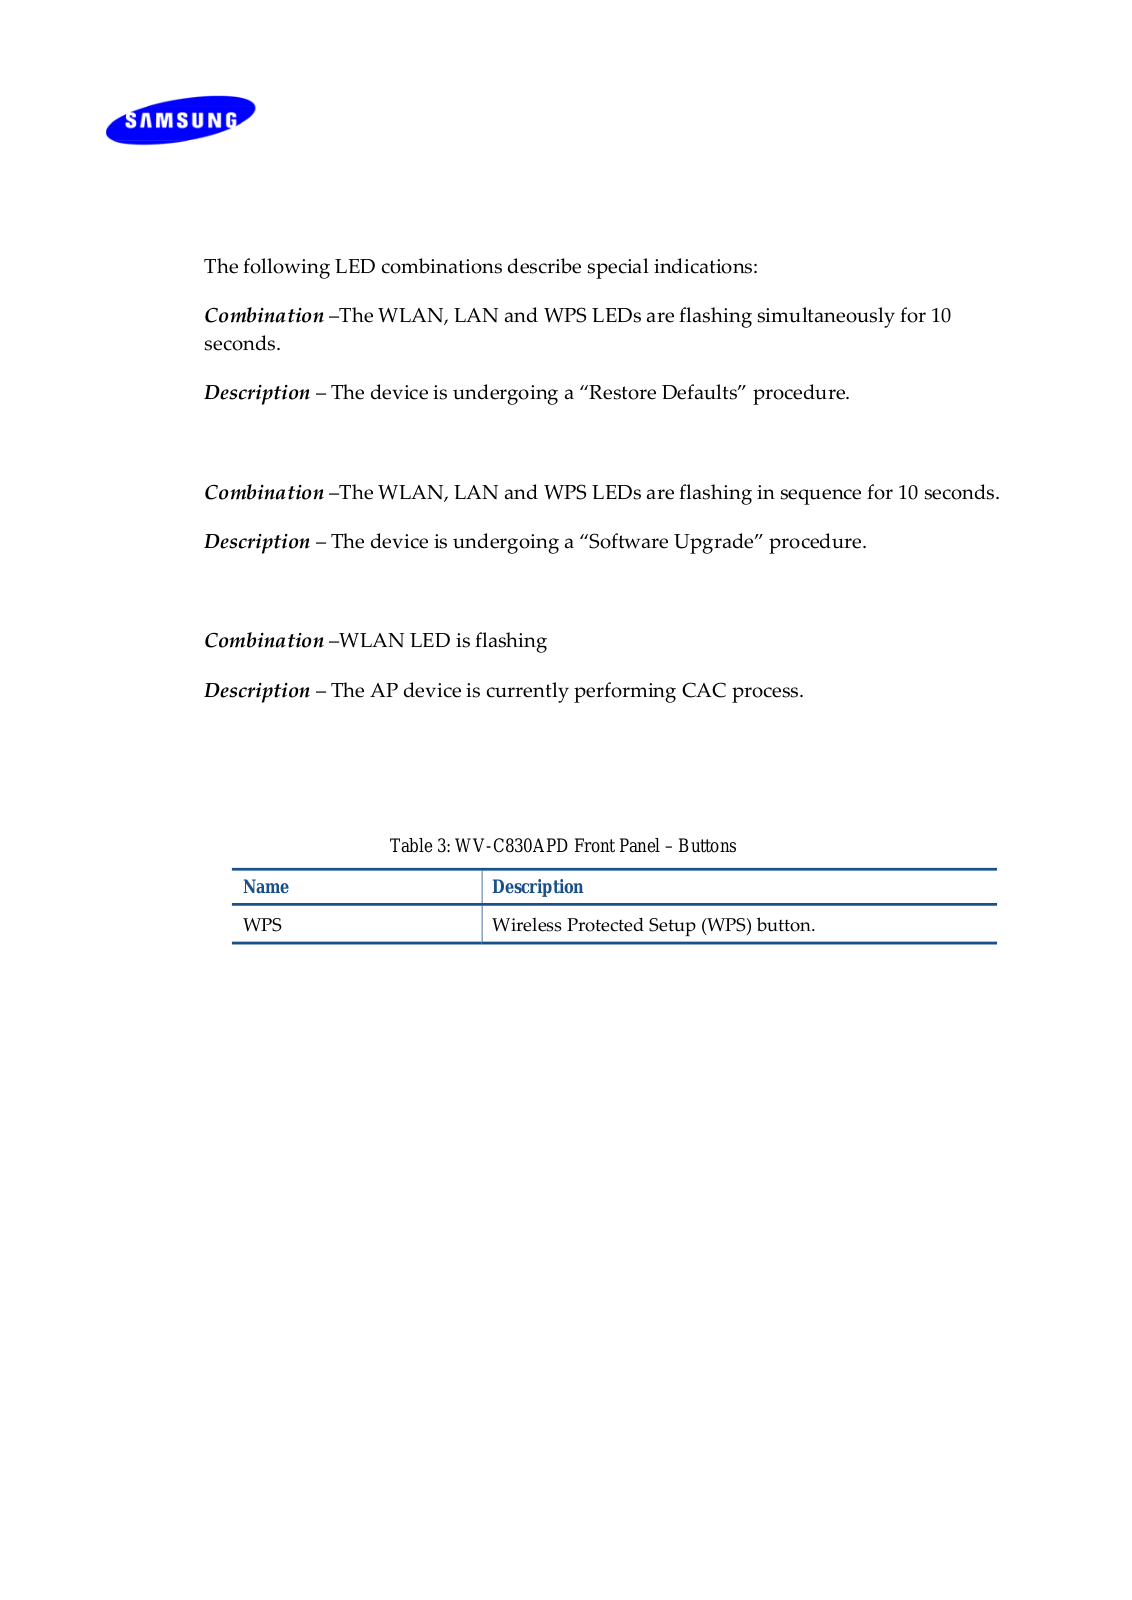
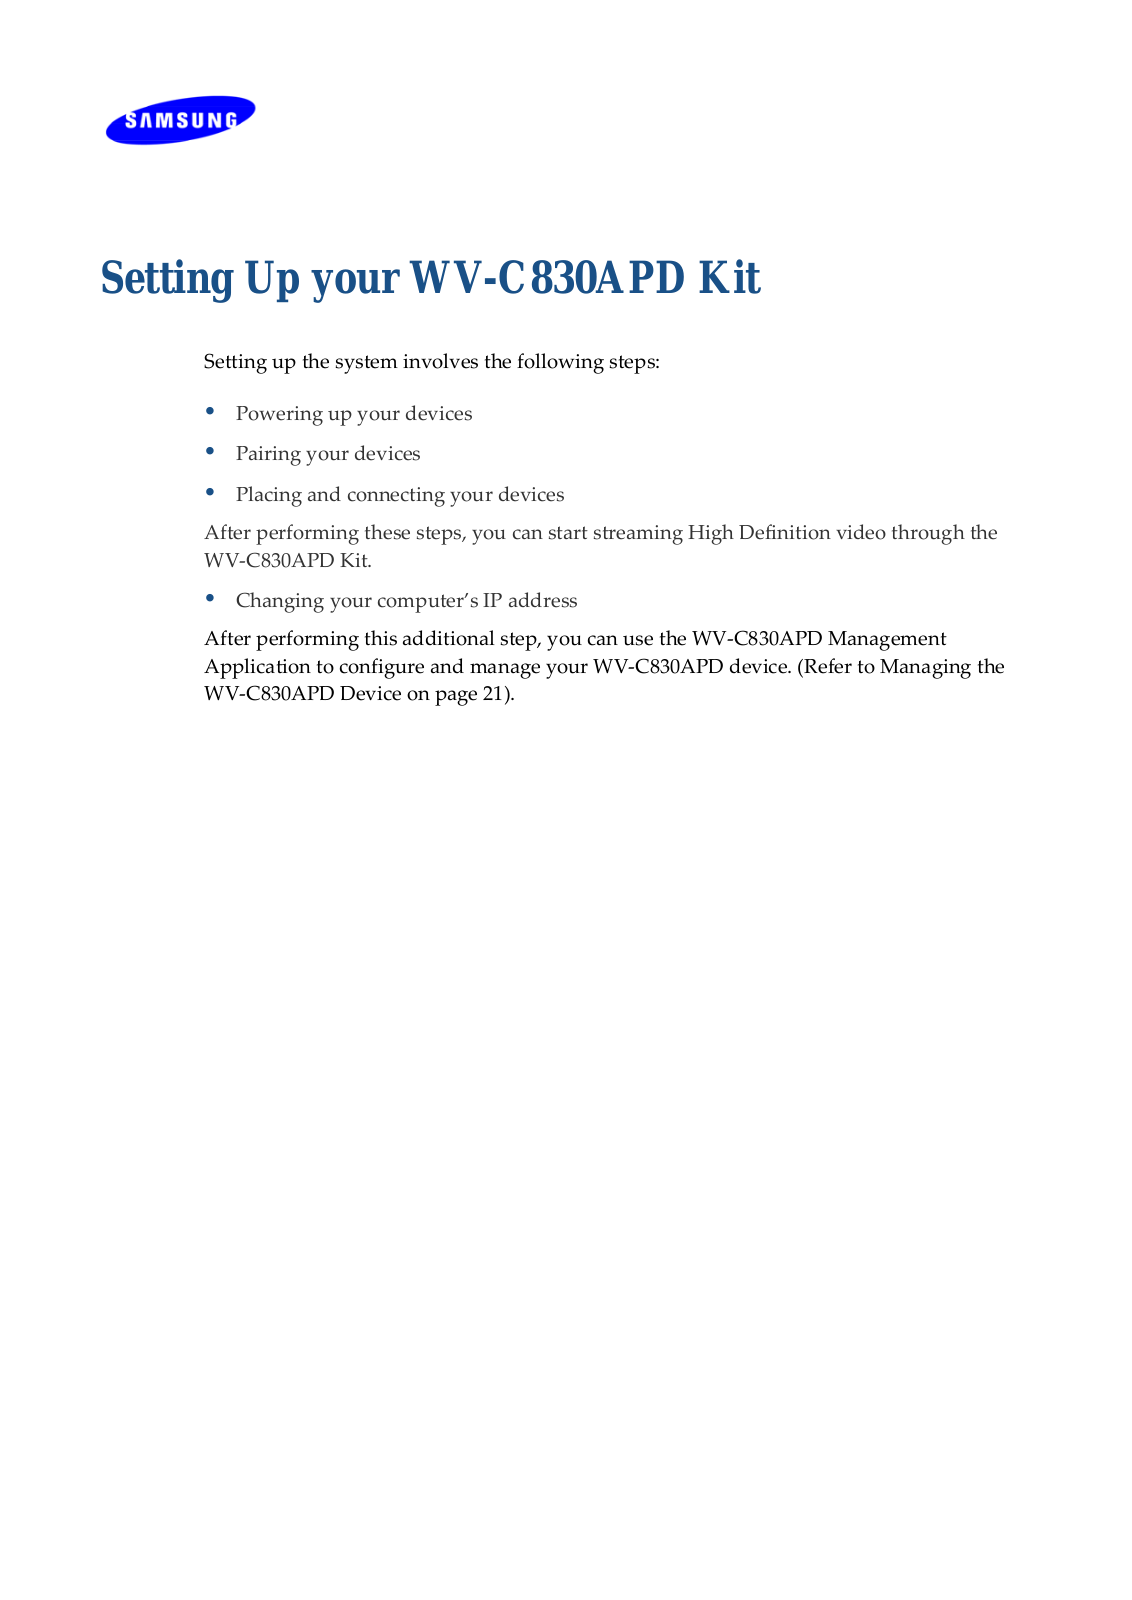
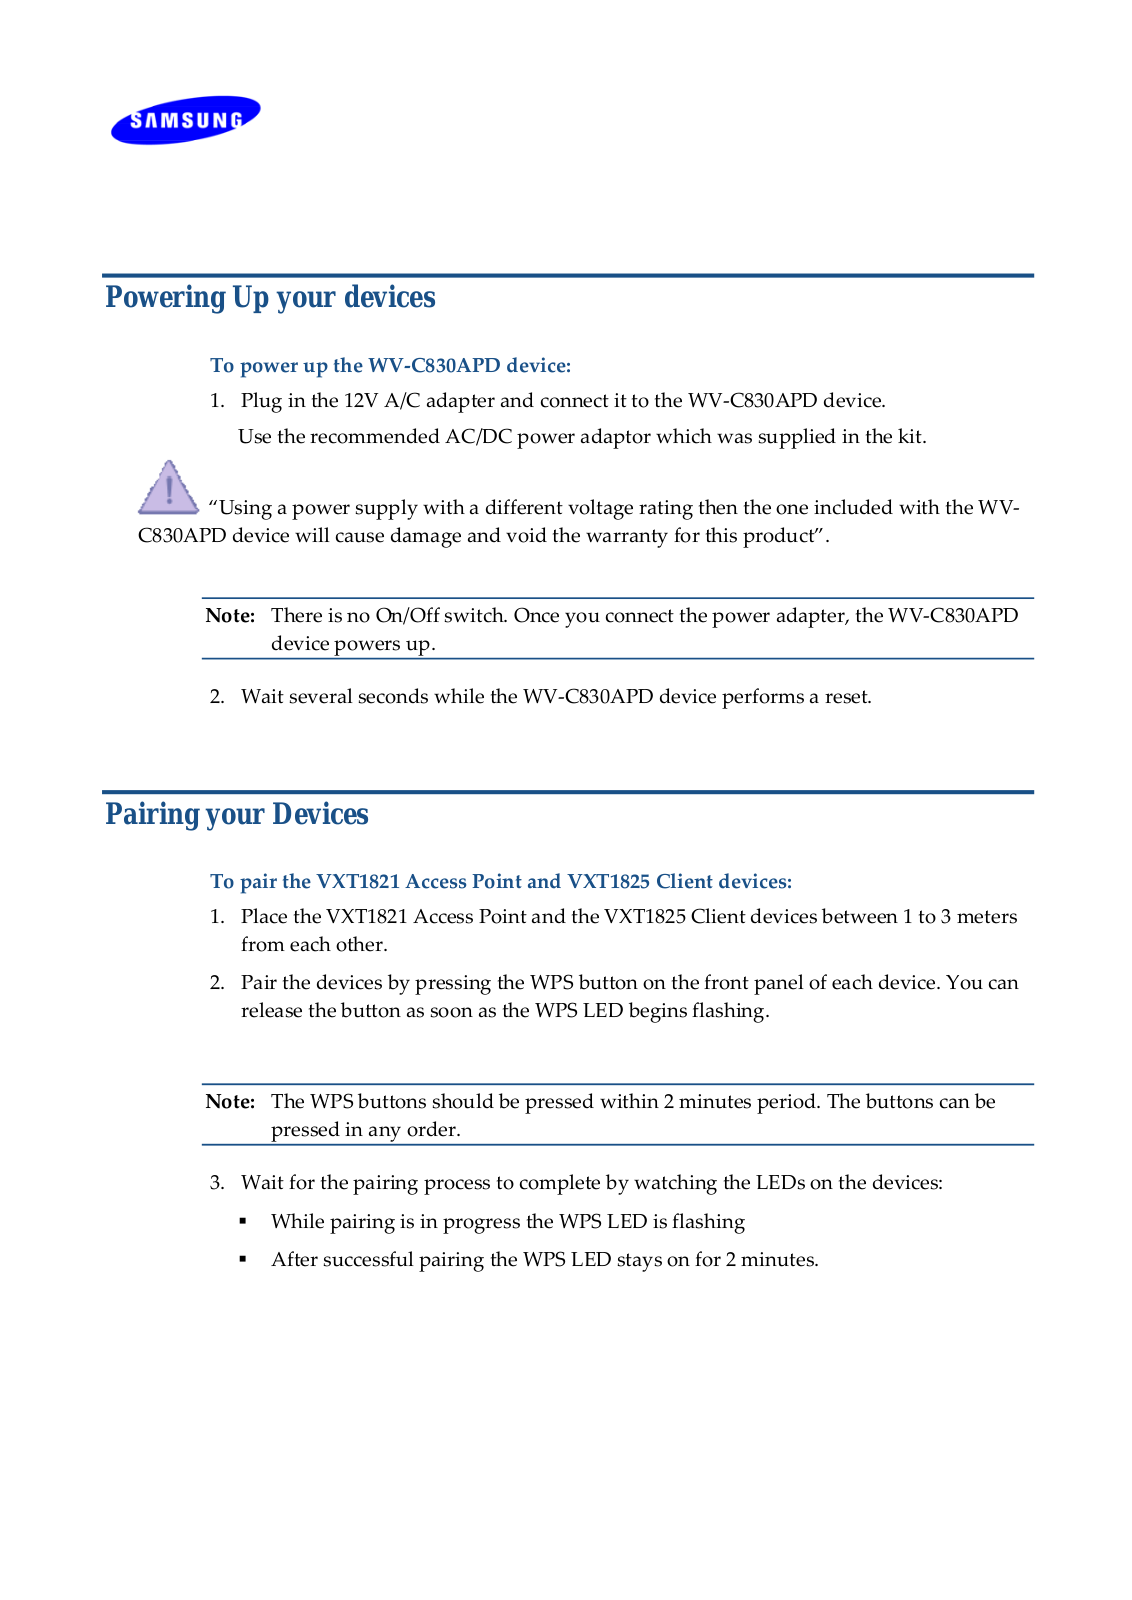
WVC830APD
User Manual
59 pgs
1.6 Mb
0
Table of contents
Loading...
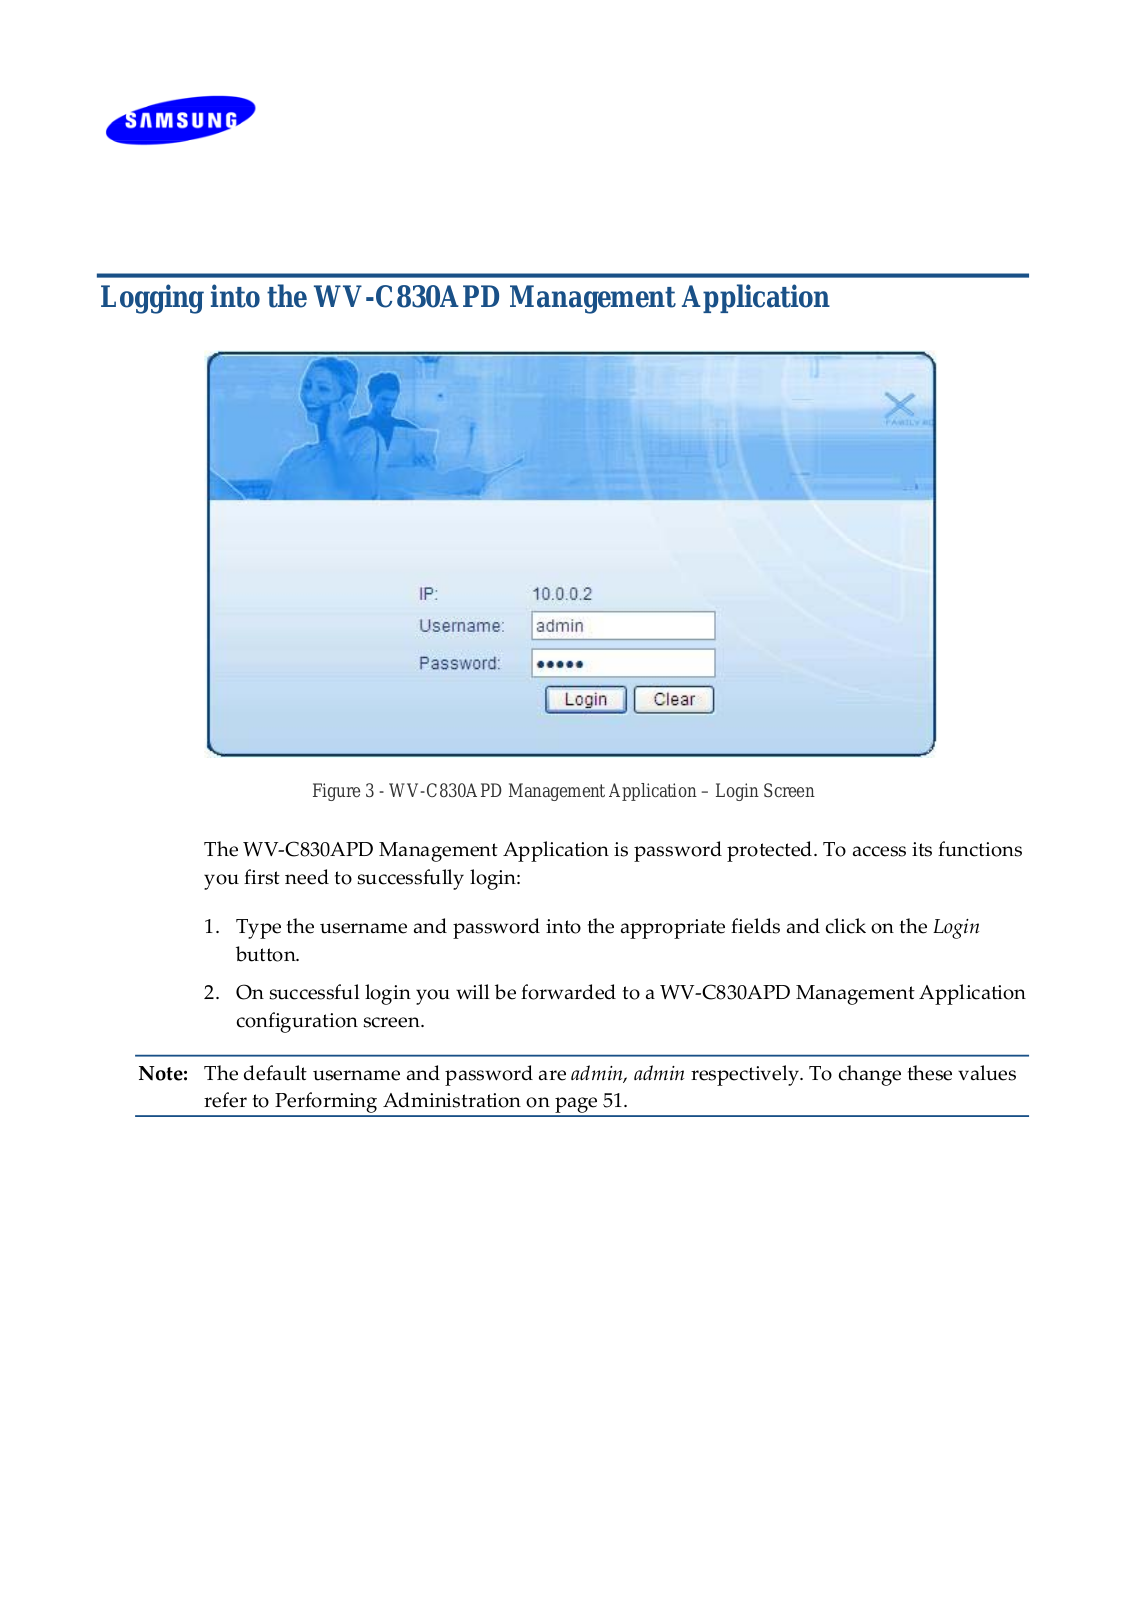
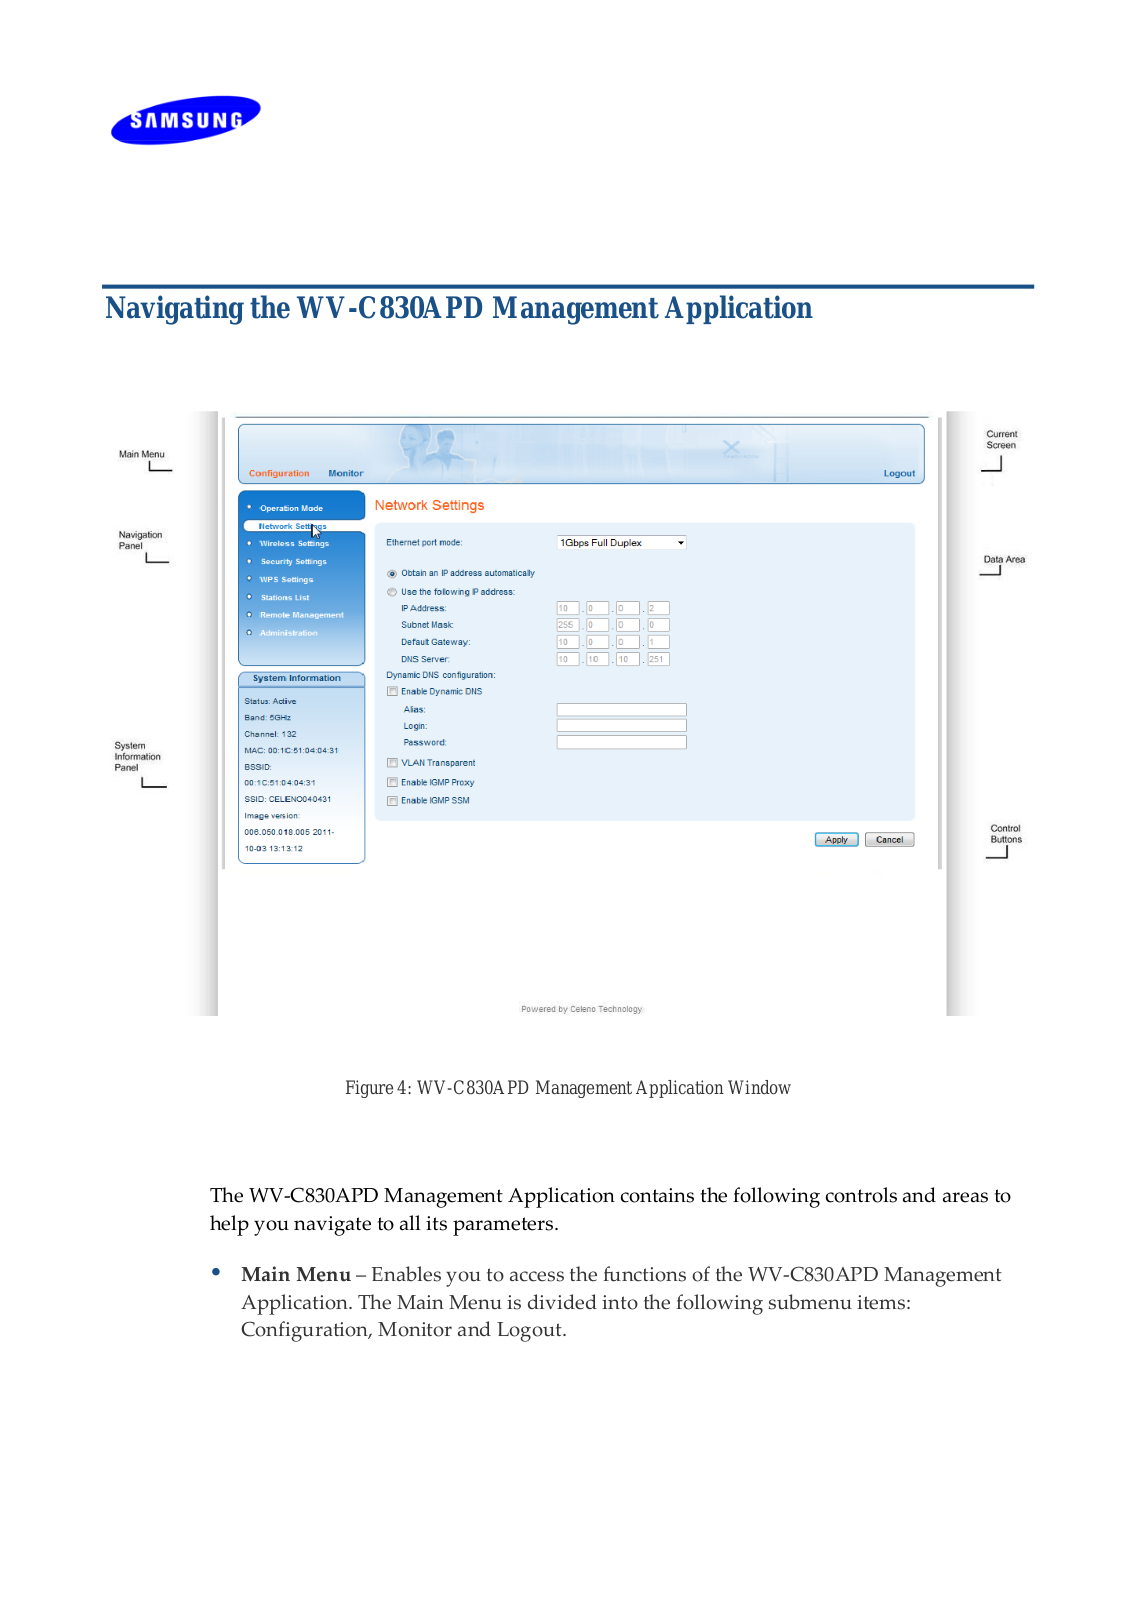
Samsung WVC830APD User Manual
...
Samsung User Manual
Download
Specifications and Main Features
Frequently Asked Questions
User Manual
Download
Loading...
+
41
hidden pages
Unhide
You need points to download manuals.
1 point = 1 manual.
You can buy points or you can get point for every manual you upload.
Buy points
Upload your manuals
 Loading...