


E-MANUAL
imagine the possibilities
Thank you for purchasing this Samsung product.
To receive more complete service, please register
your product at
www.samsung.com/register
Model _____________ Serial No. _____________

Contents
Channel Menu
• Using the INFO button
(Now & Next guide) 1
• Using the Channel Menu 2
• Using the Timer Recording
(digital channels only) 8
• Using the Channel 14
• Using Favourites Channels 20
• Memorising Channels 22
• Other Features 27
Basic Features
• Changing the Preset Picture Mode 29
• Adjusting Picture Settings 30
• Changing the Picture Size 31
• Changing the Picture Options 37
• Setting up the TV with Your PC 48
• Changing the Preset Sound Mode 52
• Adjusting Sound Settings 53
• Selecting the Sound Mode
64
Preference Features
• Setting the Network 66
• Setting the Time 97
• Locking Programme 104
• Economical Solutions 107
• Other Features 110
• Picture In Picture (PIP) 123
• Support Menu 126
Advanced Features
• 3D 134
• Smart Hub 150
• Setting up Smart Hub 165
• Using the Smart Hub service 169
• AllShare™ 182
• Anynet+ 190
• Listening through a Receiver 198
• Troubleshooting for Anynet+ 201
• Using the Media Contents 204
• Connecting a USB Device 205
• Connecting to the PC through network 207
• Recorded TV 216
• Videos 227
• Music 237
• Photos 243
• Media Contents - Additional Function 245
Other Information
• Troubleshooting 252
• Analogue Channel Teletext Feature 272
• Licence 277

Channel Menu
❑Using the INFO button (Now & Next guide)
The display identifies the current channel and the status of certain audio-video
settings.
The Now & Next guide shows daily TV programme information for each channel
according to the broadcasting time.
●
Scroll , to view information for a desired programme while watching the
current channel.
●
Scroll
,
currently selected channel, press the ENTER
to view information for other channels. If you want to move to the
▶
button.
abc1
DTV Air
15
Life On Venus Avenue
Unclassified
No Detaild Information
18:00 ~ 6:00
18:11 Thu 6 Jan
Information
English

❑Using the Channel Menu
Press the SMART HUB button to select the
Search
Your Video
Samsung Apps
menu you want to use. Each screen will be
Connect to the Internet and enjoy a variety of contents throuth Smart Hub.
displayed.
Favourites
This feature may not be available in some countries.
For some of the countries listed, local language characters might not be displayed properly.
Channel
Guide
Record TV Web Browser
Videos
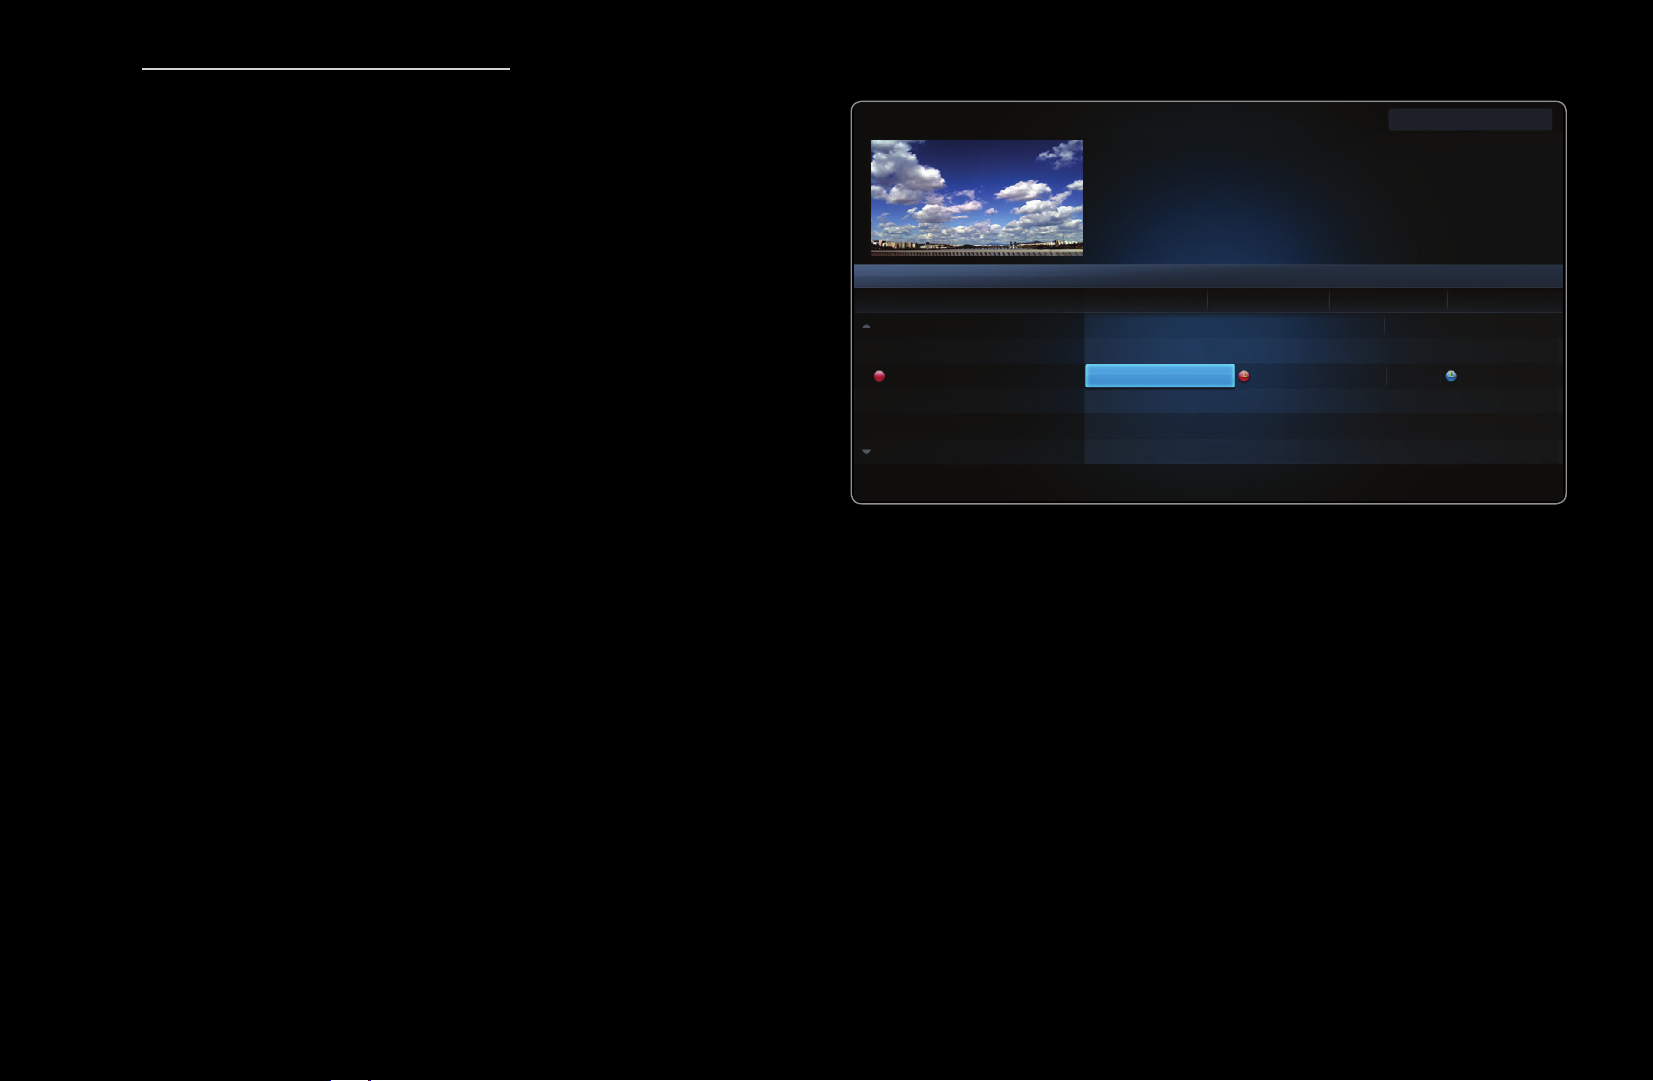
■Guide
Schedule Man...
Source AllShare
Login Sort by Edit Mode Settings
The EPG (Electronic Programme Guide)
information is provided by broadcasters.
Photos
● The displayed image may differ depending on the
model.
Music
Using programme schedules provided by
◀ ▶
broadcasters, you can specify programmes you want to watch in advance so
that the channel automatically changes to the selected programme channel at the
specified time. Programme entries may appear blank or out of date depending on
a channel status.
N
In New Zealand, if Digital Text is set to Enable, the EPG (Electronic
Programme Guide) will work.
Planning Your Viewing
English
Using Channel View
Red (Sche. Mgr) : Displays the
Schedule Manager.
Green (-24 Hours): Viewing the list
of programmes to be broadcasted
before 24 hours.
Yellow (+24 Hours): Viewing the
list of programmes to be broadcasted
after 24 hours.
Guide
DTV Air 05.1 Globo HD
TELA QUENTE (HD)
10:05 pm - 12:10 pm
10
DESVENTURAS EM SERIE (HD)
Channel View - All Channels
Today
04.1 Globo HD
05.1 DiscoveryH&L
05.2 TV GloboSD
05.3 price-drop.tv
05.4 QVC
05.5 R4DTT
Sche. Mgr -24 Hours +24 Hours Ch Mode Information Page Watch
● The displayed image may differ depending on the model.
10:00pm 10:30pm 11:00pm 11:30pm
American Chopper
Programmes resume at 06:00
Home and...
No Information
QVC Selection
No Information
Tine Team
Fiv...No Information Dark Angel
Fri, 1 Jan 2:10 am
English

Blue (Ch Mode): Select the type of channels you want to display on the
Channel View window.
(Information): Displays details of the selected programme.
(Page): Move to next or previous page.
(Watch / Schedule): When selecting the current programme, you can watch
the selected programme.
–
When selecting the future programme, you can reserve to watch the selected
programme. To cancel the schedule, press the ENTER
◀ ▶
select Cancel Schedules.
button again and
English

■Schedule Manager
O
SMART HUB
Schedule Manager
→
ENTER
→
You can view, modify or delete a channel you have reserved to watch.
Using the Timer Viewing
You can set a desired channel to be displayed automatically at the intended time.
Set the current time first to use this function.
1. Press the ENTER
button to programme to schedule manually.
2. Press the or button to select the Timer Viewing.
English

3. Press the / /
●
Channel: Select the desired channel.
●
Repeat: Select Once, Manual, Sat~Sun, Mon~Fri or Everyday to set at
your convenience. If you select Manual, you can set the day you want.
N
The
●
Date: you can set the desired date.
N
It is available when you select Once in Repeat.
mark indicates the date is selected.
/
buttons to set the Channel, Repeat or Start Time.
◀ ▶
●
Start Time: You can set the start time you want.
English

N
On the Information screen, you can change or cancel a reserved
information.
●
Cancel Schedules: Cancel a show you have reserved to watch.
●
Edit: Change a show you have reserved to watch.
●
Return: Return to the previous screen.
N
Only memorised channels can be reserved.
English

❑Using the Timer Recording (digital channels only)
Allows you to make a reservation to record a programme scheduled for broadcast.
Set the current time first to use this function.
O
The
button also controls recording.
1. Press the ENTER
button to select Schedule Manager. The Schedule
Manager screen will be displayed.
2. Press the ENTER
button to add programme to schedule manually.
◀ ▶
English

3. Press the or button to select the Timer Recording.
N
We recommend using a USB HDD with at least 5 400 rpm, but a USB HDD
of RAID type is not supported.
N
A USB storage device cannot record until it completes the Device
Performance Test.
4. Press the / /
Time or End Time.
N
If you want to play a recorded programme, refer to “Recorded TV” in the
e-Manual.
/
buttons to set the Antenna, Channel, Repeat, Start
English

Playing Recorded TV Programme (in Schedule Manager)
When the TV finishes recording for scheduled programmes, you can check result
list of recorded programme.
1. On the Schedule Manager screen, select the Result List by using remote
control. The Result List screen will appear.
2. Select a recorded programme you want to view in the Result List, and then
ENTER
button. A selected recorded program will play using the Recorded
TV function.
◀ ▶
N
For more information about Recorded TV, refer to “Recorded TV” in the
e-Manual.
English
■Channel List
6-1 TV #6
7 Air
8 Air
9 Air
No Information
9-2 TV #10
9-3 TV #11
9 Air
10-1 TV #12
10-2 TV #13
10 Air
11 Air
6 Air
You can view all the channel searched.
O
When you press the CH LIST button on
the remote control, Channel List screen
will be displayed at once.
N
Using the operation buttons with the
Channel List.
●
Yellow (Programme View / Channel View): Displays the programme when
digital channel is selected. Returns to the channel view.
Channel List
All
Air
Antenna programme CH.Mode Watch Page
● The displayed image may differ depending on the
model.
English

●
(Ch. Mode / Channel): Move to the type of channels you want to
display on the Channel List screen. (All, Analogue, TV, Radio, Data/Other,
Favourites 1~5)
●
(Watch / Information): Watches the channel you select. /
Displays details of the selected programme.
●
(Page): Move to next or previous page.
How to use Timer Viewing in Channel List (digital channels only)
◀ ▶
You can use Timer Viewing in the Channel List to schedule a digital channel
program for viewing. The TV will turn on and display the digital channel program
when the program begins.
To schedule a digital program, follow these steps:
1. Press the CH LIST button, then select a desired digital channel.
2. Press the (Program View) button.
English

3. Press the
or
buttons to select the desired program, and then press the
INFO button.
4. Press the or buttons to select Timer Viewing, and then press the
ENTER
button.
5. Press RETURN twice to exit.
N
If you want to cancel Timer Viewing, follow Steps 1 through 3, and then
select Cancel Schedules.
◀ ▶
Channel Status Display Icons
Icon Operations
An analogue channel.
A channel selected.
A channel set as a Favourites 1-5.
A locked channel.
English

❑Using the Channel
6 Air
6-1 TV #6
7 Air
8 Air
9 Air
9-1 TV #9
9-2 TV #10
9-3 TV #11
9-4 TV #12
10 Air
11 Air
12 Air
13 Air
14 Air
15 Air
13-1 TV #15
10-1 TV #13
10-2 TV #14
O
SMART HUB
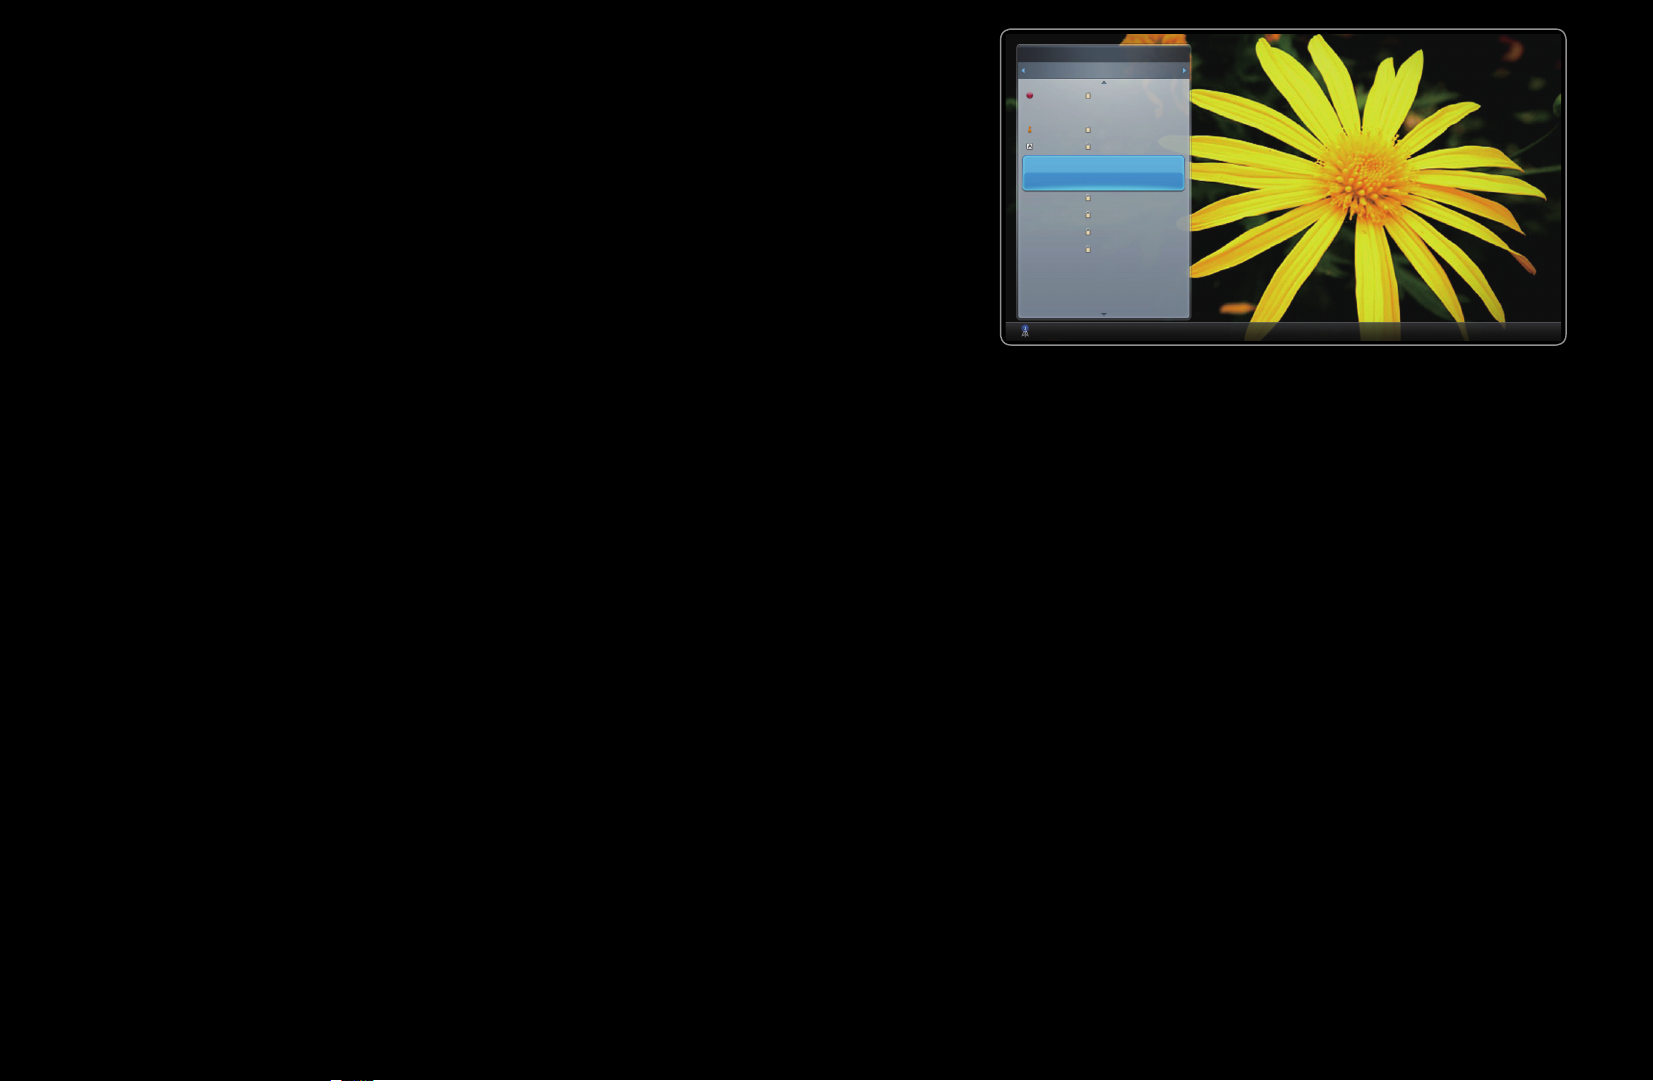
■Channel
Channel
→
ENTER
→
Delete added channels or set favourites
Channel
All Channels
channels and use the programme guide for
digital broadcasts. Select a channel in the All
Channels, Analogue, TV, Radio and Data/
Other screen. Change the antenna, or channel
◀ ▶
settings using the menus in the top right corner
of the screen.
● The displayed image may differ depending on the
model.
Analogue
English

●
●
Sort: Change the list ordered by channel name or channel number.
Edit Mode: Delete channels assigned to Favourites. Refer to “Using
the Favourites Channels” for details on how to assign a channel to
Favourites.
●
Select All: Select all the channels.
English

Using the TOOLS button with the Channel
●
Edit Favourites: Set channels you watch frequently as favourites.
1. Select the Edit Favourites, then press the ENTER
2. Press the ENTER
button to select Favourites 1-5, then press the OK
button.
button.
N
One favourites channel can be added in several of favourites channels
among Favourites 1-5.
●
Lock / Unlock: Lock a channel so that the channel cannot be selected and
◀ ▶
viewed.
English

N
NOTE
●
This function is available only when the Channel Lock is set to On.
●
The PIN input screen appears. Enter your 4-digit PIN, the default of
which is “0-0-0-0”. Change the PIN using the Change PIN option.
●
Edit Channel Name (analogue channels only): Assign your own channel name.
N
This function may not be supported depending on the region.
●
Edit Channel Number: Edit the number by pressing the number buttons
desired.
N
This function may not be supported depending on the region.
English

●
Upcoming Programme (digital channels only): View details on the programme
being aired on a selected digital channel.
●
Delete: Delete a channel to display the channels you want.
◀ ▶
English
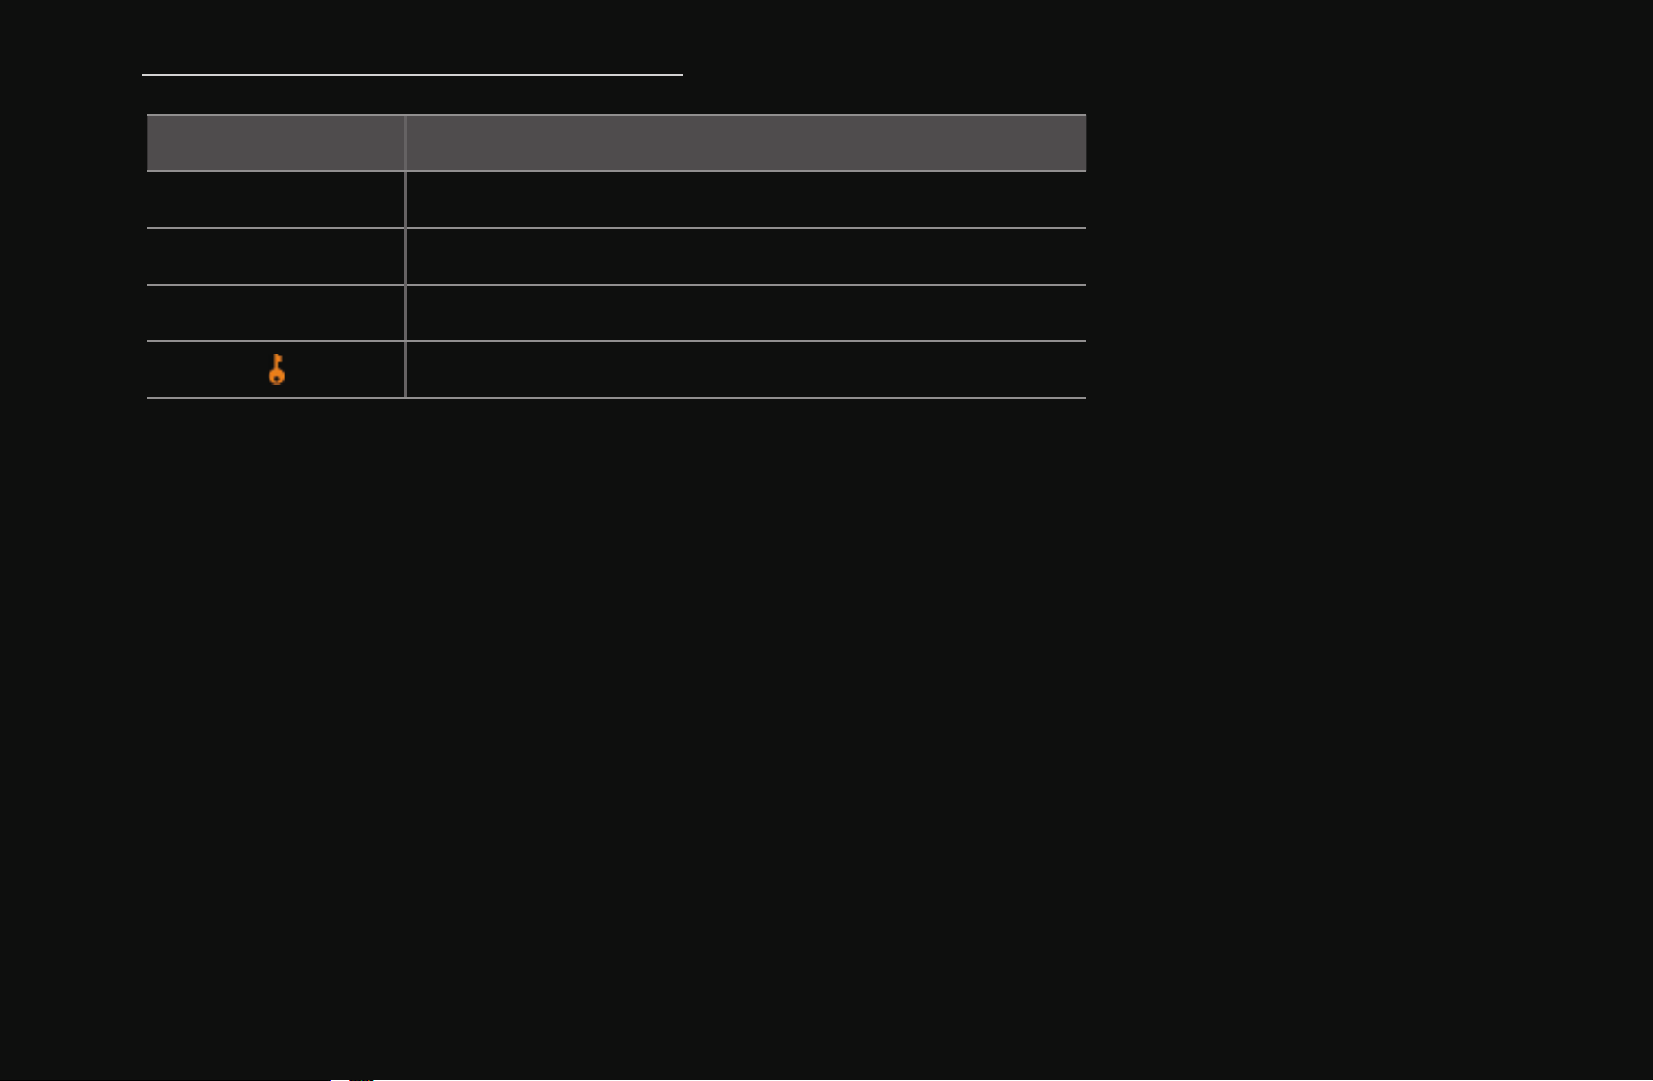
Channel Status Display Icons
Icon Operations
An analogue channel.
A channel selected.
A channel set as a Favourites 1-5.
A locked channel.
◀ ▶
English

❑Using Favourites Channels
■Favourites
Shows all favourites channels.
●
Edit favourites
: You can set the selected channels to desired
Favourites group.
N
The “
” symbol wil be displayed and the channel will be set as a
Favourites.
◀ ▶
English

1. On the Channel screen, select a channel and press the TOOLS button.
N
If you want to add multiple channels, use the Edit Mode menu in the top
right corner of the Channel screen.
2. Select Edit favourites in the TOOLS menu, and then press the ENTER
button.
3. Highlight a group on the Edit favourites screen (Favourites 1, Favourites 2,
etc.), and then press the ENTER
N
The Edit favourites screen has five groups. You can add a favourites
button.
channel to any one of the groups. Select a group using the up and down
arrows on your remote.
4. Select OK, and then press the ENTER
button. The channel is made a
favourites and is assigned to the favourites group you selected.
English

❑Memorising Channels
O
MENU
Channel
→
ENTER
→
■Country
N
The PIN input screen appears. Enter your 4 digit PIN number.
Select your country so that the TV can correctly auto-tune the broadcasting
channels.
◀ ▶
English

■Auto Tuning
Scans for a channel automatically and stores in the TV.
Select the channel search option to memorise. Press the
Digital & Analogue, Digital or Analogue, and then press ENTER
appears on your selection. Select Next, and then press the ENTER
or button to select
. A check
button. The
channel search will start.
N
Automatically allocated programme numbers may not correspond to actual or
desired programme numbers. If a channel is locked using the Channel Lock
function, the PIN input window appears.
English

■Manual Tuning
Scans for a channel manually and stores in the TV.
N
If a channel is locked using the Channel Lock function, the PIN input window
appears.
N
This function may not be supported depending on the region.
●
Digital Channel Tuning: Scans for a digital channel.
The Bandwidth function is supported in New zealand and Singapore only.
◀ ▶
1. Press the
/
/ / button to select New.
2. Set the Channel, Frequency and Bandwidth.
3. Press the
button to select Search. When scanning has finished, a
channel is updated in the channel list.
English

●
Analogue Channel Tuning: Scans for a analogue channel.
1. Press the
/
/ / button to select New.
2. Set the Programme, Colour System, Sound System, Channel and
Search.
3. Press the
button to select Store. When scanning has finished, a channel
is updated in the channel list.
English

N
Channel mode
●
P (programme mode): When tuning is complete, the broadcasting stations
in your area have been assigned to position numbers from P0 to P99. You
can select a channel by entering the position number in this mode.
●
C (aerial channel mode) / S (cable channel mode): These two modes allow
you to select a channel by entering the assigned number for each aerial
broadcasting station or cable channel.
◀ ▶
English

❑Other Features
O
MENU
■Transfer Channel List
The PIN input screen appears. Enter your 4 digit PIN number. Imports or exports
the channel map. You should connect a USB storage to use this function.
●
Import from USB: Import channel list from USB.
●
Export to USB: Export channel list to USB. this function is available when USB
is connected.
Channel
→
ENTER
→
■Edit Channel Number (Disable / Enable)
Edit the number by pressing the number buttons desired.
English

■Fine Tune
(analogue channels only)
If the reception is clear, you do not have to fine tune the channel, as this is done
automatically during the search and store operation. If the signal is weak or
distorted, fine tune the channel manually. Scroll to the left or right until the image is
clear.
N
Settings are applied to the channel you’re currently watching.
N
Fine tuned channels that have been saved are marked with an asterisk “*” on
◀ ▶
the right-hand side of the channel number in the channel banner.
N
To reset the fine-tuning, select Reset.
English
 Loading...