

Samsung TC-240, SYNCMASTER NC190, VC-240, NC190 User Manual

SyncMaster
quick start guide
Video Conference Monitor
VC240
1 Installing the Product
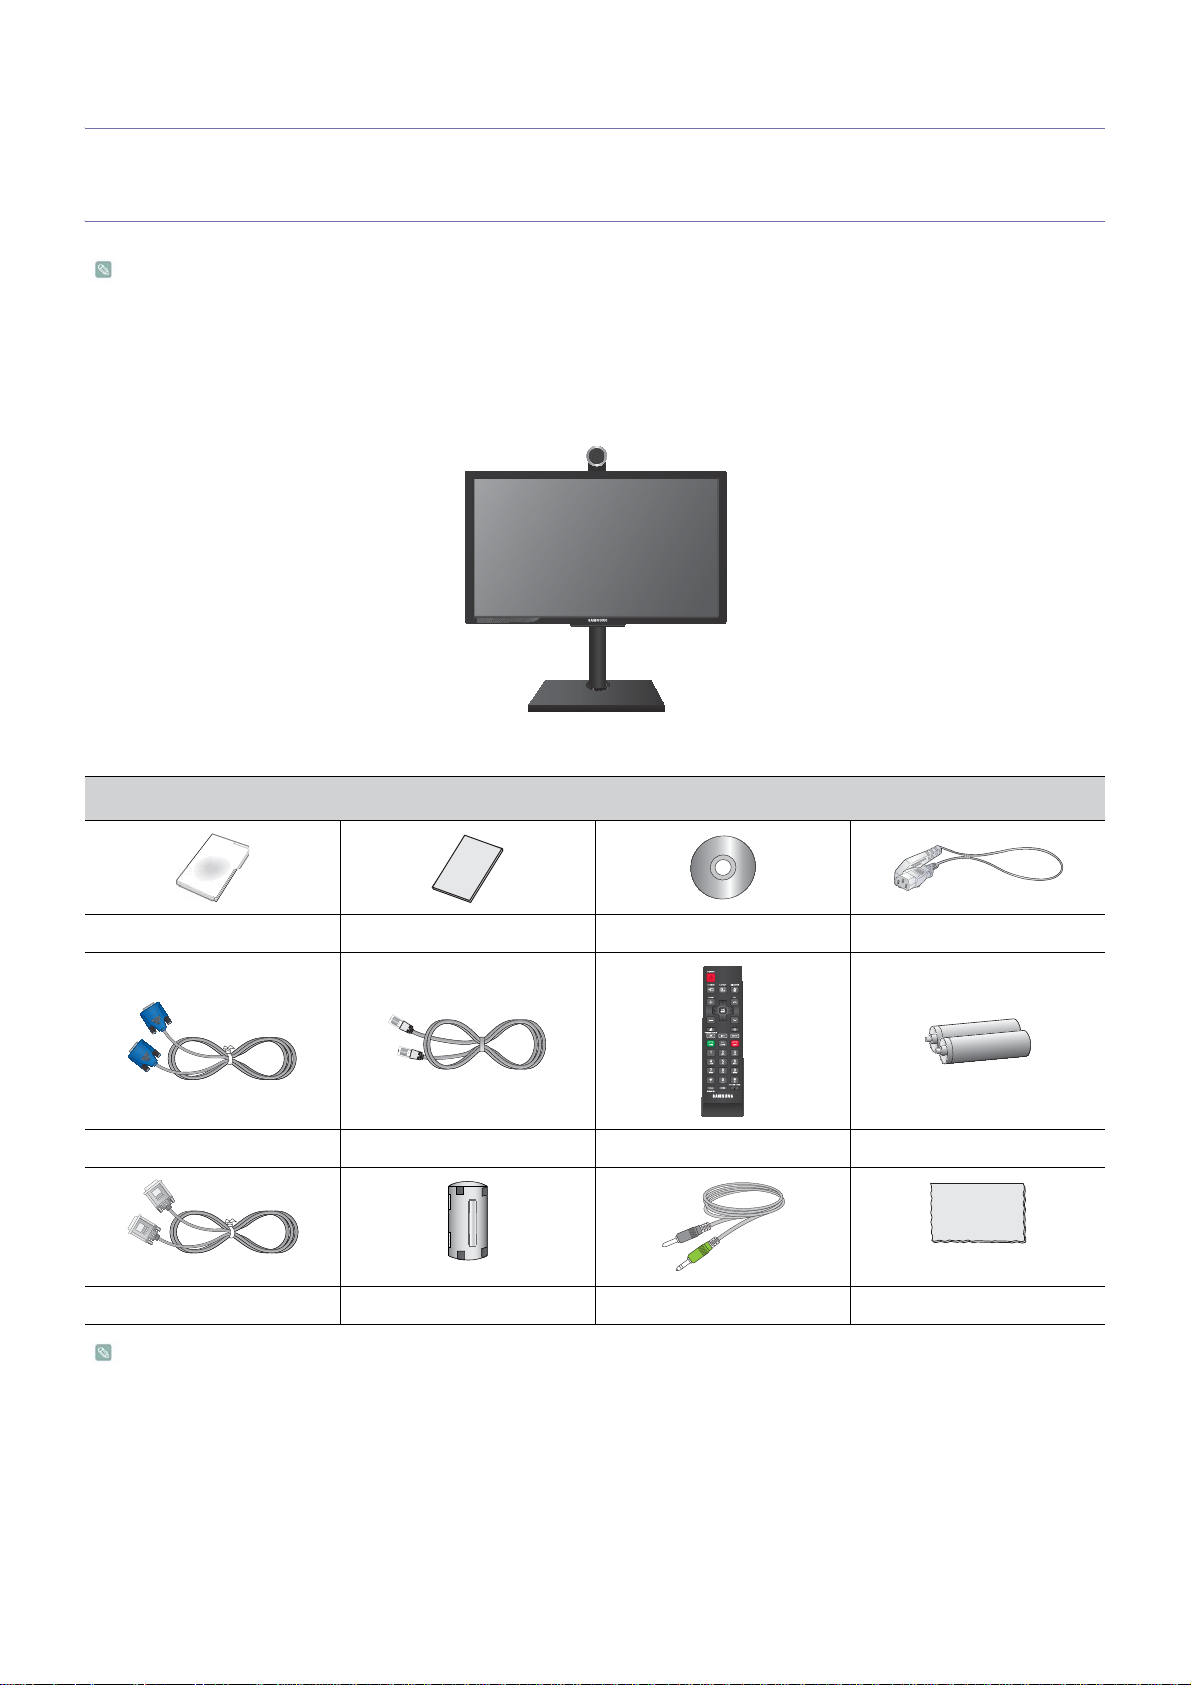
1-1 Package Contents
• Unpack the product and check if all of the following contents have been included.
• Store the packaging box in case you need to move the Product later.
• If any items are missing, contact your dealer.
• Contact a local dealer to purchase optional items.
Monitor
CONTENTS
Installation Manual Product Warranty User Manual Power Cord
D-Sub Cable LAN Cable Remote Control Batteries (AAA X 2)
DVI Cable Ferrite Core for LAN cable Stereo Cable Cleaning Cloth
The cleaning cloth is supplied with black high-glossy models only.
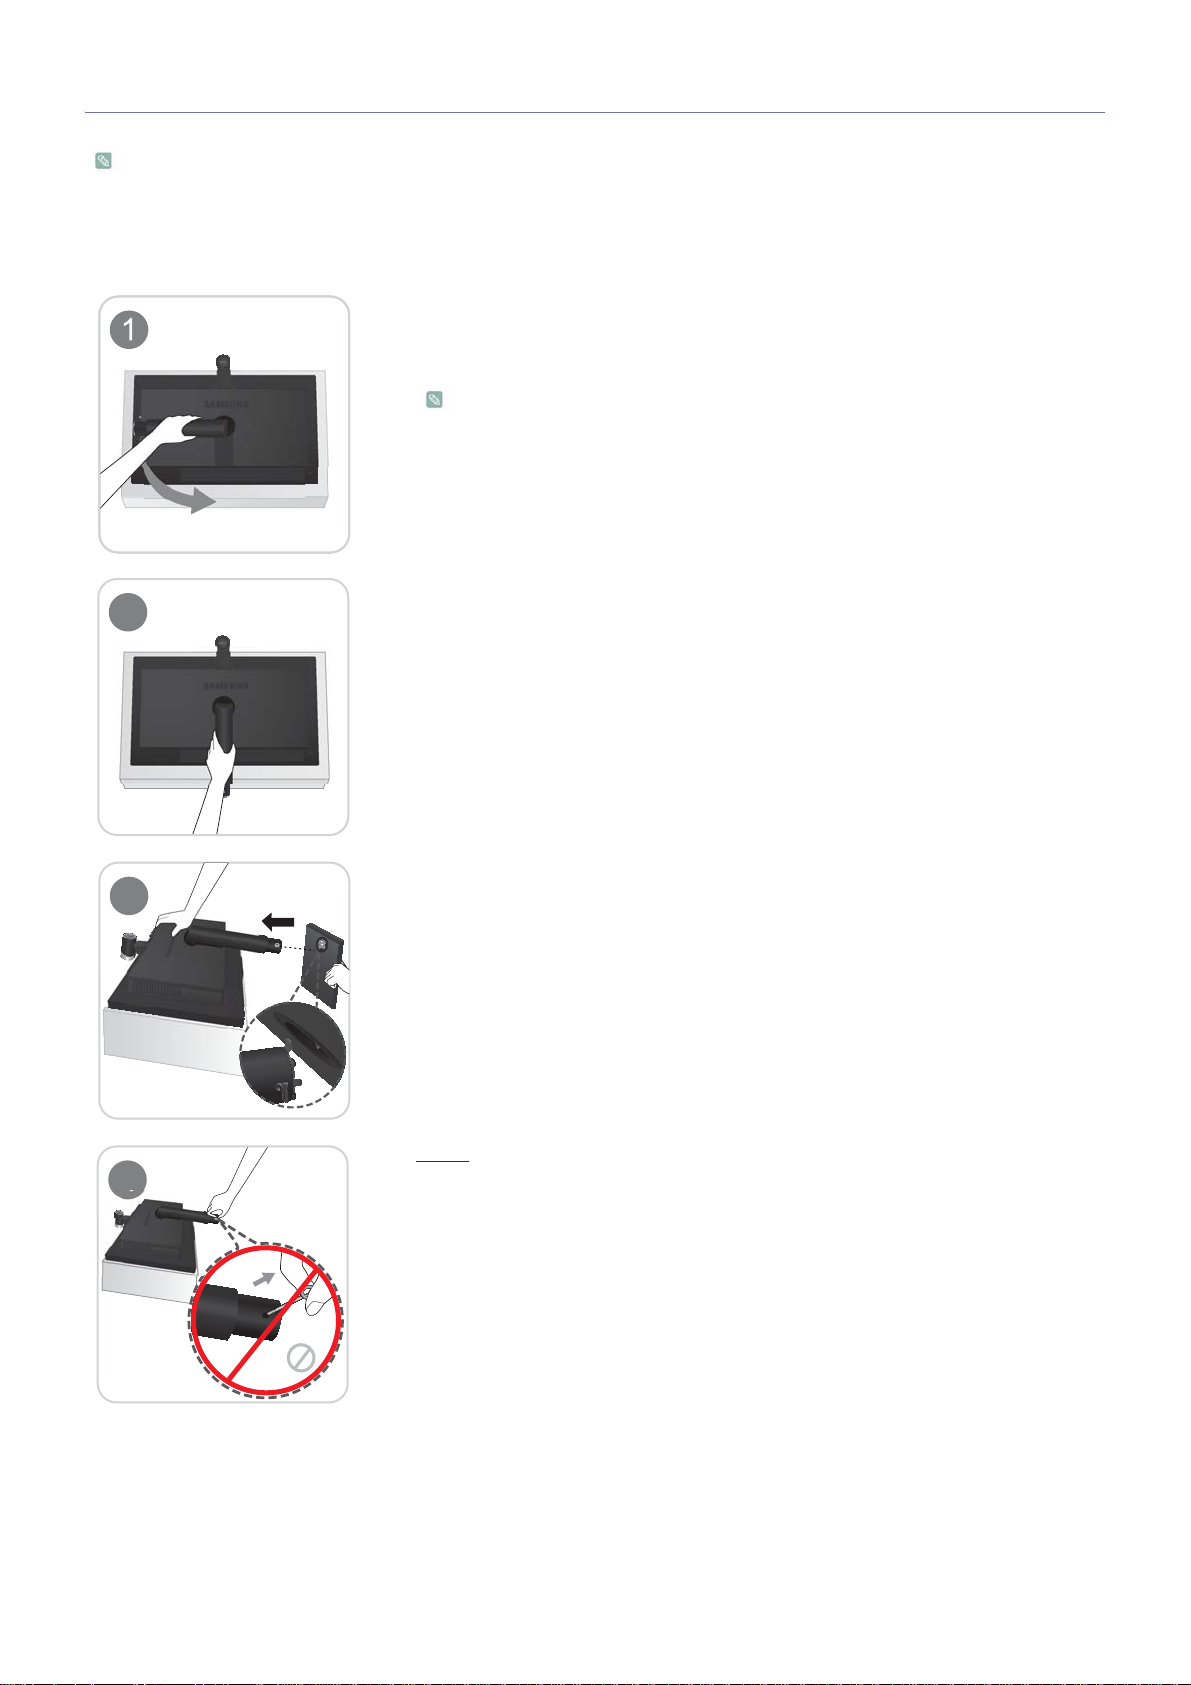
1-2 Installing the Stand
2
3
4
Before attaching the stand, place a soft cloth on a flat, stable surface, and then place the product onto the cloth so that the
screen is facing downwards.
Caution: When placing the product on a flat surface, you can damage the projection on the camera. To prevent damage,
place the monitor down gently and carefully.
Place a soft cloth over a flat, sturdy table, and then place the product onto the cloth so
that the screen is facing downwards.
Turn the stand in the direction indicated by the arrow.
Do not remove the stopper pin before installing the base.
Make sure that the stand has been properly turned in the right direction.
Push the base into the product's stand in the direction indicated by the arrow.
Do not remove the stopper pin before completely installing the stand's base.
Otherwise it may cause physical injury.
Turn the connecting screw at the bottom of the stand fully so that it is completely
5
6
fixed.
After installation of the base is complete, stand the product up.
• Remove the stopper pin.
• Adjust the height of the screen to your specifications.
- Caution
Avoid lifting the product holding only the stand.
- Caution
Avoid moving the product only holding it by the camera.
Disassembly is in the reverse order of assembly.
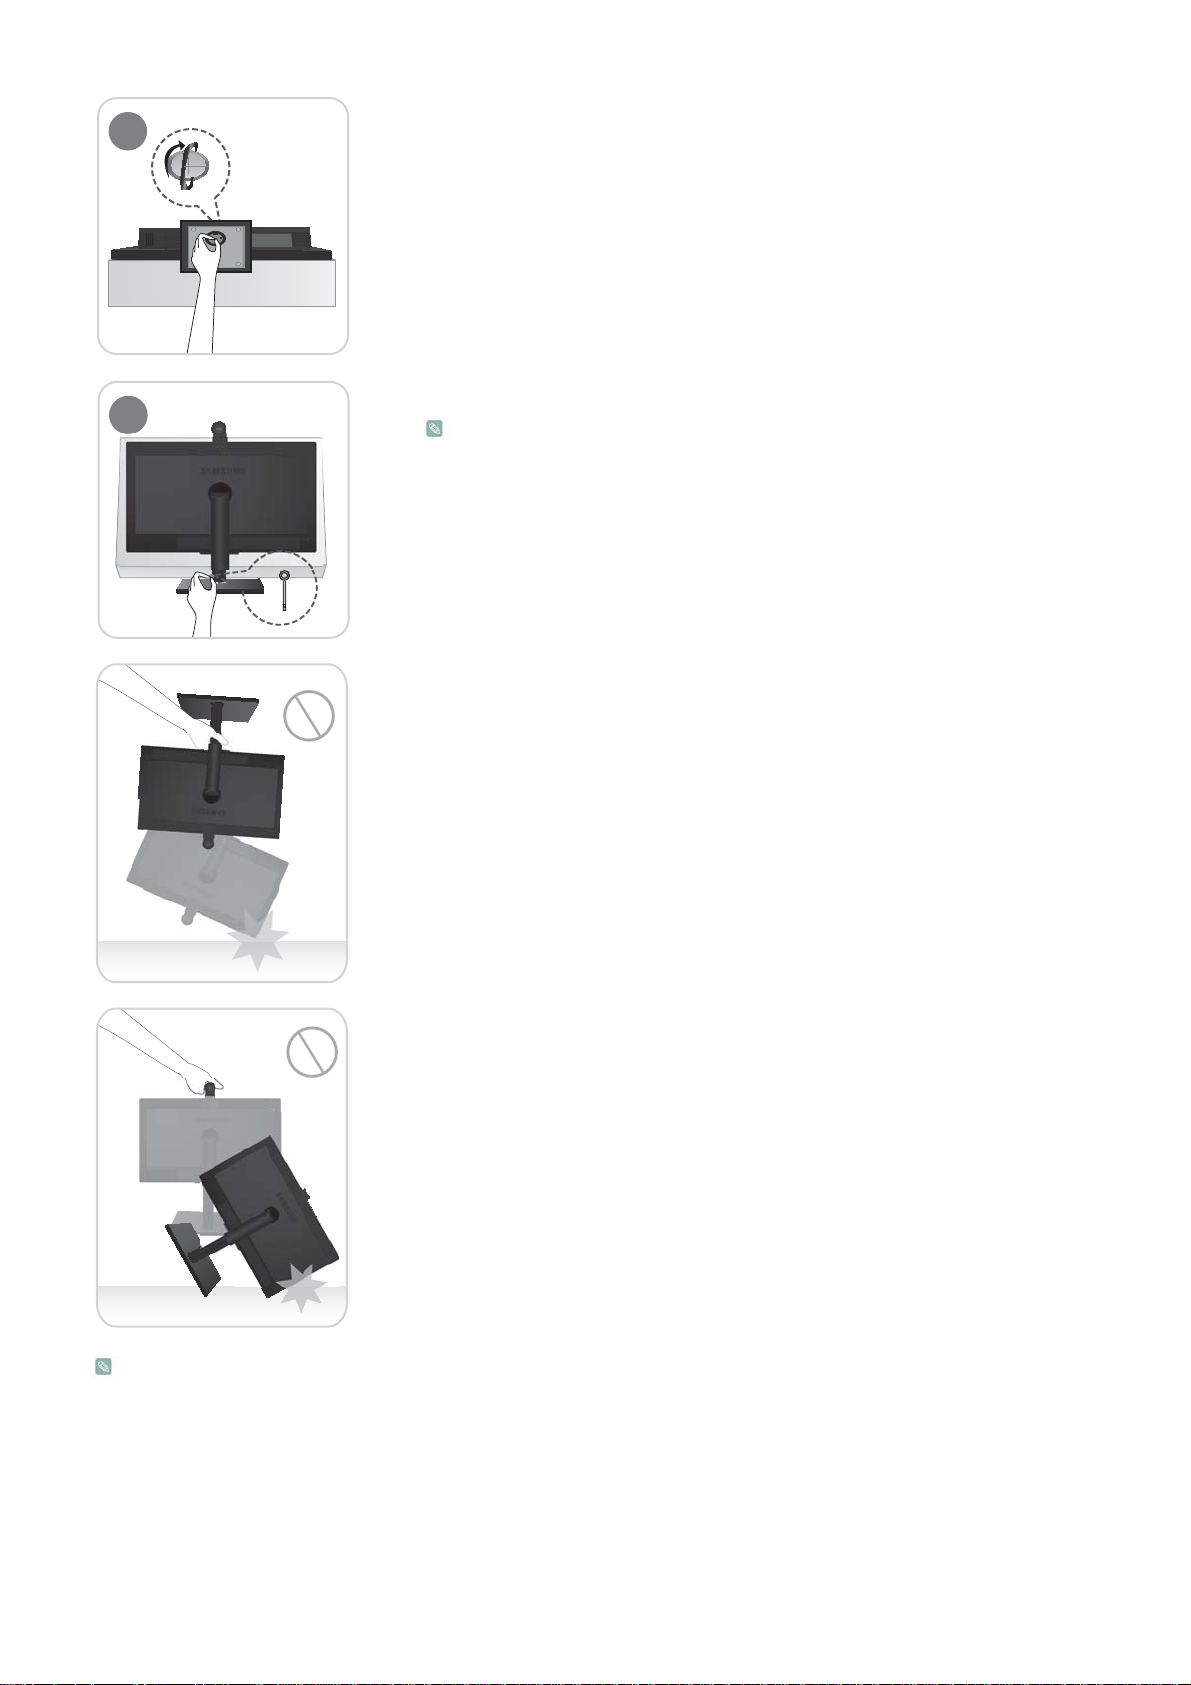
1-3 Removing the Stand
2
A
3
Before removing the stand, place a soft cloth on a flat, stable surface, and then place the product onto the cloth so that the
screen is facing downwards.
Caution: When placing the product on a flat surface, you can damage the projection on the camera. To prevent damage,
place the monitor down gently and carefully.
Place a soft cloth over a table to protect the product, and then place the product onto
the cloth so that the front of the product is facing downwards.
Hold the product's stand as shown in the picture, and then detach the rear cover.
Unfasten the screws indicated as " ."
The stand can be detached after removing the screws.
Hold the main body of the product as shown in the picture.
Lift and separate the unscrewed stand.
 Loading...