

Before attempting to operate this product, please read the
instructions carefully.
SALES NETWORK
•
SAMSUNG TECHWIN CO., LTD.
145-3, Sangdaewon-dong, Jungwon-gu, Seongnam-si, Gyeonggi-do, 462-120, Korea
TEL : +82-31-740-8151~8158 FAX : +82-31-740-8145
•
SAMSUNG OPTO-ELECTRONICS UK, LTD.
Samsung House, 1000 Hillswood Drive, Hillswood Business Park Chertsey, Surrey KT16 OPS
TEL : +44-1932-45-5308 FAX : +44-1932-45-5325
www.samsungtechwin.com
www.samsungcctv.com
VAN 08. 05
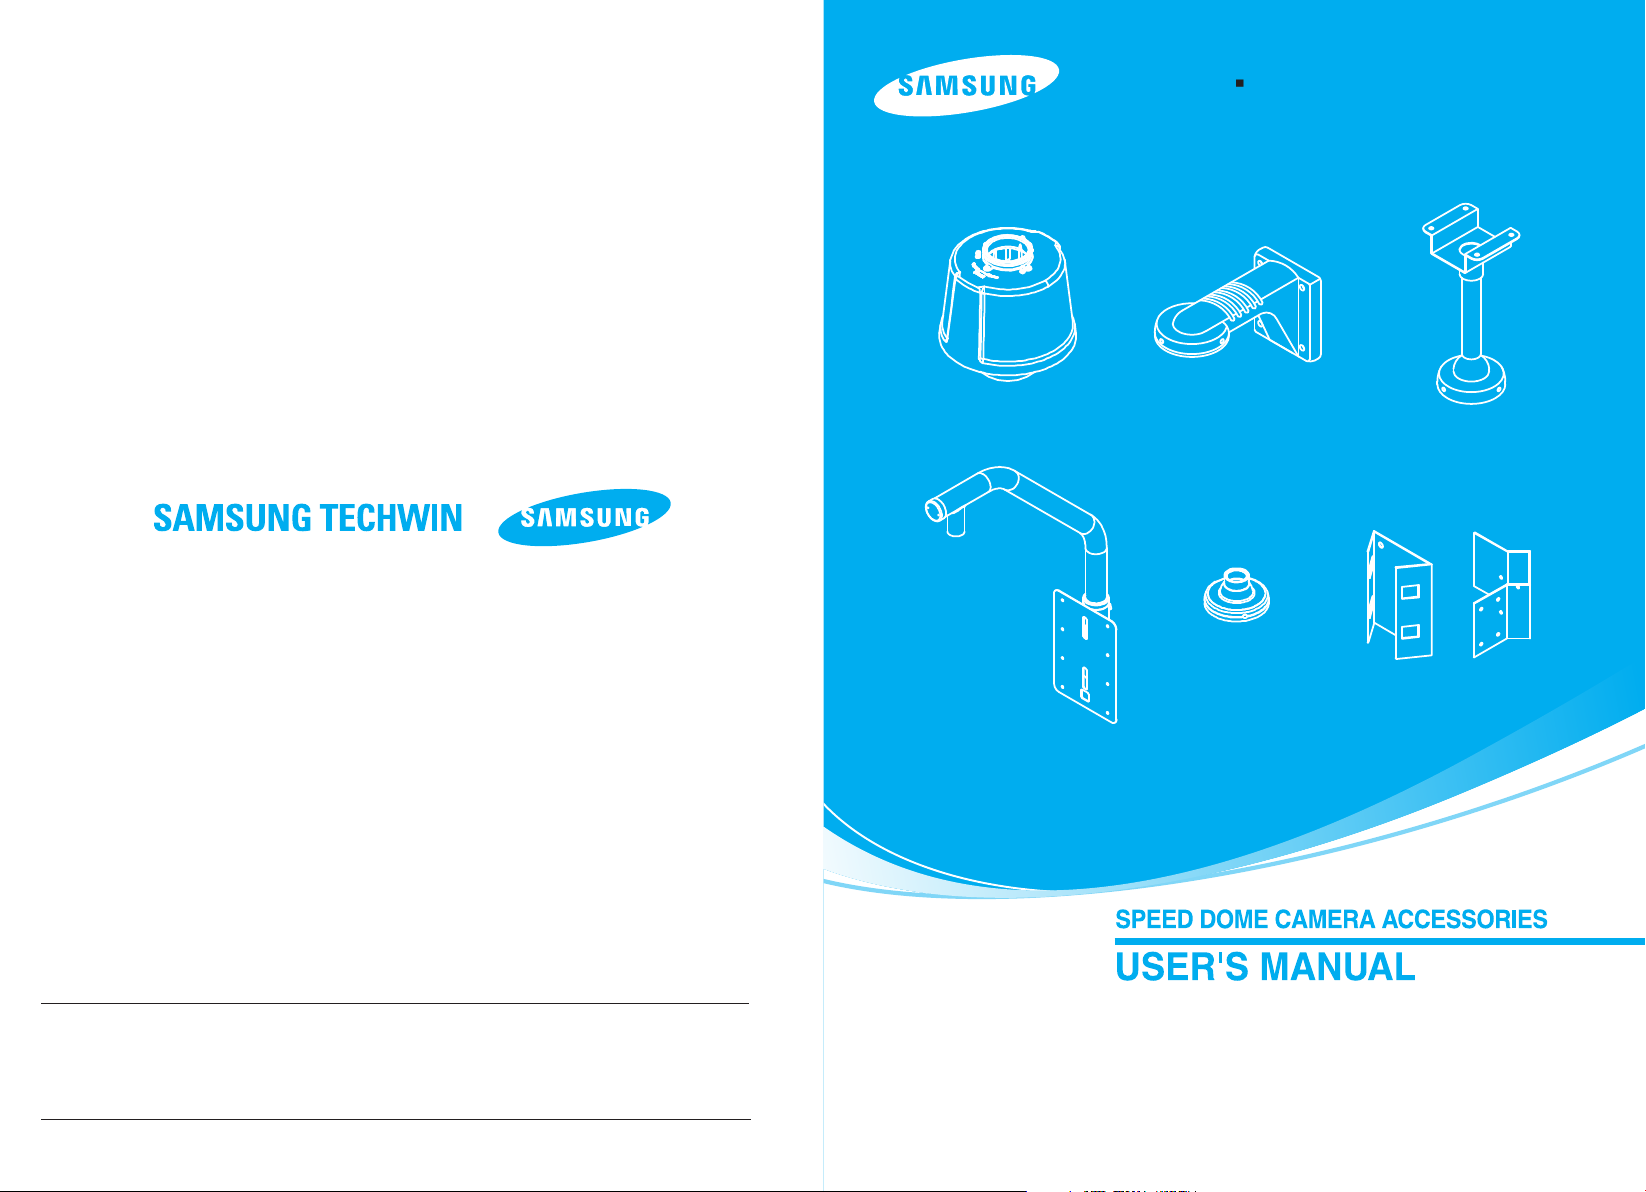
STH-1000PO/STB-30PF
STH270PW/STB-496PPV
STB-350PPM/STB-330PPM
STB-340PCM

Cautions and Warnings for Use Contents
Samsung Techwin cares for the environment at all product
manufacturing stages to preserve the environment, and is taking a
number of steps to provide customers with more environment-friendly
products.The Eco mark represents Samsung Techwin
environment-friendly products, and indicates that the product satisfies
the EU RoHS Directive.
s will to create
Thank you for purchasing our products.
This product is to be used for the installation of the Samsung 10x optical zoom
Speed Dome Camera series.
Before application, please read the user s manual carefully.
Note that you need to read carefully all contents related to safety and application methods before application.
When using the product, the precautions/warnings, usage directions, operating methods, and instructions
must all be observed.
The power and cable connections should be made by a product installation specialist.
Do not connect and use these accessories to products other than the Samsung Speed Dome Camera Series.
The locations for installing the Accessory housing should be strong enough to fully secure the accessories,
and all installations need to be carried out by experienced engineers.
Do not use it for purposes other than for the installation mentioned above.
Cautions and Warnings for Use .................................................... 2
Product Category .......................................................................... 4
Installation Guide .......................................................................... 6
Component Name .........................................................................13
External Dimensions .....................................................................15
Specification..................................................................................17
2
SPEED DOME CAMERA ACCESSORIES
SPEED DOME CAMERA ACCESSORIES
3
Product Category Product Category
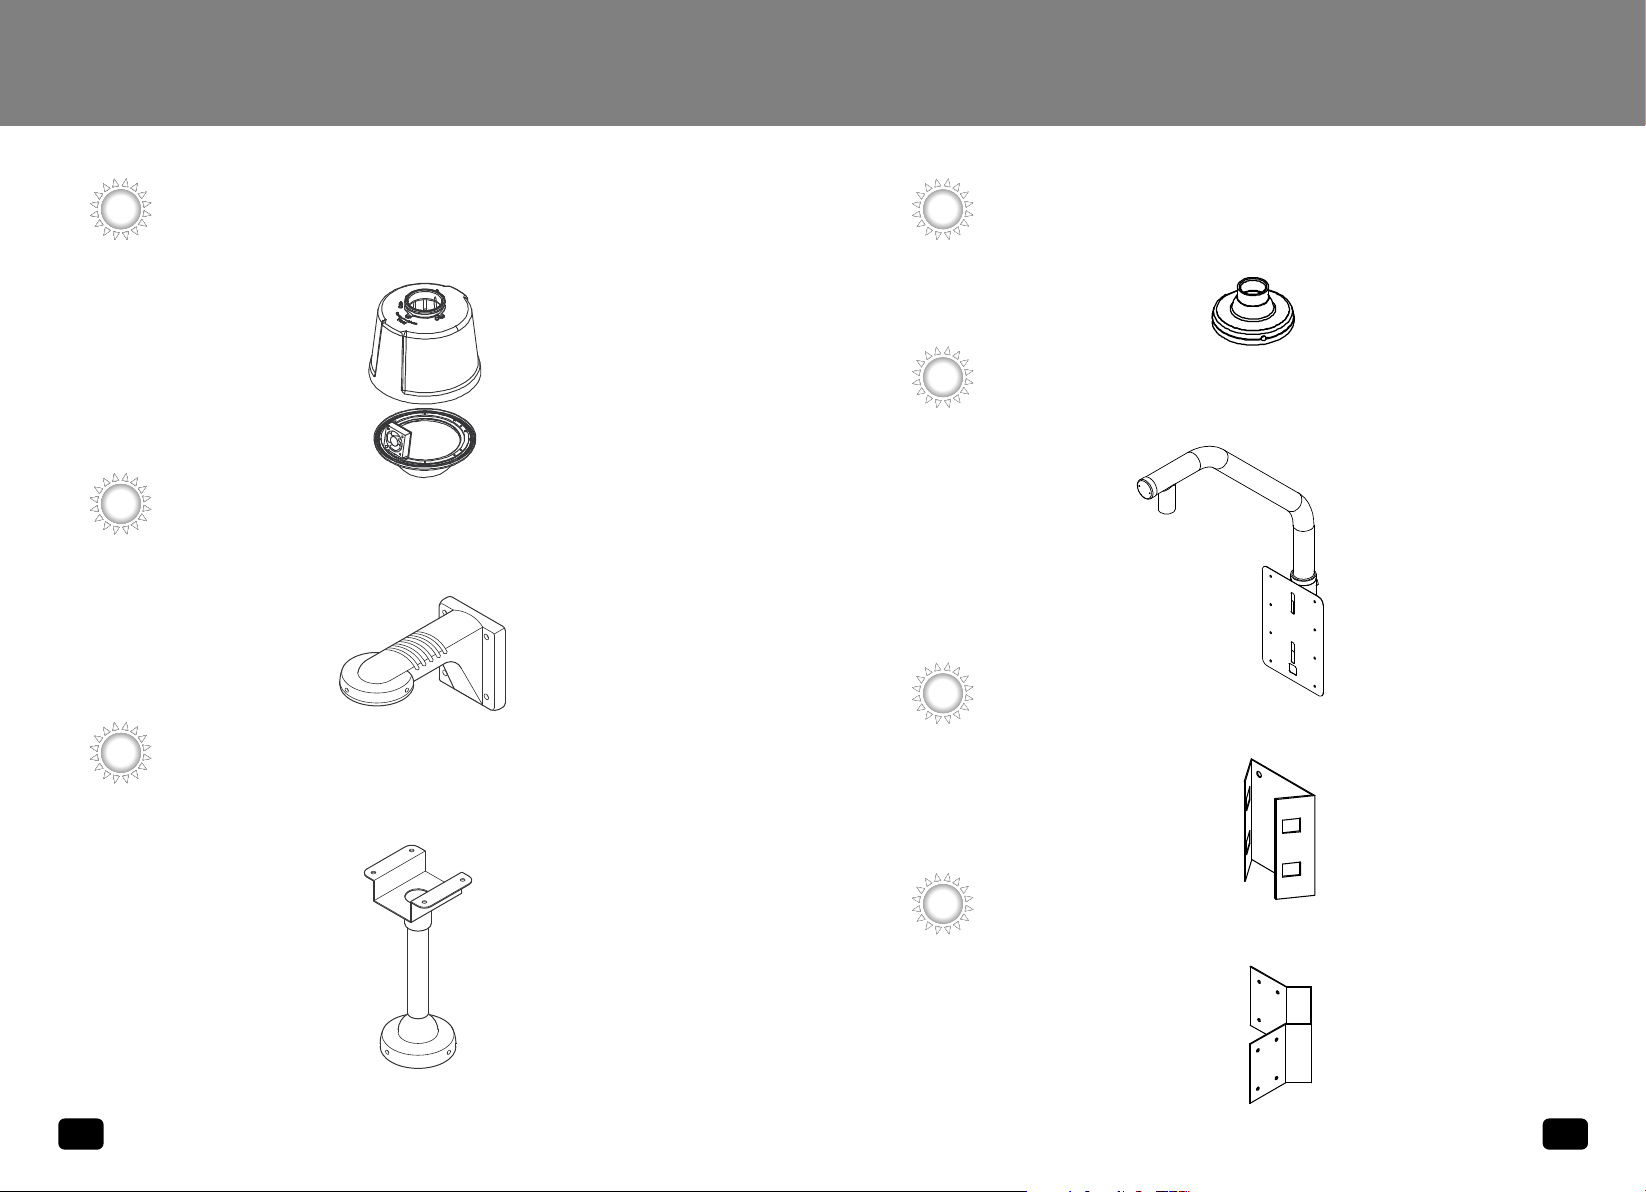
STH-1000PO
: “Outdoor Housing” for the Samsung Speed Dome Camera.
STB-270PWV
: This “Wall Type Mount” is used for the installation of indoor or outdoor housing (STH-330POV
/ STH-330PIV / STH-320PO) of Samsung Speed Dome Camera.
STB-496PPV
STB-30PF
: It is the “Ceiling Flange” for Samsung Speed Dome cameras.
STB-350PPM
: It is the “Parapet mount” used to install the indoor/outdoor housing for Samsung Speed Dome
cameras.
STB-330PPM
: It is the “Paul Mount” for Samsung Speed Dome cameras.
: This “Ceiling Type Mount” is used for the installation of indoor or outdoor housing (STH-
330POV / STH-330PIV / STH-320PO) of Samsung Speed Dome Camera.
4
SPEED DOME CAMERA ACCESSORIES
STB-340PCM
: It is the “Coner mount” for Samsung Speed Dome cameras.
SPEED DOME CAMERA ACCESSORIES
5

Installation Guide Installation Guide
STH-1000PO (Outdoor Housing)
1. Using the four screws that are enclosed, fix the STH270PWV wall mount onto the wall on the right hand
side of where the speed dome camera is to be
installed.
Cautions
Pull the connection cable out of the wall type mount
through the hole in advance.
2. Pull the safety cable that is fixed to the housing outside of the housing.
3. Before installing the product on the mount, open the dome cover for the housing of the
outdoor speed dome and align the direction of the arrow for the camera holder with the
housing base, then fix it using the screws enclosed.
4. Connect the safety cable from the housing to the internal fixture ring of the STH-270PWV wall
mount.
Cautions
Check the the safety cablesafety cable connection. If the safety cable is not connected, it may cause
injury or damage to the product.
5. Insert the cable into the housing and fit the housing into the internal groove of the wall mount,
making sure that the Samsung logo is facing the front.
SPEED DOME CAMERA ACCESSORIES
6
SPEED DOME CAMERA ACCESSORIES
7

Installation Guide Installation Guide
6. Connect the AC 24V power cable to the fan heater PCB cable
terminal.
7. Connect the video cable, the controller cable, the camera
power adapter cable and the ID setting cable to the speed
dome camera.
Cautions
Before installing the outdoor housing on the wall mount, set the camera ID, the terminating
resistance and the protocol selection switch.
9. Assemble the speed dome by turning it in the direction of the arrow.
10. Install the dome cover for the speed dome’s outdoor
housing.
11. Make sure that all the devices are connected correctly to
the camera and then check the functions of the camera. If
there are no problems, affix the housing onto the wall
mount using the three screws.
8. Install the speed dome camera on its holder in the housing,
and make sure that it is facing in the right direction. (When
installing the camera, push the cables into the empty space of
the housing to make sure that the cables are not pinched.)
SPEED DOME CAMERA ACCESSORIES
8
Cautions
Check out the input voltage of the power adapter before connecting the power.
It is necessary to tighten the screw to prevent unfastening.
If the screw to prevent unfastening is not tight, the camera installed may fall due to vibration or
shock from the environment.
Set up the Camera ID, the Termination Resistance and the Protocol Selection Switch before
installing the outdoor housing on the ceiling type mount.
SPEED DOME CAMERA ACCESSORIES
9

Installation Guide Installation Guide
STB-496PP (Ceiling Type Mount)
1. Fix the ceiling type mount STB-496PPV at the desired installation location on the ceiling using 4
screws.
2. The remaining installation methods are the same as those for indoor/outdoor housing.
STB-30PF (Ceiling Flange)
1. The installation method for the ceiling type flange STB-30PF is the same as for the ceiling type mount.
The use of a separate pipe and ceiling bracket is optional.
STB-340PCM (Coner Mount)
1. Drill holes in the wall to insert anchor bolts with spaces between the
holes in the wall matching those in the corner mount.
2. Insert the anchor bolts into the holes using a tool. Place the
corner mount through the anchor bolts. Fix the corner mount
by fastening the 8 nuts.
3. Fix the wall type mount(STB-270PWV) with four 1/4 inch
screws.
STB-330PPM (Paul Mount)
10
SPEED DOME CAMERA ACCESSORIES
1. Fix the paul mount by using wires.
2. Fix the wall type mount(STB-270PWV) with four 1/4 inch screws.
SPEED DOME CAMERA ACCESSORIES
11

Installation Guide
Component Name
STB-350PPM (Parapet Mount)
1. Drill holes in the wall to insert anchor bolts with spaces
between the holes in the wall matching those in the
corner mount.
2. Insert the anchor bolts into the holes using a tool.
Place the corner mount through the anchor bolts. Fix
the corner mount by fastening the 8 nuts.
3. Insert the cables into the pipe through the opposite
end of the pipe.
4. Place the pipe on the parapet mount.
5. Arrange the cables as shown in the picture and adjust
the pipe cover with the screw.
6. Adjust the direction of the pipe and then fix it with
screws.
7. Install the product.
Wall Mounting
12
SPEED DOME CAMERA ACCESSORIES
SPEED DOME CAMERA ACCESSORIES
13

Component Name
External Dimensions
Ceiling Mounting
Wall Mounting
14
SPEED DOME CAMERA ACCESSORIES
SPEED DOME CAMERA ACCESSORIES
15

External Dimensions
Specification
Ceiling Mounting
Model
Item
Operating
Temperature Range
Storage
Temperature Range
Humidity
Materials
Accessories
(mm)
STH-1000PO
-20 C ~ 50 C
-20
C ~ 70 C
0 to 90%RH
Housing Outdoor
Ring DecorationALALDC 12
Dome Cover
SCREW
(4EA)
Fan
POLY
CARBONATE
BH MS
M4 X L6
DC 24V 0.06A
OperatingTemp.:
more than
45˚C
STB-270PWV
-20 C ~ 50 C
-20
C ~ 70 C
1 to 90%RH (non-condensing)
Wall Type Mount
Ceiling Bracket
SCREW
(4EA)
SCREW
(3EA)
ALDC 12
E.G.I 2.0t
Self Drilling
#8 X L38(FZY)
PH MS
M4 X 14
Screw
STB-496PPV
-20 C ~ 50 C
-20 C ~ 70 C
1 to 90%RH (non-condensing)
Ceiling Flange
Ceiling Pipe
Ceiling Bracket
Ceiling Plate
SCREW
(4EA)
SCREW
(3EA)
ALDC 12
SPPS 32A/Sch 40
E.G.I 2.0t
SPCC
Self Drilling
Screw
#8 X L38(FZY)
PH MS
M4 X 14
16
SPEED DOME CAMERA ACCESSORIES
Others
Antivibration/Waterproof
Weight (Net)
Weight (Gross)
Dimensions
Heater
Ø242 x 284.5
DC 24V 0.8A
OperatingTemp.:
more less
10˚C
IP66
2,218g
3,160g
-
1,130g
1,320g
270 x 175 x 140
SPEED DOME CAMERA ACCESSORIES
-
1,750g
1,970g
150 x 496
17

Specification
Model
Item
Operating
Temperature Range
Storage
Temperature Range
Humidity
Materials
Accessories
(mm)
STB-30PF STB-350PPM STB-340PCM STB-330PPM
-20 C ~ 50 C -20 C ~ 50 C -10 C ~ 50 C -20 C ~ 50 C
-20 C ~ 70 C
0 to 90%RH
Ceiling Flange
Ceiling Pipe
SCREW
(3EA)
ALDC 12
E.G.I 2.0t
PH MS
M4 X 14
SUS
-20 C ~ 70 C
1 to 90%RH (non-condensing)
Parapet Pipe
Parapet Plate
Pipe Cover
Set Anchor -6
(8EA)
SCREW
(2EA)
SCREW
(2EA)
PF 11/4
(32A)
SUS
SUS
1/4´´
M16 X20
(SUS)
PH MS
M3 X10
(SUS)
-20 C ~ 70 C
(non-condensing)
Coner
Bracket
SCREW
(4EA)
Set Anchor -6
(8EA)
SPCC
1/4´´
1/4´´
-20 C ~ 70 C
(non-condensing)
Paul Bracket
SCREW
(4EA)
SPCC
1/4´´
Others
Antivibration/Waterproof
Weight (Net)
Weight (Gross)
Dimensions
18
SPEED DOME CAMERA ACCESSORIES
126 X 66
366g
-
-
8,000g
680 X 920 X 63
-
1,308g
306 X 194 X 185
-
584g
185 X 155 X 48
 Loading...