

Samsung Galaxy Core Prime, SPRINT Galaxy Core Prime Get Started
Get
Started
All you need to know to get going.

2
Welcome!
Thanks for choosing Sprint. This booklet introduces you to the
basics of getting started with Sprint Prepaid and your Samsung
Galaxy Core Prime™.
For ongoing support and resources, visit sprint.com/prepaidsupport.
There, you’ll ind guides, tutorials, and more to help you get the most
out of your phone.
Note: Available applications and services are subject to change at any time.

Using This Guide
3
This Get Started guide is designed to help you set up and use your
new Galaxy Core Prime. It’s divided into four sections to help you nd
the information you need quickly and easily.
Using This Guide
Get Ready − page 5 − Find out what
you need to do before you use your
phone the rst time, including charge
battery and activating Sprint Prepaid
service on your phone.
Android™ Basics − page 8 − Learn some
basics about how to move around on
your phone, use the home screen, and
enter text. If you’re familiar with Android
phones, you can probably skip these
pages (although a refresher course never
hurt anyone).
Use Your Phone − page 11 − Take
advantage of your phone’s features
and Sprint services, from the basics
(Making Calls) to the more advanced
(using Google Play™, Wi-Fi®, and more).
Tools & Resources − page 22 −
Find useful tips for your phone and
discover resources and other helpful
Sprint information. For additional
information including the full User
Guide, videos, tutorials, and
community forums, visit
sprint.com/prepaidsupport.
4
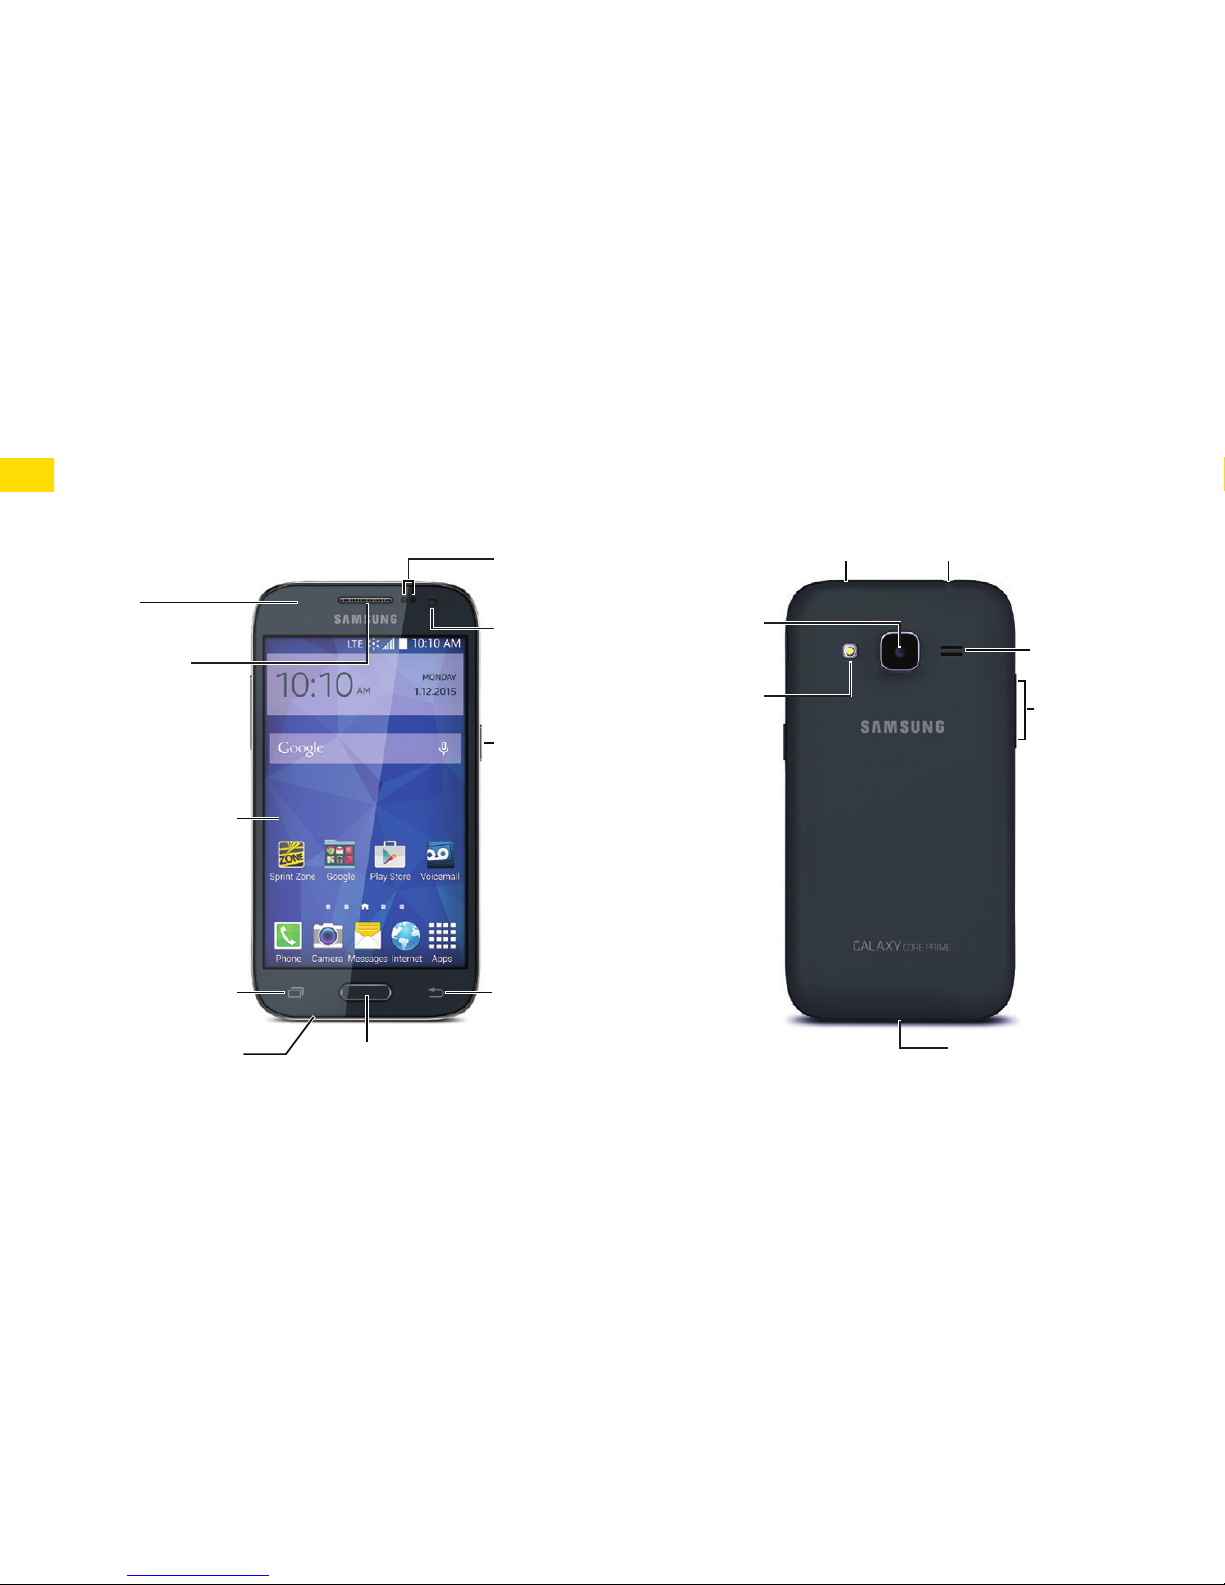
Power/Lock
Key
Speaker
USB Charger/
Accessory Port
Flash
Headset Jack
Volume
Buttons
Camera
Proximity
Sensor
Earpiece
Touchscreen
Recent
Apps Key
Back Key
Front
Camera
Home Key
Microphone
Microphone
LED
Indicator
Your Samsung Galaxy Core Prime

Get Ready
visit sprint.com/prepaidsupport for guides, tutorials and more 5
Register Your Phone on Sprint Prepaid
1. From your computer’s browser, visit
sprint.com/prepaidactivate.
2. Choose an activation option and click
Next, and then enter your ZIP code and
click Next.
3. When prompted, enter the serial number
(MEID) printed on the label on your
phone’s packaging.
4. Follow the instructions to select a plan and
payment method.
• If you’re swapping phones or bringing
your number over from a dierent carrier,
follow the prompts to sign in or provide
additional information.
Install the Battery
1. Use the slot above the power button to
remove the battery cover.
2. Align the battery’s contacts with those
inside the battery compartment and gently
press down until the battery is seated.
3. Replace the back cover.
Charge the Battery
1. Insert the USB cable into the
charger/accessory port.
2. Insert the other end of the cable into the
charging head, and then plug the charging
head into a standard AC power outlet.
Note: Connecting the charger improperly
may cause serious damage to the device.
Any damage caused by misuse is not
covered by the warranty.
Get Your Phone Ready

6
Set Up Your Phone
Activate Your Phone
• Press and hold the Power/Lock Key
to turn on your new phone.
• Your phone is designed to activate
automatically. You will see a
Hands-Free-Activation screen
during the Setup Wizard. Follow the
onscreen instructions to continue.
If your phone is still not activated, visit
sprint.com/prepaidsupport for assistance. If
you do not have access to the Internet, call
Sprint Customer Service at 1-855-639-4644
from another phone.
Once activated, your phone guides you
through various setup options, including
setting up your Google™ Account.*
Complete the Setup Screens
Note: At some point during setup, you
will see a prompt to install Sprint Default
Coniguration. Follow the prompts to install
the package and then continue with the
setup screens.
1. When you see the Welcome screen,
select a language and tap Next to begin.
2. You’ll see a Wi-Fi setup screen. Follow the
prompts to set your Wi-Fi options.
3. Follow the prompts on the next few
screens to get your phone set up.
• Got Google? - Create or sign in to a
Google Account, and set preferences
including Google Location options.
Activate Your Phone

Get Ready
visit sprint.com/prepaidsupport for guides, tutorials and more 7
Set Up Your Phone Basic Phone Functions
• Samsung account - Create or sign in
to your Samsung user account.
4. Enter a name for your device and then
tap Finish.
* You do not need to sign up for a Google Account to
use your phone; however, to download content from
the Google Play™ Store app, you must link your
phone to a Google Account.
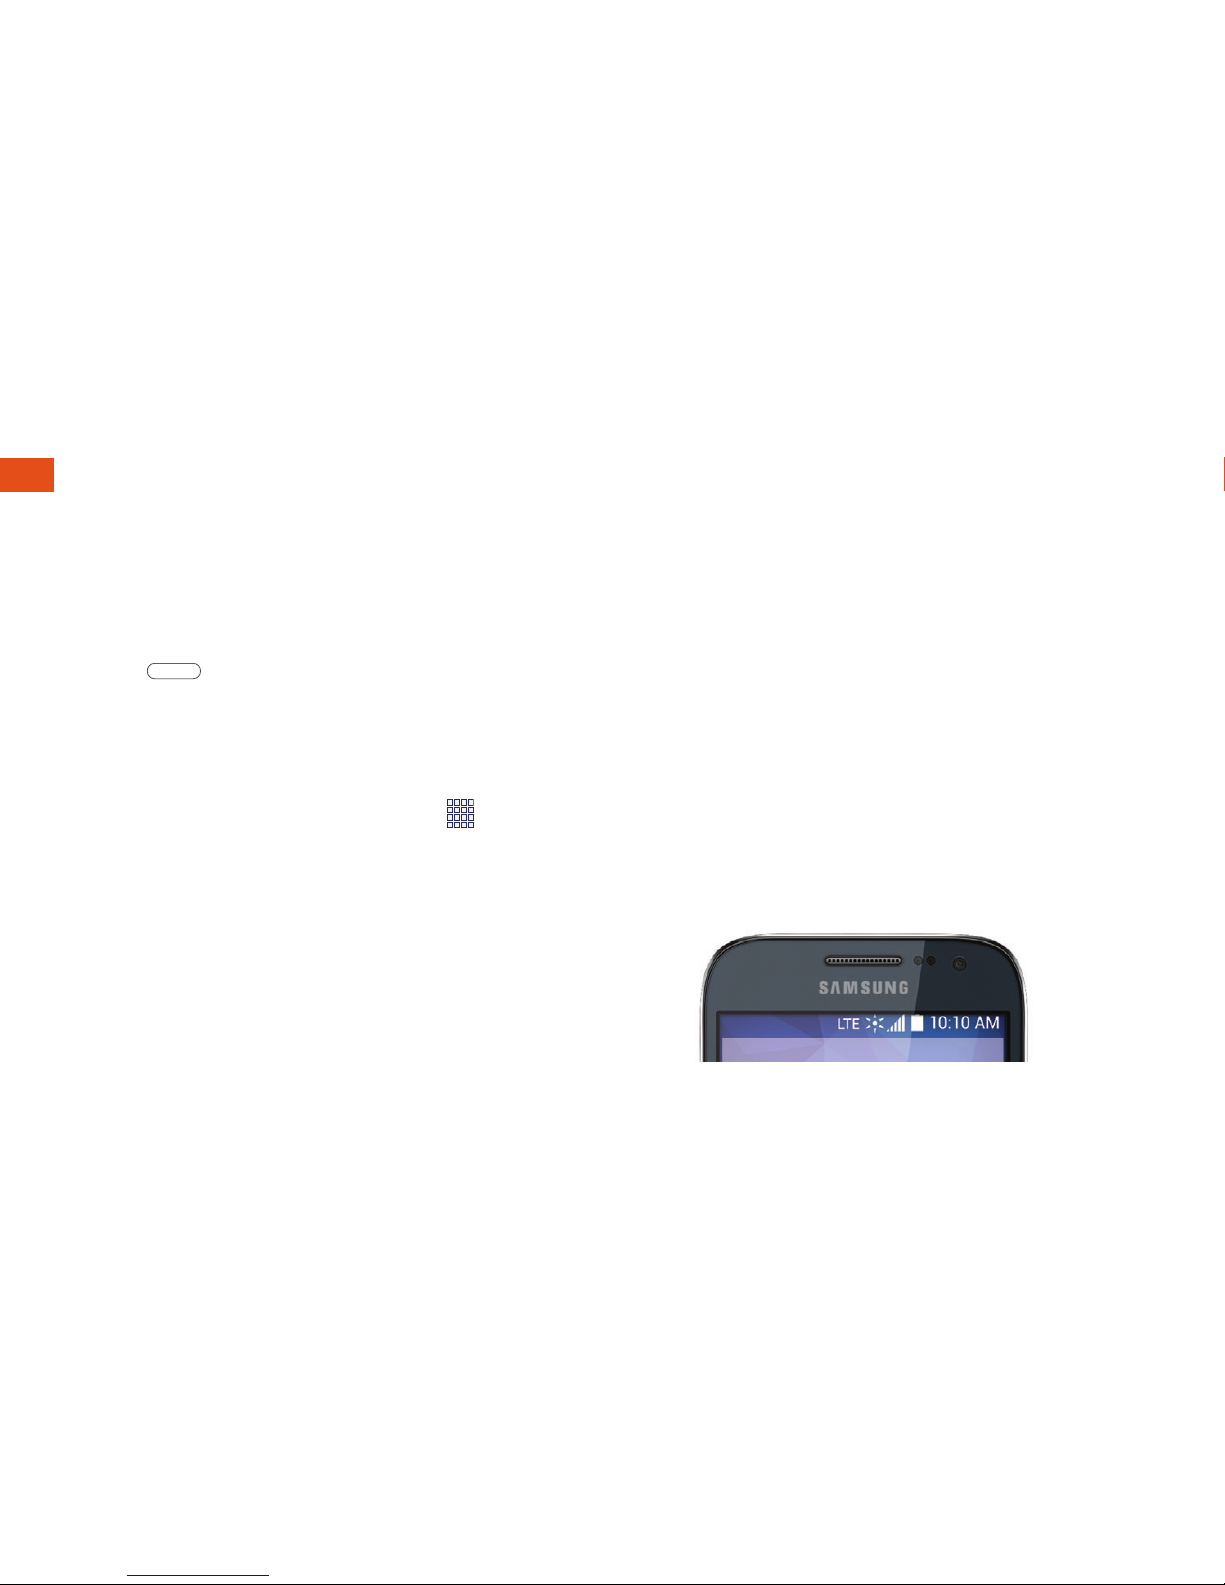
Turn the Phone On or O
• Press and hold the Power/Lock Key .
Turn the Screen On and O
• To turn the display screen on or o, press
the Power/Lock Key
. Swipe the
screen to unlock it.
8
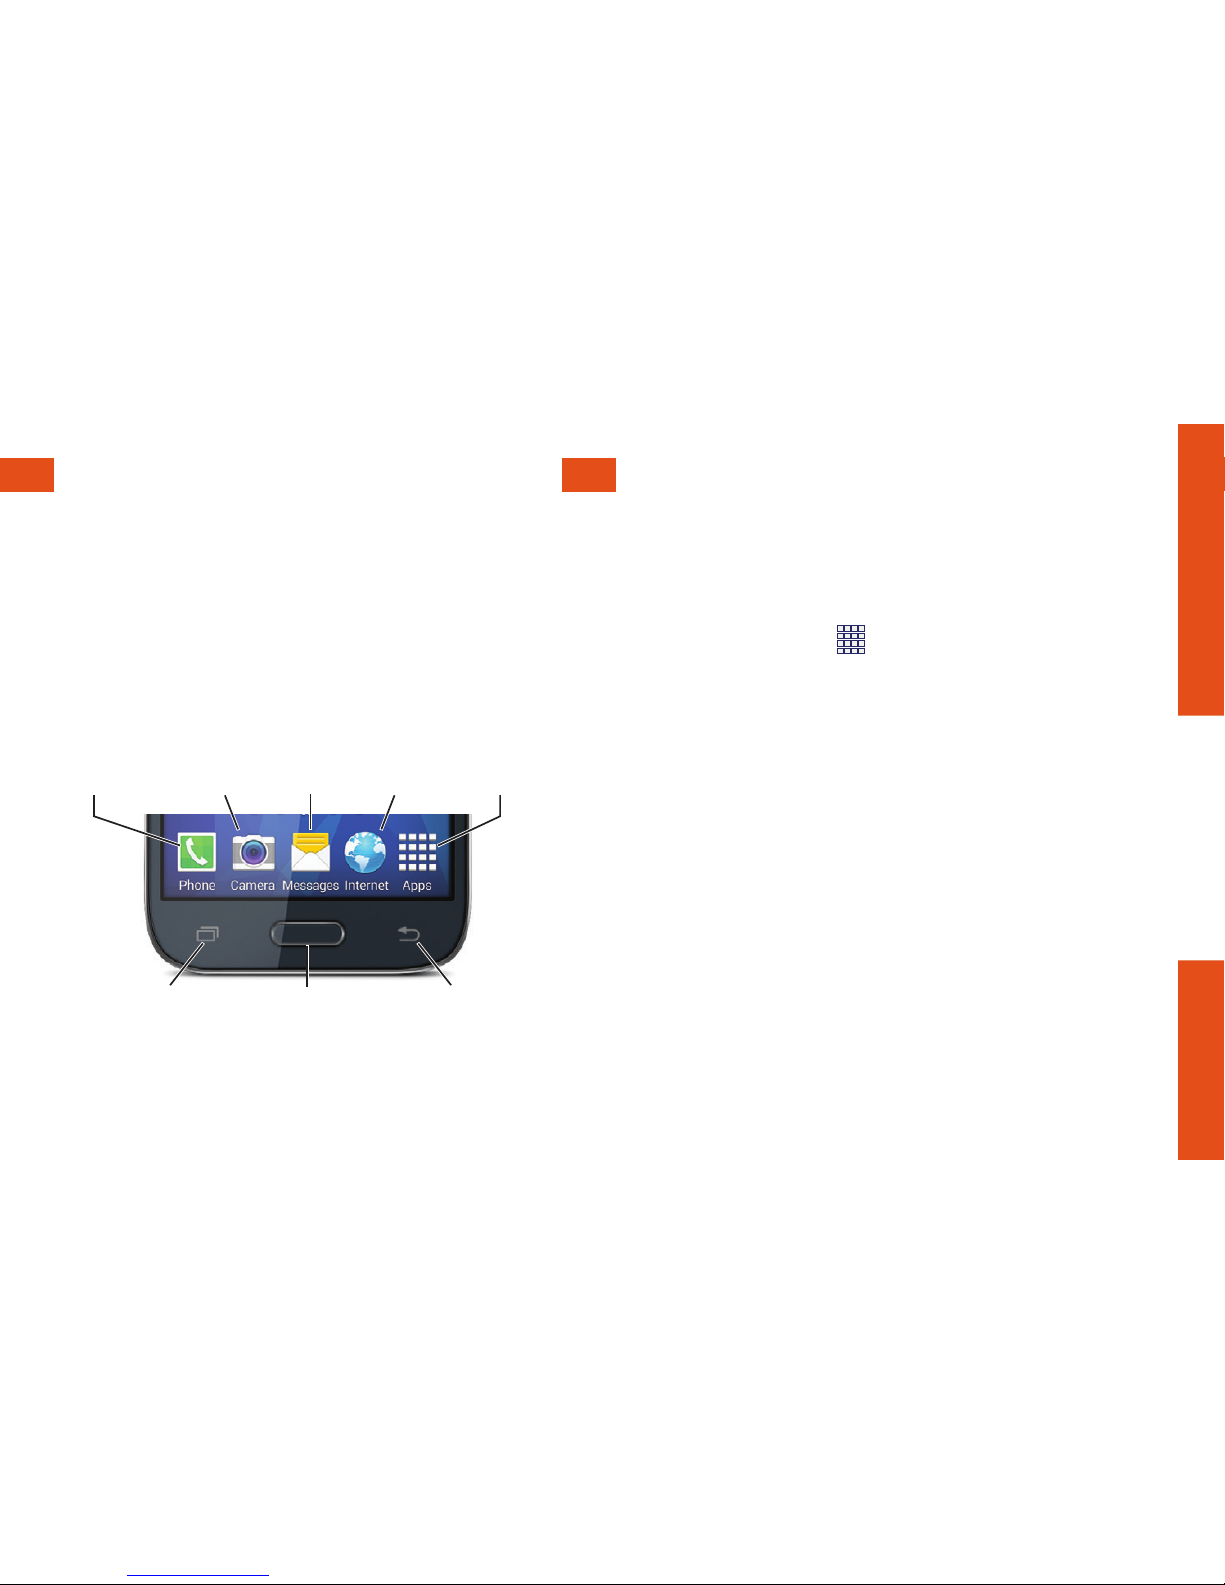
Viewing Your Home Screen
Your phone’s Home screen extends
horizontally up to ive full screens.
• To display the main (center) Home screen,
press
from any screen.
• To view extended screens, swipe the
screen left or right.
Customize Your Home Screen
• To add app shortcuts, tap Apps ,
touch and hold an icon, and drag it
to the home screen.
• To change wallpaper or add widgets, touch
and hold an empty area on a home screen
and tap Wallpapers or Widgets.
Notiications Panel
You can expand the notiication area to see
more about your notiications.
1. Drag the notiications panel down.
2. Tap a notiication to open its app.
Status Bar
The status bar at the top of the Home
screen lets you quickly see both your phone
status (connections, signal strength, battery,
GPS) and any current notiications.
Your Home Screen
visit sprint.com/prepaidsupport for guides, tutorials and more 9
Android Basics
Keys and App Icons Open Apps
The bottom front of your phone contains
three keys: Recent Apps, Home, and Back.
Above this row is a row of app icons that are
available from every Home screen.
• If an app is on one of your Home screens,
just tap it to open it.
• If an app is not available from your Home
screen, tap Apps
, and then tap the app
icon. You may have to scroll right or left to
ind your app.
Back KeyHome KeyRecent
Apps Key
Phone AppsInternetMessagesCamera
 Loading...