

Page 1
Page 2
| Power Related | Installation Related | Cleaning and Use Related |
To avoid injuries or damage to property, please read the following precautions carefully and use the
product accordingly.
Failure to follow the instructions marked with this symbol may cause personal injury or even fatality.
Failure to follow the instructions marked with this symbol, may cause personal injury or damage to
the product or property.
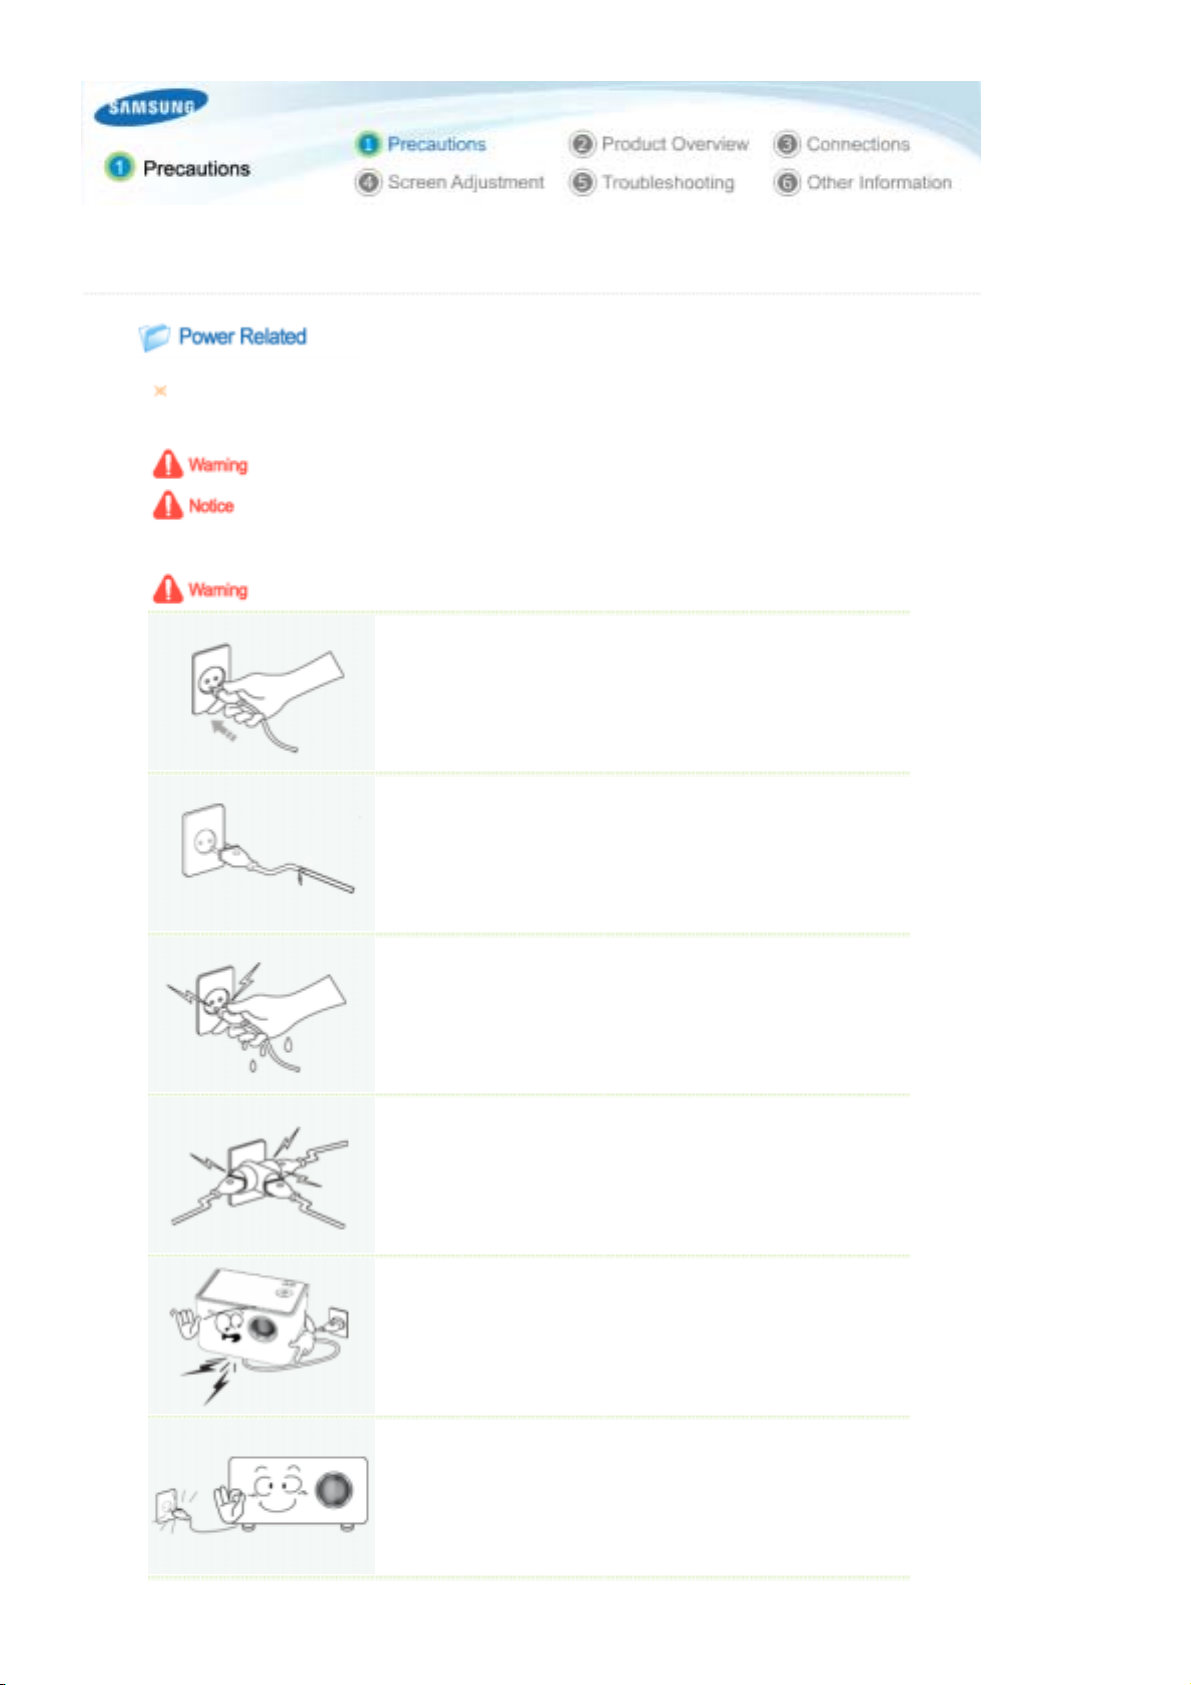
Be sure to plug the plug in tightly as faili n g t o do so may cause fire.
When the connection is incomplete, it may cause fire.
z
Do not use loo s e power outlets or da m a ged power cabl es .
There is a danger of electric shock or fire.
z
Under no circumstances touch the power plug with wet hands.
There is a danger of electric shock.
z
Do not plug mult iple appliances int o a sin g le wall outlet.
There is a danger of fire.
z
Do not place heavy objects on the po w e r co r d. Av o id be n di n g , pu lling or twisting the
power cord.
There is a danger of electric shock or fire.
z
Before moving the product, make sure that the power is off and remove t h e power
cord from the wall outlet. In addition, make sure that all connection cables are
disconnected fr om other devices before moving it.
Moving the product without disconnecting the power cord may damage the
z
power cord and may cause fire or electric shock.
Page 3

Always unplug the unit by holdi n g th e power plug and not the power cable.
There is a danger of fire.
z
Unplug the power plug bef ore cleaning the product.
There is a danger of electric shock or fire.
z
Do not let water or any liquid come into contact with the adapter.
This may cause fire or electric shock.
z
Avoid using the product near liquids or outdoors (i.e. rain, snow).
z
Ensure that the adapter is not exposed to wetness when cleaning the floo r
z
with water.
Do not plug in two power adapters next to each other.
There is a danger of fire.
z
Keep the adapter away from heaters.
There is a danger of fire.
z
Strip the adapt er of the plastic pac k a gi ng before use.
There is a danger of fire.
z
Keep the adapter in a well-ventilated location.
| Power Related | Installation Related | Cleaning and Use Related |
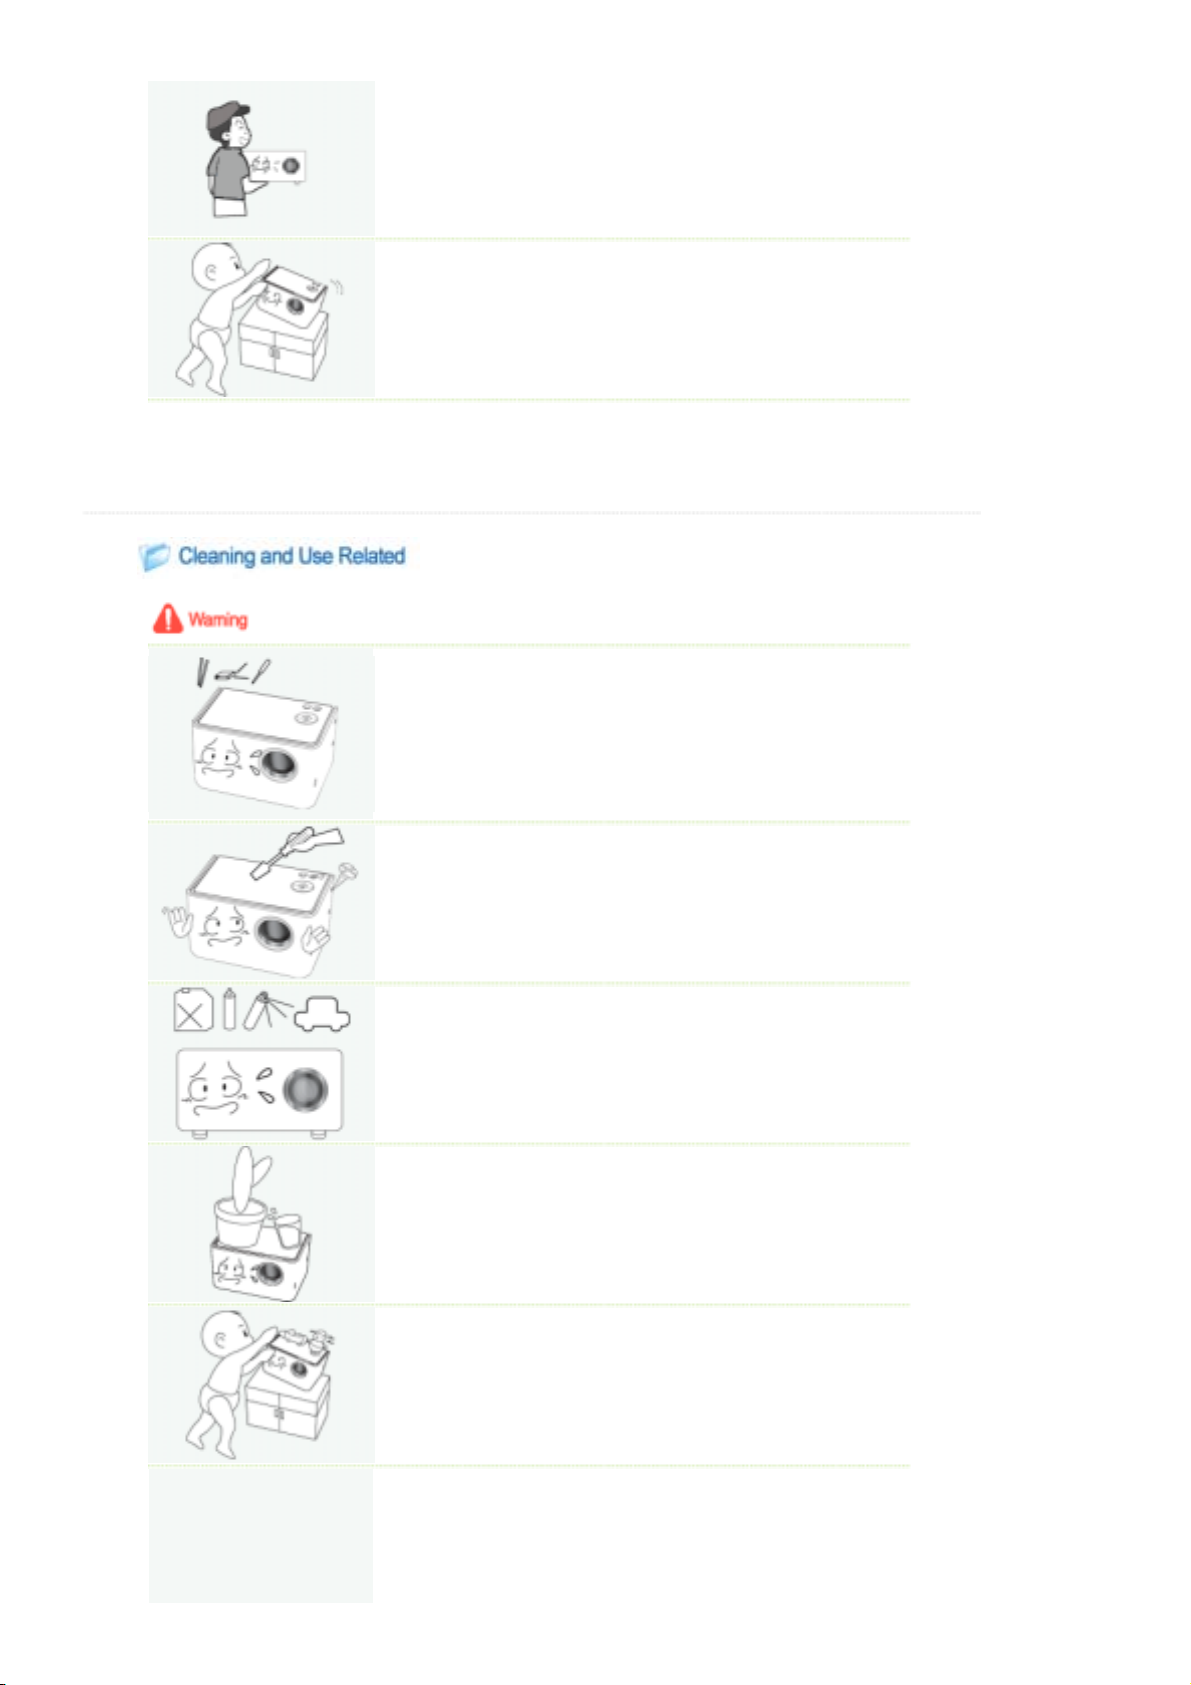
Do not place candles, mosquito sticks, cigarettes, etc. over the pro duct.
There is a danger of fire.
z
Page 4

When installing the produ ct in a c a bi n et or on a sh elf, do not let the fron t pa rt of the
product project out of the cabinet or shelf.
A falling product may damage the product or cause injury.
z
Keep the power cord away from heaters.
The coating of the power cord may melt and cause electric shock or fire.
z
Do not install the product in location s exposed to oil, sm ok e, moisture or water
(rainwater), or in a vehicle.
There is a danger of electric shock or fire.
z
Do not install the product in locations without ventilation such as a bookshelf or a
wall closet.
This may cause fire or damage to the product.
z
Do not install to an unstable location, for example on a stand that is smal ler than the
product.
If the product falls it may injure children or become damaged. Install on a
z
stable location as the front section is heavy.
In case of lightning, immediately turn the system off and disconnect the power cord
from the wall outlet.
There is a danger of electric shock or fire.
z
Make sure the product 's vents are not block ed by a tablecloth or curtain.
This may cause fire or damage the product.
z
Place the product on the ground carefully.
Failing to do so may cause damage or injury.
z
Page 5
Do not drop the p ro du c t wh il e moving it.
Failing to do so may cause damage or injury.
z
Keep the product out of children’s reach.
A falling product may cause harm to children. Since the front part of the
z
product is heavier than the back part, install the product on a flat and
stable location.
| Power Related | Installation Related | Cleaning and Use Related |
To not insert any metal such as chopsticks, wires, gimlets, or inflammable
substances such as paper and matches into the vents of the product or the AV
ports.
There is a danger of electric shock or fire.
z
If water or an alien substance gets into the product, turn the product off,
disconnect the power cord from a wall outlet and contact a Service Center.
Do not disassemble, or attempt to fix or modify the product.
When the product requires repairs, contact a Service Center.
z
There is a danger of electric shock or damage to the product.
Keep the prod uc t a w ay f ro m i nf l am mable sprays or ot he r su ch substances.
There is a danger of fire or explosion.
z
Do not place containers with water, vases, drinks, chemicals, small metal parts or
heavy objects on the product.
If any object or liquid gets into the product, it may cause electric shock, fire
z
or personal injury.
Do not allow any children to place objects such as toys or cookies on the product.
If a child tries to reach for any of these objects, the product may fall and
z
injure the ch ild.
Never look direct ly at the li gh t o f the la mp at the front of the produc t an d never
project the picture onto eyes.
This is dangerous especially for children.
z
Page 6

If the product emits smoke, unusual noise, or there is a burning smell, turn the
system off immediately, disconnect the power plug from the wall outlet, and contact
a Service Center.
There is a danger of electric shock or fire.
z
If the power plug pin or jack is ex posed to dust, wa t e r or alien substances, clean it.
There is a danger of electric shock or fire.
z
Ask a Customer Ce n t er or Service Center to internally clean the product at least once
a year.
If the dust within the product is not cleaned over a long time, it may cause a
z
problem with the product or even fire.
Clean the product lightly using a soft dry cloth or towel after disconnecting the
power cord from the wall outlet.
Do not clean the product using chemicals such as wax, benzene, alcohol,
z
paint thinners, mosquito repellant, aromatics, lubricant, cleansing solutions,
etc.
For long periods where t he product is not bein g us ed, disconnect the power plug.
There is a danger of electric shock or fire.
z
Be sure to contact an authorized Service Center when installing your set in a location
with heavy dust, hig h or low temperatures, hig h humidity, and chemical substances,
or where it will be operated for 24 hours continuously such as an airport, train station
or etc.
Failure to do so may cause serious damage to your set.
z
When the product is dropped or its case is broken, turn the produ ct off and plug out
the power plug, as this may cause electric shock or fire.
In this case, contact a Service Center.
z
Take care not to lose the lens cover of the product.
Failing to use the lens without the lens cover, may damage the lens.
z
Page 7

Page 8

Correct Disposal of This Product
(Waste Electrical & Electronic Equipment) - Europe only
(Applicable in the European Union and other European countries with
separate collection systems)
This marking shown on the product or its literature, indicates that it should not
be disposed with other household wastes at the end of its working life. To
prevent possible harm to the environment or human health from uncontrolled
waste disposal, please separate this from other types of wastes and recycle it
responsibly to promote the sustainable reuse of material resources.
Household users should contact either the retailer where they purchased this
product, or their local government office, for details of where and how they
can take this item for environmentally safe recycling.
Business users should contact their supplier and check the terms and
conditions of the purchase contract. This product should not be mixed with
other commercial wastes for disposal.
Page 9

| Product Features | Product Views | Battery (sold separately) | Product Specifications |
A custom made new projector designed for important marketing activities and presentations of the active business man!
The Portable Projector SP-P300ME provides high mobility and ease of use at a reasonable price.
The New Concept Projector for High Mobility
- Small Size.
- Lightweight.
A Battery Pack that Enables Projections without Connecting a Power
Cord
(For more information about the battery, refe r to the battery description.)
- The Projector is operable with a charged battery.
- You can enjoy wide screen viewing without connecting the power cord.
Next Generation Backlight Light Source, LED Lamp
- Effective energy saving through the use of low voltage.
- Semi-permanent long lifetime guaranteed.
| Product Features | Product Views | Battery (sold separately) | Product Specifications |
Your Projector
Page 10

1.
Power Button
To turn it on
Press the Power button. The Power LED will light
up and the power is turned on.
To turn it off
Press the Power butto n until the Power LED i s
turned off.
2.
Menu Button
Press to displ ay the OSD menu.
This is also used to exit the OSD or to return
to a higher level of the OSD menu.
3. Adjustment Button
Press to move the OSD menu or to adjust a
value on the OSD menu screen.
4.
Enter Button
Press to select an OSD menu.
When pressing the 'SOURCE' button when
the menu screen is not displayed the input
source (PC, Composite)is switche d .
[]
[]
[]
[] / SOURCE Button
5. SERVICE
The SERVICE terminal is used for after-sales
services.
6. PC/COMPOSITE
To connect a PC or VCR, the PC/Composite
cable must be connected here.
Accessories
7. POWER LED
If you turn the projector on, the Power LED
lights up and if you turn it off, the Power LED
turns off accordingly.
8. TEMP LED
This lights up when the product is out of order.
Refer to the Status of the Operating LEDs.
9. Power Port
To supply power, the power adapter must be
connected.
[]
10.Lens
11.Focus Ring
Move it to the left or right to sharpen the image.
12.Battery Port
Install the battery into the battery port.
(For more information about the battery, refe r to
the battery description.)
Page 11

Quick Installation Guide Warranty User Manual CD
Adapter Power Cord PC/Composite cable
Lens Cap Stand (View Stand Installation) Carrying Case
Use only the adapter supplied with the product.
For purchasing an additional adapter, contact your dealer or nearby service center.
Optional Module
Status of Operating LEDs
: On, : Off
POWER
(BLUE)
Battery Video Cable
TEMP
(RED)
Description
The set is power off.
The set is normally operating.
Check if the inside temperature is higher than the level of normal operating caused
by blocked ventilation hole or failed cooling system.
Check Whether A cooling fan inside of the set is not operating normally or if the
ventilation hole on the rear of the set is blocked, because if the inner temperature
is too high, the power will shut off.
| Product Features | Product Views | Battery (sold separately) | Product Specifications |
Page 12

Your Battery
1. Locking hole
A part for installing the battery into the projector.
2. Power Terminal
A part for connecting the power to charge only the battery.
3. Battery Latch
A part to fix the battery onto the projector.
4. Battery Charge Indicator
Shows the remaining battery charge.
While charging the battery (by connecting the AC adapter), the
LED lights up red.
To check the remaining battery charge, press the PUSH button at
Page 13

the bottom left of the battery. The green LEDs show the
remaining battery charge and are automatically turned off after a
while.
When the AC power is connected through the adapter and the
battery is being charged, the green LED lights up.
Battery Installati on a nd Precautions.
1. Installing the Battery
Place the projector over the battery and push it down pushing the back of the projector forward.
When the projector is connected to the battery, the screen is displayed automatically. Do not look directly at the lens
while connecting the battery.
2. Removing the Battery
Hold the rear part of the projector and lift it up sliding the latch on the back of the battery to the left ( ).
3. Battery Use Time
Use Time: 2.5 Hours / Charge Time: 3 Hours
z
Page 14

4. Charging the Battery
Charging the battery when the battery is separated from the projector.
Adapter Standard : DC 14 V, 3.5 A
z
Charging the battery when the battery is installed in the projector.
5. Battery Use Instructions
Please follow the instructions below when using the battery.
Use only an authorized battery.
Using an unauthorized battery may damage the projector and the battery may explode during use.
Avoid heat or impact to the battery.
Avoid strong force/impact to the battery, such as dropping or throwing the battery. Avoid exposing
the battery to high temperatures such as a sauna. This may generate heat or cause a fire or the
battery to explode. If the battery generates heat or fire, is damaged or deformed, immediately
remove the battery from the projector, and isolate the battery in a safe location as it may generate
heat or cause a fire or explosion. Contact a nearby service center immediately.
Do not apply strong pressure to the battery hard and do not impact the battery with a sharp object.
Do not press the battery hard when it is in a bag or do not punch the battery with a sharp object
such as gimlet, nail or tack. It may damage the battery or cause a heat, fire or explosion.
When not usin g t he ba t te r y over a long period
As leaving the projector with the battery installed over a long time may result in the battery being
discharged, or the projector to become inoperable even if the power is switched off, remove the
battery from the projector when not using it for long periods. When using the rechargeable battery
for the first time or after a long period of not being used, charge the battery fully first.
Turn the power off first.
As removing the battery when the power is on may damage the projector, never remove the battery
when the power is on.
Use only an authorized adapter.
If an unauthorized adaptor is used, the projector battery may become damaged or explode.
Do not stare directly at the lens when installing the battery.
When the battery is connected to the main body, the screen is automatically turned on. If you stare
Page 15

The external design and product specifications may change without prior notice due to improvements to the product
performance.
Product Specifications
Model SP-P300ME
Panel
Light Source LED
Power
Dimension 127.2 mm x 94.5 mm x 50.8 mm
Weight 700 g
Major
Functions
Input/Output
(24Pin)
Operating
Environment
at the lamp light or the light is projected onto your eyes, it may cause damage to your eyesight.
Avoid touching the battery charging terminals with metal objects such as necklaces, coins, keys, etc.
There is a danger of fire or explosion.
Avoid keeping the battery in air-tight locations exposed to high temperatures such as within a vehicle
exposed to the sun. Keep the battery around room temperature (between 0°C and +40°C).
There is a danger of external deformation or explosion.
Keep the battery out of reach of children or pets.
If the battery is flooded or damaged, the battery may explode.
There is a danger of fire.
Coming into contact with a damaged battery (also orally) may affect the human body. If the battery
is broken and the battery fluid comes into contact with your skin, wash the fluid off with flowing
water for 1 or 2 minutes so that the fluid is completely washed off.
| Product Features | Product Views | Battery (sold separately) | Product Specifications |
Size 0.55"
Resolution 800 x 600 (SVGA)
Power
Consumption
Standard
Voltage
Brightness 25 ANSI lm
Contrast 1000:1
Screen Size Diagonal 12.5" ~ 63"
Projection
Distance
Keystone Vertical
PC
Composite
Temperature
and Humidity
EMI Class B
Noise Maximum 25 dB (by Samsung Reference)
Less than 25 W ( without Ba ttery)
DC 14 V, 3.5 A
0.5~2.8 m
1) Connector Type : 15Pin D-Sub
2) Frequency (Refer to the Supported Display Modes.)
Supported Broadcast Signals : NTSC, PAL, SECAM
(PAL-60 is not supported.)
Operating temperature (0°C~40°C / 32°F~104°F), Humidity (10~80%)
Storage temperature (-20°C~45°C / -4°F~113°F), Humidity (5~ 95%)
This Class B equipment i s designed for home and of fice use.
The equipment has been registere d reg a rding EMI for residential use. It may be used
in all areas. Class A is for office use. Class A is for business while class B emits less electromagnetic waves
Page 16

than class A.
Supported Display Mode
Resolution
VGA, 640 x 350 31.469 70.086 25.175 +/-
VGA, 640 x 350 37.861 85.080 31.500 +/-
VGA, 640 X 400 37.861 85.080 31.500 -/+
VGA, 640 x 480 31.469 59.940 25.175 -/-
VGA, 640 x 480 31.469 59.940 25.175 -/-
VGA, 640 x 480 37.500 75.000 31.500 -/-
VGA, 640 x 480 43.269 85.008 36.000 -/-
VGA, 640 x 480 35.000 66.667 30.240 -/-
Horizontal
Frequency
(kHz)
Vertical Frequency
(Hz)
Clock Frequency
(MHz)
Polarity
(Horizontal
/Vertical)
VGA, 720 x 400 31.469 70.087 28.322 -/+
VGA, 720 x 400 37.927 85.039 35.500 +/+
SVGA, 800 x 600 35.156 56.250 36.000 +/+
SVGA, 800 x 600 37.879 60.317 40.000 +/+
SVGA, 800 x 600 48.077 72.188 50.000 +/+
SVGA, 800 x 600 46.875 75.000 49.500 +/+
SVGA, 800 x 600 53.674 85.061 56.250 +/+
SVGA, 848 x 480 31.020 60.000 33.750 +/+
SVGA, 832 x 624 49.726 74.551 57.284 +/+
XGA, 1024 x 768 35.522 43.479 44.900 +/+
XGA, 1024 x 768 48.636 60.004 65.000 -/-
XGA, 1024 x 768 56.476 70.069 75.000 -/-
XGA, 1024 x 768 60.023 75.029 78.750 +/+
XGA, 1024 x 768 68.677 84.997 94.500 +/+
XGA, 1024 x 768 48.78 60.001 64.000 -/-
XGA, 1024 x 768 60.241 74.927 80.000 -/-
The DMD Panel used in Samsung Projectors co nsists of seve ral hun dred thousand micro mirrors. As with other
visual display elements, the DMD P a n el m a y inc lude a few bad pixels, Samsung and the DMD Panel manufacturer
have a rigid, bad pixel identifi ca tion and limitation procedure in place and products will not exceed the maximum
number of ba d pi xels set by our st a nd a r ds . R arely, non-dis playable pixels may exist, however it does not affect
the overall picture quality nor the lifespan of the product.
Page 17

Page 18

| Basic Settings | Connecting the Power | Connecting with a PC | Connecting with an AV device |
Installing a Projector
Install the projector so that the beam from the projector is perpendicular to the screen.
Place the projector so that the lens is at the center of the screen.
If the screen is not vertically installed, the picture on the screen may not be a rectangle.
Do not install the screen in a bright surrounding. If the screen is too bright, the picture on the screen is not
displayed clearly.
When installing the screen in a bright surrounding, use curtains or blinds to darken the surroundings.
You can install the projector to the front floor / front ceiling / rear floor / rear ceiling.
(To view the installation position settings)
To view the picture when installing the projector to the rear of the screen,
install a semi-transparent screen.
Select Menu > Setup > Install > Rear-Floor
To view the picture when installing the projector to the front of the screen,
i ns tall the pr ojec tor at th e side where you are watching
the screen.
Select Menu > Setup > Install > Front-Floor
Focusing
Turn the Focus Ring left or right until the picture on the screen is displayed
clearly.
If the distance between the projector and the screen is farther or shorter
than the specified projection distance (Refer to the Screen Size and
Projection Distance), the focus adj u st me nt might fail.
Page 19

Screen Size and Projection Distance
Distan ce Picture size(mm x mm) Diagonal inch
0.5 m 25.5 * 19.1 12.5"
1.0 m 50.8 * 38.1 25.0"
1.64 m 83.3 * 62.5 41.0"
2.0 m 101.6 * 76.2 50.0"
2.8 m 127.0 * 95.3 63.0"
The screen is designed to be optimal at 41".
| Basic Settings | Connecting the Power | Connecting with a PC | Connecting with an AV device |
Connect the adapter to a wall outlet( ).
Connect the power cord to the adapter and connect it to a wall outlet.
When the power is connected, the screen turns on automatically. Do not stare at the lens while connecting the power.
Page 20

Use only an authorized adapter.
| Basic Settings | Connecting the Power | Connecting with a PC | Connecting with an AV device |
Using the Projector
Connect the [PC/COMPOSITE] port on the side of the projector and the Monitor OUT port [D-Sub] of the PC using a
PC/Composite cable.
When all the connections above have been connected, turn the projector and the PC on.
Selecting the extern al input source.
Select PC IN by using the Menu and Adjust buttons. ( SOURCE )
Select PC input using the Adjust buttons. ( Menu > Input > Source List > PC )
Adjust the screen so that the picture can be viewed comfortably.
To listen to audio, an additional audio system is required.
| Basic Settings | Connecting the Power | Connecting with a PC | Connecting with an AV device |
Page 21

Connect the [Composite Input (Yellow)] port on the side of the projector and the Video Out (Yellow) port of the AV
device with a video cable.
When all the connections above have been connected, turn the projector and the video devices on.
How to Use
Selecting the extern al input source.
Press the SOURCE button and select the PC input ( SOURCE )
Select PC input using the Adjust buttons. ( Menu > Input > Sou r ce List > Compos ite )
Turn the connected AV device.
To listen to audio, an additional audio system is required.
Page 22

Installation and Connection
Symptom Solution
Cannot turn the power on.
| The Checklis t b ef o re re p o rt in g a p ro b lem |
When using the adaptor : Check the connectivity of the power to the projector.
When using the battery : Check the connection status of the battery and the
projector, and the remaining battery charge.
The screen is distorted or
displayed in a trapezoid shape.
Cannot select an external
device.
Screen and Externa l De vice
Symptom Solution
A blank screen is displayed.
The color is abnormal
The picture is dim. Focus the len s.
Install the projector so that the beam from the projector is perpendicular to the
screen.
Check if the external device connector (video cable) is properly connected to the
corresponding port and check the connectivity. If the cable is not properly
connected, you would not be able to select the external source.
Check the power connection of the projector.
Check if the input select ion is correct.
Check if the projector cable is properly connected.
Check if "Brightness" is set to the minimum level.
Check if the "brightness" is set to the minimum by selecting Menu > Picture >
Custom Picture > Brightness.
Check if the external device is operating and check the video output settings.
Adjust the con trast by selecting Menu > Pic ture > Custom Picture > Contrast.
Select Menu > Picture > Custom Picture > Contrast and check if the
value is normal.
Check if the projection distance is too far or too close.
A strange sound is generated by the
product.
Lines appear on the screen. There may be distortion when using a computer.
The external device screen is not
displayed.
Only a blue screen appears. Check the connectivity between the external device and other connections.
The screen is displayed in black and
white or the color is abnormal. / The
screen is too dim or too bright.
If the sound continues, contact a Service Center, as this might be happening due
to a defective part.
Select Menu > Setup > PC > Co arse Settings and adjust th e display frequency.
Check if the external device is operating properly and then check if the
"Brightness" or "Contrast" settings have been changed by selecting Menu > Picture
> Custom Picture from the projector menu.
As described above, check the "Brightness" or "Contrast" of the Menu Settings.
To initialize the settings of the projector to the factory defaults, select "Facto ry
Default" from the menu.
Page 23

| Custody and Management | Contact SAMSUNG WORLD-WIDE | Other | Authority |
To clean the exterior and lens of the projector
Clean the proje ct or using a soft dry clot h.
Do not clean the projector with inflammable
substances such as benzene, paint thinners or
a wet cloth, as these may cause problems.
Do not touch the projec tor with a na il or any
other sharp objects, as this may scratch the
surface.
To clean the interior of the projector
For cleaning the interior of the projector, ask your
Service Center or product provider.
Contact your product provider or Service Center
if dust or other alien substances are inside the
projector.
| Custody and Management | Contact SAMSUNG WORLD-WIDE | Other | Authority |
If you have any questions or comments relating to Samsung products,
please contact the SAMSUNG customer care center.
North America
CANADA 1-800-SAMSUNG (7267864) http://www.samsung.com/ca
MEXICO 01-800-SAMSUNG (72678 64) http://www.samsung.com/mx
U.S.A 1-800-SAMSUNG (72678 64) http://www.samsung.com
Page 24

Latin Ame r ica
ARGENTINE 0800-333-3733 http://www.samsung.com/ar
BRAZIL 0800-124-421 http://www.samsung.com/br
CHILE 800-726-7864 (SAMSUNG) http://www.samsung.com/cl
COSTA RICA 0-800-507-7267 http://www.samsung.com/latin
ECUADOR 1-800-10-7267 http://www.samsung.com/latin
EL SALVADOR 800-6225 http://www.samsung.com/latin
GUATEMALA 1-800-299-0013 http://www.samsung.com/latin
JAMAICA 1-800-234-7267 http://www.samsung.com/latin
PANAMA 800-7267 http://www.samsung.com/latin
PUERTO RICO 1-800-682-3180 http://www.samsung.com/latin
REP. DOMINICA 1-800-751-2676 http://www.samsung.com/latin
TRINIDAD & TOBAGO 1-800-7267-864 http://www.samsung.com/latin
VENEZUELA 1-800-100-5303 http://www.samsung.com/latin
Europe
BELGIUM 02 201 2418 http://www.samsung.com/be
CZECH REPUBLIC 844 000 844 http://www.samsung.com/cz
DENMARK 38 322 887 http://www.samsung.com/dk
FINLAND 09 693 79 554 http://www.samsung.com/fi
FRANCE
08 25 08 65 65 (€ 0,15/min)
http://www.samsung.com/fr
GERMANY 01805 - 121213 (€ 0,12/Min) http://www.samsung.de
HUNGARY 06 40 985 985 http://www.samsung.com/hu
ITALIA 199 153 153 http://www.samsung.com/it
LUXEMBURG 02 261 03 710 http://www.samsung.lu
NETHERLANDS
0900 20 200 88 (€ 0.10/Min)
http://www.samsung.com/nl
NORWAY 231 627 22 http://www.samsung.com/no
POLAND 0 801 801 881 http://www.samsung.com/pl
PORTUGAL 80 8 200 128 http://www.samsung.com/pt
SLOVAKIA 0850 123 989 http://www.samsung.com/sk
SPAIN 902 10 11 30 http://www.samsung.com/es
SWEDEN 08 585 367 87 http://www.samsung.com/se
U.K 0870 242 0303 http://www.samsung.com/uk
CIS
RUSSIA 8-800-200-0400 http://www.samsung.ru
UKRAINE 8-800-502-0000 http://www.samsung.com/ur
Page 25

Asia Pacific
AUSTRALIA 1300 362 603 http://www.samsung.com/au
CHINA 800-810-5858, 010- 6475 1880 http://www.samsung.com.cn
HONG KONG 2862 6001 http://www.samsung.com/hk
INDIA 3030 8282, 1600 1100 11 http://www.samsung.com/in
INDONESIA 0800-112-8888 http://www.samsung.com/id
JAPAN 0120-327-527 http://www.samsung.com/jp
MALAYSIA 1800-88-9999 http://www.samsung.com/my
PHILIPPINES 1800-10-SAMSUNG (7267864) http://www.samsung.com/ph
SINGAPORE 1800-SAMSUNG (72678 64) http://www.samsung.com/sg
THAILAND 1800-29-3232, 02-689-3232 http://www.samsung.com/th
TAIWAN 0800-329-999 http://www.samsung.com/tw
VIETNAM 1 800 588 889 http://www.samsung.com/vn
Middle East & Africa
SOUTH AFRICA 0860 7267864 (SAMSUNG) http://www.samsung.com/za
U.A.E 800SAMSUNG (7267864) http://www.samsung.com/mea
| Custody and Management | Contact SAMSUNG WORLD-WIDE | Other | Authority |
Advantages of Pocket Imager
Long Lif e time
Replacing the lamp is not necessary unlike for other projectors.
Low Power Consumption
Since it consumes less power, it can run on battery power unlike other projectors.
Glossary
ANSI
Abbreviations of the American National Standards Institute
ANSI Lumen
Unit of brightness as defined by the American National Standards Institute. This value is determined as follows: project
light onto a 40-inch screen, divide the screen into 9 rectangles and measure the average brightness of each of the
rectangles. Since the brightness at the center is generally different from that of the edges, ANSI Lumen provides a more
precise measure of the projector brightness than LUX.
Contrast Ratio
This is the difference between the brightest point and the dimmest point. The higher the contrast, the higher the
brightness.
ITU
Abbreviations of International Telecommunications Union, a subsidiary standardization body of the UN. ITU is the
standardization body of the UN in charge of international agreements, standards and recommendations on electric
communications. Standards for desktops developed by ITU include "V.dot" and "Group-Ⅲ" for data modems and fax.
T.120
T.120 is data for standard
Page 26

- Description of standard on file transmission and white board.
- Shared application submitted to ITU for approval as a part of the T.120 standard.
H.320
H.320 is the ITU standard for public circuit-switched networks.
- A comprehensive standard for audio and video. It can be shared between systems that sell ISDN.
- Including the H.261 Video Standard, G.711, G.722 and G.728 audio standards, and data for the T.120 standard.
Backwards Co mpatible
Backwards compatibility for previous computer models. The SVGA (800*600) projector provides backwards
compatibility for SVGA and VGA (640*480) com p ut e rs.
Compression Mode
A mode that displays video in a zoomed out format.
Contrast Ratio
The ratio of the brightest and dimmest points on the screen.
Convergence
The alignment of the Red, Green and Blue video signals on the projected picture on the screen.
Display Size
The Display Size is determined by the diagonal length of the LCD panel.
Distribution Am pl ifi e r
A device that amplifies and transmits video signals over a long distance via coaxial cable .
EGA
Enhanced Graphics Array. EGA provides enhanced graphics quality in XT and AT IBM PC as a CGA card. (640x350
pixels for all modes)
Hz (kHz, MHz)
Hertz (Kilohertz, Megahertz). Frequency per second. (Kilo: 1,000, Mega: 1 million) Hz is used to represent the frequency
of electric signals.
NTSC
National Television Standards Committee. A TV and video signal transmission standard developed in North America in
1953. 525line / 60 Hz
PAL
Phase Alternate Line. A method to transmit and receive color line by line. PAL is widely used in Western European
countries. 625line / 50 Hz
SECAM
Sequential Couleur Avec Memorie. A TV standard developed in France. SECAM is mainly used in France and Eastern
European countries. 625 lines / 50 Hz
Super VGA (SVGA)
SVGA provides a graphics resolution of 800x600 pixels. This standard includes a vertical frequency version.
VGA
Video Graphics Array. Standard output interface for IBM PS/ 2. An analog graphics card developed by IBM that supports
720x400 pixels resolution in text mode and 640x480 pixels for graphics mode. (Other graphics cards process digital
data.)
Video
The picture projection capability of a PC with a VCR, Laser disk or CD-ROM drive.
XGA
Extended Graphics Adapter. A graphics standard developed by IBM. XGA includes VGA standard and provides
1024x768 pixels of resolution.
DVD
Digital media developed to provide the advantages of CD and LD. DVD provides high quality video and audio.
Satellite Broadcast
Satellite Broadcast transmits programs via satellite so that broadcasts are viable in all areas in a high visual and sound
quality.
External Input
External Input is provided to connect external video devices other than a TV tune r such as a VCR , c amcorder, DVD
Page 27

player, etc . as a video so urce.
English Caption (= Capt ion Settings)
A function that shows English captions or text information included in the broadcasting signal or video tape. You can
use this function for studying English by watching AFKN or CC marked video tapes.
Resolution
Pixels are a number of small dots making up the TV screen. The resolution represents the number of pixels on a screen.
Since, the more pixels there are, the more inf orm ation is displayed, select a higher resolution when you wish to view
multiple tasks simultaneously.
For example, if the resolution of a TV is 800 * 600, this means the width of the screen consists of 800 pixel columns
and the height of the screen consists of 600 pixel rows.
Vertical Keystone
This correction function is used when vertical distortion of the projected picture occurs. Vertical distortion refers to the
distortion of the projected picture when the beam from the projector is not vertically perpendicular to the screen. You
can view pictures more comfortably by correcting the distortion using the Vertical Keystone function.
Projected Picture
A picture projected by the projector onto the screen.
| Custody and Management | Contact SAMSUNG WORLD-WIDE | Other | Authority |
Information in this document is subject to change without notice.
2006 Samsung Electronics Co., Ltd. All rights reserved.
©
Reproduction in any manner whatsoever without the written permission of Samsung Electronics Co., Ltd. is strictly
forbidden.
Samsung Electronics Co., Ltd. shall not be liable for errors contained herein or for incidental or consequential damages in
connection with the furnishing, performance, or use of this material.
MÉXICO
IMPORTADO POR:
SAMSUNG ELECTRONICS MÉXICO. S.A. de C.V.
Vía Lopez Portillo No. 6, Col. San Fco. Chilpan
Tultitlán, Estado de México, C.P. 54940
Tel: 01-55-5747-5100 / 01-800 -726-7864
Page 28

EXPORTADO POR: Samsung Electronics CO.,LTD.
416, Mae tan-3dong, Yeongtong - gu,
Suwon City, Gyeonggi-do Korea
 Loading...