

Samsung SPN4235 Users Manual
50
PLASMA DISPLAY PANEL
Sound Control
Customizing the Sound ................................................................52
Using Automatic Sound Settings ....................................................53
Choosing a Multi-Channel Sound (MTS)Soundtrack ..........................54
Using the Auto Volume..................................................................55
Using Virtual Dolby ......................................................................56
Using a Subwoofer ......................................................................57
Freezing the Picture
Still
Press the Still button on the remote control to freeze a
moving picture. Press again to cancel.
53
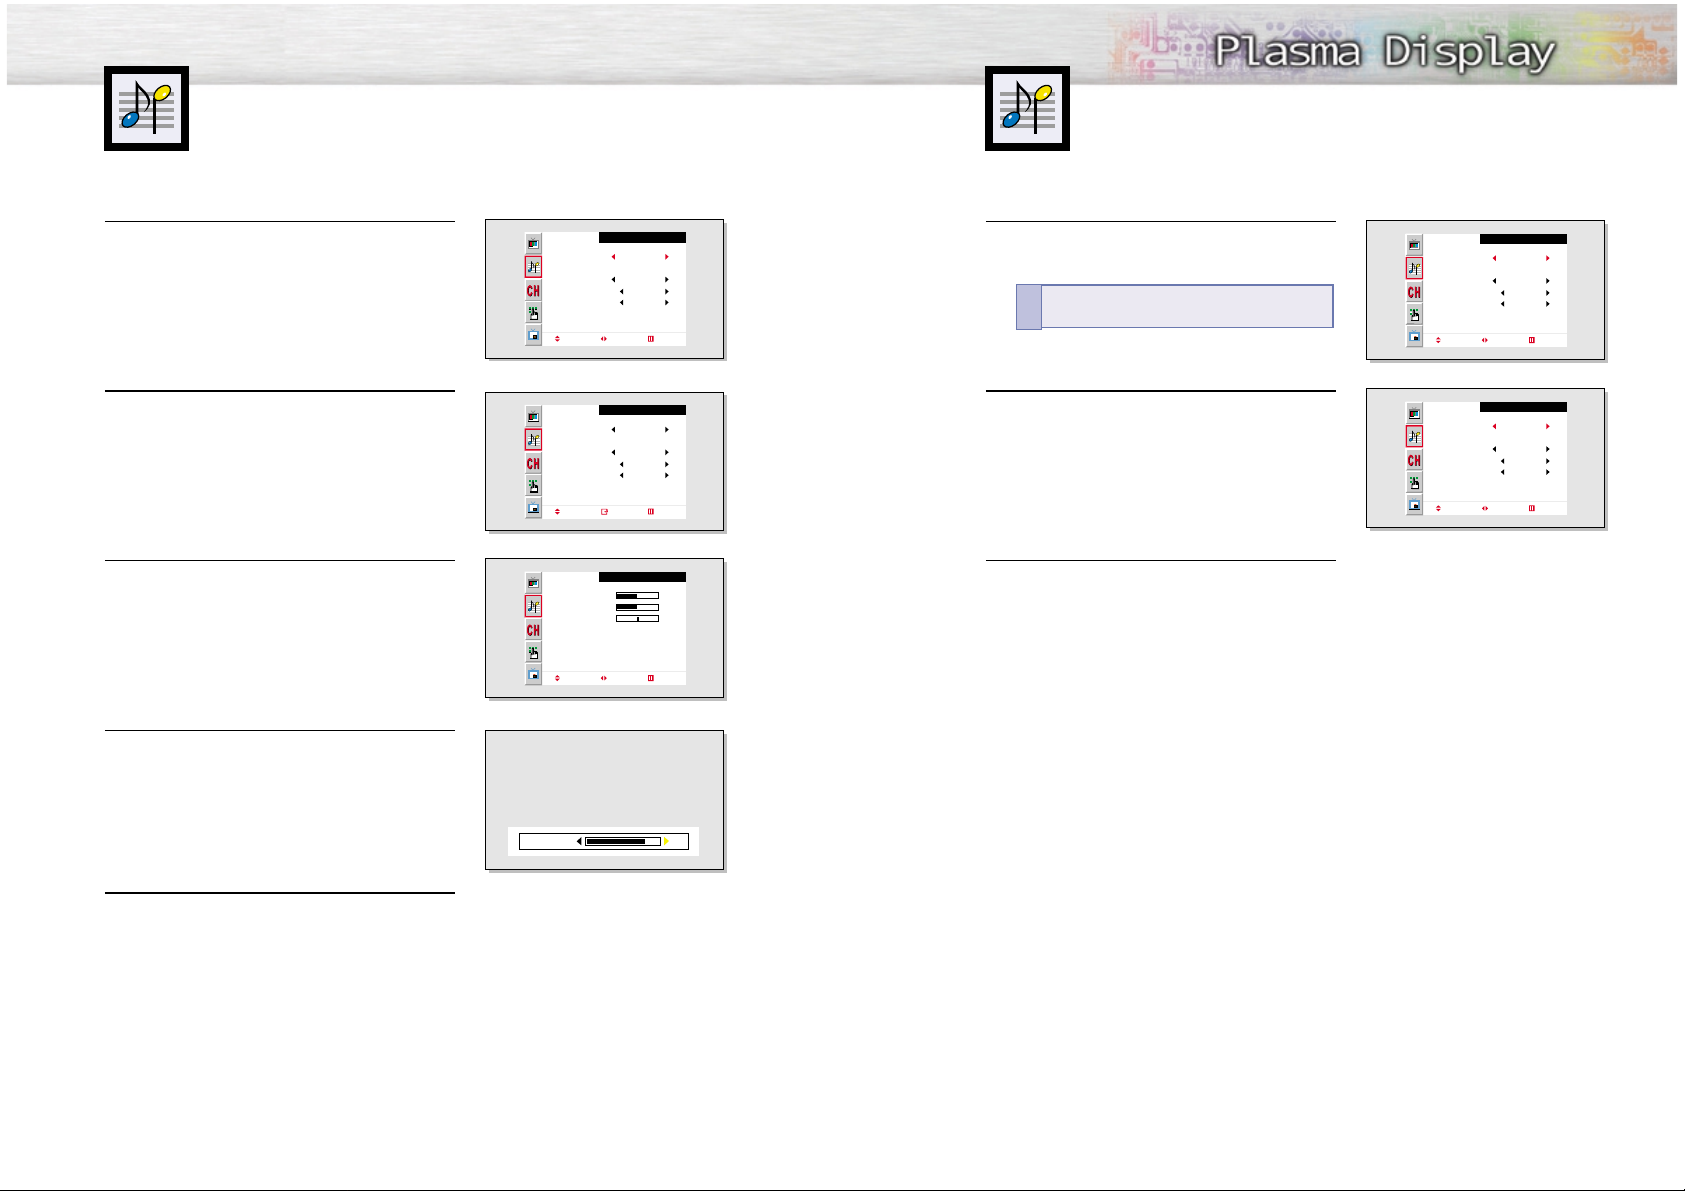
Customizing the Sound
52
1
Press the Menu button. Move the joystick up or
down to select “Sound”, then press the joystick
to enter.
2
Move the joystick left or right to select “Custom”,
“Standard”, “Music”, “Movie” or “Speech” sound
setting.
3
Press the Menu button to exit.
Using Automatic Sound Settings
1
Press the Menu button. Move the joystick up or
down to select “Sound”, then press the joystick
to enter.
2
Move the joystick up or down to select “Adjust”,
then press the joystick to enter.
You will also see the items “Bass”, “Treble” and
“Balance”.
3
Move the joystick up or down to select the item you
wish to change.
4
Move the joystick left or right to change the value of
the item.
5
Press the Menu button to exit.
Quick way to access the sound setting:
Just
press the “S.Mode” button on the remote control.
!
Mode
Adjust
MTS
Auto Volume
Dolby Virtual
Woofer
Move Select Exit
Mode
Adjust
MTS
Auto Volume
Dolby Virtual
Woofer
Move Enter Exit
Bass
Treble
Balance
Move Select Exit
Sound
Custom
Mono
Off
Off
Sound
Custom
Mono
Off
Off
Adjust
L 50
R 50
Mode
Adjust
MTS
Auto Volume
Dolby Virtual
Woofer
Move Select Exit
Mode
Adjust
MTS
Auto Volume
Dolby Virtual
Woofer
Move Select Exit
Sound
Custom
Mono
Off
Off
Sound
Music
Off
Off
50
50
82Bass
55
Choosing a Multi-Channel Sound (MTS)
Soundtrack
Depending on the particular program being broadcast, you can listen to stereo, mono,
or a Separate Audio Program. (SAP audio is usually a foreign-language translation.
Sometimes SAP has unrelated information like news or weather.)
54
1
Press the Menu button. Move the joystick up or
down to select “Sound”, then press the joystick
to enter.
2
Move the joystick up or down to select “MTS”.
3
Move the joystick left or right to select “Mono”,
“Stereo” or “SAP”.
4
Press the Menu button to exit.
Quick way to access the MTS menu: Just press
the “MTS” button on the remote control.
!
Using the Auto Volume
Each broadcasting station has its own signal conditions, which can make it necessary to
adjust the volume every time the channel is changed. “Auto volume” lets you automatically
adjust the volume of the desired channel by lowering the sound output when the modulation signal is high or by raising the sound output when the modulation signal is low.
1
Press the Menu button. Move the joystick up or
down to select “Sound”, then press the joystick
to enter.
2
Move the joystick up or down to select “Auto
Volume”.
3
Move the joystick right to select “On”.
4
Press the Menu button to exit.
• Choose
Stereo
Stereo for channels that are broadcasting in stereo.
• Choose
Mono
Mono for channels that are broadcasting in mono, or if you are having difficulty receiving
a stereo signal.
• Choose
SAP
SAP to listen to the Separate Audio Program, which is usually a foreign-language translation.
Note
• The MTS function operates in TV mode only.
Mode
Adjust
MTS
Auto Volume
Dolby Virtual
Woofer
Move Select Exit
Mode
Adjust
MTS
Auto Volume
Dolby Virtual
Woofer
Move Select Exit
Mode
Adjust
MTS
Auto Volume
Dolby Virtual
Woofer
Move Select Exit
Sound
Custom
Mono
Off
Off
Sound
Standard
Mono
Off
Off
Sound
Standard
Stereo
Off
Off
Mode
Adjust
MTS
Auto Volume
Dolby Virtual
Woofer
Move Select Exit
Mode
Adjust
MTS
Auto Volume
Dolby Virtual
Woofer
Move Select Exit
Mode
Adjust
MTS
Auto Volume
Dolby Virtual
Woofer
Move Select Exit
Sound
Custom
Mono
Off
Off
Sound
Standard
Mono
Off
Off
Sound
Standard
Mono
On
Off

Using Virtual Dolby
This feature allows the PDP’s optional L/R speakers to provide a Home Theater-like Dolby
effect. The center and surround sounds are mixed into the L/R speakers.
Using a Subwoofer
56 57
1
Press the Menu button. Move the joystick up or
down to select “Sound”, then press the joystick
to enter.
2
Move the joystick up or down to select “Woofer”,
then press the joystick to enter.
3
Move the joystick left or right to select “On”.
4
Move the joystick up or down to select “Volume”,
then move the joystick left or right to adjust the
value of the item.
5
Move the joystick up or down to select “Corner
Freq.”, then move the joystick left or right to adjust
the value of the item.
7
Press the Menu button to exit.
1
Press the Menu button. Move the joystick up or
down to select “Sound”, then press the joystick
to enter.
2
Move the joystick up or down to select “
Dolby
Virtual
”.
3
Move the joystick left or right to select “On”.
4
Press the Menu button to exit.
Quick way to access the MTS menu:
Just press
the “Dolby Virtual” button on the remote control.
!
Mode
Adjust
MTS
Auto Volume
Dolby Virtual
Woofer
Move Select Exit
Mode
Adjust
MTS
Auto Volume
Dolby Virtual
Woofer
Move Select Exit
Mode
Adjust
MTS
Auto Volume
Dolby Virtual
Woofer
Move Select Exit
Sound
Custom
Mono
Off
Off
Sound
Standard
Mono
Off
Off
Sound
Standard
Mono
Off
On
Mode
Adjust
MTS
Auto Volume
Dolby Virtual
Woofer
Move Select Exit
Mode
Adjust
MTS
Auto Volume
Dolby Virtual
Woofer
Move Enter Exit
Woofer
Volume
Corner Freq.
Move Select Exit
Woofer
Volume
Corner Freq.
Move Adjust Exit
Sound
Custom
Mono
Off
Off
Sound
Standard
Mono
Off
Off
Woofer
On
120Hz
Woofer
On
120Hz
50
50
65Volume
Woofer
Volume
Corner Freq.
Move Adjust Exit
Woofer
On
130Hz
50

PLASMA DISPLAY PANEL
Channel Control
Fine Tuning Channels....................................................................60
LNA (Low Noise Amplifier)............................................................61
61
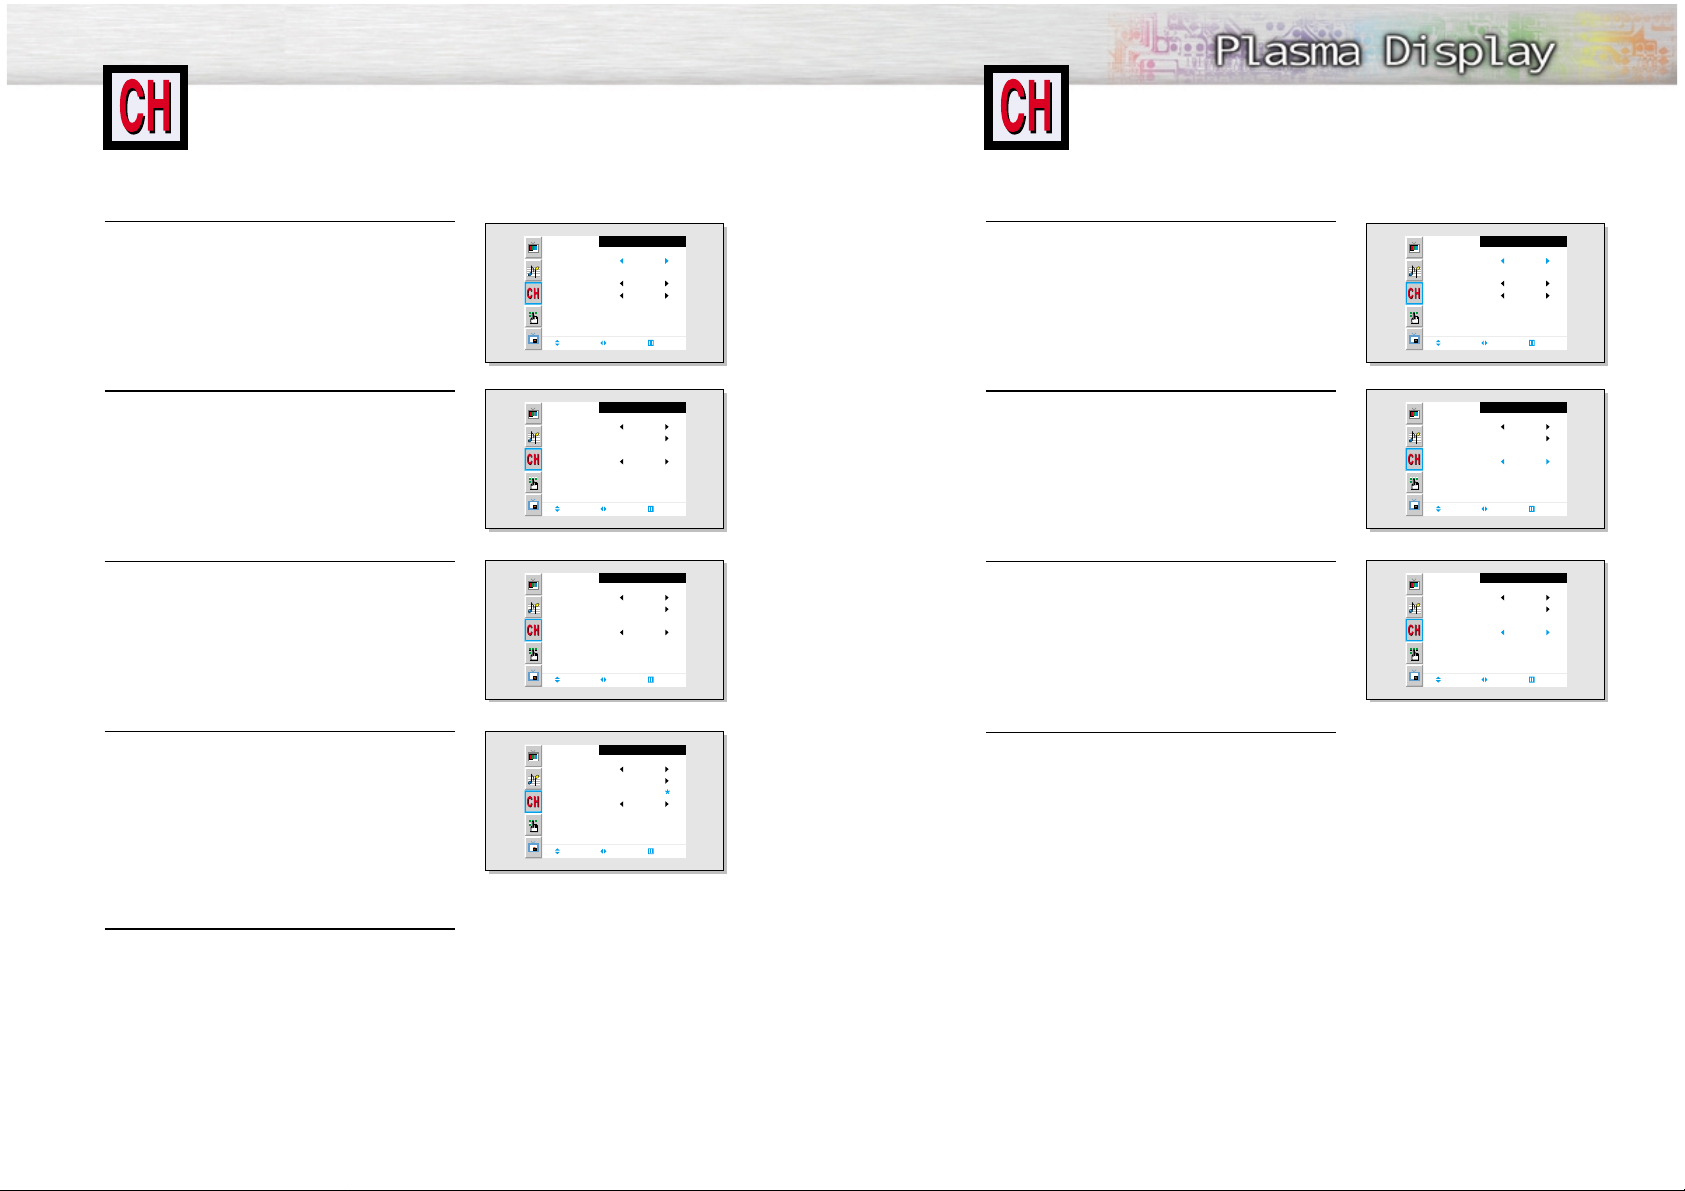
Fine Tuning Channels
Use fine tuning to manually adjust a particular channel for optimal reception.
60
1
Press the Menu button. Move the joystick up or
down to select “Channel”, then press the joystick to
enter.
2
Move the joystick up or down to select “Fine Tune”.
3
Move the joystick left or right to adjust the fine
tuning.
4
To store the fine tuning setting in the TV’s memory,
Move the joystick up. (A star icon<*>will appear.)
To reset the fine tuning to “00”, move the joystick
down.
5
Press the Menu button to exit.
LNA (Low Noise Amplifier)
If the TV is operating in a weak-signal area, sometimes the LNA function can improve
the reception (a low-noise preamplifier boosts the incoming signal).
1
Press the Menu button. Move the joystick up or
down to select “Channel”, then press the joystick to
enter.
2
Move the joystick up or down to select “LNA”.
3
Move the joystick left or right to select LNA “On.”
• Moving the joystick left or right will alternate
between “On” and “Off.”
5
Press the Menu button to exit.
Ant/ CATV
Auto Program
Fine Tune
LNA
Move Select Exit
Air / CATV
Auto Program
Fine Tune
LNA
Move Adjust Exit
Air / CATV
Auto Program
Fine Tune
LNA
Add/Erase Adjust Exit
Air / CATV
Auto Program
Fine Tune
LNA
Channel
Ant
0
Off
Channel
Air
Off
Channel
Air
Off
Channel
Air
Off
0
+3
+3
Ant/ CATV
Auto Program
Fine Tune
LNA
Move Select Exit
Air / CATV
Auto Program
Fine Tune
LNA
Move Select Exit
Air / CATV
Auto Program
Fine Tune
LNA
Move Select Exit
Channel
Ant
0
Off
Channel
Air
Off
Channel
Air
On
0
0
Add/Erase Adjust Exit

PLASMA DISPLAY PANEL
Connecting a PC and Operation
Connecting to a PC......................................................................64
Adjusting the PC Screen................................................................68
Changing the Position of the Image................................................69
Changing the Size of the Image ....................................................70
Information..................................................................................71
Picture Quality Adjustment ............................................................72
Power Saver (PC mode only) ........................................................73
65
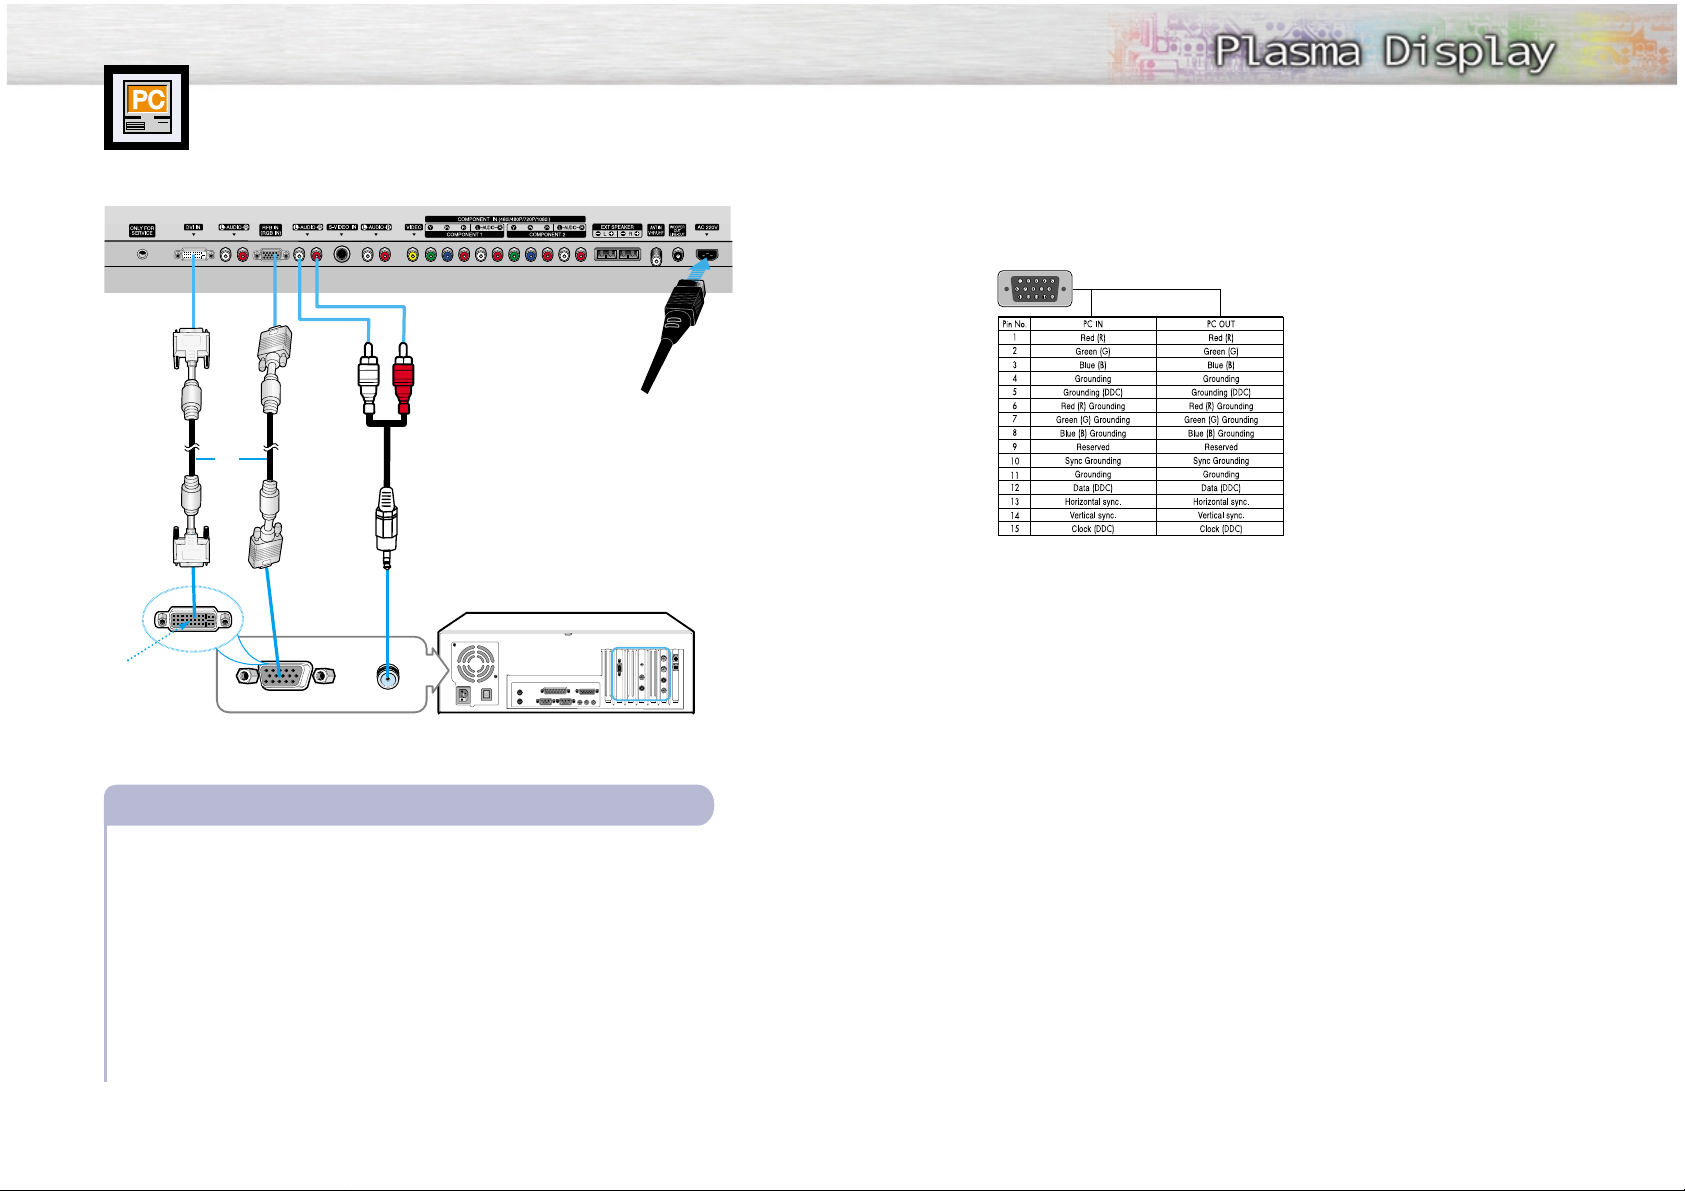
Connecting to a PC
This PDP is not compatible with Macintosh computers.
64
Connect a PC (15pin) cable between the Video Output jack(or DVI jack) on the PC and the
RGB IN(or DVI IN) Input jack (15p D-SUB) on the PDP.
• For an explanation of Component video, see your PC owner’s instructions.
Connect a Audio cable between the Audio (RGB or DVI) on the PC and the Audio L/R (RGB
or DVI) input jacks on the PDP.
To watch the PC screen:
1. Turn on your PDP, and press the Source button on the remote control.
2. Move the joystick up or down to select the “PC”, then press the joystick to enter.
3. Turn on PC and check for PC system requirements. (Refer to pages 68 and 69
for PC system requirements.)
3. Adjust the PC screen. (Refer to pages 70 and 74.)
Connecting a PC to the PDP
Audio Cable
Video Cable
Power Plug
1
2
Pin Configuration
• 15Pin Signal Cable (based on protruded pin)
Setting up Your Monitor (Plug and Play)
Our adoption of the new VESAPlug and Play solution eliminates complicated and time consuming
setup. It allows you to install your monitor in a Plug and Play compatible system, without the usual
setup hassles and confusion. Your PC system can easily identify and configure itself for use with your
display. This monitor automatically tells the PC system its Extended Display Identification data (EDID)
using Display Data Channel (DDC) protocols.
DVI jack
(The actual configuration on your PC
may be different,
depending on the
model.)
PDP
PC
or
 Loading...