

Samsung SMR750B Users Manual

Page 1 of 40
Draft 6.1
Only for
Approval
User manual
SM-R750B
QUICK REFERENCE MANUAL
Page 2 of 40

Support
Page 3 of 40
This guide provides you with the information you need to
get started. For more information and additional support,
please visit the Samsung.com support page:
• Get suppor t for your device online.
• Review your device’s User Manual and
troubleshooting FAQs.
• Review troubleshooting solutions.
NOTE: Devices and software are constantly evolving—the screen
images and icons you see here are for referen ce only.
NOTE: This devi ce should only b e used with fir mware versio ns
that have been approved for use by the carr ier and the
device manufacturer. If unauthorize d firmware is placed on
the device it will not function.
For a list of compatible smartphones, please visit:
www.samsung.com/us/galaxygearsupport

Device Functions
Page 4 of 40
Photo
Buckle
NOTE: Swipe down on the display screen to go back from your
current on-screen application or menu.
Wristband
Display/
Tou ch
Screen
Speaker
Microphone 1
Page 5 of 40
Power/
Home
Joint
Photo
FrameMicrophone 2 Metal Pin

Setting Up Your Device
Page 6 of 40
Charging the Device
1. Before turning on your Galaxy Gear™ for the first
time, charge it fully.
2. In a single motion, slide and hold the switch to open
the cover of the Charging cradle.
3. Carefully place the device onto the cradle, make sure
to align the connector plates to the charging pins.
4. Firmly close the cover.
5. Connect the USB cable to the charging head.
6. Insert the USB cable connector into the charging
cradle’s charger jack.
7. Plug the charging head into a standard AC power
outlet. The device turns on and indicates its charge
state.
8. When charging is finished, first unplug the charger’s
power plug from the AC wall outlet, then disconnect
the charger’s connector from the device.
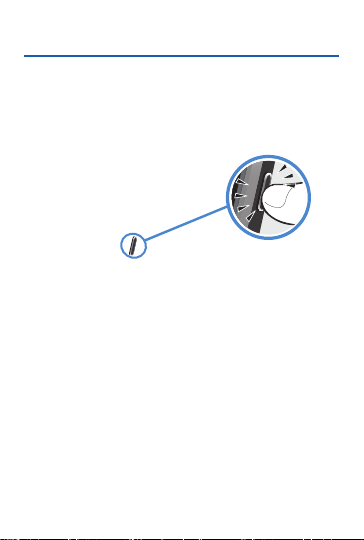
Turning Your Device On and Off
Page 7 of 40
1. To turn ON, press and hold the Power/Home key.
2. To turn OFF, press and hold Power/Home key.
Photo

Connection
Page 8 of 40
Pairing the Devices Automatically
1. Activate NFC on the smartphone and turn on your
Galaxy Gear.
2. Turn your Charging cradle around and tap it to the
back of the smartphone (as previously shown).
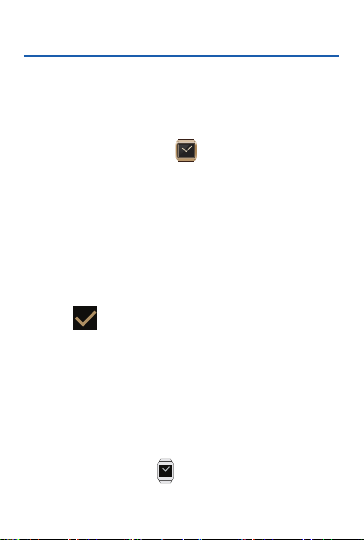
3. Tap (Accept) on the Galaxy Gear screen,
confirm the PIN codes match, and tap OK on your
smartphone to confirm the pairing request.
4. Read the on-screen legal and disclaimer information
and accept the terms and conditions to complete the
process.
5. Read the on-screen tips and tap Close.
6. Verify the entry now shows “Connected” within the
Gear Manager application and the icon appears
at the top of your smartphone’s screen.
NOTE: If the connection pro cess fails, restart both devices and
repeat the steps above.
Pairing the Devices Manually
Page 9 of 40
NOTE: Use this pr ocess if NFC automatic connectio n fails.
1. Activate Bluetooth on the smartphone, and then tap
the previously installed (Gear Manager).
2. If the Gear Manager has not yet been used to pair a
Gear, tap Connect manually g OK.
- or Tap the paired device from within the Paired Gear
area of the screen and select Connect new Gear
g OK g Connect manually.
3. Tap the listed on-screen GAL AX Y Gear device.
4. Tap (Accept) on the Galaxy Gear screen,
confirm the PIN codes match, and tap OK on your
smartphone to confirm the pairing request.
5. Read the on-screen legal and disclaimer information
and accept the terms and conditions.
6. Read the on-screen tips and tap Close.
7. Verify the entry now shows “Connected” within
Gear Manager and appears on the smartphone.
NOTE: If the connection pro cess fails, restart both devices and
repeat the steps above.
Navigation & Gestures
Page 10 of 40
Waking the Device
¬ Shake the Galaxy Gear on your wrist or press the
Power/Home key.
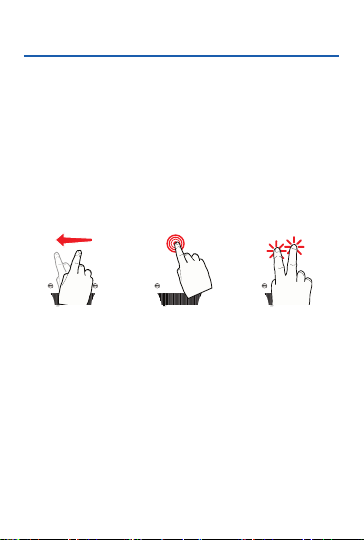
Screen Navigation
Photo
Swipe Tap Double-tap
• Swipe left or right across the Home screen to view
the favorite functions .
• Tap on the screen to select an on-screen item.
• Double-tap the screen simultaneoulsy once with
two fingers to:
• Access the Brightness and Volume controls.
• View Battery and Bluetooth connection status.
Photo
Photo
Security
Page 11 of 40
Securing Your Galaxy Gear
NOTE: Althou gh Galax y Gear can be paired and synchronized with
your smar tphone, it is not secured.
It is recommended that you use the Gear Manager to
change the default name of your Galay Gea r.
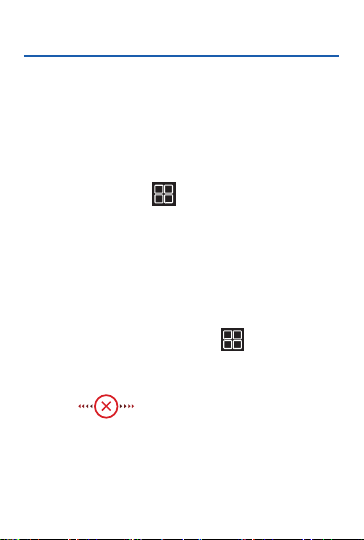
1. From the Home (Clock) screen, swipe across the
display and select ( ) Apps g Settings g
Privacy lock g Privacy lock.
2. Select Pattern and follow the on-screen instructions
to create an unlock pattern.
Finding My Smartphone
1. From the Home (Clock) screen, swipe across the
Galaxy Gear display and select ( ) Apps g
Find my device g Start.
2. Once you have located the smartphone, touch and
slide across the screen to turn off the
alert.
Calling Features
Page 12 of 40
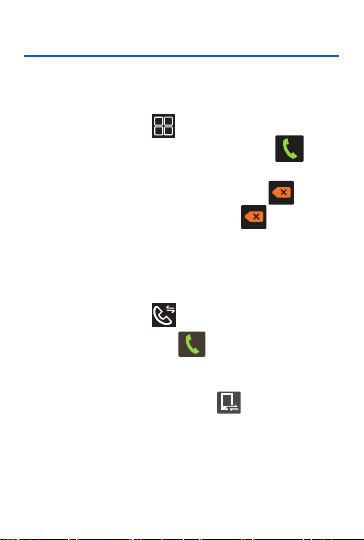
Making a Call
1. From the Home (Clock) screen, swipe across the
display and select ( ) Apps g Dialer.
2. Enter the number you wish to call and tap to
place the call.
• If you make a mistake while dialing, tap to
clear the last digit. Touch and hold to clear the
entire sequence.
Making a Call using Logs
1. From the Home (Clock) screen, swipe across the
display and select ( ) Logs.
2. Tap an entry and select (Call).
Sending a Call to the Device
¬ From within an active call, tap ( ) Send to
Device.
 Loading...