

Samsung SM316 Users Manual

User's Guide
COMBO DRIVE
SM-316
FCC Compliance
This equipment has been tested and found to comply with the limits for a
Class B digital device, pursuant to Part 15 of the FCC rules.
These limits are designed to provide reasonable protection against harmful
interference in a residential installation.
This equipment generates, uses, and can radiate radio frequency energy and,
if not installed and used in accordance with the instructions, may cause
harmful interference to radio communications. However, there is no guarantee
that interference will not occur in a particular installation. If this equipment
does cause harmful interference to radio or television reception, which can be
deter-mined by turning the equipment off and on, the user is encouraged to
try to correct the interference by one or more of the following measures:
• Re-orient or relocate the receiving antenna.
• Increase the separation between the equipment and receiver.
• Connect the equipment into an outlet on a circuit different from that to
which the receiver is connected.
• Consult the dealer or an experienced radio/TV technician for help.
01.SM-308-GB 1/3/02 6:27 PM Page 1
Contents
3
Safety Precautions
2
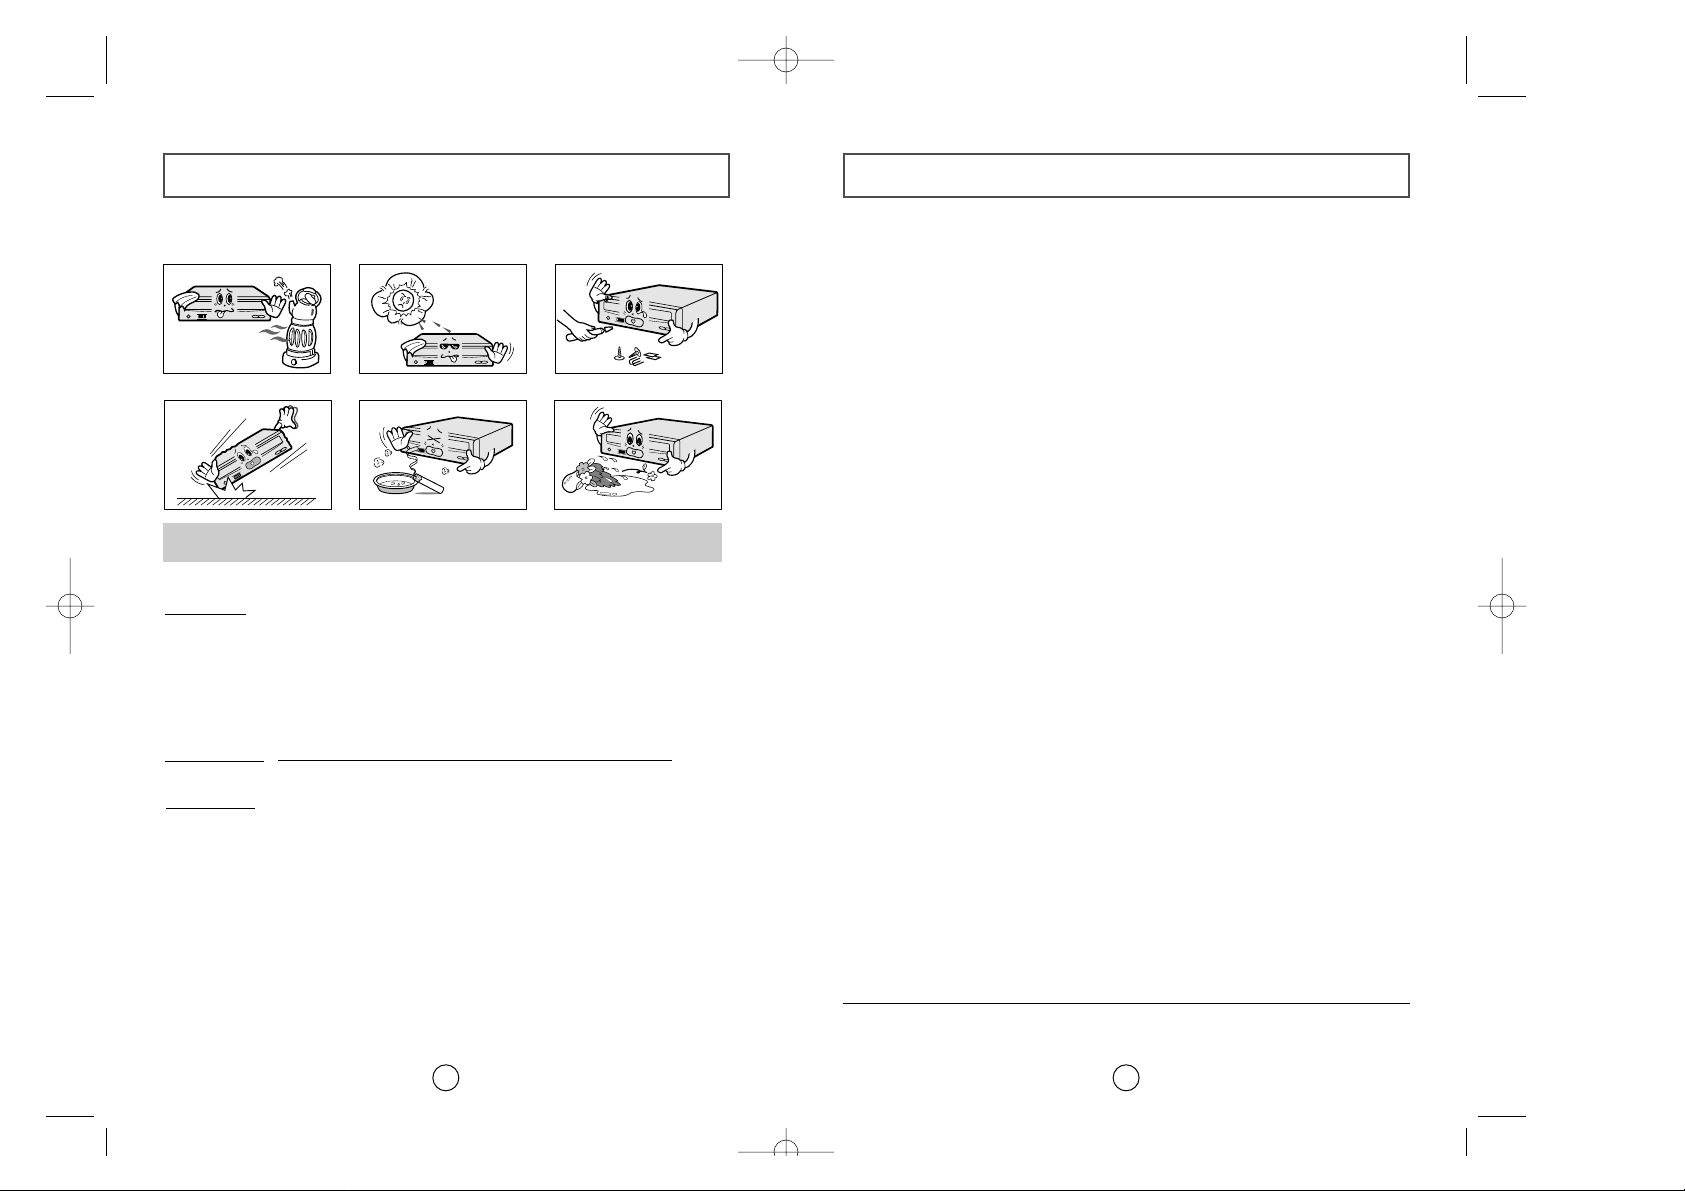
The following diagrams illustrate the precautions to be taken when using
your COMBO drive.
You must not use the drive in any manner other than that specified in this guide.
Avoid exposing your eyes or skin to direct or scattered radiation.
CAUTION
Do not attempt to repair the COMBO drive yourself. Contact
your dealer or local SAMSUNG representative for all repairs.
If you make any adjustments or perform any operations other
than those specified in this guide, you run the risk of exposure to
hazardous radiation.
WARRANTY
Please refer to the Samsung limited warranty statements.
Precautions
1.To reduce the risk of fire or electric shock, do not expose
this appliance to rain or moisture.
2. Always check each disc for cracks before using it. If there are
cracks on the surfaces, especially around the border of the
center hole, we recommend that you make a copy of the disc
immediately and then stop using it. If you continue using the
disc, it will probably develop more cracks and eventually cause
irreparable damage.
3. Do not use poor quality discs:
● From unknown sources
● Without any copyright
● Scratched or damaged in any way
Safety Precautions . . . . . . . . . . . . . . . . . . . . . . . . . . . . . . . . . . . . . . . . . . . .2
Your COMBO Drive . . . . . . . . . . . . . . . . . . . . . . . . . . . . . . . . . . . . . . . . . .4
Upgrading the Firmware Flash Memory . . . . . . . . . . . . . . . . . . . . . . . . .5
System Requirements . . . . . . . . . . . . . . . . . . . . . . . . . . . . . . . . . . . . . . . . .5
Installing the COMBO Drive . . . . . . . . . . . . . . . . . . . . . . . . . . . . . . . . . . .5
Connecting the Cables . . . . . . . . . . . . . . . . . . . . . . . . . . . . . . . . . . . . . . . .6
Installing the CD Record Utility . . . . . . . . . . . . . . . . . . . . . . . . . . . . . . . .8
Installing the Device Driver . . . . . . . . . . . . . . . . . . . . . . . . . . . . . . . . . . . .8
Setting Up the Device Driver . . . . . . . . . . . . . . . . . . . . . . . . . . . . . . . . . . .9
Using the COMBO Drive . . . . . . . . . . . . . . . . . . . . . . . . . . . . . . . . . . . . .10
Storing and Cleaning Your Discs . . . . . . . . . . . . . . . . . . . . . . . . . . . . . .10
Solving Recording Problems . . . . . . . . . . . . . . . . . . . . . . . . . . . . . . . . . .11
Recommended Disc Types . . . . . . . . . . . . . . . . . . . . . . . . . . . . . . . . . . . .13
Solving Technical Problems . . . . . . . . . . . . . . . . . . . . . . . . . . . . . . . . . . .14
Technical Specifications . . . . . . . . . . . . . . . . . . . . . . . . . . . . . . . . . . . . . .15
* All product names mentioned in this document are trademarks or registered trademarks
of their respective owners.
✱ Changes or modifications not expressly approved by the party responsible for compliance
could void the user’s authority to operate the equipment
01.SM-308-GB 1/3/02 6:27 PM Page 2
Installing the COMBO Drive
Upgrading the Firmware Flash Memory
5
The product firmware can be upgraded by downloading the updated file from the
following Web site:
http://www.samsungodd.com
To install your COMBO drive in the PC, proceed as follows.
1Make sure that the PC is powered off and disconnected from any power source.
2If necessary, attach a horizontal bracket to both sides of
the drive.
COMBO drive
● Use of the brackets depends on your computer
model; you can purchase these accessories
separately from your computer dealer.
3Remove the cover from a free expansion slot and install
the COMBO drive, as shown in the illustration.
● If you have no free expansion slot, install the drive in
place of the diskette drive.
Before you install the COMBO drive, we strongly recommend that you
check that your setup meets the system requirements listed below.
System Requirements
Item Description
Computer Intel Pentium II 300MHz/Celeron 333A(or higher),
32 MB of RAM (or higher) with an IDE interface
Free expansion unit 5.25 inch
Disk space 700 MB minimum
Windows version Windows 95/98/2000/ME/NT4.0 OSR2 (or higher)
(For Windows NT, we recommend Service Pack2,
and Version is over 4.00.1381)
MS-DOS 5.0 or higher (For MS-DOS, The CD-R/CD-RW driver
can only read a disc without premaster Software.)
DVD Video playback PC with Windows 95/98/2000/ME/XP/NT4.0 OSR2
DVD-Video playback software and appropriate hardware
(the Power DVD MPEG software is included in the
COMBO drive package)
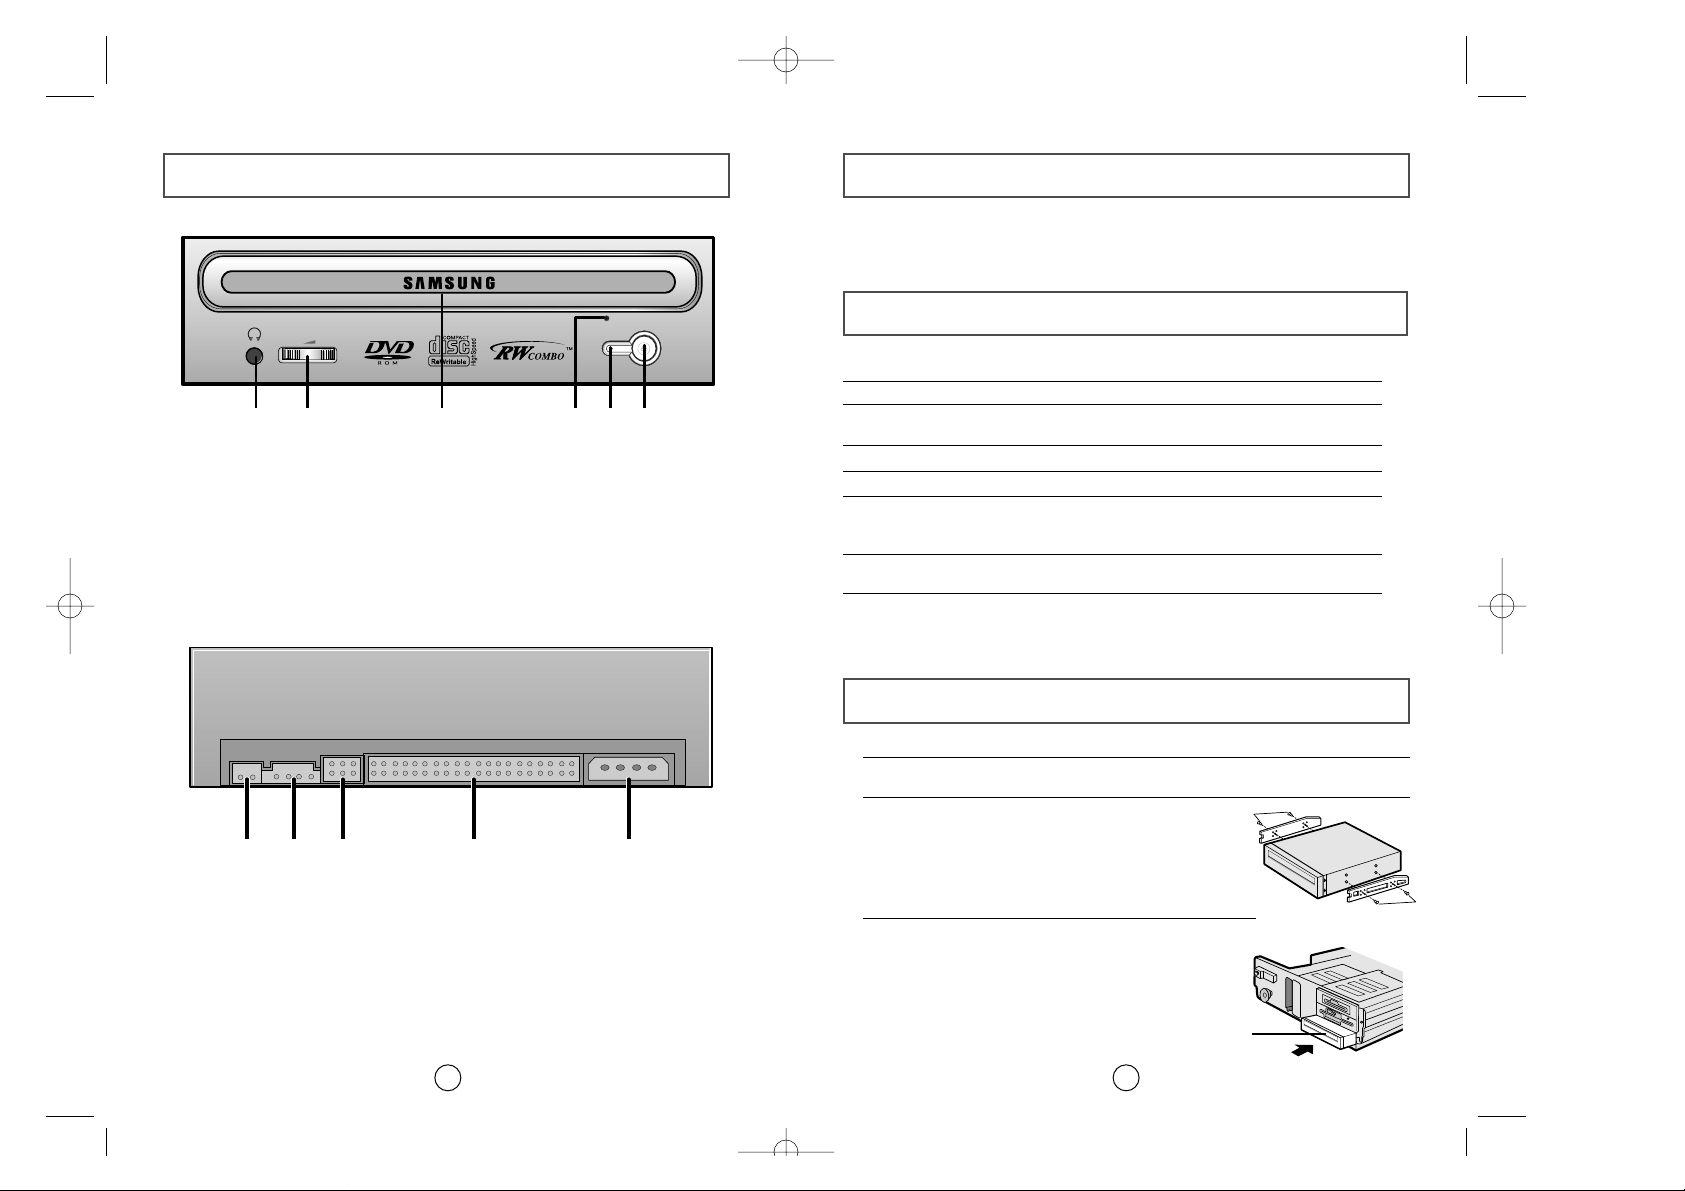
Your Combo Drive
4
12 3 456
1
23 4
5
1. Earphone connection terminal
2. Volume control
3. Disc compartment
4. Emergency eject hole (if the compartment does not open when
you press the Eject button, insert a pin or unfolded paper clip in the
hole and push firmly)
5. Indicator light (when it is green, a disc is being read or recorded)
6. Eject button
1. Digital output terminal
2. Sound output terminal
3. Master/slave select terminal
4. Interface terminal
5. Power terminal
www.samsungelectronics.com
01.SM-308-GB 1/3/02 6:27 PM Page 4
 Loading...