

Samsung SLM3065FW Users Manual

Installing the driver locally
A locally connected machine is a machine directly attached to your computer
using the cable. If your machine is attached to a network, skip the following
steps below and go on to installing a network connected machine’s driver (see
"Installing driver over the network" on page 148).
• If you are a Mac, Linux, or Unix OS user, refer to the "Software Installation"
on page 138.
• The installation window in this User’s Guide may differ depending on the
machine and interface in use.
• Only use a USB cable no longer than 3 meters (118 inches).
14
Windows
Make sure that the machine is connected to your computer and
1
powered on.
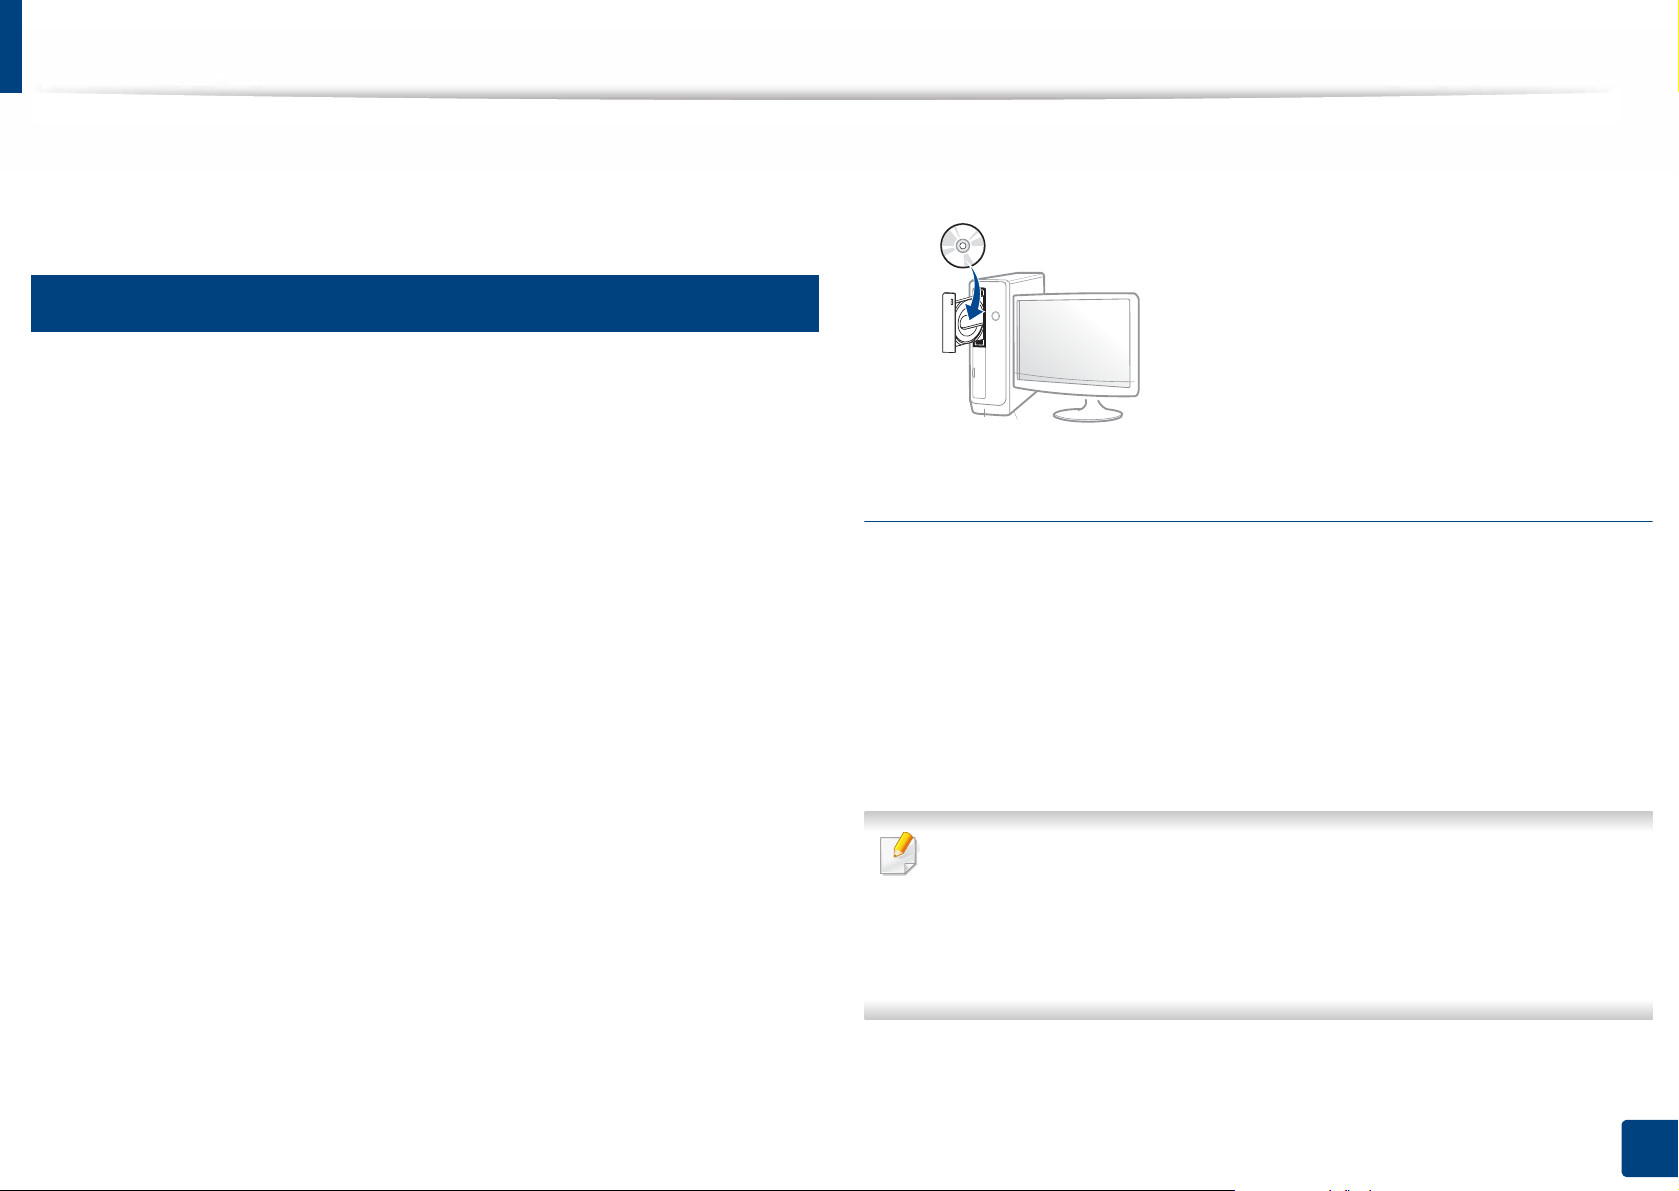
Insert the supplied software CD into your CD-ROM drive.
2
If the installation window does not appear, click Start > All programs >
Accessories > Run.
X:\Setup.exe replacing “X” with the letter, which represents your CDROM drive and click OK.
• For Windows 8,
If the installation window does not appear, from Charms, select
Search > Apps and search for Run. Type in X:\Setup.exe, replacing
“X” with the letter that represents your CD-ROM drive and click OK.
If “Tap to choose what happens with this disc.” pop-up window
appears, click the window and select Run Setup.exe.
Review and accept the installation agreements in the installation
3
window. Then, click Next.
Select USB connection on the Printer Connection Type screen. Then,
4
click Next.
Follow the instructions in the installation window.
5
You can select the software applications in the Select Software to Install
window.
1. Introduction
26
Installing the driver locally
From the Windows 8 Start Screen
• The V4 driver is automatically downloaded from the Windows Update if
your computer is connected to the Internet. If not, you can manually
download the V4 driver from Samsung website, www.samsung.com >
find your product > Support or downloads.
• You can download Samsung Printer Experience app from the Windows
Store. You need have a Microsoft account to use the Windows Store.
1 From Charms, select Search.
2 Click Store.
3 Search and click Samsung Printer Experience.
4 Click Install.
• If you install the driver using the supplied software CD, V4 driver is not
installed. If you want to use the V4 driver in the Desktop screen, you can
download from the Samsung website, www.samsung.com >find your
product > Support or downloads.
• If you want to install Samsung’s printer management tools, you need to
install them using the supplied software CD.
Make sure that your computer is connected to the Internet and powered
1
on.
Make sure that the machine is powered on.
2
Connect the computer and the machine with a USB cable.
3
The driver is automatically installed from the Windows Update.
1. Introduction
27
Reinstalling the driver
If the printer driver does not work properly, follow the steps below to reinstall
the driver.
15
Windows
Make sure that the machine is connected to your computer and
1
powered on.
From the Start menu, select Programs or All Programs > Samsung
2
Printers > Uninstall Samsung Printer Software.
• For Windows 8,
1 From Charms, select Search > Apps.
2 Search and click Control Panel.
3 Click Programs and Features.
4 Right-click the driver you want to uninstall and select Uninstall.
Insert the software CD into your CD-ROM drive and install the driver
4
again (see "Installing the driver locally" on page 26).
From the Windows 8 Start Screen
Make sure that the machine is connected to your computer and
1
powered on.
Click on the Uninstall Samsung Printer Software tile in the Start
2
screen.
Follow the instructions in the installation window.
3
Follow the instructions in the window.
3
• If you cannot find a Samsung Printer Software tile, unintstall from the
desktop screen mode.
• If you want to uninstall Samsung’s printer management tools, from the
Start screen, right-click the app > Uninstall > right-click the program
you want to delete > Uninstall and follow the instruction in the window.
1. Introduction
28

2. Menu Overview and
Basic Setup
This chapter provides information about the overall menu structure and the basic setup options.
• Menu overview 30
• Machine’s basic settings 34
• Media and tray 36
• Basic printing 51
• Basic copying 57
• Basic scanning 62
• Basic faxing 63

Menu overview
The control panel provides access to various menus to set up the machine or use
the machine’s functions.
• An asterisk (*) appears next to the currently selected menu.
• Some menus may not appear on the display depending on options or
models. If so, it is not applicable to your machine.
• Some menu names may differ from your machine depending on its
options or the models.
• The menus are described in the Advanced Guide (see "Useful Setting
Menus" on page 203).
1
Accessing the menu
Select the Fax, Copy, or Scan button on the control panel depending on
1
the feature to be used.
Press (Stop/Clear) to return to the ready mode.
6
Select (Menu) until the menu you want appears on the bottom line
2
of the display and press OK.
Press the left/right arrows until the needed menu item appears and press
3
OK.
If the setting item has sub menus, repeat step 3.
4
Press OK to save the selection.
5
2. Menu Overview and Basic Setup
30

Menu overview
Fax Feature (see "Fax Feature" on page 209)
Darkness
Light+5- Light+1
Normal
Dark+1- Dark+5
Resolution
Standard
Fine
Super Fine
Photo Fax
Color Fax
Original Size
Multi Send
Delay Send
Priority Send
Rcv. Forward
Forward to Fax
Forward to PC
Forward & Print
Secure Receive
Off
On
Print
Add Page
Cancel Job
Fax Setup (see "Sending setup" on page 210,
"Receiving setup" on page 211)
Sending
Redial Times
Redial Term
Prefix Dial
ECM Mode
Modem Speed
Fax Confirm.
Image TCR
Dial Mode
Receiving
Receive Mode
Fax
Tel
Ans/Fax
a
DRPD
Ring to Answer
Stamp Rcv Name
Rcv Start Code
Auto Reduction
Discard Size
Junk Fax Setup
DRPD Mode
Duplex Print
Change Default
Darkness
Resolution
Original Size
Manual TX/RX
Copy Feature (see "Copy feature" on page 206)
Original Size
Reduce/Enlarge
Duplex
1 Sided
1->2Sided
1->2Sided Rot.
Darkness
Light+5- Light+1
Normal
Dark+1- Dark+5
Original Type
Text
Text/Photo
Photo
Collation
Layout
Normal
2-Up
4-Up
ID Copy
Adjust Bkgd.
Off
Auto
Enhance Lev.1
Enhance Lev.2
Erase Lev.1- Erase
Lev.4
Send Forward
a. This option may not be available depending on your country.
2. Menu Overview and Basic Setup
31

Menu overview
Copy Setup
(see "Copy Setup" on page 208)
Change Default
Original Size
Copies
Reduce/Enlarge
Duplex
Darkness
Original Type
Collation
Machine Setup
Machine ID
Fax Number
Date & Time
Clock Mode
Language
Default Mode
Power Save
Wakeup Event
System Timeout
Job Timeout
Altitude Adj.
Auto Continue
System Setup
(see "System setup" on page 212)
Toner Save
Eco Settings
Paper Setup
Paper Size
Paper Type
Paper Source
Margin
Sound/Volume
Key Sound
Alarm Sound
Speaker
Ringer
Report
Maintenance
Usage Counter
Fax Received
Fax Sent
Scheduled Jobs
Fax Confirm.
Junk Fax
PCL Font List
Address Book
CLR Empty Msg
Supplies Life
Image Mgr.
TonerLowAlert
Print Setup
(see "Print menu" on page 205)
Orientation
Portrait
Landscape
Duplex
Off
Long Edge
Short Edge
Copies
Resolution
a
Clear Text
Auto CR
SkipBlankPages
Emulation
Paper Substit.
a. This option only appears when small amount of toner is left in the cartridge.
Configuration
Demo Page
Network Conf.
Supplies Info.
ImgU.Low Alert
Serial Number
2. Menu Overview and Basic Setup
32

Menu overview
Network
TCP/IP (IPv4)
DHCP
BOOTP
Static
TCP/IP (IPv6)
IPv6 Activate
DHCPv6 Config
Ethernet Speed
Automatic
10Mbps Half
10Mbps Full
100Mbps Half
100Mbps Full
Wireless
Protocol Mgr.
a
Wi-Fi ON/OFF
Wi-Fi Direct
WPS Setting
WLAN Setting
WLAN Default
WLAN Signal
Net. Activate
Http Activate
WINS
SNMP V1/V2
UPnP(SSDP)
MDNS
a
a
a
a
a
a
a. M3065FW only.
SetIP
SLP
Network Conf.
Clear Setting
2. Menu Overview and Basic Setup
33
 Loading...