

Samsung SDC - 33 User Manual
SDC - 33
Digital Still Camera
User’s Guide
For Windows® 3.1 and Windows® 95
E
E
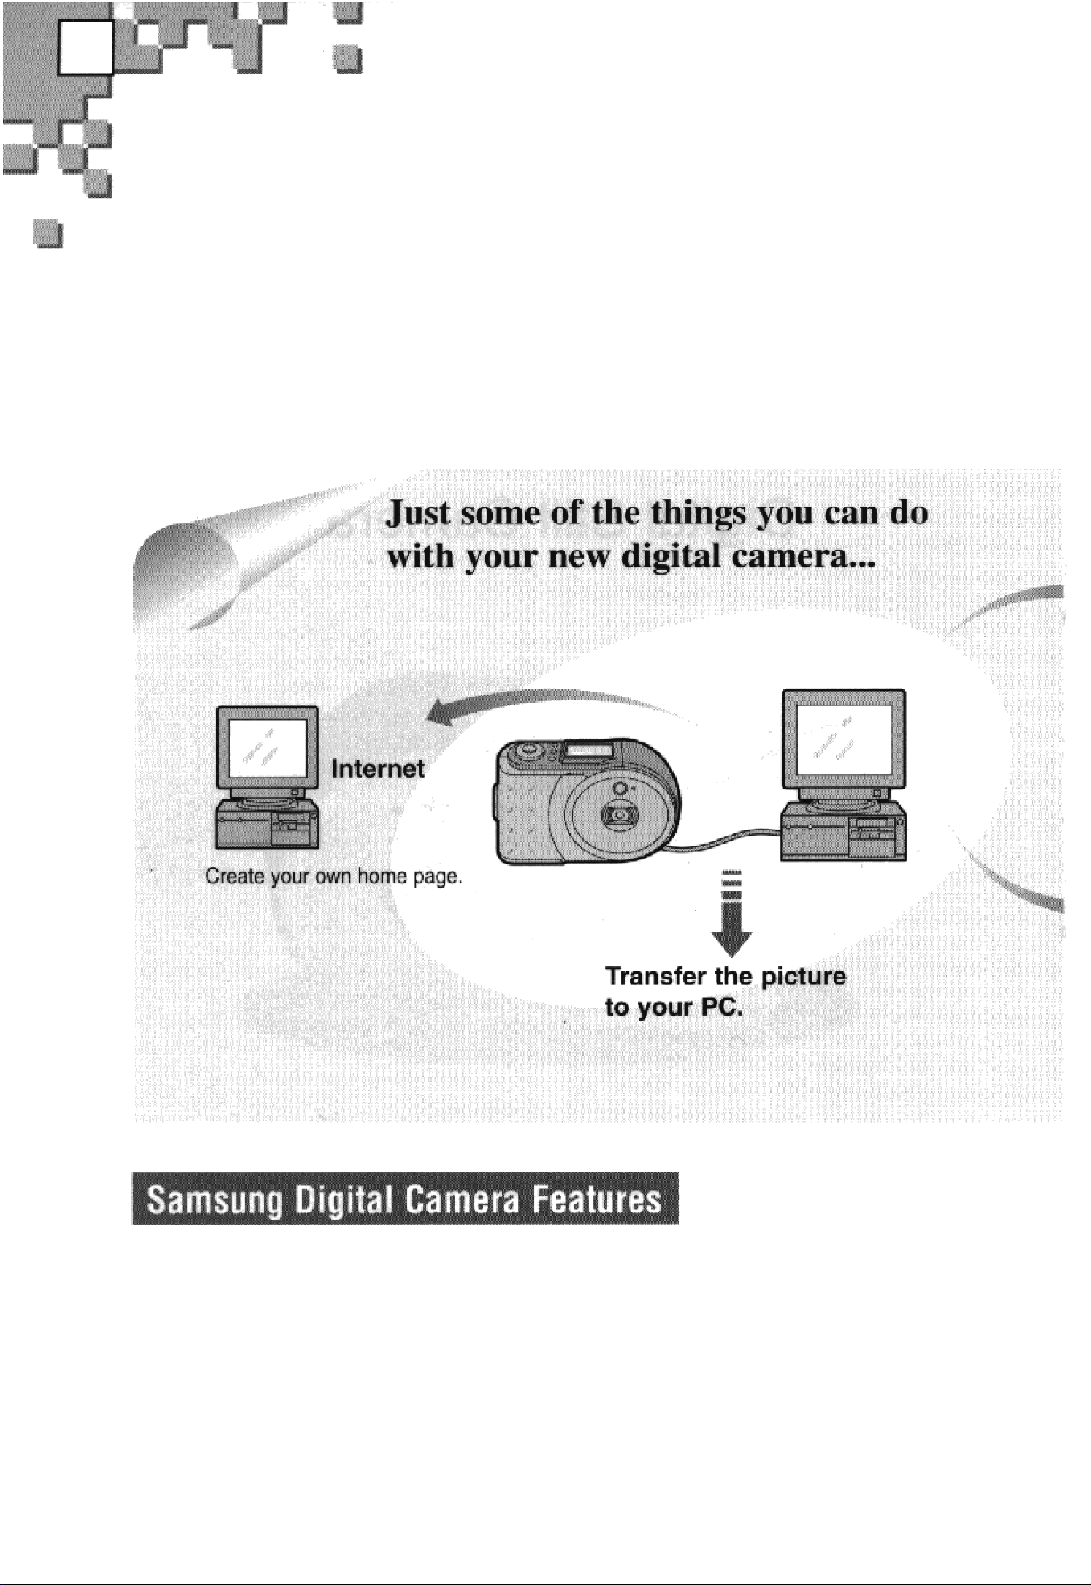
Features
Take pictures instantly ... without loading film.
Congratulations on your purchase of Samsung’s state-of-the-art easy-to-use digital
camera. You can instantly take a picture, load the picture onto your PC, and output it
immediately through your monitor or printer.
Samsung Digital Camera Features
Clean high-quality picture
A progressive scanning CCD image
sensor with 350 thousand pixels is
used to render vivid and clear pictures.
1
Large image storage capacity
The built-in 4MB internal flash memory
will hold up to 45 high quality(Standard)
or 180 reduced size (Economy) pictures.
Contents
E
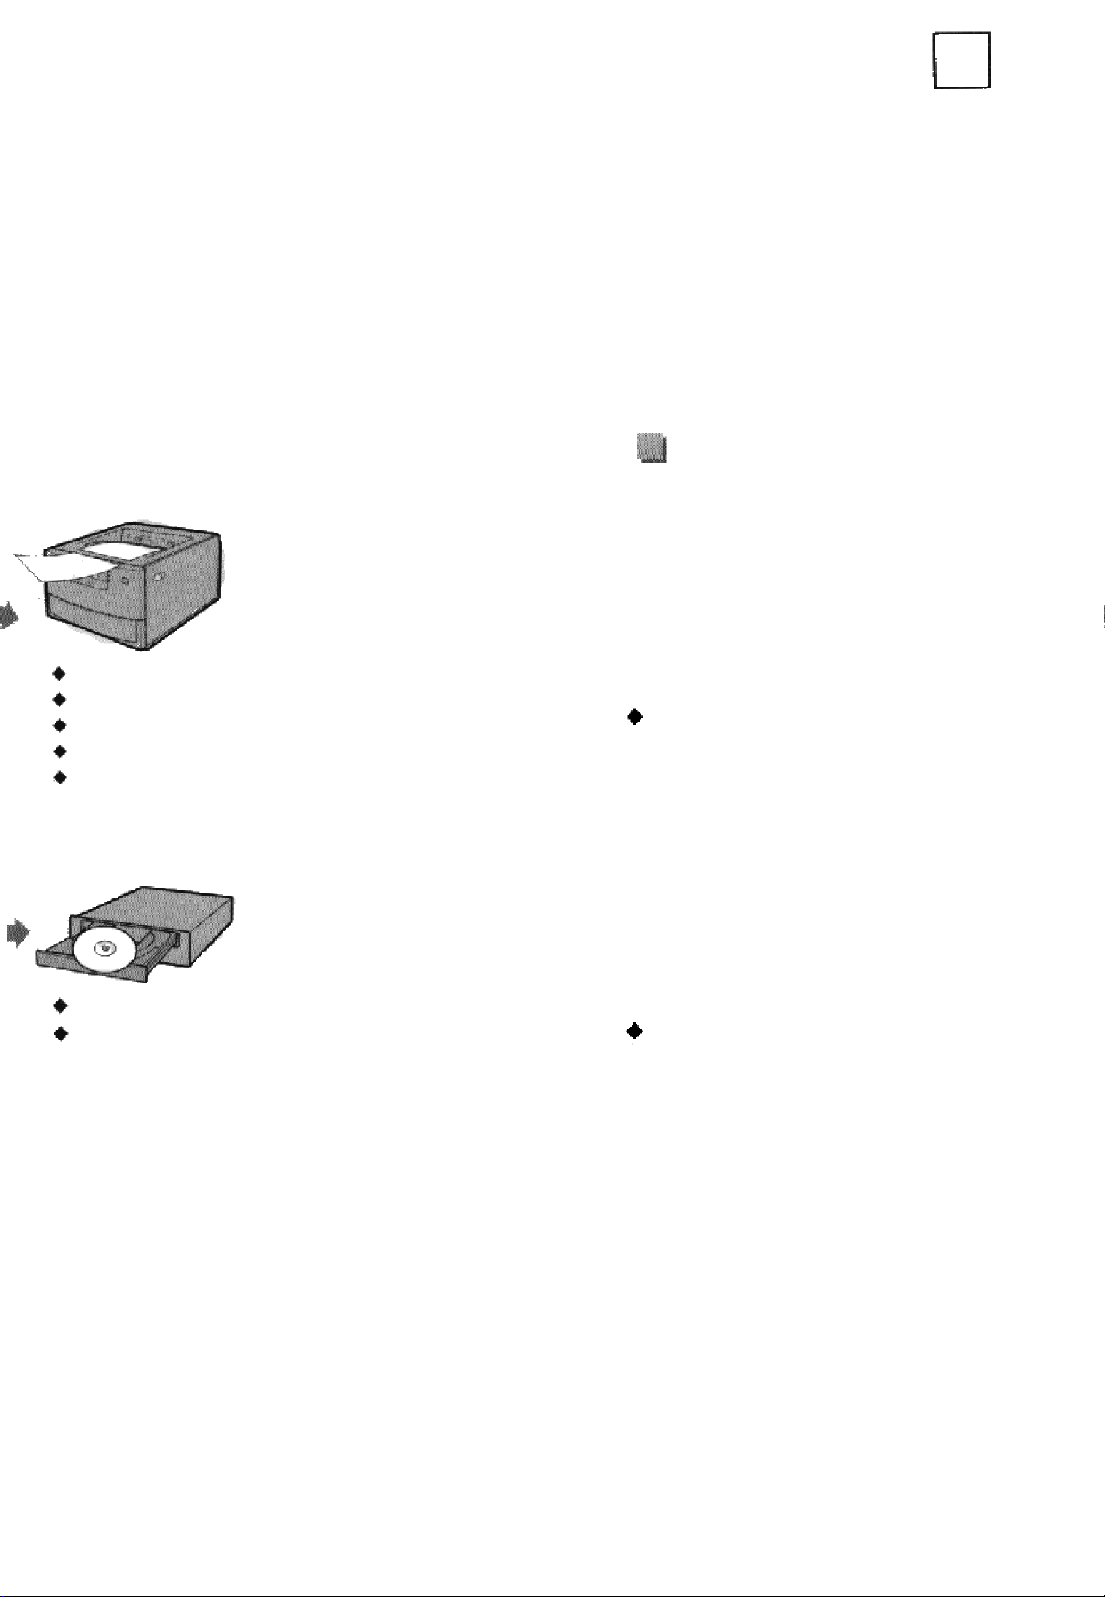
Printer
-Inkjet
-Laser
-Dye Sublimation
Make an instant print of a snapshot.
Send an email card to your friend.
Create a photo calendar.
Liven up your reports with vivid slide shows.
Create an electronic catalog of products.
CD-ROM
Hard Disk Drive
Floppy Disk
Create an electronic CD-ROM album.
Save souvenir pictures to floppy disk to
give to friends.
Getting started
Features
Precautions
Safety Instructions
Location of Controls
Getting Started
Battery insertion
1
3
5
7
9
9
Operation
Basic Picture Taking
Setting Picture Mode
Timer Photography
Deleting Pictures
Connecting to your PC
AC Adaptor Usage
Software Installation
11
13
14
15
17
18
19
Compact and portable design
The combination of small size and
lightweight design make it perfect to
carry in your pocket.
Others
Warning Messages
Care and Maintenence
Troubleshooting
Technical specifications
Warranty
27
28
29
30
32
2
E
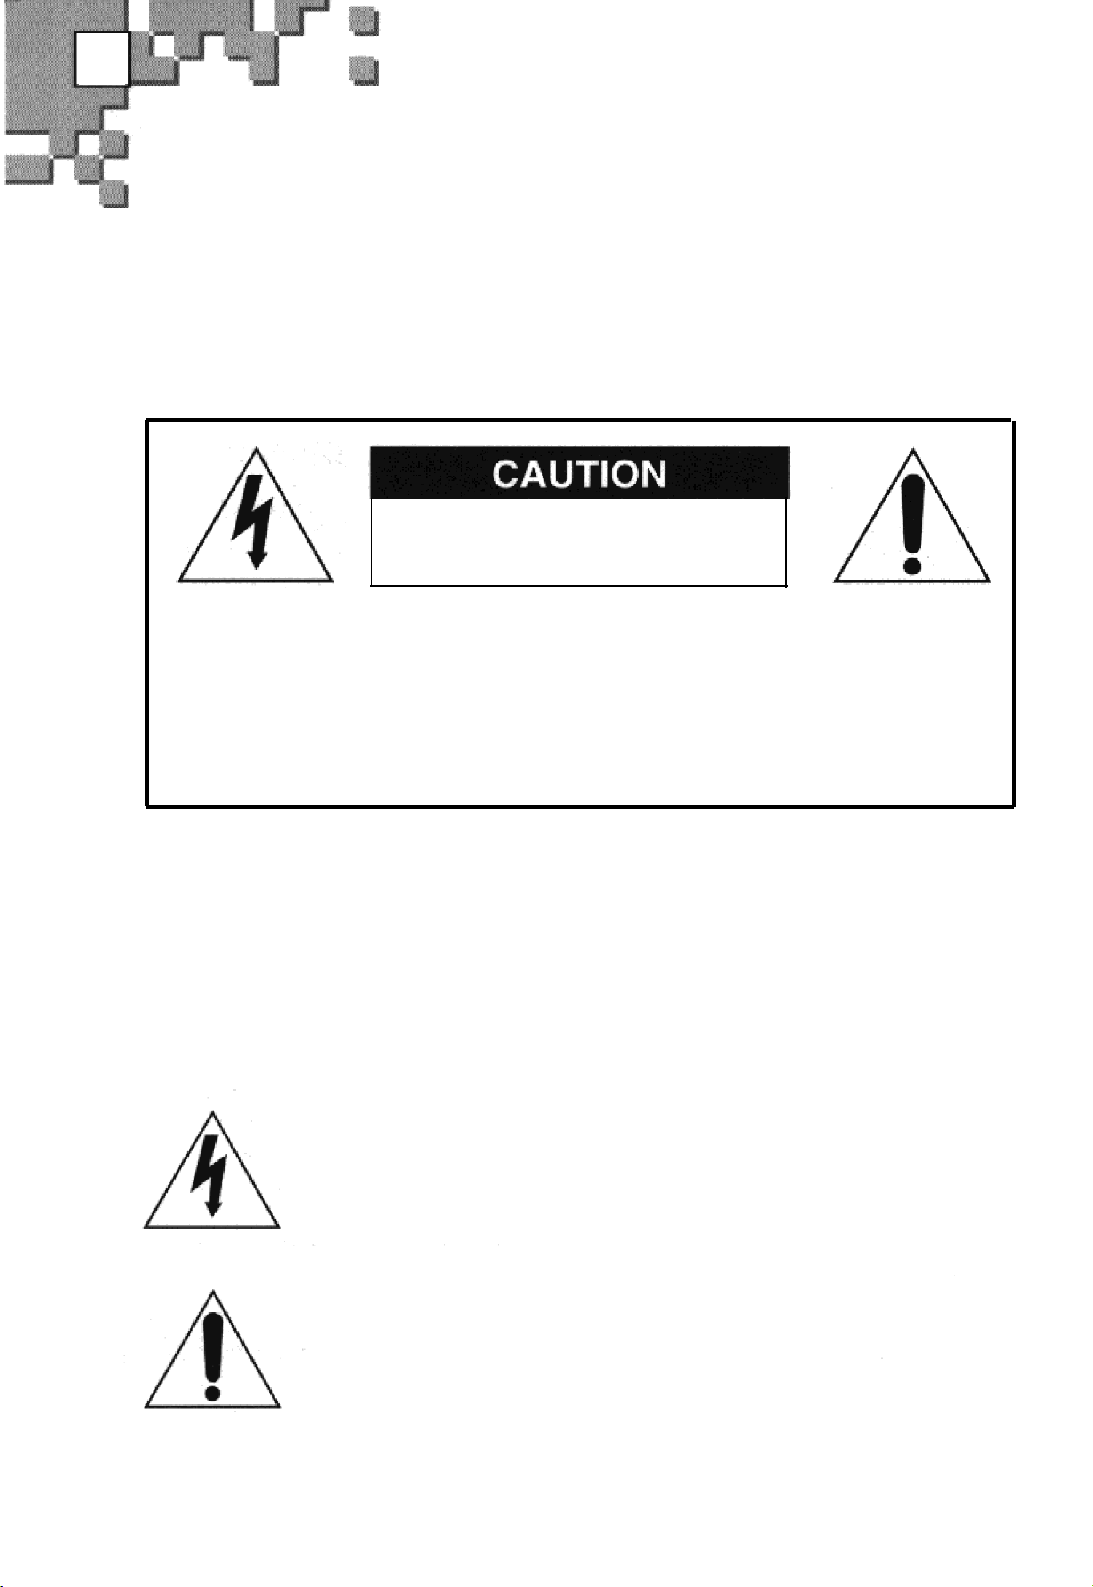
Precautions
RISK OF ELECTRIC SHOCK
DO NOT OPEN
CAUTION:
TO REDUCE THE RISK OF ELECTRIC SHOCK, DO NOT
REMOVE COVER (OR BACK).
NO USER SERVICEABLE PARTS INSIDE, REFER SERVICING
TO QUALIFIED SERVICE PERSONNEL.
To prevent electric shock, match wide blade of plug to wide slot
and fully insert.
Pour éviter les chocs électriques, introduire la lame la plus large
de la fiche dans la bome correspondante de la prise et pousser
jusqú au fond.
This symbol is intended to alert the user to the presence of
uninsulated dangerous voltage within the product’s enclosure
that may be of sufficient magnitude to constitute a risk of fire
or electric shock.
3
This symbol is intended to alert the user to the presence of
important operating and maintenance instructions in the
literature accompanying this product.

E
NOTE:
limits for a class B digital device, pursuant to pan 15 of the FCC Rules.
These limits are designed to provide reasonable protection against
harmful interference in a residential installation. This equipment
generates, uses and can radiate radio frequency energy and, if not
installed and used in accordance with the instructions, may cause
harmful interference to radio communications.
However, there is no guarantee that interference will not occur in a
particular installation.
If this equipment does cause harmful interference to radio or television
reception, which can be determined by turning the equipment off and
on, the user is encouraged to try to correct the interference by one or
more of the following measures :
- Reorient or relocate the receiving antenna.
- Increase the separation between the equipment and receiver.
- Connect the equipment into an outlet on a circuit different from that
to which the receiver is connected.
- Consult the dealer or an experienced radio/TV technician for help.
The connection of a non-shielded equipment interface cable to this
equipment will invalidate the FCC Certification of this device and may
cause interference levels that exceed the limits established by the FCC
for this equipment. If is the responsibility of the user to obtain and use a
shielded equipment interface cable with this device. If this equipment
has more than one interface connector, do not leave cables connected
to unused interfaces.
Changes or modifications not expressly approved by the manufacturer
could void the user’s authority to operate the equipment.
This equipment has been tested and found to comply with the
WARNING
FOR CANADIAN USERS
This Class B digital apparatus meets all requirements of the Canadian
Interference-Causing Equipment Regulations.
Cet appareil numérique de la Classe B respecte toutes tes exigences du
Reglement sur la materiel brouilleur du Canada.
4

E
Safety Instructions
1.
READ INSTRUCTlONS
read before the CAMERA is operated.
: All the safety and operating instructions should be
RETAIN lNSTRUCTIONS
2.
retained for future reference.
HEED WARNINGS
3.
instructions should be adhered to.
4.
FOLLOW INSTRUCTlONS
should be followed.
CLEANING
5.
ATTACHMENTS
6.
CAMERA product manufacturer as they may be hazardous.
POWER SOURCES
7.
of power source indicated on the label.
If you are not sum of the type of power supply at your home, consult your
appliance dealer or local power company.
The CAMERA is intended to be operated from battery power, or other sources ;
refer to the operating instructions.
: Do not use liquid or aerosol cleaners. Use a soft lint-free cloth.
: All warnings on the CAMERA and in the operating
: Do not use attachments not recommended by the
: The safety and operating instructions should be
: All operating and maintenance instructions
: The CAMERA should be operated only from the type
5
8.
ACCESSORIES
tripod, bracket or table. The CAMERA may fall, causing serious injury to
a child or adult, and serious damage to the unit. Use only with a cart, stand
tripod, bracket, or table recommended by the manufacturer or sold with the
CAMERA. Any mounting of the unit should follow the manufacturer’s
instructions and should use a mounting accessory recommended by the
manufacturer.
A.
An appliance and cart combination should be moved
with care. Quick stops, excessive force and uneven
surfaces may cause the appliance and cart combination
to overturn. PORTABLE CART WARNING
(Symbol provided by RETAC)
: Do not place this CAMERA on an unstable cart, stand,

E
9. SERVICING
Opening or removing covers may expose you to dangerous voltage or
other hazards. Refer all servicing to qualified service personnel.
10.
DAMAGE REQUlRING SERVICE:
CAMERA and refer servicing to qualified service personnel under the
following ccnditions:
a. If any liquid has been spilled onto, or objects have fallen into the
CAMERA.
b. If the CAMERA has been exposed to rain or water.
c. If the CAMERA does not operate normally by following the operating
instructions, adjust only those controls that are covered by the
operating instructions. Improper adjustment of other controls may
result in damage and will often require extensive work by a qualified
technician’ to restore the CAMERA to its normal operation.
d.
If the CAMERA has been dropped or the cabinet has been damaged.
e.
When the CAMERA exhibits a distinct change in performance, this
indicates a need for service.
: Do not attempt to service this CAMERA yourself.
Remove the batteries from this
11.
REPLACEMENT PARTS
be sure the service technician has used replacement pans specified by
the manufacturer and having the same characteristics as the original
part. Unauthorized substitutions may result in fire, electric shock or
other hazards.
12.
SAFETY CHECK
CAMERA, ask the service technician to perform safety checks to
determine that the CAMERA is in safe operating order.
: Upon completion of any service or repairs to this
: When replacement parts are required,
6
E
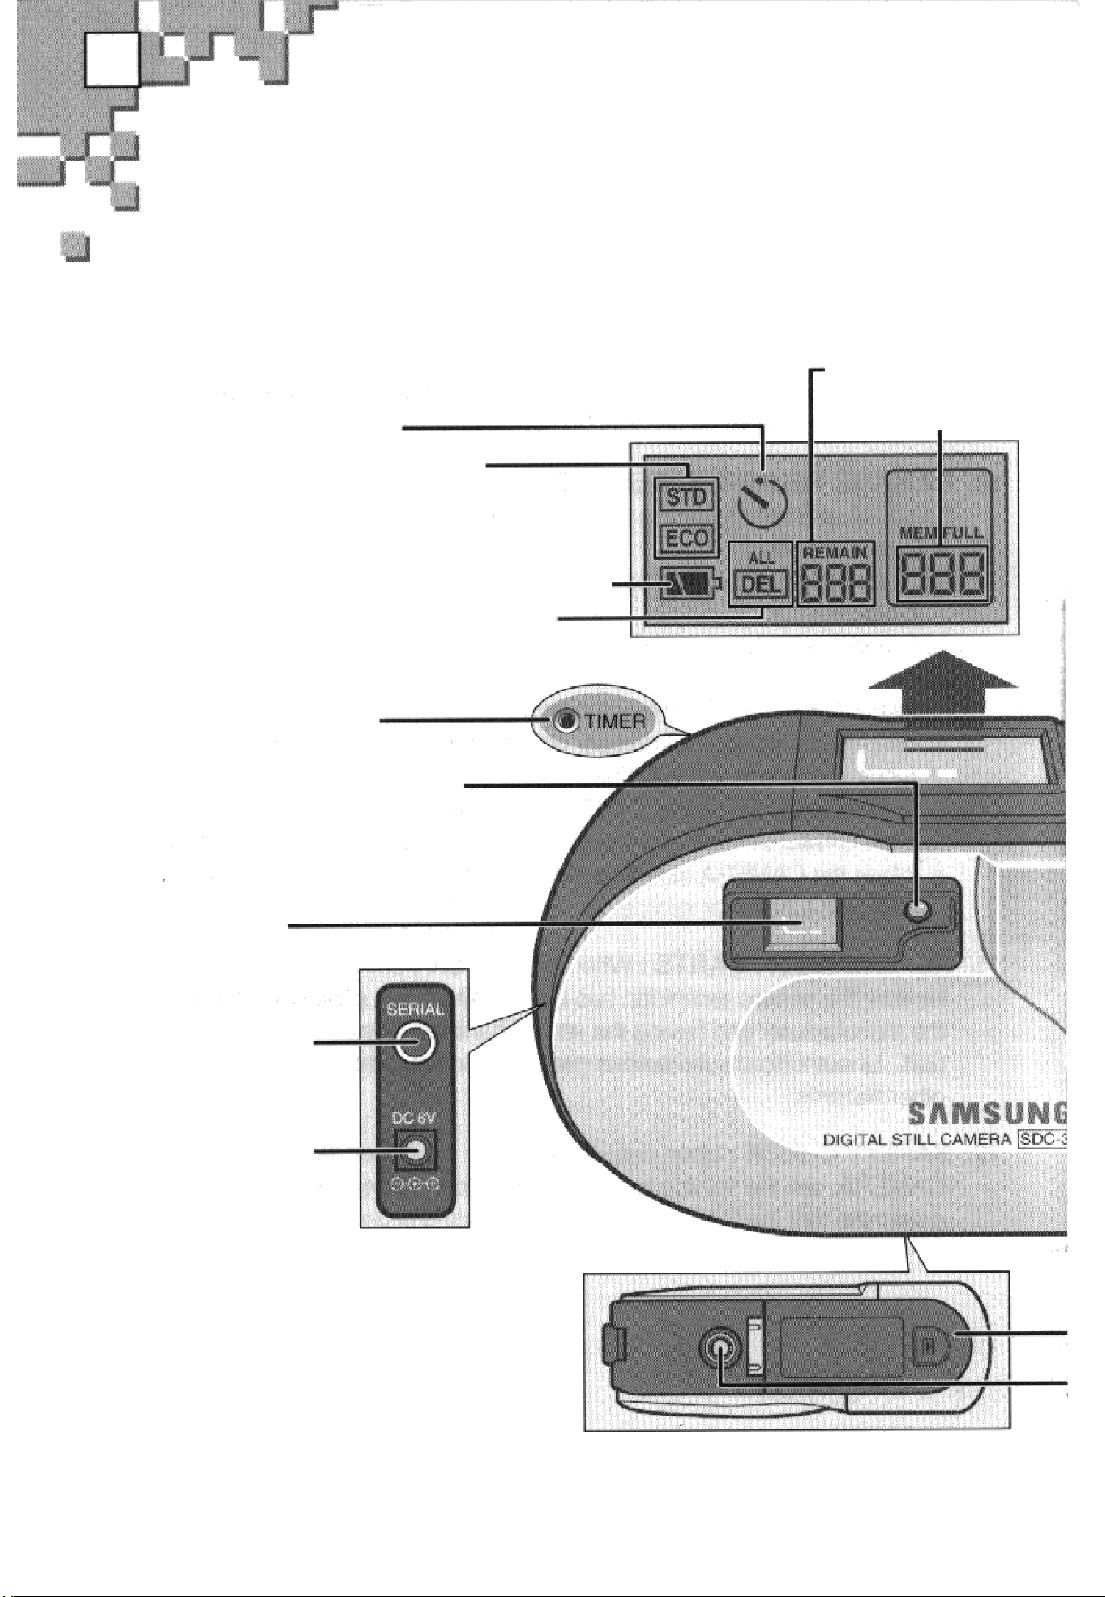
Location of Controls
Pictures Remaining
Timer
Picture Mode
STD : Total 45 pictures
ECO : Total 180 pictures
Battery level indicator
Delete indicator
Timer lamp
Operation ready indicator
Viewfinder
(page 14)
(page 13)
(pages 15-16)
(page 14)
Pictures Taken
(pages 9-10)
RS-232C port
(page 17)
DC input jack
(page 18)
7
E
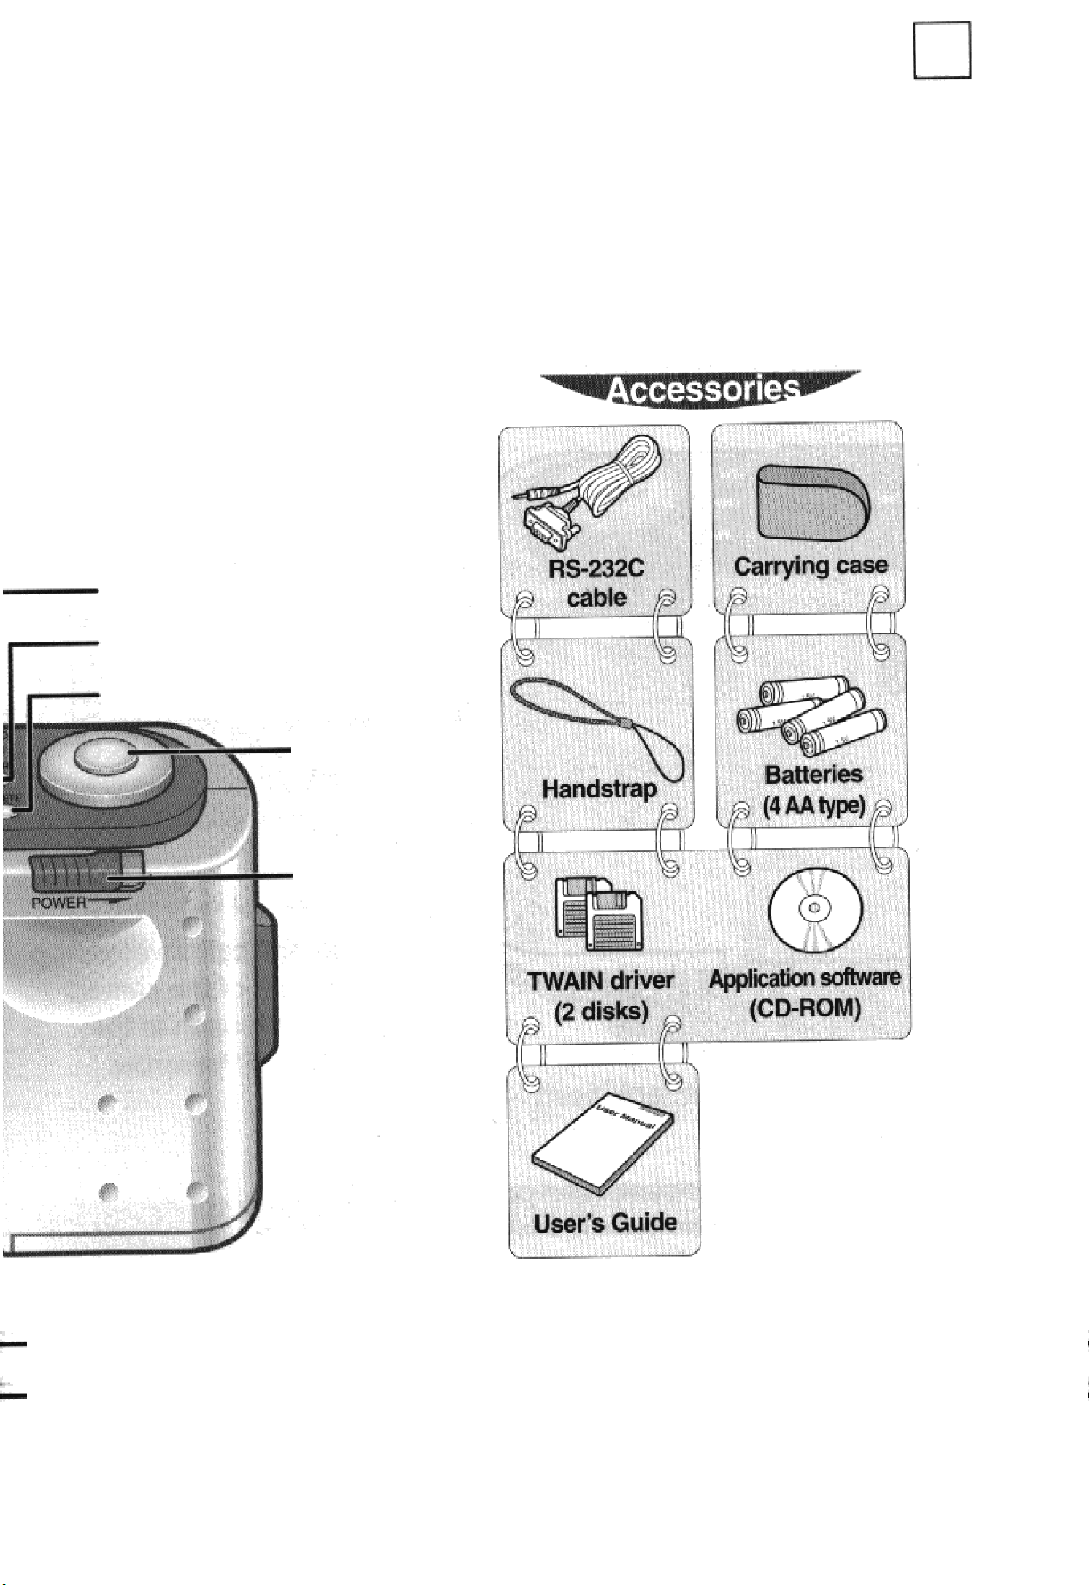
Picture Mode button
Timer button
Delete button
(page 14)
(pages 15-16)
(page 13)
Shutter
Power switch
Battery cover
Tripod mounting hole
(pages 9-10)
8

E
Getting Started
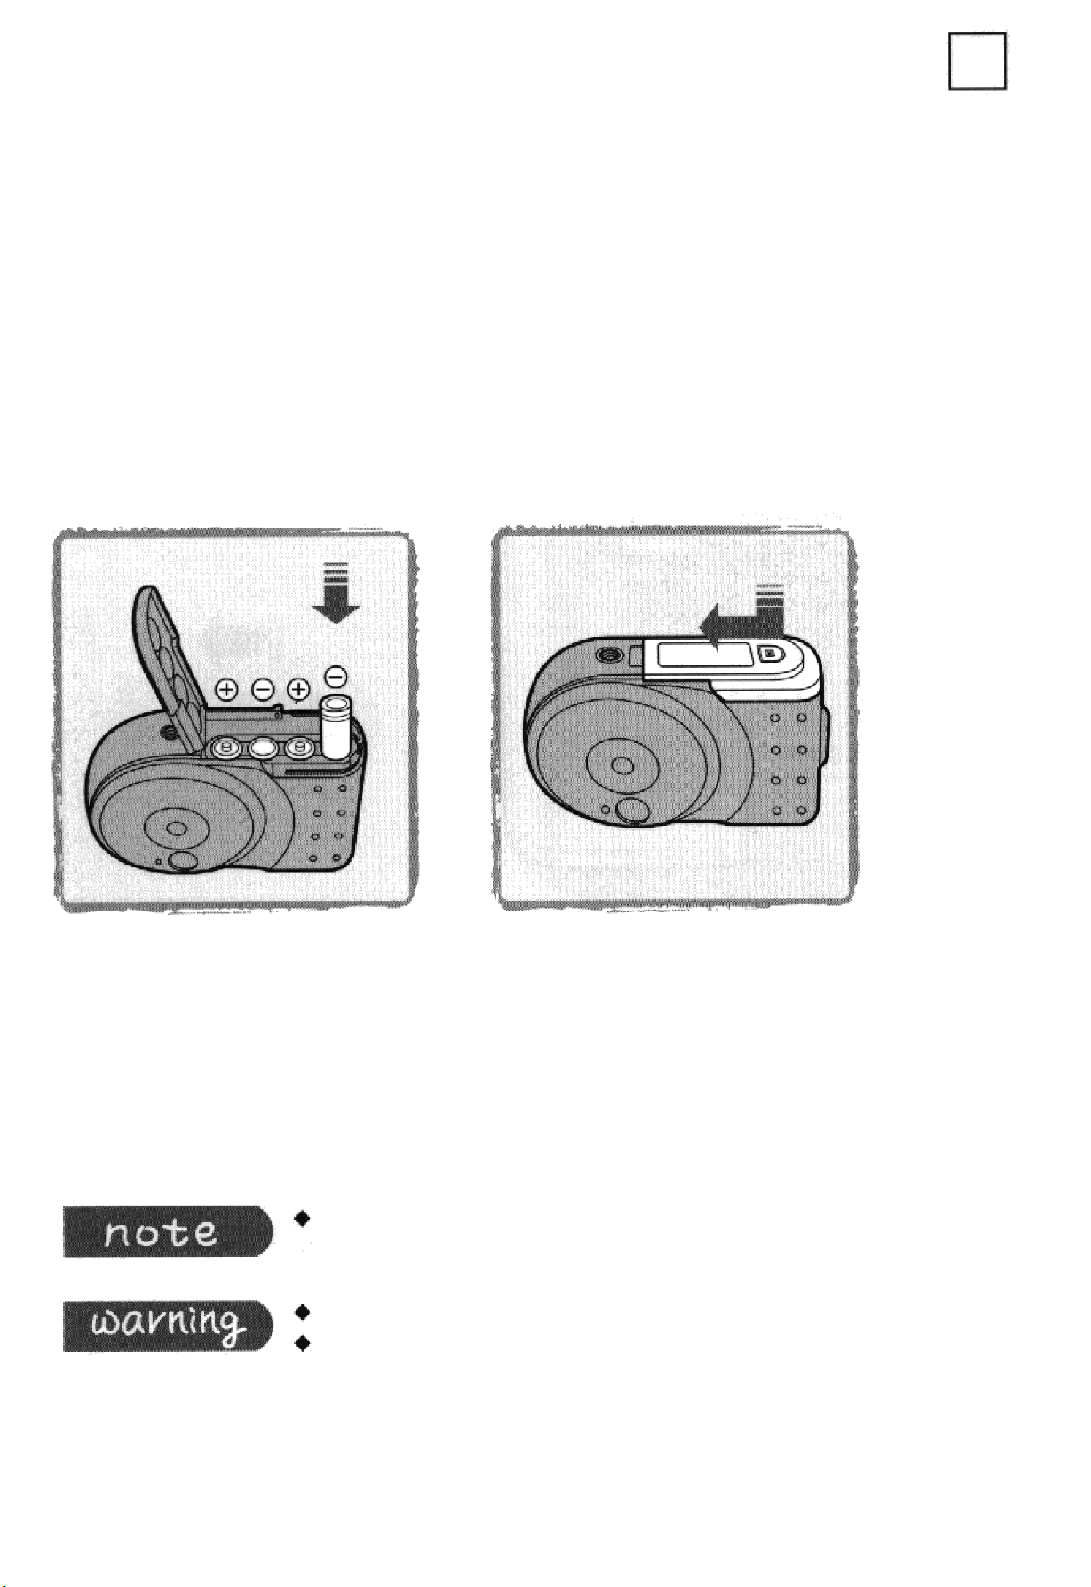
Battery insertion
1
9
Locate the battery cover on
the bottom of the camera
and push it open In the
direction of the arrow.
Thread the thin end of the strap into
the hole on the side of the camera and
Handstrap attachment
loop the large end of the strap around
it as shown in the figure.
E
2
Insert 4 AA type batteries
with the (+)/(-) polarities as
shown in the compartment.
3
Close the cover and push
it in the direction of the
arrow, making sure the
lock snaps.
With 4 new AA alkaline batteries, you can take more than
200 pictures under normal conditions.
Do not mix different types of batteries.
Replace all 4 batteries at the same time ;
do not mix old and new batteries.
10
E
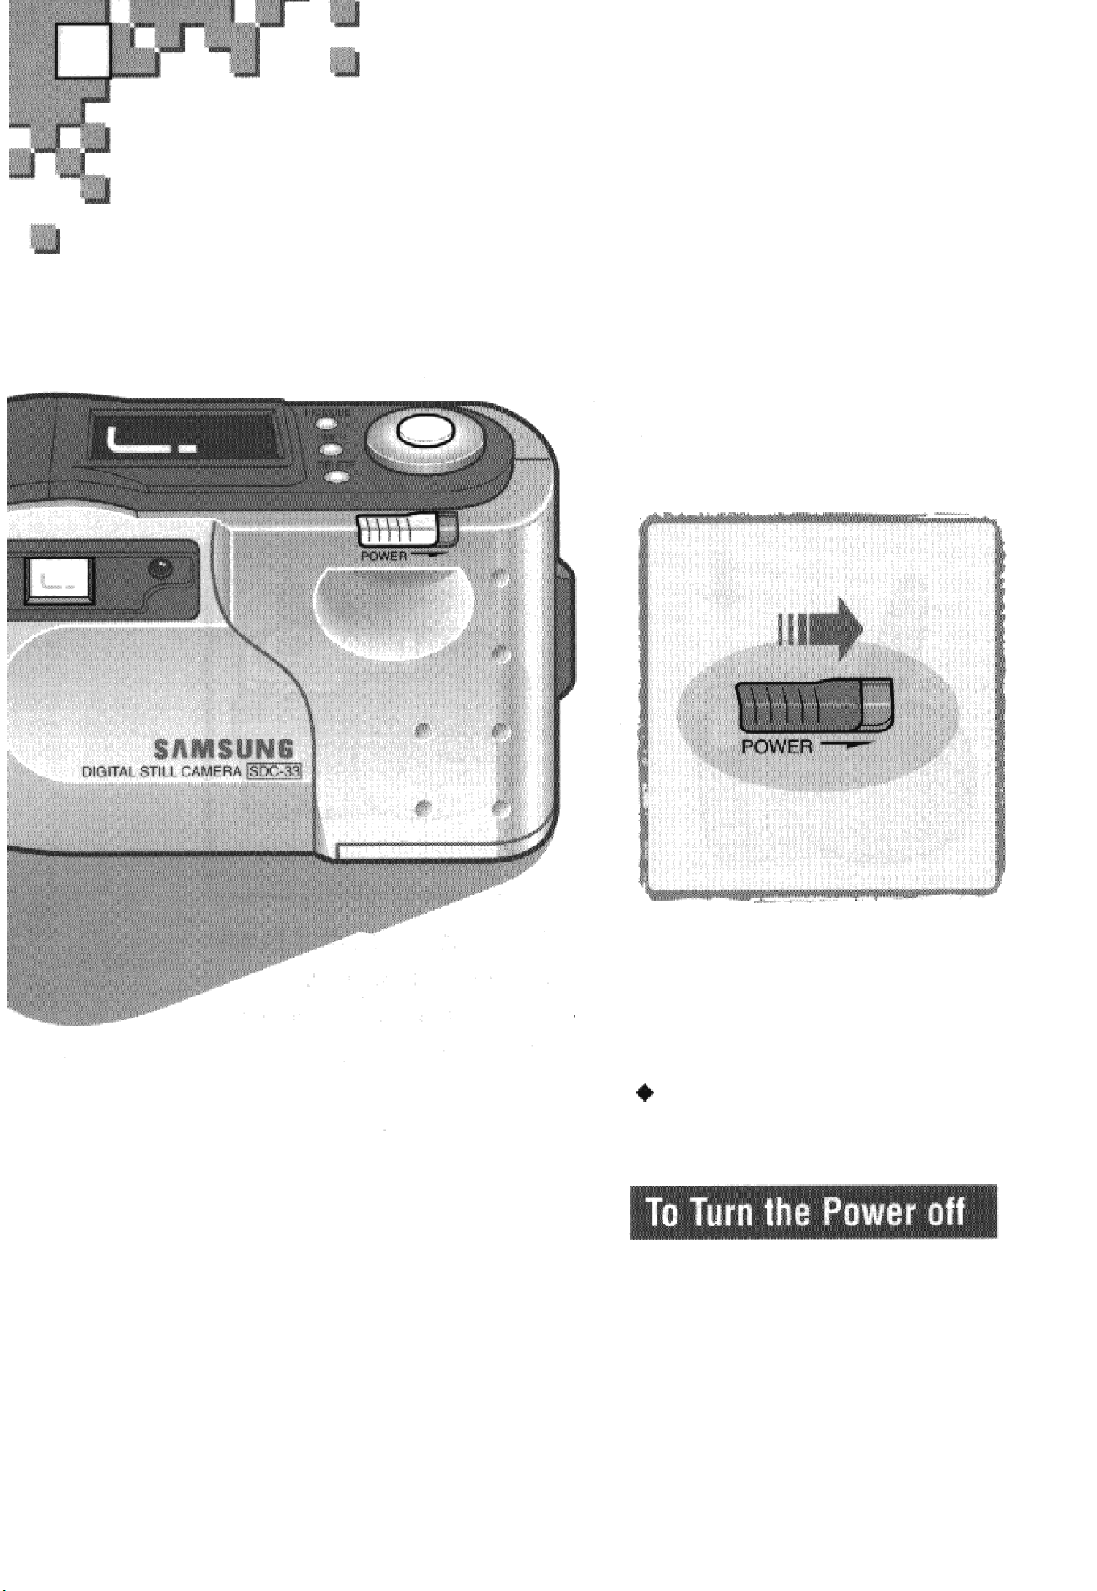
Basic Picture Taking
1
11
Turn the camera ON by
pushing the power switch
in the direction of the
arrow.
+
The display panel and Operation
Ready lamp will light.
To Turn the Power off
Push the power switch in the
direction of the arrow again.
 Loading...