

Samsung SCH-A610 Series User Manual

SCH-A610 Series
PORTABLE
Dual-Band
TELEPHONE
User Guide
Please read this manual before operating your
phone, and keep it for future reference.
FCC RF EXPOSURE INFORMATION
In August 1996 the Federal Communications Commission (FCC) of the United States
with its action in Report and Order FCC 96-326 adopted an updated safety standard
for human exposure to radio frequency electromagnetic energy emitted by FCC
regulated transmitters. Those guidelines are consistent with the safety standard
previously set by both U.S. and international standards bodies. The design of this
phone complies with the FCC guidelines and these international standards.
Use only the supplied or an approved antenna. Unauthorized antennas,
modifications, or attachments could impair call quality, damage the phone, or result in
violation of FCC regulations.
Do not use the phone with a damaged antenna. If a damaged antenna comes into
contact with the skin, a minor burn may result. Please contact your local dealer for
replacement antenna.
WARNING! Read this information before using your phone
Body-worn Operation
This device was tested for typical body-worn operations with the back of the phone
kept 1.5 cm. from the body. To maintain compliance with FCC RF exposure
requirements, use only belt-clips, holsters or similar accessories that maintain a 1.5
cm. separation distance between the user’s body and the back of the phone, including
the antenna. The use of belt-clips, holsters and similar accessories should not contain
metallic components in its assembly. The use of accessories that do not satisfy these
requirements may not comply with FCC RF exposure requirements, and should be
avoided.
For more information about RF exposure, please visit the FCC website at www.fcc.gov

Intellectual Property
All Intellectual Property, as defined below, owned by or which is otherwise the
property of Samsung or its respective suppliers relating to the SAMSUNG Phone,
including but n ot limited to, accessories, pa rts, or so ftware relating theret o ( the
“Phone S ys t em ” ), is proprietary to Samsung and prot ec t ed under federal law s , s t ate
laws, and international treaty pr o visions. Intellectual Property includes, but is no t
limited to, inventions (patentable or unpatentable), patents, trade secrets,
copyrights, software, computer programs, and related documentation and other
works of authorship. You may not infringe or otherwise violate the rights secured by
the Intellect ual Pr op ert y. Moreover, you agree th at you wi ll no t (and will not attempt
to) modify , prepare derivative works of, reverse engineer, decompile, disassemble, or
otherwise attempt to create source code from the software. No title to or ownership
in the Intellectual Property is transferred to yo u . All applicable rights of the
Intellectual Property shall remain with SAMSUNG and its sup pliers.
Samsung Telecommunications America (STA),
Inc.
Headquarters:Customer Care Center:
1130 E. A rapaho Road1601 E. Plano Park way, Suite 150
Richardson, TX 75081Plano, TX 75074
Tel: 972.761.7000Toll Free Tel: 1.888.987.HELP (4357)
Fax: 972.761.7001Fax: 972.761.7501
Internet Address: http://www.samsungusa.com
©2002 Samsung Telecommunications America, Inc. All rights reserved. No
reproduction in whole or in part allowed without prior written approval. Samsung
Telec ommunication s America, I nc. is a trademark of Samsung Electro nics
Corporation, Ltd.
Licensed by Qualcomm Incorporated under one or more of the following patents:
U.S. Patent No. 4, 901, 307; 5, 056, 109; 5, 099, 204; 5, 101, 501; 5, 103, 459 ; 5, 107,
225; 5, 1 09, 390.
English: 2002:11:30. Version 3.0
Printed in South Korea

Openwave® is a registered Trademark of Openwave, Inc.
®
RSA
is a registered Trademark RSA Security, Inc.
Disclaimer of Warranties;
Exclusion of Liability
EXCEPT AS SET FORTH IN THE EXPRESS WARRANTY CONTAINED ON THE
WARRANTY PAGE ENCLOSED WITH THE PRODUCT, THE PURCHASER
TAKES THE PRODUCT "AS IS", AND SAMSUNG MAKES NO EXPRE SS OR
IMPLIED WARRANTY OF ANY KIND WHATSOEVER WITH RESPECT TO THE
PRODUCT, INC L UDING BUT NOT LIMITED TO THE MERCHANTABILITY OF
THE PRODUCT OR ITS FITNESS FOR ANY PARTICULAR PURPOSE OR USE;
THE DESIGN , CON DIT ION OR QUALITY OF THE PRODUCT; TH E
PERFORMANCE OF THE PRODUCT; THE WORKMANSHIP OF THE PRODUCT
OR THE COMPON ENTS CONTAINED THEREIN; OR COMPLIANCE OF THE
PRODUCT WITH THE REQUIREMENTS OF ANY LAW , RULE, SPECIFICATION
OR CONTRACT PER TAINING THERETO . NOT HI NG CONTAINED IN TH E
INSTRUCTION MANUAL SHALL BE CONSTRUED TO CREATE AN EXPRESS
OR IMPLIED WARRANTY OF AN Y KIND WHATSOEVER WI TH RESPECT TO
THE PRODUCT. IN ADDITION, SAMSUNG SHALL NOT BE LIABLE FOR ANY
DAMAGES OF ANY KIND RESULTING FROM THE PURCHASE OR USE OF
THE PRODUCT OR ARISING FROM THE BREACH OF THE EXPRESS
WARRANTY, INCLUDING INCIDENTAL, SPECIAL OR CONSEQ UENTIA L
DAMAG E S, OR LOSS OF ANTICIPATED PROFITS OR BENEFITS.
Introduction to the SCH-A610 phone
Congratulations on the purchase of your SCH-A610 phone . Using the latest
digital tech nology, your new phone operates on the same basis as other
wireless phone s while providing super ior resonance and tone quality.
The SCH-A610 phone is packed with productive features that are easy to
use. Here are some of the m:
• Operates in 1900 MHz digital CDMA, 800 MHz digital CDMA

• Voice Dialing – 20 Loca tions
• User friendly display with dedicated icons for signal strength, service,
roaming, messages, vibrator , and battery
• Replaceable faceplates
• 5 Monotone Ring Types, 15 Melody Tones
• Distinctive ringer types for voice, message, and alarm calls
• Distinctive ringer volumes for voice, message, and alarm calls
• Phone Book Memory – 500 Locations
• Call Logs – 10 Locations each for outgoing , incomi ng, and missed calls.
These 30 Call Log numbers are all easy to redial .
• Internet MiniBrowser
• Pause Dialing for tele-services
• Fast Ringer Mute during Incoming Call
• Alarm clock with programmable alarm
• Last number redial – last 10 Numbers
• One-touch dialing – 9 Locati ons
• Two-touch dial ing – 90 Locations
• Three-touch diali ng – 401 Location
• Easily mute the microphone during conversation
• Security features including Call Restriction, Emergency/Sec ret Nu mber
capability, and Loc k mode
• Fax and Data capability
• Selectable English/Spanish user interface
How To Use This User Guide
This user guide explains your Samsung SCH-A610 phone operations
through easy-to-follow instruct ions and illustrat ions.
We’ve included some impor tant safety and usage information th at you
should know before using your phone.
If you still have quest ions, we’ll be happy t o answer them. Just call our
Samsung Customer Car e Center toll- free at 1.888.987.HELP (4357).

Getting to know your phone
Antenna
The antenna is a device for transmitting and receiving signals. Th e shape and
size of the antenna is determined, in part, by the frequency of the signals that
they receive. An antenna makes the call sound clearer when it is fully extended.
Use only in the normal position and do not tou ch the antenna unnecessarily
when the phone is active.
Backlight features
Y our keypad has user settable backlighting for easy visibility.
Clear key
The
been incorrectly entered. Or, you can use it to return to a previous screen.
key is used to erase/clear numbers or characters that may have
•If you enter an incorrect number or character on the display
screen, press once briefly.
•To erase all digits or characters from the display screen, press
for two seconds.
•To back up one menu level, press
•To return to standby mode from any menu, press
seconds.
once briefly.
for two
End (power on/off) key
This
key is utilized in se veral ways:
•Press and hold
•Press and hold
•Press
once to disconnect a call, return to standby mode, or
to turn on your phone.
to turn off your phone.
cancel any input.
Headset connector
This is where the optional hands-fr ee headset is connected. The headset
includes an earbud and micro phone in a convenient, light weight unit so you
can talk without using your hands.
17

•Before inserting the hand s-free headset connector to your phone,
gently pry open the top of the cover to expose the headset
connector.
LED indicator
The LED indicator flashes to indicate an incoming call or message. When you
have the phone ringer set to off, the LED indicator notifies you of an incomi ng
call or message.
•The LED indi cator lights momentarily when you power up the
phone.
Menu key
Press to enter the menu selectio n.
Microphone
The microphone is used for conversation and recording.
Numeric keypad
Use these keys to enter text, numbers, and special characters.
OK/Message key
The key sto res informat io n that you enter, and also acts as an “OK”
button when pressed. When in standby mode, functions as a Mail Kit
menu access key to send messages and review received messages.
Speaker
The speaker is for listening to voice conversations.
Send key
The
key performs several useful functions:
•Press
•Enter a number and press
•Press
number.
18
once to answer calls.
once to connect a call.
twice in standby mode to redia l the last outgoing
Navigation
The Navigation key
pressing the appropriate arrow.
When in standby mode the navigation key also acts as a hot key.
allows you to locate different menu options by
Display screen
Your phone has two display screens:
•The display screen on the front of your phon e (the flip top)
comprises of two areas; an upper line of stationary icons, and the
lower line showi n g tex t in fo rmation or time of day.
•The display screen on the inside of your phon e compri ses of th ree
areas, an upper line of stationary icons, lower line of text
information, and a graphic area in the middle.
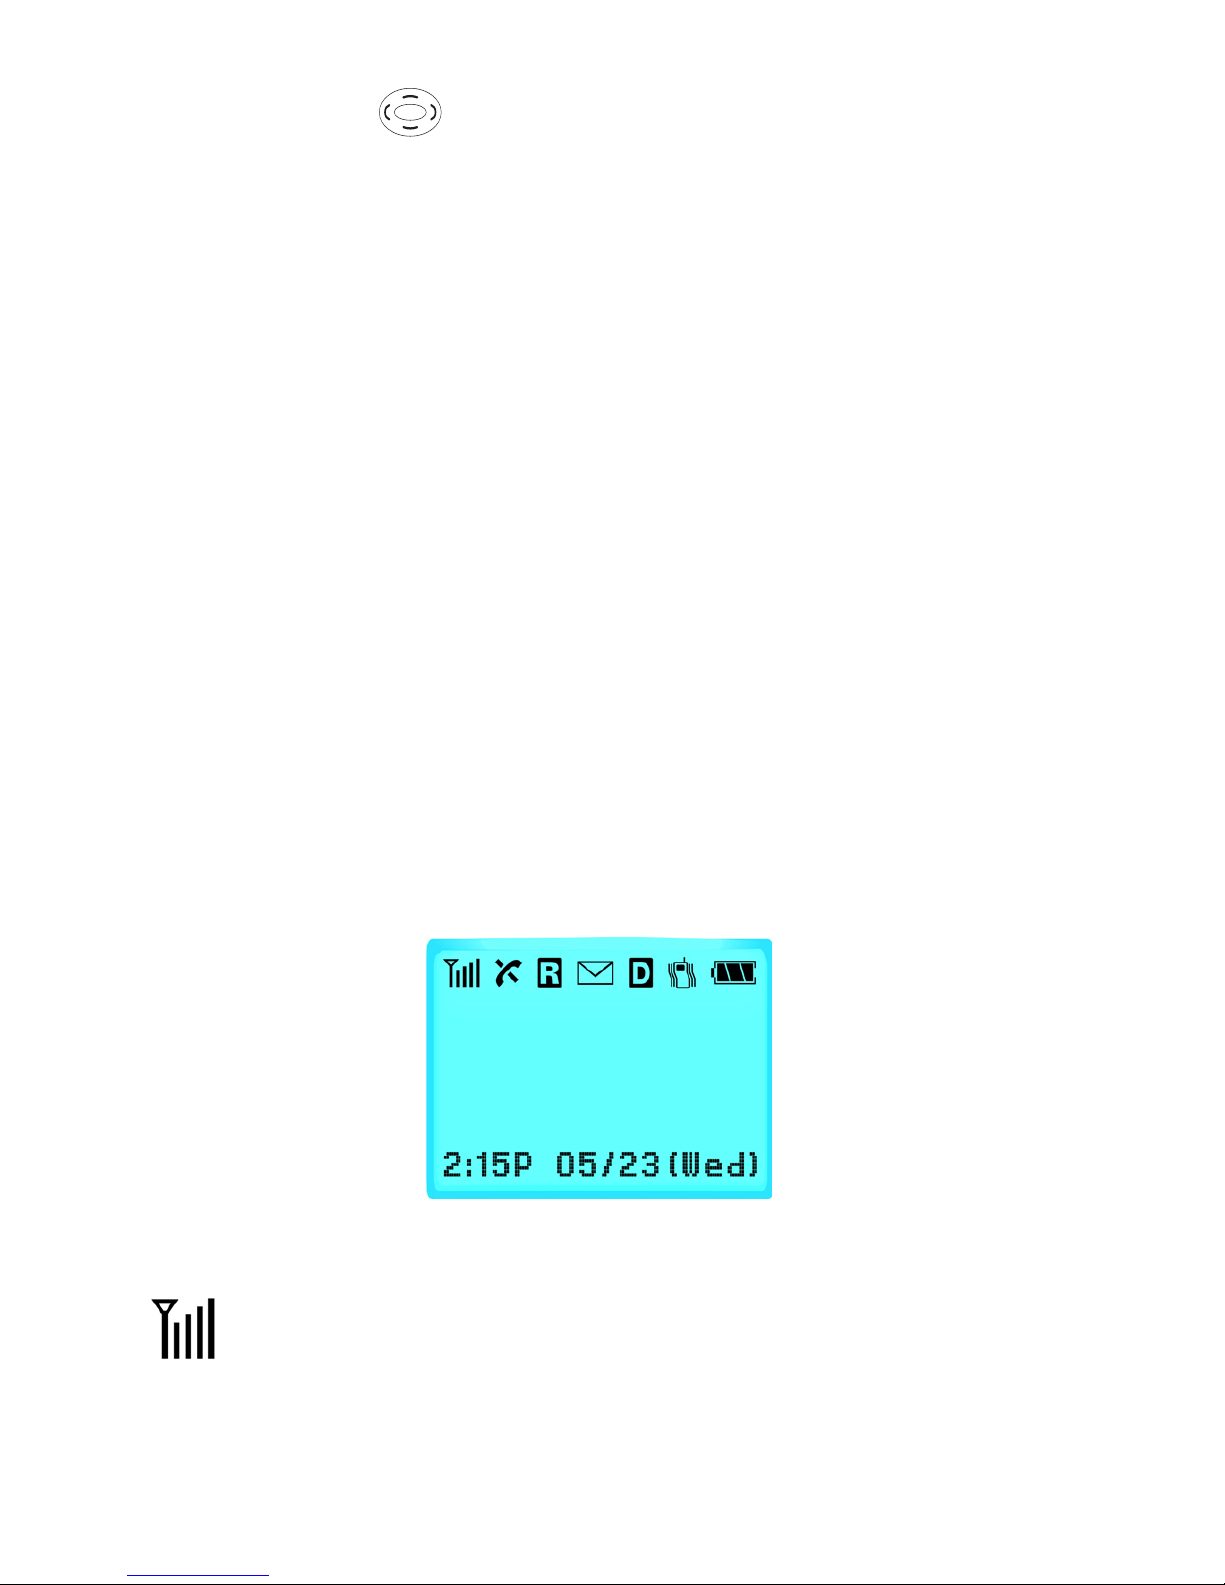
• The top line of icons shown on the liquid crystal display (LCD), appear
according to the phone’s operating mode.
• The lower area of the LCD displays in-use information.
Note: The fo llowing illustration of the screen display may not reflect the order
in which icons, as well as other information, appear on your phone.
.
Display screen icons
Signal strength: This icon always appears when your phone is on. It
shows your current signal strength. More lines indicate more signal
strength.
19

Service indicator: This icon indicates a call is in progress. When
the phone is calling a number, this icon will flash un ti l the call is
connected.
No service indicator: This icon indicates your phone cannot find a
signal because you’re out side a service area. You cannot make or
receive calls. Wait a little while for a signal or move into an open area.
Note: The no service indicator icon will always appear when you turn on your
phone. As soon as service is located, the in d icator will disappear.
20
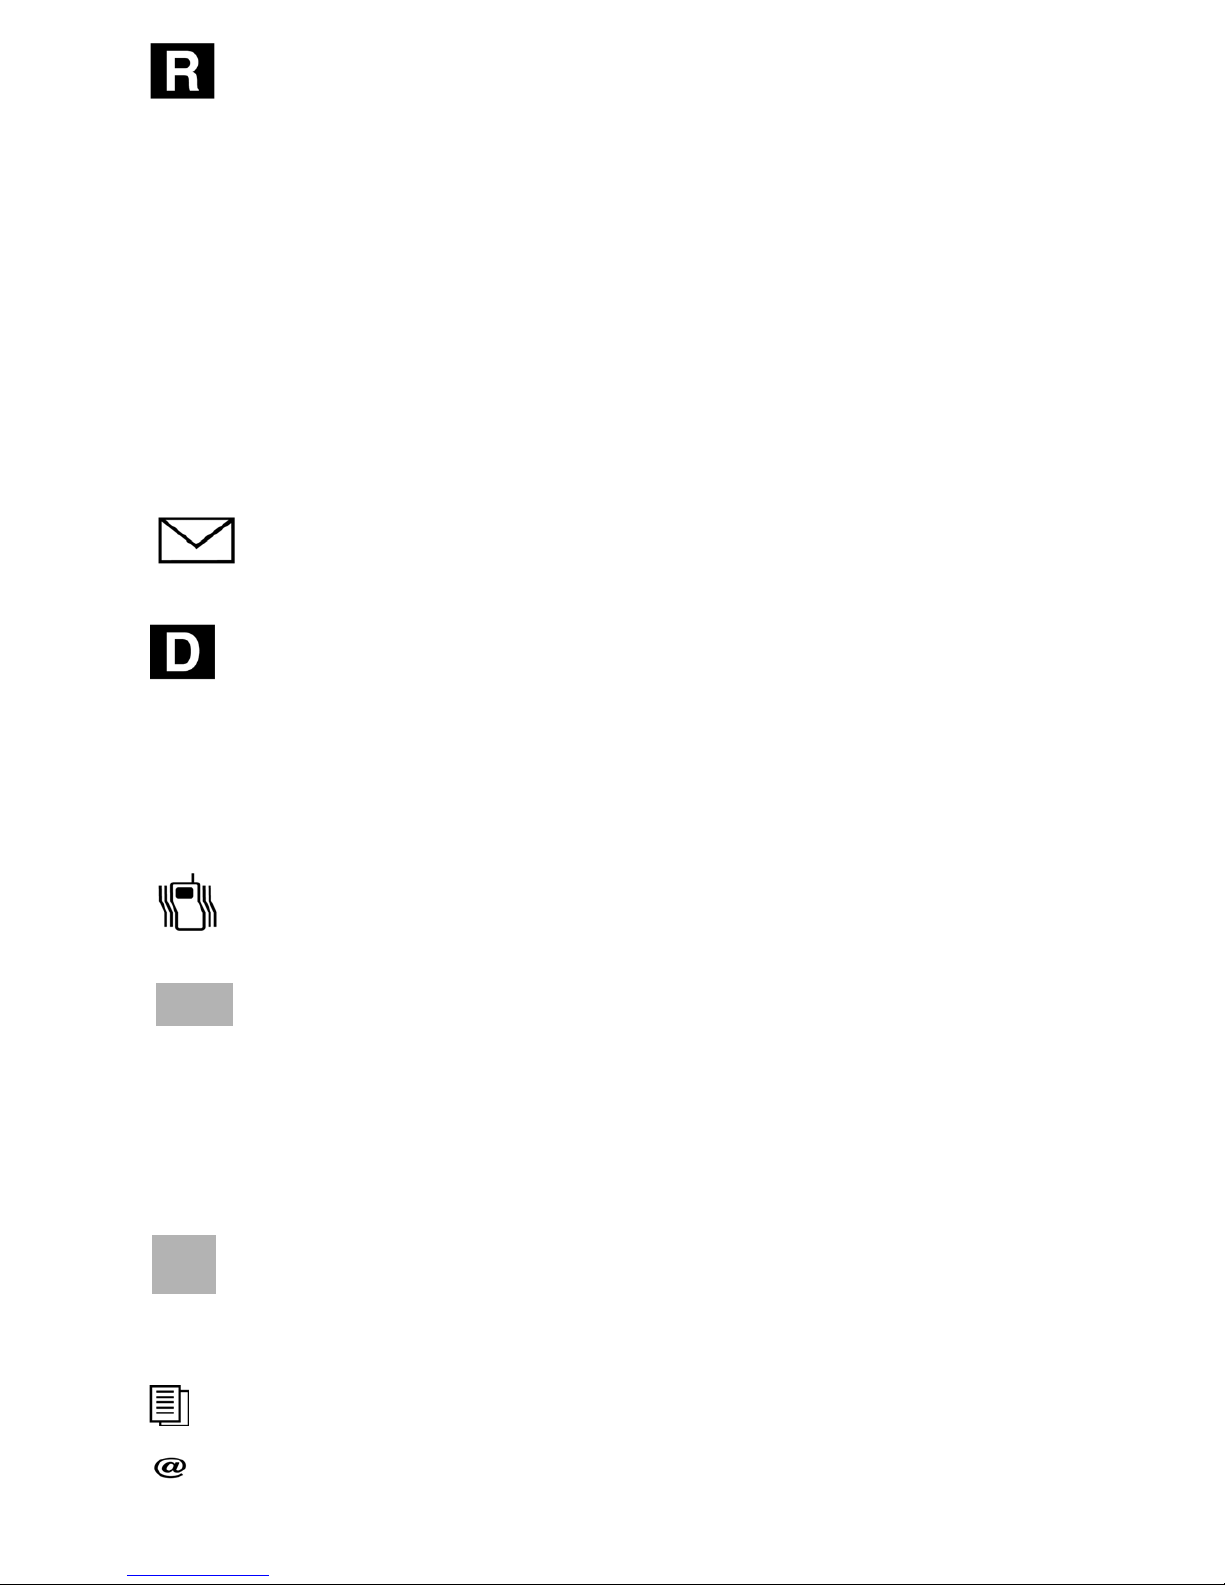
Roaming: This icon displays when your phone is outside your
service provider’s area and your phone is receiving service from
another carrier’s network.
If you are:
•In your home service area, this indicator will not disp lay.
•In a preferred analog or digital networking area (where your
service provider has a roaming agreement in place), this indicator
will be on, but not flashing.
•In an analog or digital area that is not covered by your phone’s own
service provider, this indicator will be on.
New Message: This icon appears when a new voice, text, page or
web alert message is received.
Digital mode: This icon indicat es your phone is operating in digital
mode. Your phone has some features that work only in a digital
service area; these services include the Web Browser and certain
other message(s) services. If this icon is absent, your phone is
operating in analog mode.
Vibrate mode: This icon indicates that an incoming call will make
the phone vibrate rather than ring.
Battery strength: This icon always displays when your phone is
active, it displays your battery charge level. The more black bars you
see, the greater the charge. When the battery becomes very low, a
flashing empty battery icon displays and the phone sounds an audible
alert; this indicates that your p hone is about to turn itself off.
High speed data: This icon indicates that your phone is sending or
receiving data at a high speed.
Other phone icons
Duplicate: This icon indicates that a duplicate message was sent.
E-mail: This icon represents an e-mail address.
21
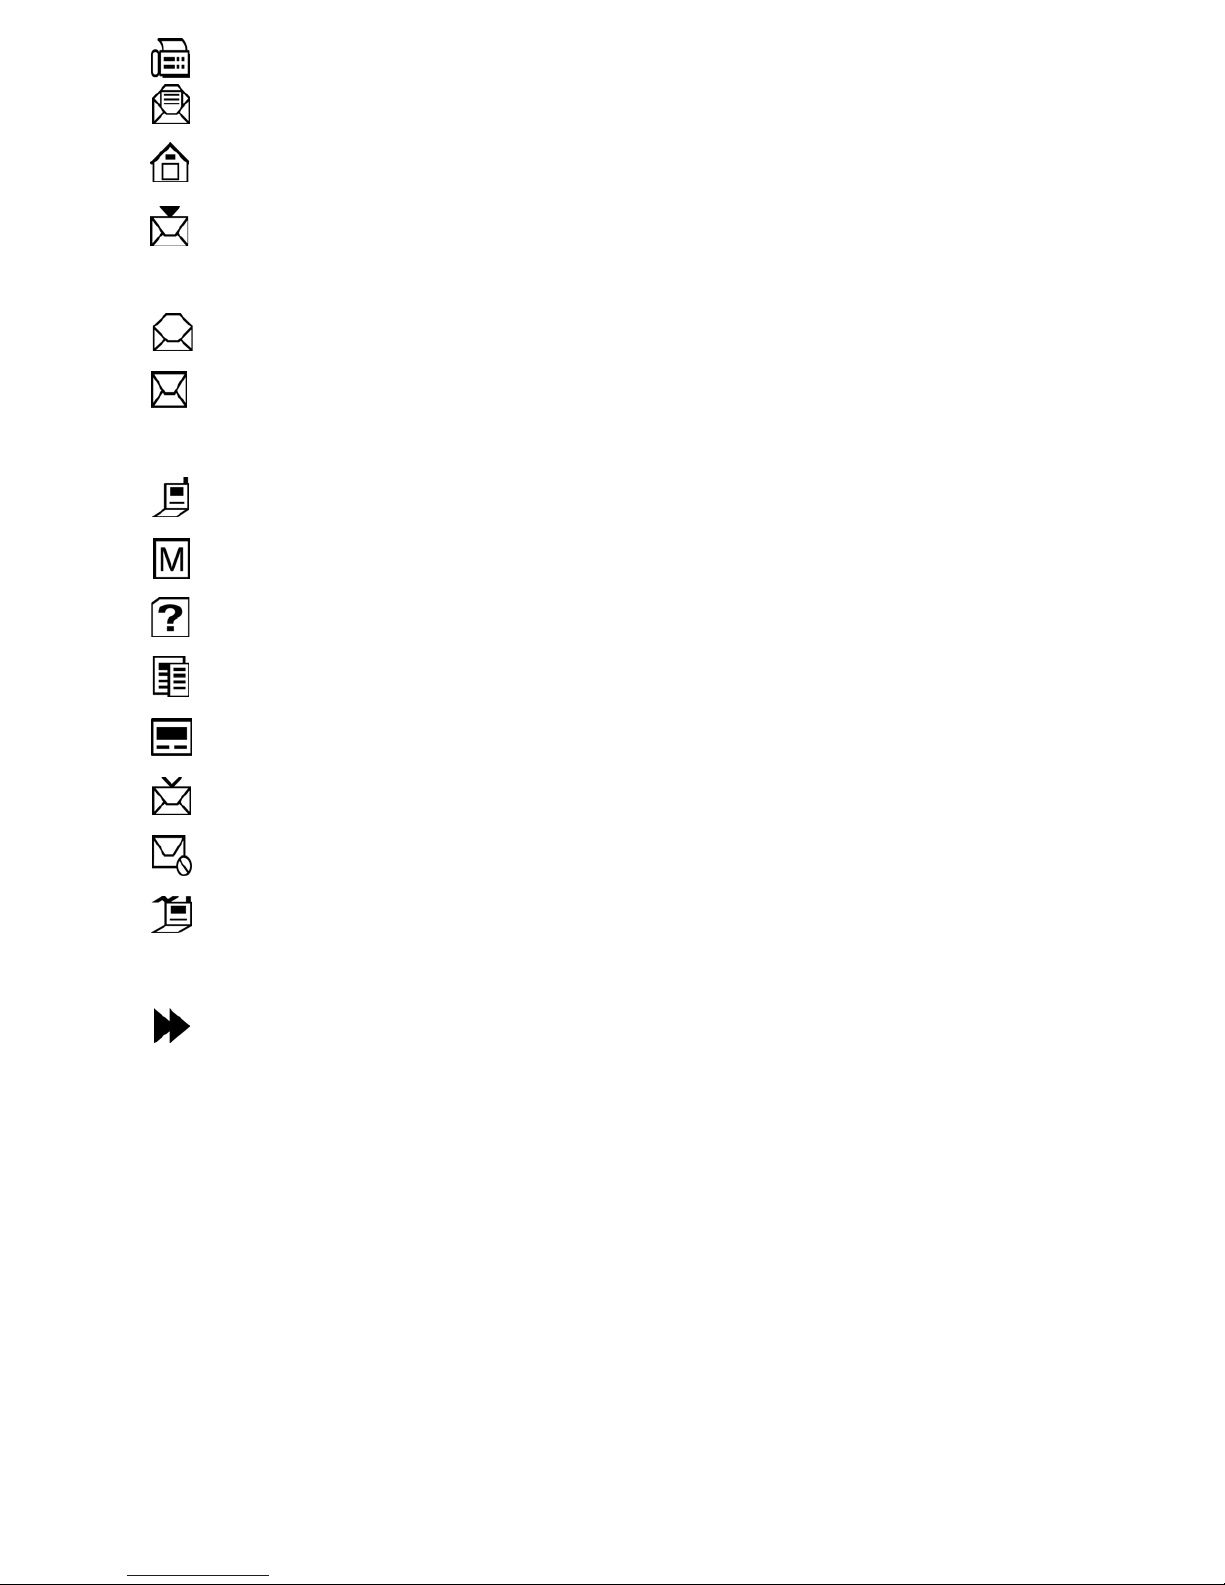
Fax: This icon represents a fax number.
Filed Message: This icon displays if a message is filed.
Home: This icon indicates represent s an indi vi dual’s home nu mber.
Message: This icon displays when outgoing messages are
transmitted.
Message read: This icon displays when you have read a message.
Message received: This icon indicates that an incoming te x t,
voicemail, page or web message has been received.
Mobile: This icon represents a mobile ph one number.
Multi: This icon displays if mul ti m ess ages are successfully delivered.
No label: This icon indicates th a t no label exists fo r this entry.
Office: This icon represents an office number.
Pager: This icon represents a pager number.
Send Delivered: This icon displays if a se nt messag e is d e livered.
Send Failed: This icon displays if a message failed to be sent.
Speed dial: This icon displays when the number you wi sh to call is
available using the speed dial feature.
Urgent: This icon displays if a message is urgent.
Installing the battery
Note: You r phone comes packaged with a partially charged rechargeable
standard Li-Ion battery and travel adapter. The phone can be used while the
battery is charging, but must be fully charged the first time you use your
phone otherwise the battery could be damaged.
The battery attaches to the phone very easily:
1. Gently place the bottom end of the battery into the provided slots on the
underside of the phone.
22

2. Press the top end of the battery down (The top end of the battery displays
the word Samsung in raised letters.) until you hear it click into place.
Removing the battery
To remove the battery from your phone:
1. Turn the phone off (by pressing and holding until the closing
animation begins.)
2. On the back side of the phone, hold the button down and push the
battery toward the bottom edge of the phone. The battery will then lift or
fall away from the phone.)
Charging the battery
Your phone is powered by a rechargeable standard Li-Ion battery. Only use
Samsung-approved adaptors and batteries. These adaptors are designed to
maximize battery life. Using other adaptors may invalidate your
warranty and may cause damage.
When the phone has finished charging it can be disconnected.
23

Adaptor outlet
Use the adaptor outlet to connect your phone to a wireless data device or a
hands-free car kit (both sold separately ). The adaptor outlet is located at the
bottom of the phone.
•To charge your battery, plug the travel adaptor that is supplied with
your phone into a wall outlet.
•Using your thumb and first finger, gently squeeze the two buttons
located on either side of the other end of the travel ada pt or and
insert the adaptor into your phone’s outlet. The yellow arrow on the
travel ada ptor shou ld be facing upwards and pointing to wa r d the
phone.
•When you unplug the travel adaptor from your phone, squeeze
these same two buttons, and pull gently on the adaptor to
disconnect it from the pho ne.
Using the travel adaptor
The travel adaptor allows you to charge your phone’s battery from any 110 volt
AC standard wall out let. Also, usi ng the travel adaptor allows you to make a
phone call while the battery is charging. The travel adaptor will fully charge an
“empty” standard battery in approximately 4 hours.
Follow these steps:
1. With the battery in position in the phone, attach the cord from the travel
adaptor by plugging it into the adaptor ou tlet at the bottom of the phone.
2. Connect the adaptor to a standard 11 0 volt AC wall outlet . The bat tery will
begin charging immediately, and the LED (located at the top of your
phone) will light and remain red while the battery icon animates, the
icon will remain animated, even if th e phone is turned off during
charging.
3. The LED indicates the status of the batt ery being charged.
24

Red indicates that the battery is cha rgin g.
•
Green indicates that the battery is fully charged.
•
Yellow indicates (1) the battery is not seated correctly in the
•
phone, (2) the adaptor is not plugged in correct ly, or (3) the
battery is inope ra b le . Pl e as e chec k the ada p to r and /o r batte ry.
4. You can make a phone call when the phone is plugged into the travel
adaptor. The adaptor wil l con tinue to charge the battery even when you
are making the call.
Note: The battery charges faster when the phone is turned off.
Low battery indicator
Y ou can tell whether or not your battery needs to be recharged by checking the
battery indicator (this icon is located in the upper-right corner of the
display screen). The presence of all three bars indicate a full charge. No bars
(the battery icon is empty) means your battery must be charged.
The empty battery icon
Two to three minu tes befo re the battery c harg e level g ets too lo w to operate th e
phone, the battery sensor will let you know by blinking an empty battery icon
( ), and sounding a tone. If you continue to operate the phone without
charging the battery, the phone will automatically turn off. If this happens, your
wireless call will be terminated. However, if you plug into a charging device,
you can continue your call. Be sure to monitor the battery strength icon and
make certain your battery is adequately charged.
25

Your phone’s modes
Answer mode
With this option activated, you can select how you want to answer your phone
when you receive an incoming call.
Digital mode
Some of your phones features work only in digital service areas, the icon
indicates that your phone is operating in digital mode. If the digital icon is
absent, your phone is operating in analog mode.
Input mode
Use input mode to enter text, numbers and symbols into various screens.
Lock mode
When you lock your phone using the Lock Mode menu option, you restrict
phone usage. You can receive messages and calls, but you cannot make an
outgoing call un til your phone is unlocked. You can unlock your phone, by
following the prompts and ente r ing the loc k c ode .
Power save mode
Y our phone comes with a power save feature that automatically activates if your
phone is unable to find a signal after 15 minutes of searchin g. While this
feature is active, the phone’s battery charge is conserved. The phone
automatically rechecks periodically for a signal. T o manually force the phone
to recheck for a signal, press any key. A message on the display screen will
inform you when your ph one is operating in the power save mode.
26
 Loading...