

Samsung S2 PORTABLE, S1 MINI User Manual
S1 Mini
HXSU012BA
HX-SU012BA
HXSU016BA
HX-SU016BA
HX-SU020BA
HX-SU025BA
HXMU016DA HX-MU016DA
HXMU025DA HX-MU025DA
HXMU032DA HX-MU032DA
HXMU050DA HX-MU050DA
HX-MU064DA HX-MU075DA
S2 Portable S2 Portable 3.0
HX-MTA25DA
HX-MTA32DA
HX-MTA50DA
HX-MTA64DA
HX-MUT75DA
HX-MU010EA
S-Series External Hard Drive
User’s manual

User’s Manual
Read Me First
About this Manual
Your product comes with a quick start guide and a user’s manual.
Following the instructions and precautions of this manual will ensure easier and more enjoyable use of your S-Series
External Hard Drive.
Quick Start Guide
A start guide is provided with the purchase of S-Series External Hard Drive.
The quick start guide explains product components and provides simple instructions on how to install the product.
User’s Manual
The User’s Manual contains detailed information about features and instructions on using your S-Series External Hard Drive.
Using this Manual
Carefully read and understand the “Handling Precautions” section before using the product.
Failure to follow all the instructions as outlined in the Handling Precautions section could result in damage to
you or to your S-Series External Hard Drive.
Refer to the Troubleshooting section first if you experience a problem with the product.
Software and user’s manuals are available for download at the Samsung Hard Drive website (www.samsunghdd.com).
Ref.
S-Series External Hard Drive 2
The content of this User’s Manual may change without prior notice for product improvement purposes.

User’s Manual
Handling Precautions
The following information serves to ensure user’s safety and prevent damage to user’s properties.
Carefully read the information provided and use your product correctly.
Supplied with the rated USB BUS Power
S-Series must use the USB Bus Power. Please connect to the USB Port supplied with the rated USB BUS Power.
Installation Related
Do not sit on the product and
Use the product on a flat surface.
do not place a heavy object over
the product.
Product case or connector can be damaged
and may cause a break down.
Data Cable Usage
Standardized data cable.
This may increase the wrong operation and
may cause a malfunction.
Do not unplug the data cable by
severely pulling the cable.
This may damage connector on the product
and may cause a problem with the product.
Shock
The external drive is very portable and you may easily drop it. Take care not to drop and tip the product while
carrying the external drive. If you make an impact on the external drive, it may cause bad sectors on the disk.
Bad sectors can cause various and potentially read/write errors.
Do not severely bend the data
cable and do not place a heavy
object over the data cable.
If the data cable is damaged, it may cause a
malfunction.
Humidity
If you use the product in places exposed to humidity, it may danger of electric shock. In addition, prolonged exposure to
moisture can corrode various parts and components.
S-Series External Hard Drive
3
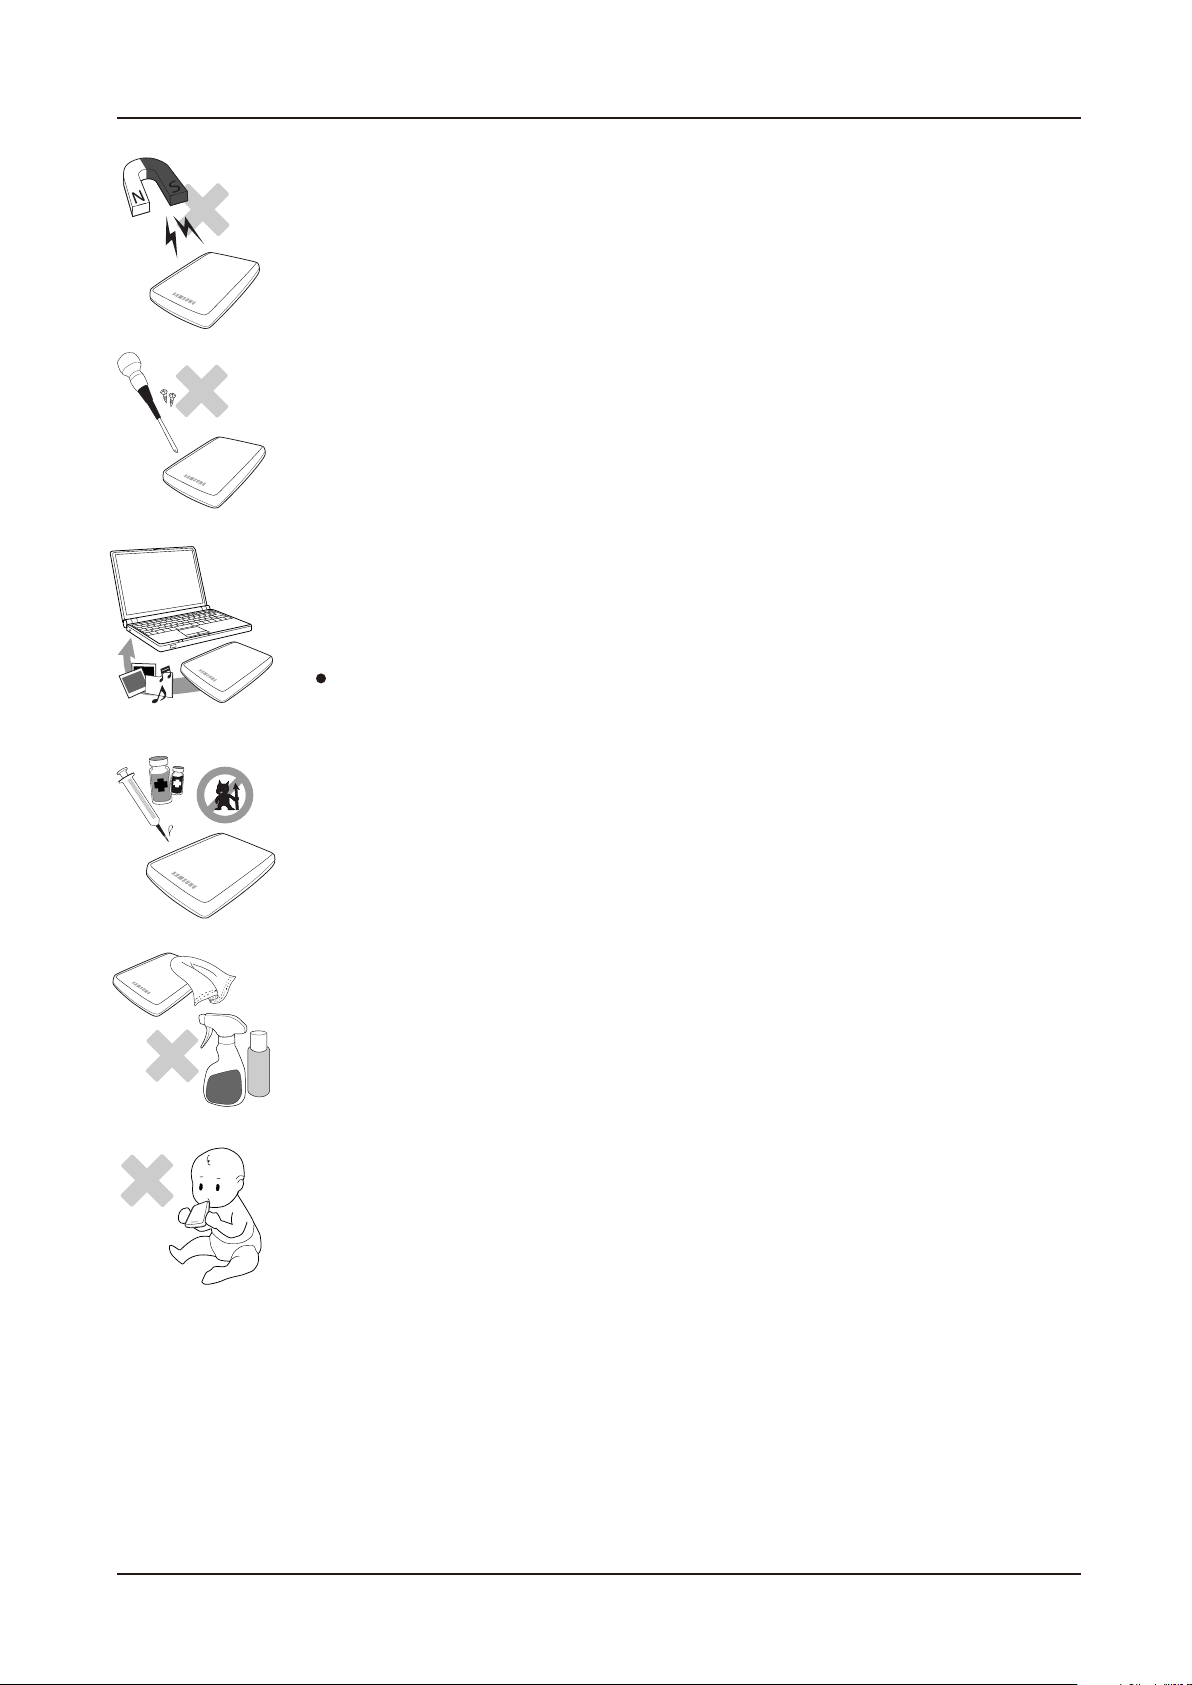
Magnets
Magnetic objects can cause various types of damage to the HDD, including data damage. Keep magnets and
magnetic objects away from the external drive.
Disassembly and Label Removal
For repair, please visit the designated (samsung) customer service center.
Unauthorized disassembly, repair, or reform of the product and unauthorized removal
of the labeling will void your warranty.
Always Backup your Important Data
The external drive manufacturer does not guarantee data stored in the external drive
and will not assume responsibility for any mental or material damage incurred during data recovery.
Backup : Storing the original and a copy on two or more separate and accessible storage media.
User’s Manual
Regular Virus Scanning
Frequently scan the device for viruses and protect the external drive from virus infection.
Cleaning the product
Never use cleaning fluid or similar chemicals.
Do not spay cleaner directly on the product.
It may cause discoloration and deformation of the product.
Custody Related
Keep the product and accessories out of the reach of children. It may cause personal injuries and problem.
Safely Remove Hardware
Always use the Safely Remove Hardware feature before shutting down the HDD or disconnecting the USB cable and power cable.
1MB=1,000,000bytes / 1GB=1,000,000,000bytes
Actual accessible capacity may vary from advertised capacity due to formatting and partitioning of the hard drive, as well as due to your computer's operating system.
S-Series External Hard Drive
4

Table of Contents
User’s Manual
Read Me First
Handling Precautions
Introduction
Specifications
Connecting your S-Series
2 About this Manual
2 Quick Installation Guide
2 User’s Manual
2 Using this Manual
3 Supplied with the rated USB BUS Power
3 Installation Related
3 Data Cable Usage
3 Shock
3 Humidity
4 Magnets
4 Disassembly and Label Removal
4 Always Backup your Important Data
4 Regular Virus Scanning
4 Cleaning the product
4 Custody Related
4 Safely Remove Hardware
6 Introduction
7 S1 Mini / S2 Portable
8 S2 Portable 3.0
9 Installation
11 Windows
12 Macintosh
Using your S-Series
S-Series Software
Troubleshooting
Appendix
13 Copying / Moving Files
13 Removable Disk Method
15 Safely Removing your S-Series
15 For Windows
16 For Macintosh
17 S-Series External Hard Drive Software
17 Samsung Auto Backup
17 Samsung Auto Backup Installation
19 Data Backup using Samsung Auto Backup
25 Quick Backup
26 Restoring Backup Data
29 Samsung SecretZone™
30 Virtual Drive with Samsung SecretZone™
32 FAQ
33 Partitioning and Changing File System Type
33 Reformat to FAT32
34 Reformat to NTFS32
34 Format in Macintosh
35 Product Certifications
35 FCC
36 Warranty Information
S-Series External Hard Drive
5

User’s Manual
Introduction
The S-Series External Hard Drive is a high-performance external hard drive that supports USB.
Unlike conventional desktop disk drives, the S-Series External Hard Drive makes it possible for you to
instantaneously add greater storage capacity to your system without having to take the computer apart.
This means that your S-Series External Hard Drive comes fully partitioned and formatted for your use and
you can instantly access to the drive by simply plugging it into your computer through a USB port.
Rebooting and other cumbersome steps are not necessary. “SecretZone™” , which is part of the software bundle
that comes with your S-Series External Hard Drive, allows you to protect and manage your private data.
S-Series External Hard Drive
6
Specifications (S1 Mini / S2 Portable)
User’s Manual
Category
Interface
Transfer Rate
Power
Operating System
Hard Disk Capacity
Dimensions (W x H x L)
Color
Format System
S1 Mini S2 Portable
High Speed USB
480 Mbps Max.
USB Host Power
Windows 2000 Pro / XP / Vista / 7
Mac OS X 10.4.8 or Later
120GB / 160GB / 200GB / 250GB
(62mm X 15mm X 87mm)
Black / White / Red / Brown
160GB / 250GB / 320GB / 500GB / 640GB
(82mm x 17mm x 111mm)
Black / White / Red / Brown / Blue / Pink
FAT32
750GB, 1TB
(82mm x 18mm x 111mm)
System Requirements
PC : Windows® 2000 Pro / XP / Vista / 7
Macintosh : Mac OS X 10.4.8 or Later
Upgrade your operating system to the latest version to enjoy better performance and reliability.
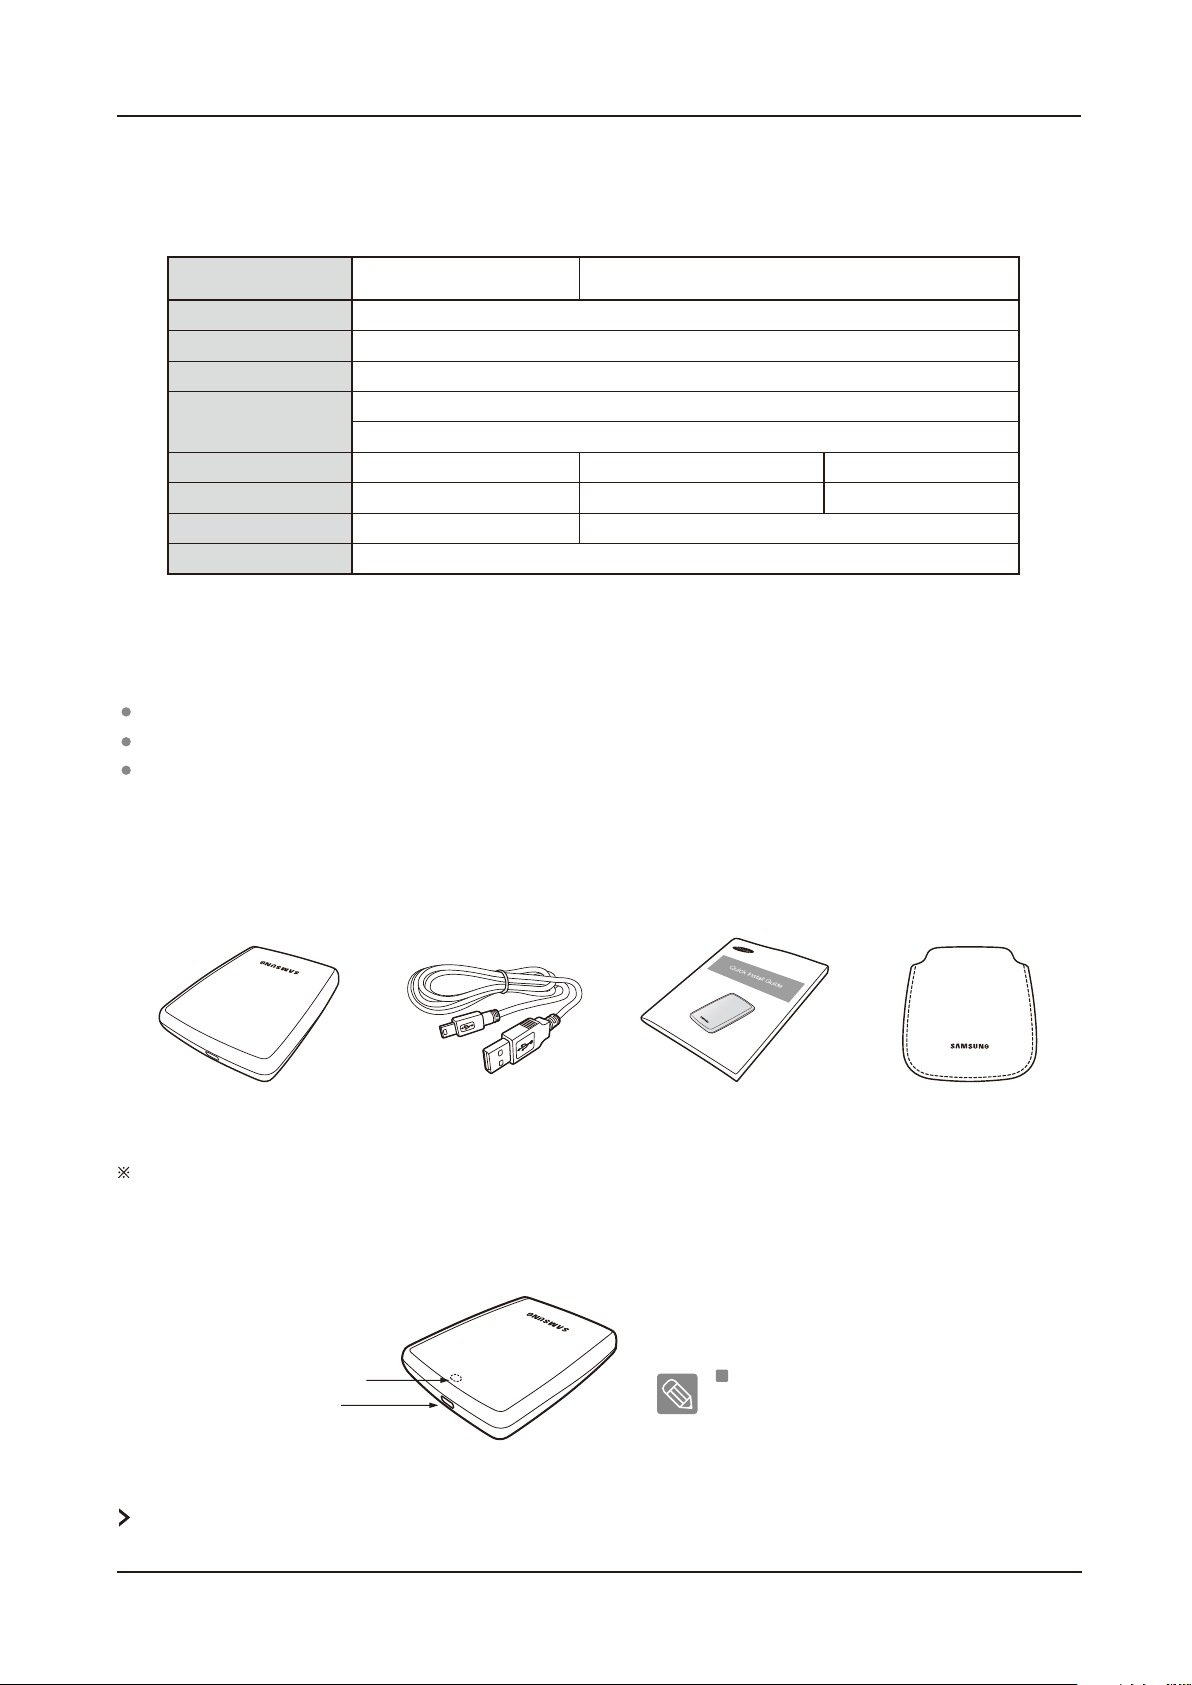
Components
S1 Mini / S2 Portable
When you purchase a S1 Mini / S2 Portable External Hard Drive, make sure that all components have been included in your
product package.
USB 2.0-Cable
Quick Start Guide Pouch
Overview
LED
USB Port
LED Description
1) Standby Status : Steadily lit LED
Ref.
2) Read/Write in Progress : Blinking LED
Some computers supply limited USB bus power. If your drive doesn't power on after connecting the USB cable, you may need to
purchase a USB Y-cable from retailers or online shops.
S-Series External Hard Drive
7

Specifications (S2 Portable 3.0)
User’s Manual
Category
Interface
Transfer Rate
Power
Operating System
Hard Disk Capacity
Dimensions (W x H x L)
Color
Format System
S2 Portable 3.0
Super Speed USB
5 Gbps Max.
USB Host Power
Windows 2000 Pro / XP / Vista / 7
250GB / 320GB / 500GB / 640GB
(82mm x 17mm x 111mm)
Black
FAT32
System Requirements
PC : Windows® 2000 Pro / XP / Vista / 7
Upgrade your operating system to the latest version to enjoy better performance and reliability.
Components
USB 3.0 Micro-B CableS2 Portable 3.0
When you purchase a S2 Portable 3.0 External Hard Drive, make sure that all components have been included in your
product package.
Quick Start Guide Pouch
Overview
LED
USB 3.0 Port
LED Description
1) Standby Status : Steadily lit LED
Ref.
2) Read/Write in Progress : Blinking LED
Some computers supply limited USB bus power. If your drive doesn't power on after connecting the USB cable, you may need to
purchase a USB Y-cable from retailers or online shops.
S-Series External Hard Drive
8
User’s Manual
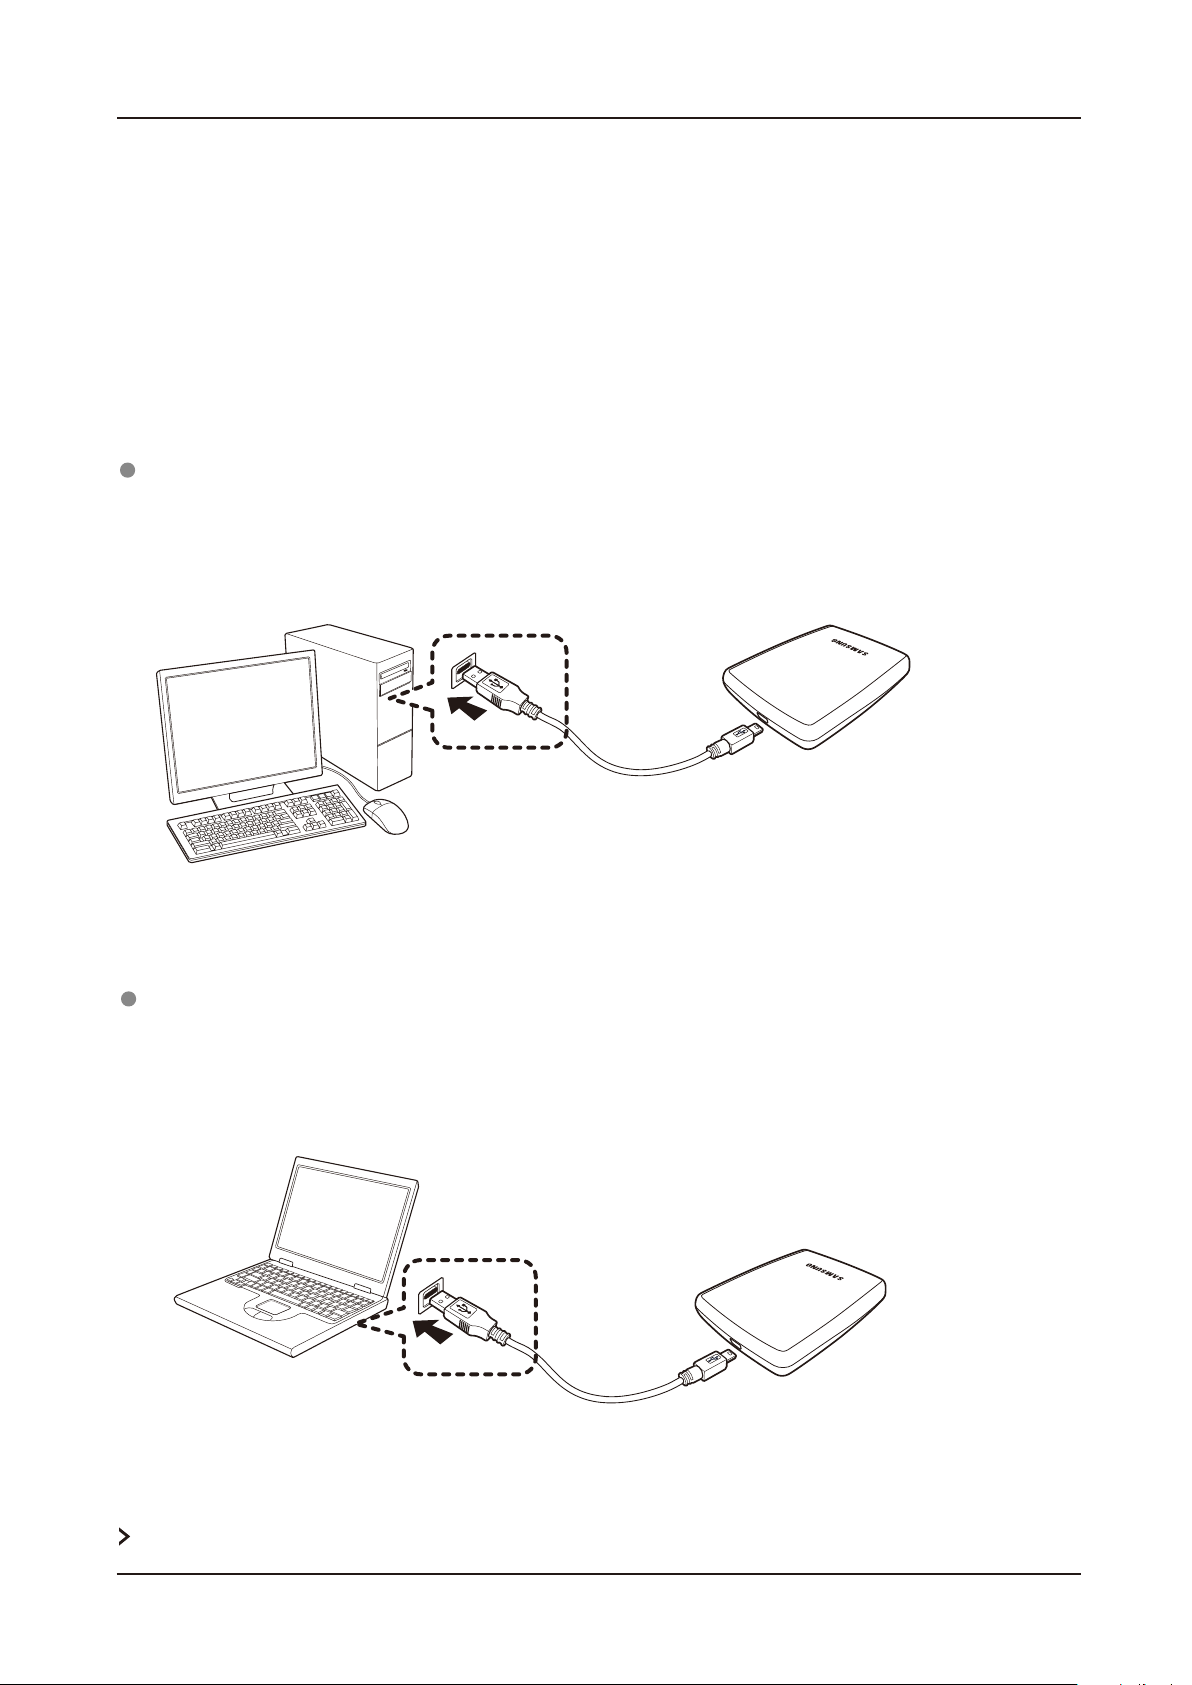
Connecting your S1 Mini / S2 Portable
Installation
Verify that the computer meets the minimum system requirements as outlined in #System Requirements.
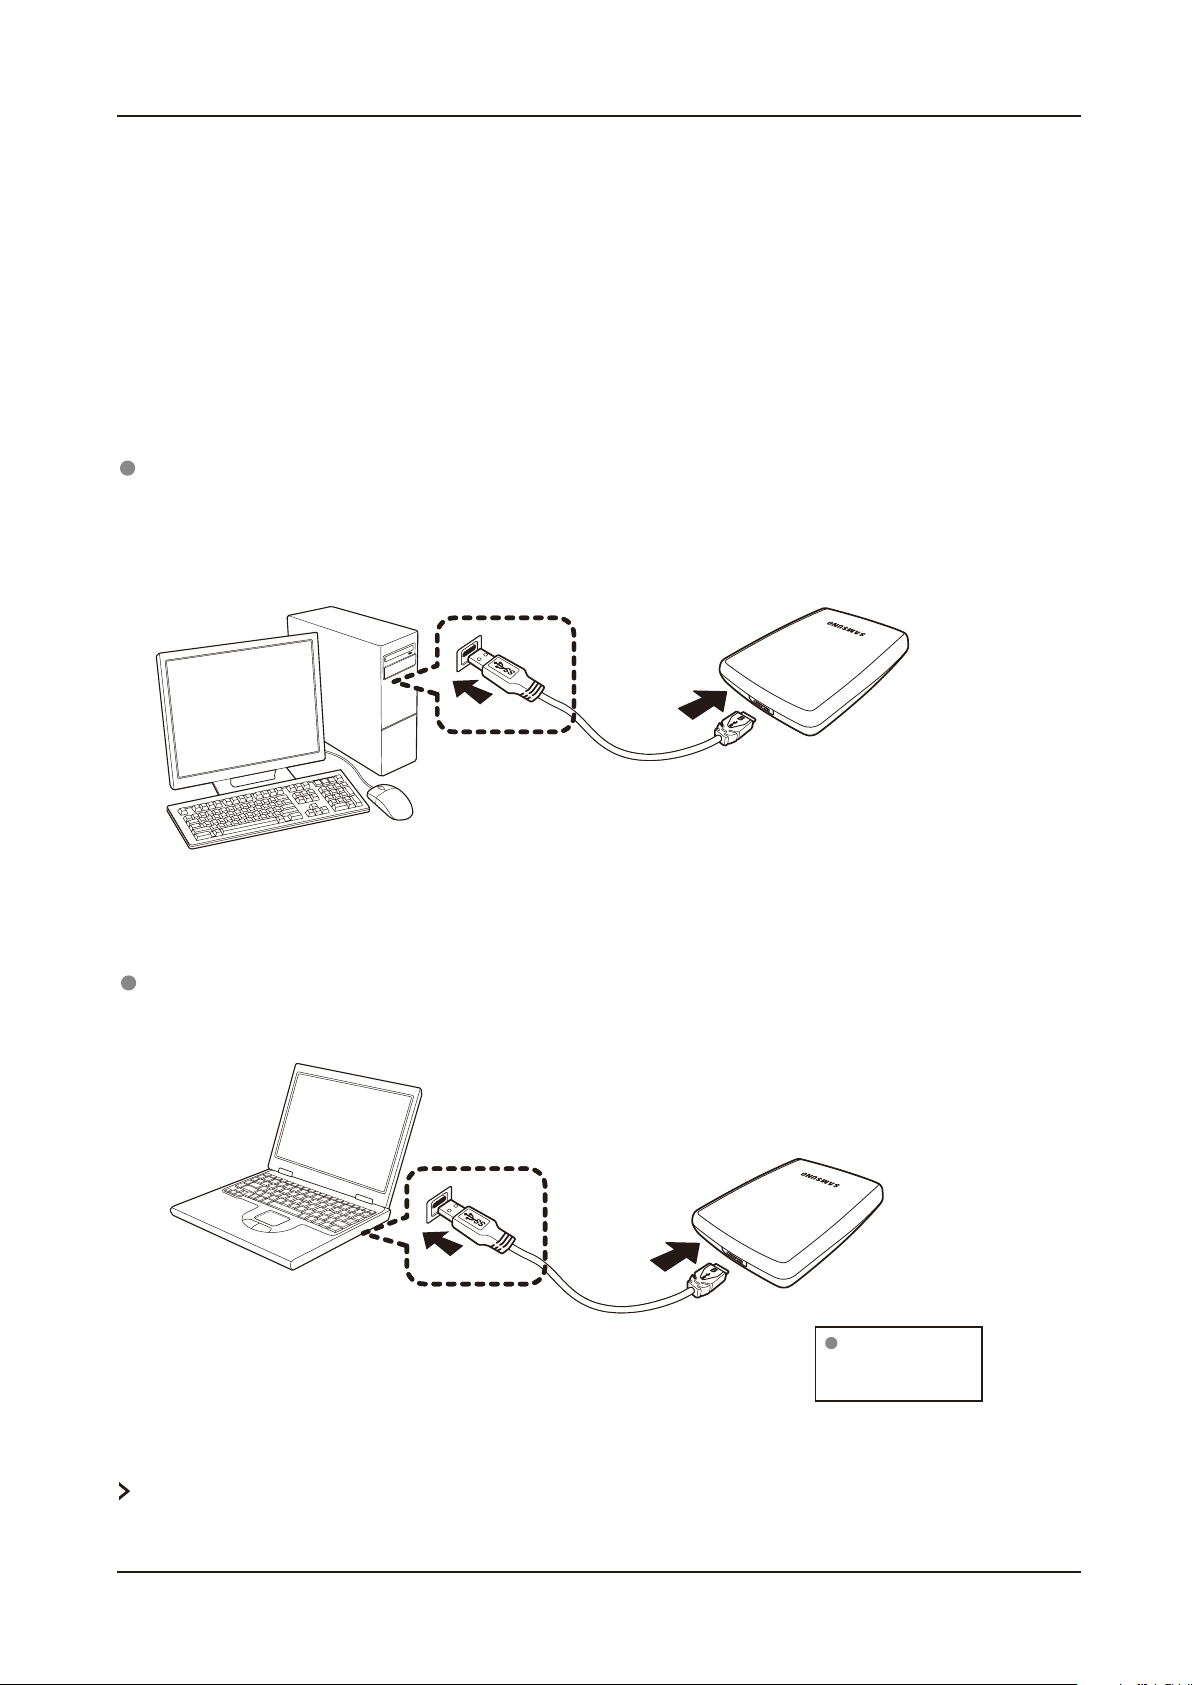
Insert the USB cable to the desktop/laptop computer as shown in Figures 1 and 2:
Figure 1. Connecting to a Desktop Computer
Figure 2. Connecting to a Laptop Computer
Your S-Series External Hard Drive will automatically activate once connected to the computer.
S-Series External Hard Drive
9
Connecting your S2 Portable 3.0
Installation
Verify that the computer meets the minimum system requirements as outlined in #System Requirements.
Insert the USB cable to the desktop/laptop computer as shown in Figures 3 and 4:
Figure 3. Connecting to a Desktop Computer
User’s Manual
Figure 4. Connecting to a Laptop Computer
LED Color
- USB 2.0 : Green
- USB 3.0 : Blue
To use the S2 Portable 3.0 model at its maximum speed, you need a PC or a Host Card that supports USB 3.0 interface.
S-Series External Hard Drive
10

Windows
When you connect the S-Series External Hard Drive to the computer a small icon will appear in the system tray
at the lower right corner of the screen.
Figure 5. System Tray indicating an external device
The operating system will recognize and display "Samsung” drive under “My Computer.”
Figure 6. In the Windows Explorer, you will see a new Samsung drive
User’s Manual
You are now ready to use the Samsung S-Series External Hard Drive.
S-Series External Hard Drive 11

Macintosh
Connect your S-Series External Hard Drive to the computer. Your Macintosh operating system will then
generate a SAMSUNG.
Figure 7. Macintosh External HDD connection icon
After clicking the SAMSUNG icon, the following folder will appear.
User’s Manual
Stop & Read
Figure 8. Macintosh Folders
You are now ready to use the Samsung S-Series External Hard Drive.
(Software included with your S-Series External Hard Drive does not support the Mac operating environment.)
S-Series External Hard Drive 12
 Loading...