


E-MANUAL
imagine the possibilities
Thank you for purchasing this Samsung product.
To receive more complete service, please register
your product at
www.samsung.com/register
Model _____________ Serial No. _____________

Contents
Channel Setting
• UsingChannelmenu
• RetuningChannels
Basic Features
• ChangingthePresetPictureMode
• ChangingthePictureOptions
• ChangingthePresetSoundMode
• AdjustingSoundSettings
• SelectingtheSoundMode
11
16
22
29
30
36
Preference Features
1
• ConnectingtotheNetwork
• SettingtheWiredNetwork
• SettingtheWirelessNetwork
• ManagingtheNetworkConnectedDevices
• Executinginitialsetup
• SettingtheTime
• UsingtheSleepTimer
• SettingtheOn/OffTimer
• LockingProgramme
• PictureInPicture(PIP)
• EconomicalSolutions
• OtherFeatures
• SupportMenu
37
55
59
66
70
71
72
73
77
78
80
83
90
Advanced Features
• Usingthe3Dfunction
• UsingtheMediaContents
• ConnectingaUSBDevice
• ConnectingtothePCthroughnetwork
• ScreenDisplay
• MediaContents-AdditionalFunctions
• UsingtheDLNAFunctions
Other Information
• TeletextFeature
• Anti-theftKensingtonLock
• Troubleshooting
• Licence
97
108
109
115
118
129
134
140
144
146
163

❑Using Channel menu
O
MENU
m
Support
→
Contents Home
→
ENTER
→
E
Press the CONTENT button to select the desired menu. Each screen will be
displayed.
■Channel List
You can view channel information, All,
TV and Favourites 1-5.
When you press the CH LIST
N
button on the remote control,
Channel List screen will be
displayed at once.
Contents Home
▶
English
Channel List AllShare Play Schedule Manager Source
Return
R
* The displayed image may differ depending on the
model.

●
All: Shows all currently available channels.
●
TV: Shows all currently available TV channels.
●
Favourites 1-5: Shows all favourite channels.
If you want to view favourite channels you added, press the CH LIST
N
button and use
(Ch. Mode) button to move Favourites 1-5.
L
◀ ▶
English

N
Using the control buttons with the Channel List.
●
●
(Tools): Displays the option menu.
T
(Ch. Mode): Move to the All, TV and Favourites 1-5.
L
●
●
When you select the Programme View in
N
move to other channels using
(Watch): Watches the channel you selected.
E
(Page): Move to next or previous page.
k
L
(Channel) button.
(Tools) menu, you can
T
◀ ▶
English

Using Option Menu
t
Set each channel using the Channel List menu options (Edit Favourites, Lock/
Unlock, Edit Channel Name, Delete, Information, Edit Mode).
Option menu items may differ depending on the channel status.
1. Select a channel and press the TOOLS button.
2. Select a function and change its settings.
◀ ▶
English

●
Edit Favourites: Set channels you watch frequently as favourites. Add or
delete the selected channel in Favourites 1-5.
1. Select the Edit Favourites, then press the ENTER
2. Press the ENTER
button.
One favourite channel can be added in several of favourites among
N
Favourites 1-5.
button to select Favourites 1-5, then press the OK
E
button.
E
◀ ▶
English

●
Lock/Unlock: Lock a channel so that the channel cannot be selected and
viewed.
This function is available only when the Channel Lock is set to On.
N
The PIN input screen appears. Enter your 4-digit PIN. Change the PIN
N
using the Change PIN option.
●
Edit Channel Name: Assign your own channel name.
●
Delete: You can delete a channel to display the channels you want.
●
Information: Displays details of the selected programme.
●
Edit Mode: You can select desired channels and edit it.
◀ ▶
English

Using Option Menu
Set each channel using the menu options (Edit Favourites, Lock/Unlock,
Delete, Deselect, Select All).
1. Press the TOOLS button in Channel List screen, then select the Edit
Mode. A check box appears to the left of the channel.
t
2. Press the
ENTER
You can select more than one channel.
N
◀ ▶
3. Press the TOOLS button, then select a function and change its settings.
N
Press the ENTER
▲/▼
button. The (
E
buttons to select the desired channel, then press the
) mark indicates the channel you’ve selected.
c
again deselects the channel.
E
English

●
Edit Favourites: Set the selected channels you watch frequently as
favourites.
The Edit Favourites screen has five groups (Favourites 1,
N
Favourites 2, etc.). You can add a favourite channel to any one of
the groups. Press the
●
Lock/Unlock: Lock a channel so that the channel cannot be selected
and viewed.
This function is available only when the Channel Lock is set to On.
N
The PIN input screen appears. Enter your 4-digit PIN. Change the
◀ ▶
N
PIN using the Change PIN option.
●
Delete: You can delete a channel to display the channels you want.
●
Deselect: Deselect the selected channels.
●
Select All: Select all the channels in the channel list.
▲/▼
buttons to select a group.
English

■Schedule Manager
You can set a desired channel to be displayed automatically at the intended time.
In addition, you can view, modify or delete a channel you have reserved to watch.
Set the current time first to use this function.
Using Option Menu
Set each channel using the menu options (Cancel schedule, Edit Schedule,
Schedule manually).
1. Press the TOOLS button to select the Schedule manually.
You can press the a (Schedule manually) directly on the Schedule
◀ ▶
2. Press the ◄/►/▲/▼ or number buttons to set the Channel, Repeat, Date,
N
Manager screen.
Start Time.
t
English

●
Channel: Select the desired channel.
●
Repeat: Select Once, Manual, Sat~Sun, Mon~Fri or Everyday to set at
your convenience. If you select Manual, you can set the day you want.
The (
N
●
Date: You can set the desired date.
It is available when you select Once in Repeat.
N
●
Start Time: You can set the start time you want.
If you want to edit or cancel the schedule, select the reserved schedule on
N
◀ ▶
the Reserved Programmes. Press the TOOLS button, then select the Edit
Schedule or Cancel schedule.
) mark indicates the day you’ve selected.
c
English

❑Retuning Channels
■Area
MENU
O
You can change the desired area.
m
Channel
→
→
Area
ENTER
→
E
◀ ▶
English

■Auto Tuning
(depending on the country)
MENU
O
Scans for a channel automatically and stores in the TV.
Automatically allocated programme numbers may not correspond to actual
N
or desired programme numbers. If a channel is locked, the PIN input window
appears.
m
Channel
→
Auto Tuning
→
ENTER
→
E
◀ ▶
English

■Manual Tuning
MENU
O
Scans for a channel manually and stores in the TV.
If a channel is locked, the PIN input window appears.
N
According to the channel source, Manual Tuning may be supported.
N
1. Press the New button.
2. Set the Programme, Colour System, Sound System, Channel and Search.
3. Press the Store button. When scanning has finished, a channel is updated in
m
Channel
→
Manual Tuning
→
ENTER
→
E
◀ ▶
the channel list.
English

Channel mode
N
–
P (programme mode): When tuning is complete, the broadcasting stations
in your area have been assigned to the position numbers from P0 to P99.
You can select a channel by entering the position number in this mode.
–
C (aerial channel mode) / S (cable channel mode): These two modes allow
you to select a channel by entering the assigned number for each aerial
broadcasting station or cable channel.
◀ ▶
English

■Fine Tune
MENU
O
If the signal is weak or distorted, fine tune the channel manually.
Fine tuned channels are marked with an asterisk “*”.
N
To reset the fine-tuning, select Reset.
N
m
Channel
→
Fine Tune
→
ENTER
→
E
◀ ▶
English

❑Changing the Preset Picture Mode
MENU
O
■Picture Mode
Select your preferred picture type.
When connecting a PC, you can only make changes to the Entertain and
N
Standard.
●
Dynamic: Suitable for a bright room.
◀ ▶
●
Standard: Suitable for a normal environment.
●
Movie: Suitable for watching movies in a dark room.
●
Entertain: Suitable for watching movies and games.
m
Picture
→
t
Picture Mode
→
ENTER
→
E
N
It is only available when connecting a PC.
English

■Cell Light / Contrast / Brightness / Sharpness / Colour / Tint (G/
R)
Your television has several setting options for picture quality control.
NOTE
N
●
In analogue TV, AV modes of the PAL system, the Tint (G/R) function is
not available.
●
When connecting a PC, you can only make changes to Cell Light ,
Contrast, Brightness and Sharpness.
●
Settings can be adjusted and stored for each external device connected
◀ ▶
to the TV.
●
Lowering picture brightness reduces power consumption.
English

■Screen Adjustment
MENU
O
Set the various picture options such as picture size and aspect ratio.
●
Picture Size: Your cable box/satellite receiver may have its own set of screen
sizes as well. However, we highly recommend you use 16:9 mode most of the
time.
16:9: Sets the picture to 16:9 wide mode.
Wide Zoom: Magnifies the picture size more than 4:3.
◀ ▶
N
Zoom: Magnifies the 16:9 wide pictures vertically to fit the screen size.
N
Adjusts the Position by using ▲, ▼ buttons.
Adjusts the Zoom or Position by using ▲, ▼ button.
m
Picture
→
Screen Adjustment
→
ENTER
→
E
English

4:3: Sets the picture to basic (4:3) mode.
Do not watch in 4:3 format for a long time. Traces of borders displayed
N
on the left, right and centre of the screen may cause image retention
(screen burn) which are not covered by the warranty.
●
Screen Fit: Displays the full image without any cut-off when HDMI (720p /
1080i / 1080p) or Component (1080i / 1080p) signals are inputted.
●
Position: Adjust the picture position. It is only available in Screen Fit or Wide
Zoom.
●
Zoom/position: Adjust the picture position. It is only available in Zoom.
◀ ▶
English

N
NOTE
●
After selecting Screen Fit in HDMI (1080i / 1080p) or Component (1080i
/ 1080p) mode, you may need to centre the picture:
1. Press the ▲ or ▼ button to select Position.
2. Press the ENTER
3. Press the ▲, ▼, ◄ or
●
Depending on the input source, the picture size options may vary.
●
If you want to reset the position you adjusted, select Reset in the
◀ ▶
Position screen. The picture will be set to its default position.
button.
E
button to move the picture.
►
English
●
The available items may differ depending on the selected mode.
●
When connecting a PC, only 16:9 and 4:3 modes can be adjusted.
●
Settings can be adjusted and stored for each external device connected
to an input on the TV.
●
If you use the Screen Fit function with HDMI 720p input, 1 line will be cut
at the top, bottom, left and right as in the overscan function.
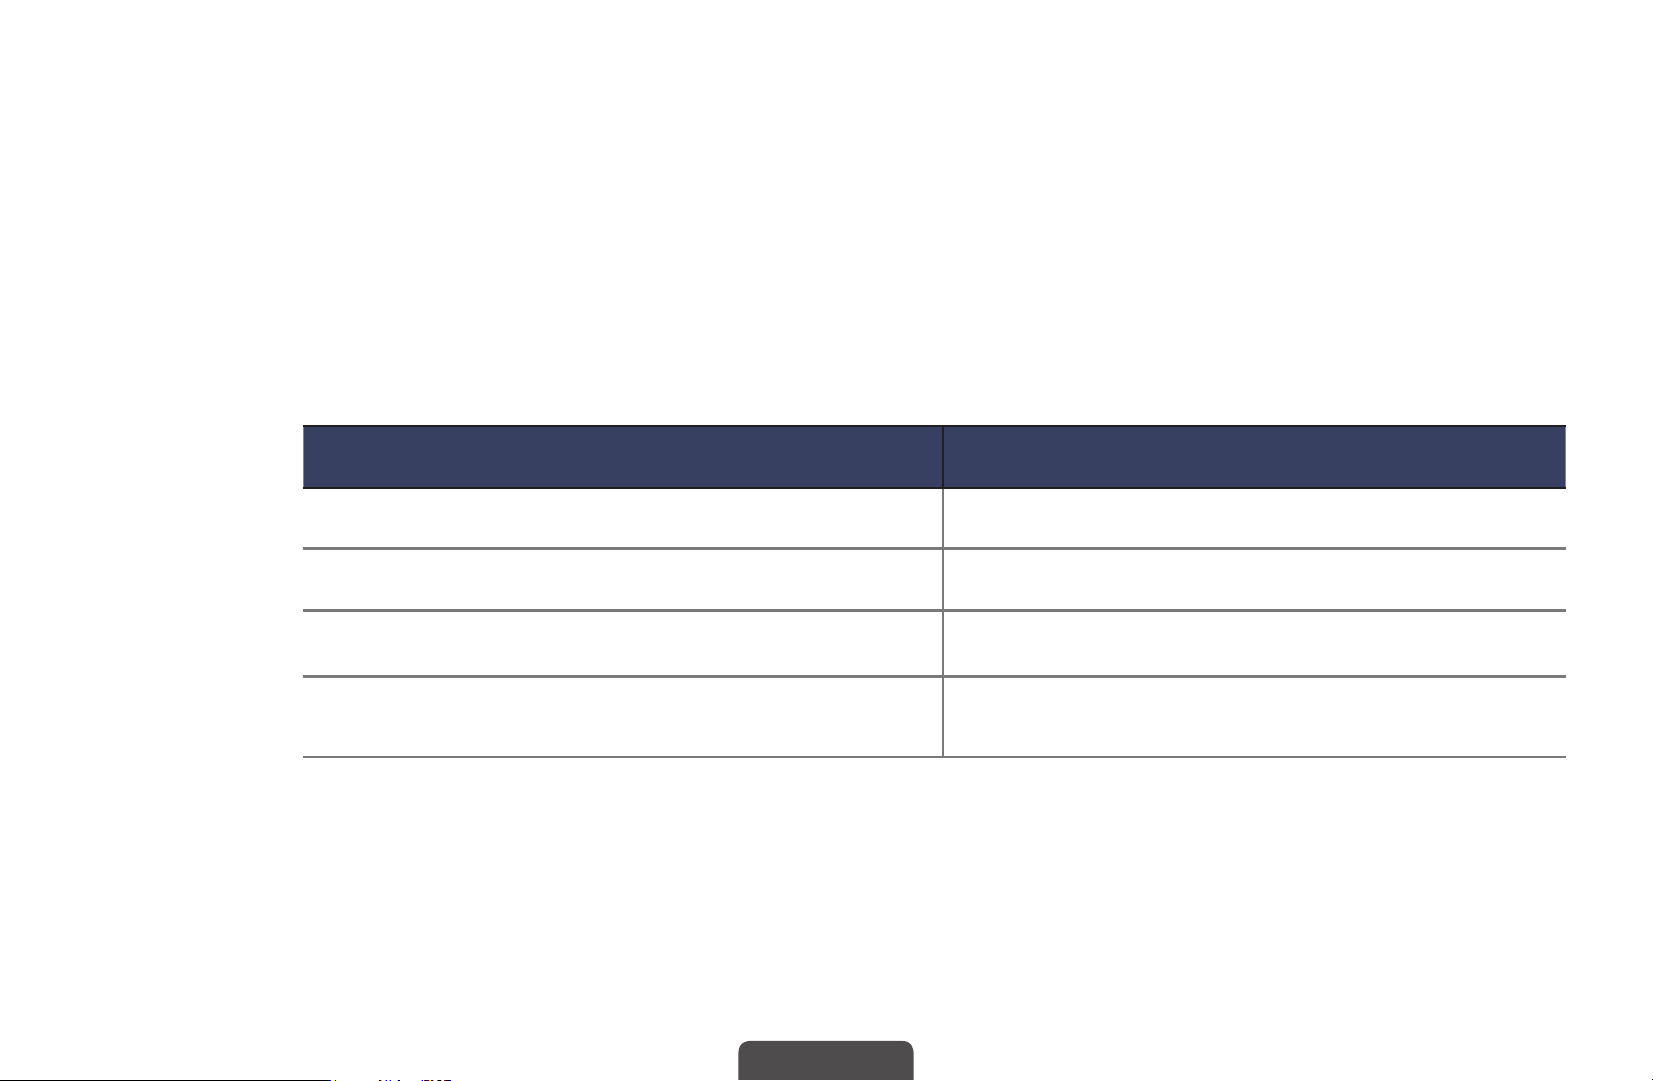
Input Source Picture Size
ATV/AV 16:9, Wide Zoom, Zoom, 4:3
◀ ▶
Component(480i, 480p, 576i, 576p, 720p) 16:9, Wide Zoom, Zoom, 4:3
Component(1080i, 1080p) 16:9, Wide Zoom, Zoom, 4:3, Screen Fit
HDMI(720p, 1080i, 1080p) 16:9, Wide Zoom, Zoom, 4:3, Screen Fit
English

❑Changing the Picture Options
■Advanced Settings
MENU
O
(available in Standard / Movie mode)
You can adjust the detailed setting for the screen including colour and contrast.
m
Picture
→
Advanced Settings
→
ENTER
→
E
◀ ▶
English
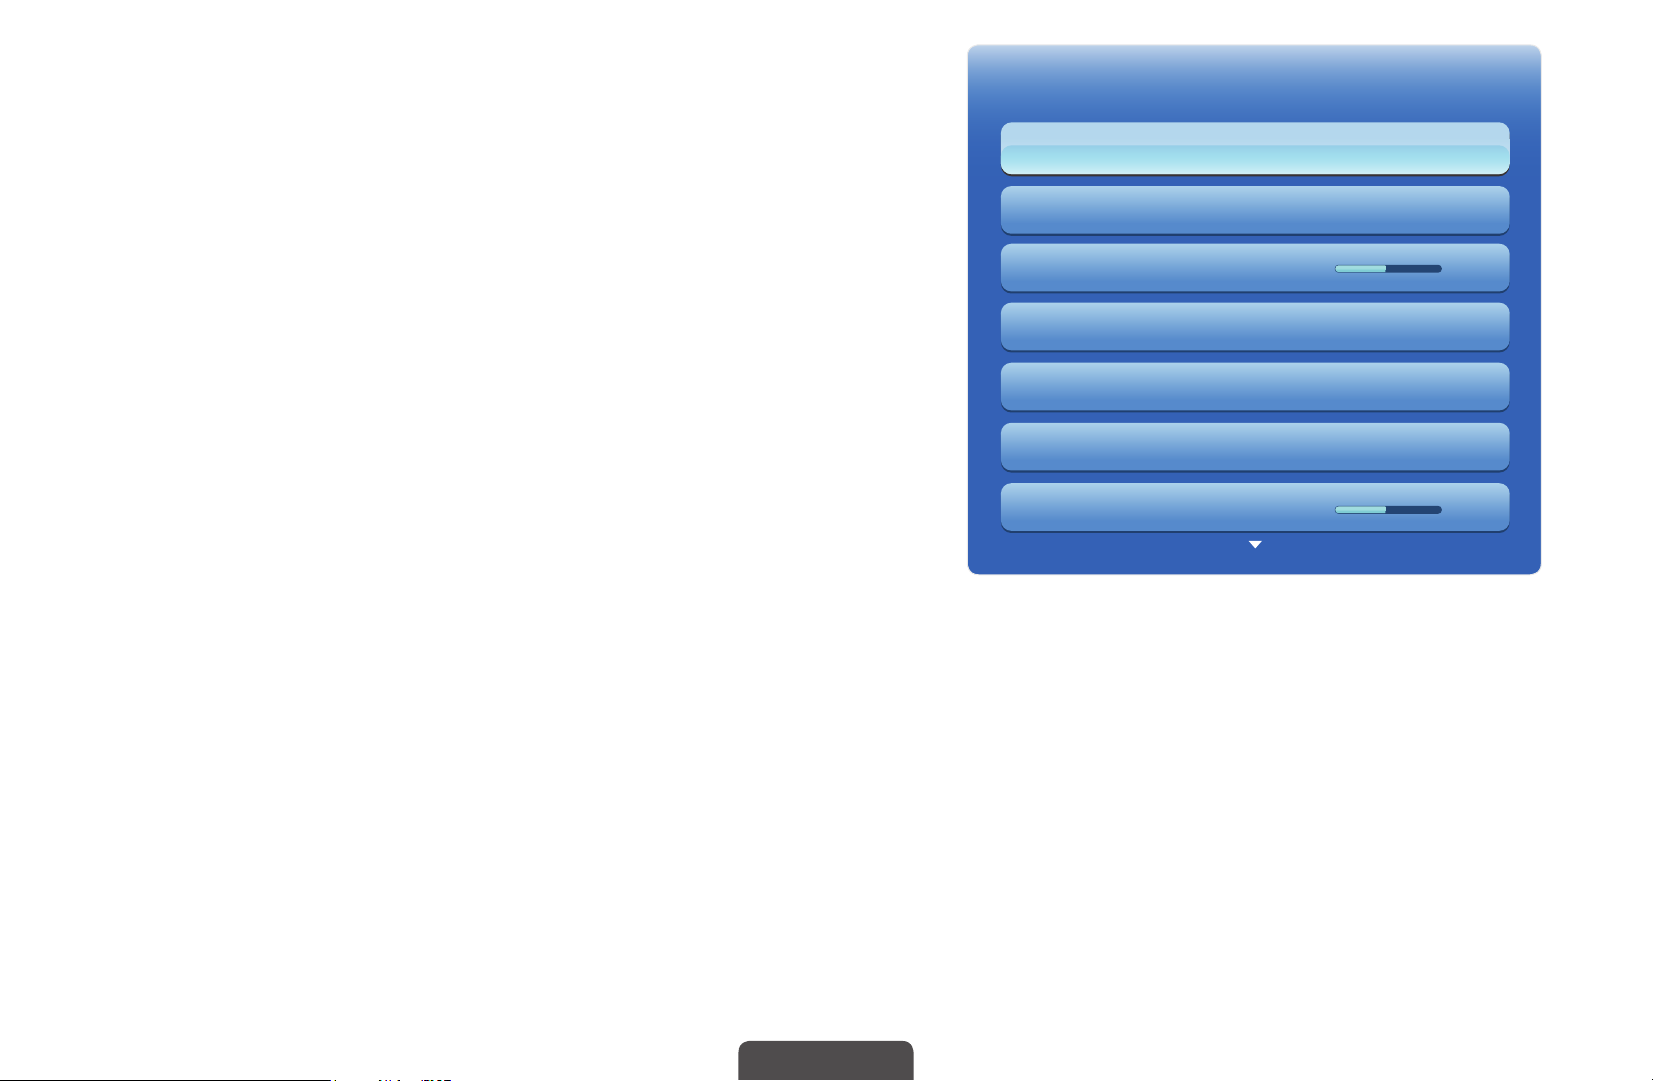
●
Dynamic Contrast (Off / Low / Medium
/ High): Adjust the screen contrast.
●
Black Tone (Off / Dark / Darker /
Darkest): Select the black level to adjust
Advanced Settings
Dynamic Contrast Medium
Black Tone Off
the screen depth.
Flesh Tone 0
●
Flesh Tone: Adjust the flesh tone colour.
RGB Only Mode Off
Colour Space Native
White Balance
Gamma 0
◀ ▶
●
RGB Only Mode (Off / Red / Green / Blue): Displays the Red, Green and
Blue colour for making fine adjustments to the hue and saturation.
●
Colour Space (Auto / Native): Adjust the range of colours available to create
the image.
English

●
White Balance: Adjust the colour temperature for a more natural picture.
R-Offset / G-Offset / B-Offset: Adjust each colour’s (red, green, blue)
darkness.
R-Gain / G-Gain / B-Gain: Adjust each colour’s (red, green, blue) brightness.
Reset: Resets the White Balance to its default settings.
●
Gamma: Adjust the primary colour intensity.
●
Motion Lighting (Off / On): Reduce power consumption by brightness
control adapted motion.
This function is not supported in 3D mode.
◀ ▶
N
N
Only available in Standard mode.
N
When changing a setting value of Cell Light, Brightness or Contrast,
Motion Lighting will be set to Off.
English

■Picture Options
O
N
●
MENU
When connecting a PC, you can only make changes to the Colour Tone.
Colour Tone (Cool / Standard / Warm1 / Warm2)
Warm1 or Warm2 will be deactivated when the picture mode is
N
Dynamic.
Settings can be adjusted and stored for each external device connected
N
to an input on the TV.
m
Picture
→
Picture Options
→
ENTER
→
E
◀ ▶
English

●
Digital Noise Filter (Off / Low / Medium / High / Auto / Auto Visualisation
/ Demo): If the broadcast signal received by your TV is weak, you can activate
the Digital Noise Filter feature to reduce any static and ghosting that may
appear on the screen.
When the signal is weak, try other options until the best picture is
N
displayed.
Auto Visualisation: When changing analogue channels, displays signal
strength.
Only available for analogue channels.
N
◀ ▶
N
N
When the INFO button is pressed, the signal strength bar is displayed.
When bar is green, you are receiving the best possible signal.
English

●
MPEG Noise Filter (Off / Low / Medium / High / Auto): Reduces MPEG
noise to provide improved picture quality.
●
HDMI Black Level (Low / Normal): Selects the black level on the screen to
adjust the screen depth.
Available only in HDMI mode (RGB signals).
N
●
Film Mode (Off / Auto1 / Auto2): Sets the TV to automatically sense and
process film signals from all sources and adjust the picture for optimum
quality.
Available in TV mode, AV, COMPONENT (480i / 1080i) and HDMI (1080i).
N
◀ ▶
If the screen does not seem natural, change its option to Off / Auto1 /
N
Auto2 in Film Mode.
English

■Reset Picture (Yes / No)
MENU
O
Resets your current picture mode to its default settings.
m
Picture
→
Reset Picture
→
ENTER
→
E
◀ ▶
English
 Loading...