

Page 1

42 - This Document can not be used without Samsung's authorization -
Ⅳ. ADJUSTMENT
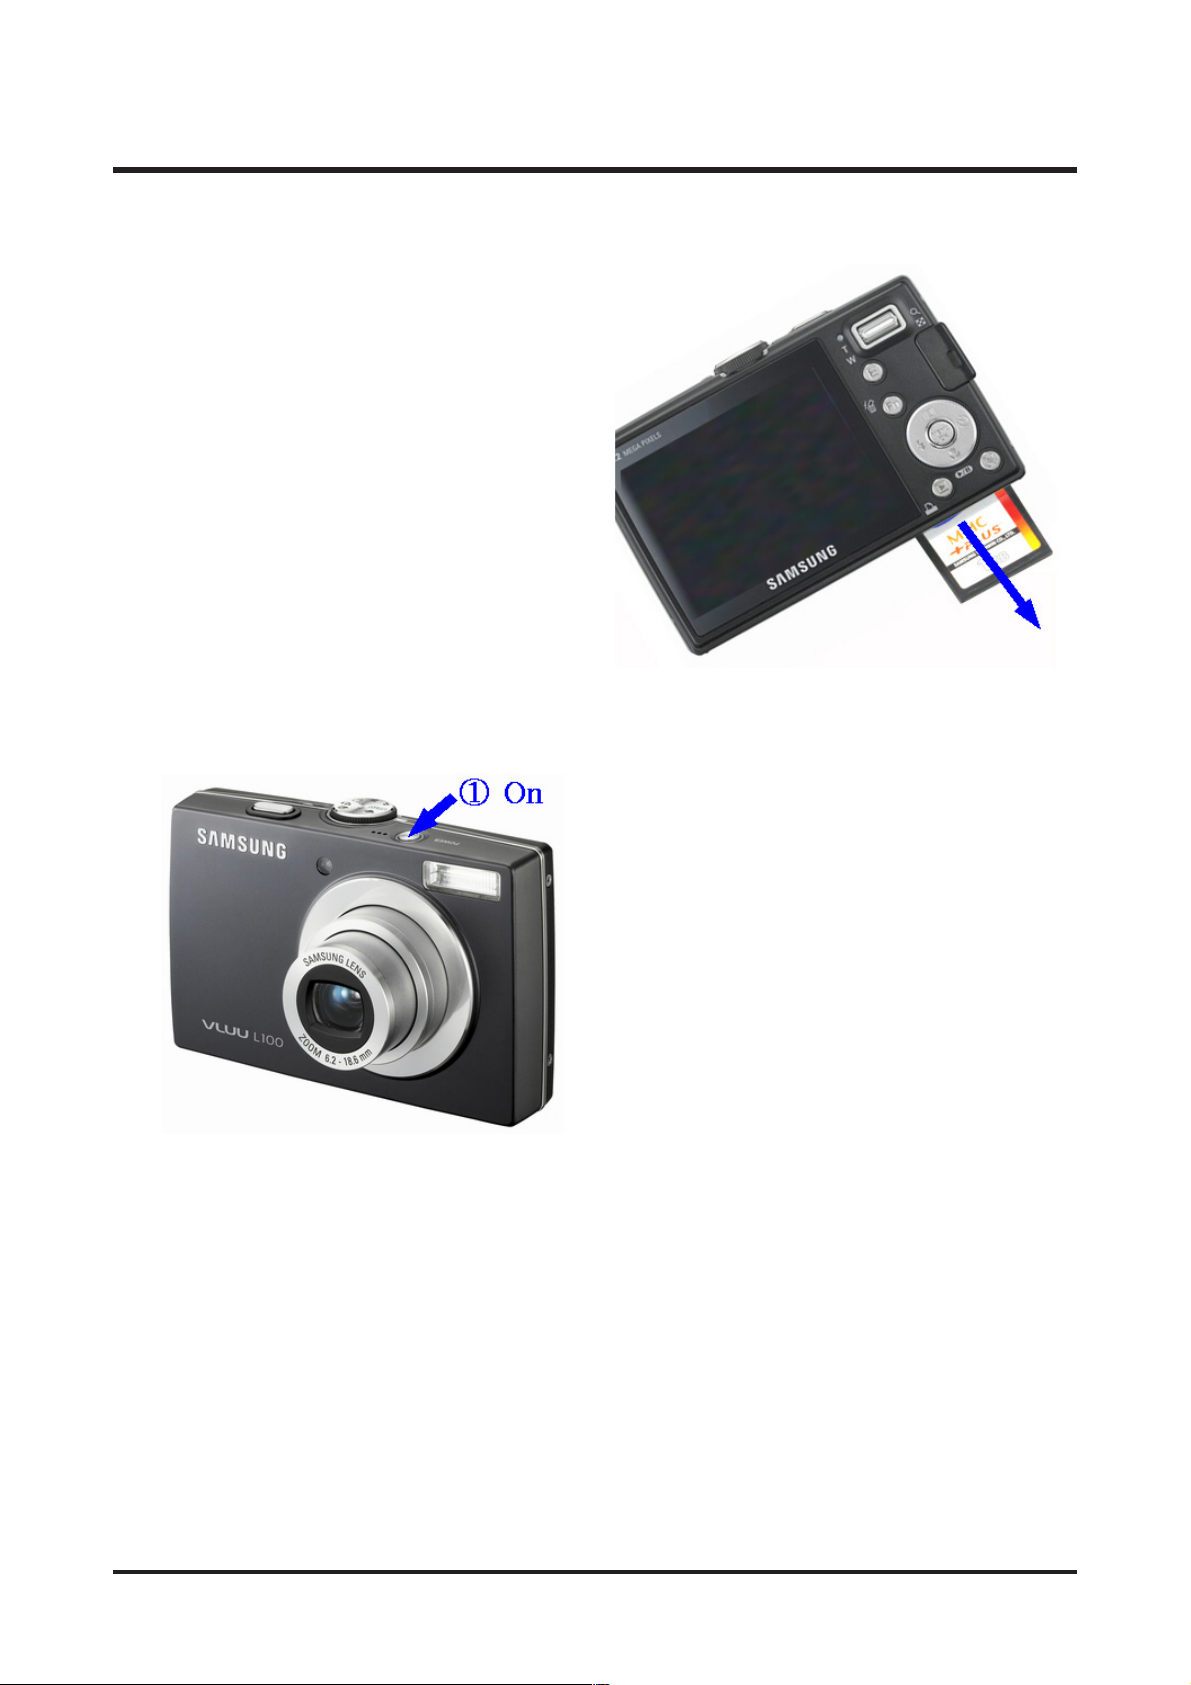
3. Turn on the camera and check whether the
camera is reset or not.
1. FIRMWARE
1) Resetting Camera
1. Turn on the Camera
2. Press and hold the Up button and the Shutter
button (S2) simultaneously and then press the
Power button to turn it off.
Page 2
43- This Document can not be used without Samsung's authorization -
Ⅳ. ADJUSTMENT
2) Checking the Version
1. Remove the memory card from the camera.
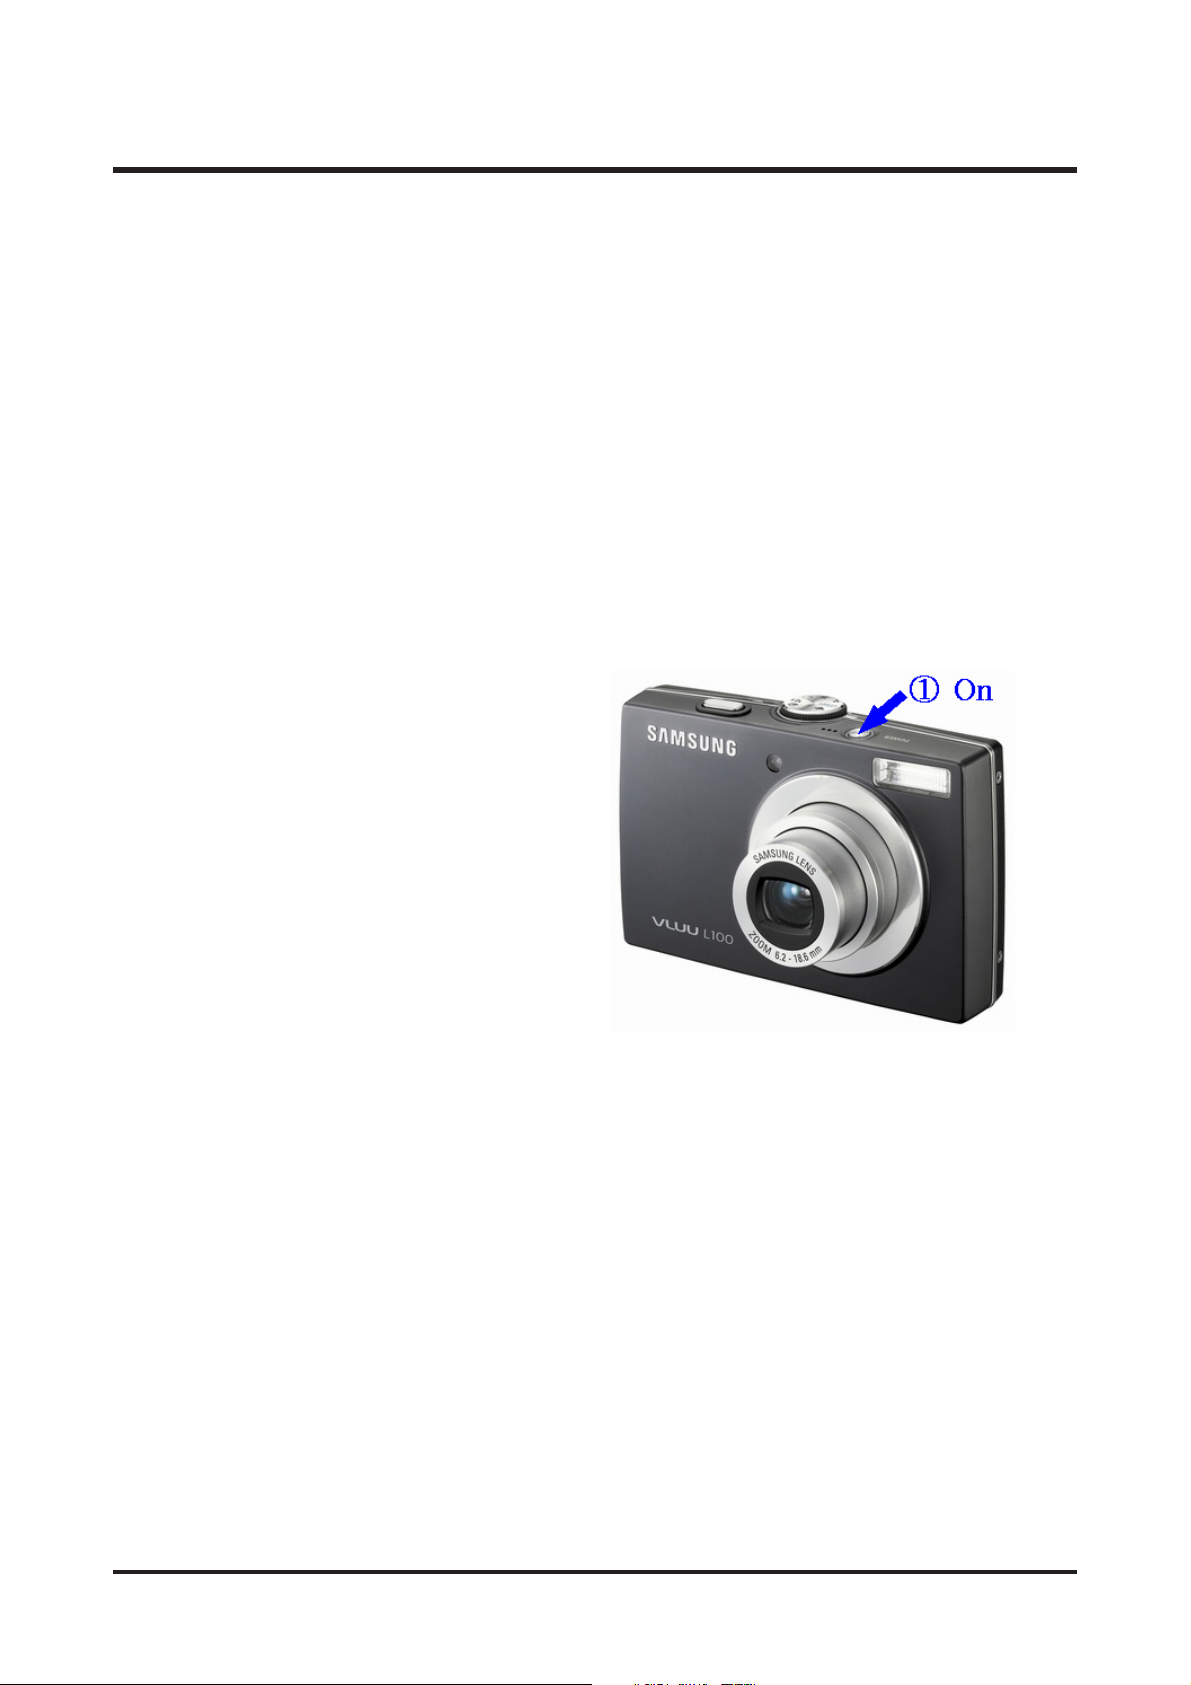
2. Turn on the camera.
Page 3

44 - This Document can not be used without Samsung's authorization -
Ⅳ. ADJUSTMENT
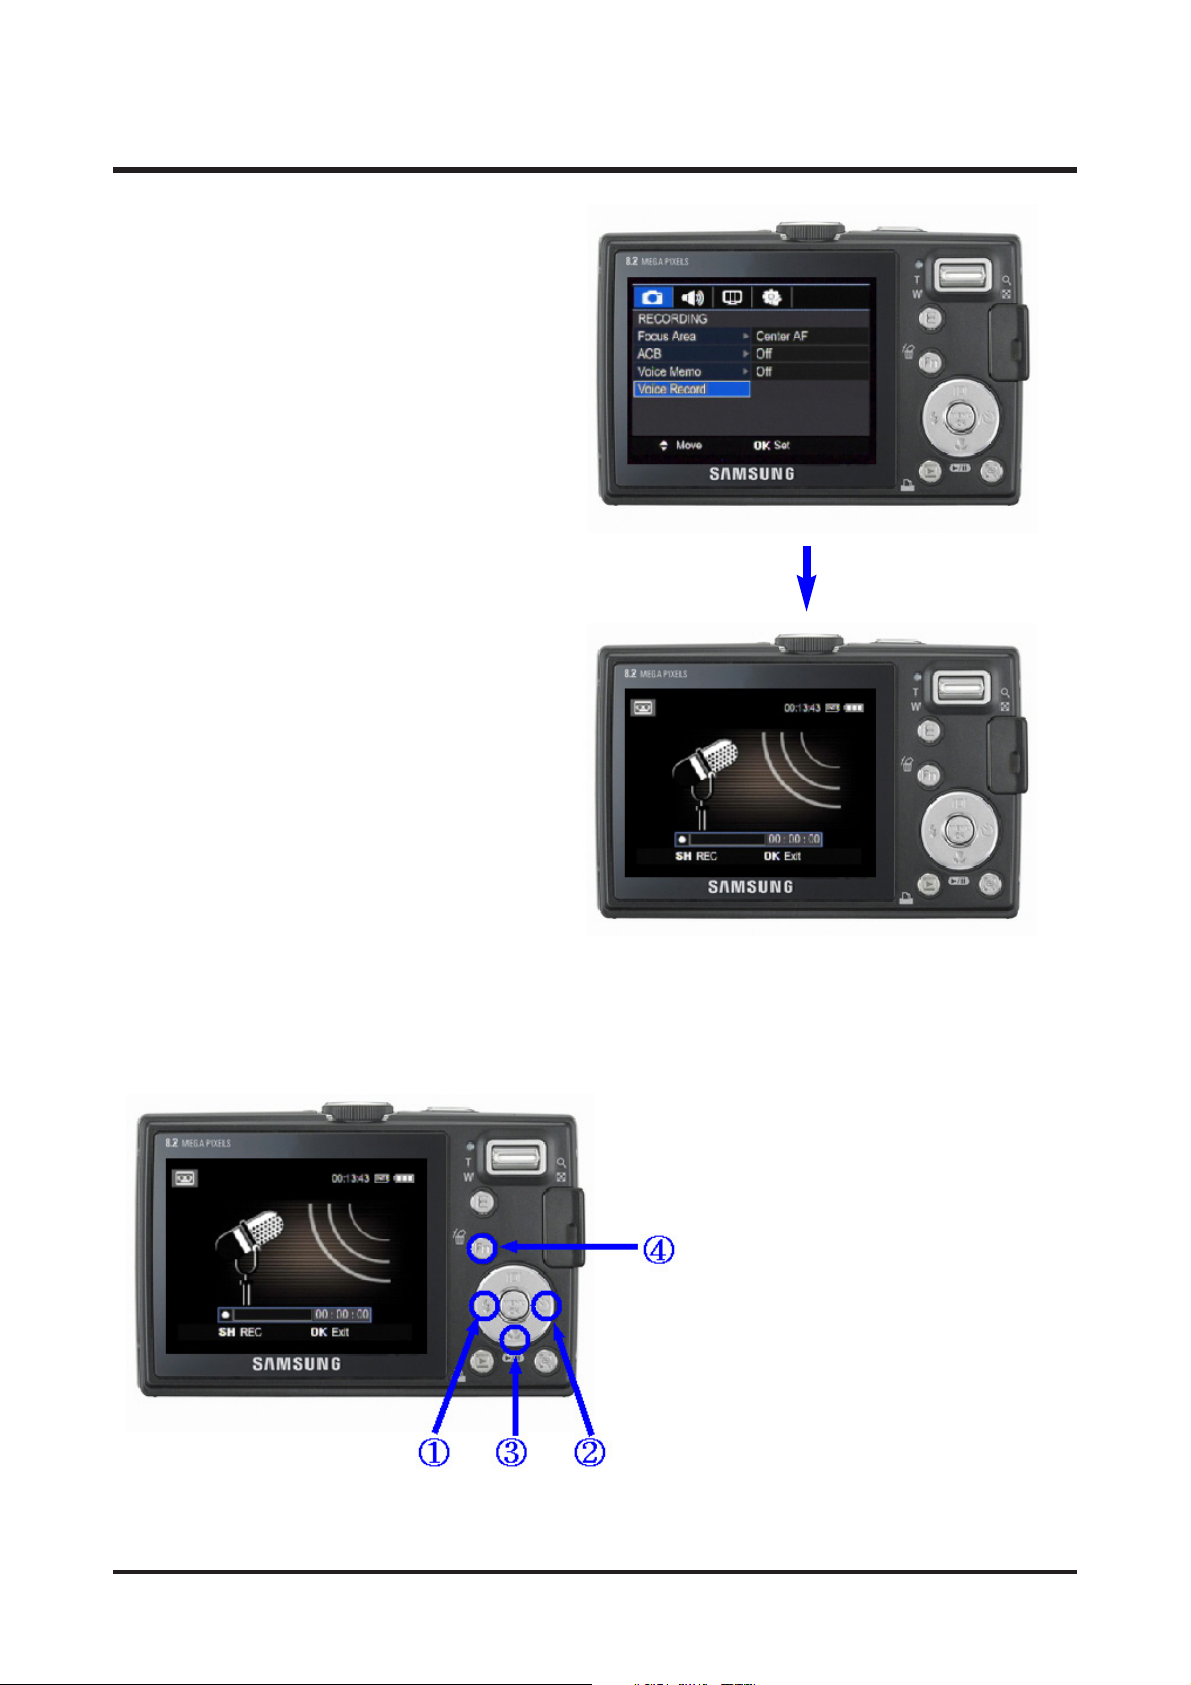
3. Select the Voice Record mode by pressing
the MENU button.
4. Press the buttons in the followingsequence:
Left Button →
Right Button → Down Button
→ Fn Button
Page 4
45- This Document can not be used without Samsung's authorization -
Ⅳ. ADJUSTMENT
3) Upgrading the Firmware
1. Insert the SD card containing the firmware file into the camera.
* Updating the firmware will delete all the data in the Flash memory. Be sure to back up all the data onto
your PC before updating the firmware. The firmware file name is always "L483.elf".
2. Connect the AC adapter or a fully charged battery.
To upgrade the firmware, the battery level indicator on the LCD monitor must be full (level three).
3. Turn on the camera.
Page 5
46 - This Document can not be used without Samsung's authorization -
Ⅳ. ADJUSTMENT
4. Select the Voice Record mode by pressing
the MENU button.
5. Press the buttons in the following sequence:
Left Button →
Right Button → Up Button →
Fn Button
Page 6

47- This Document can not be used without Samsung's authorization -
Ⅳ. ADJUSTMENT
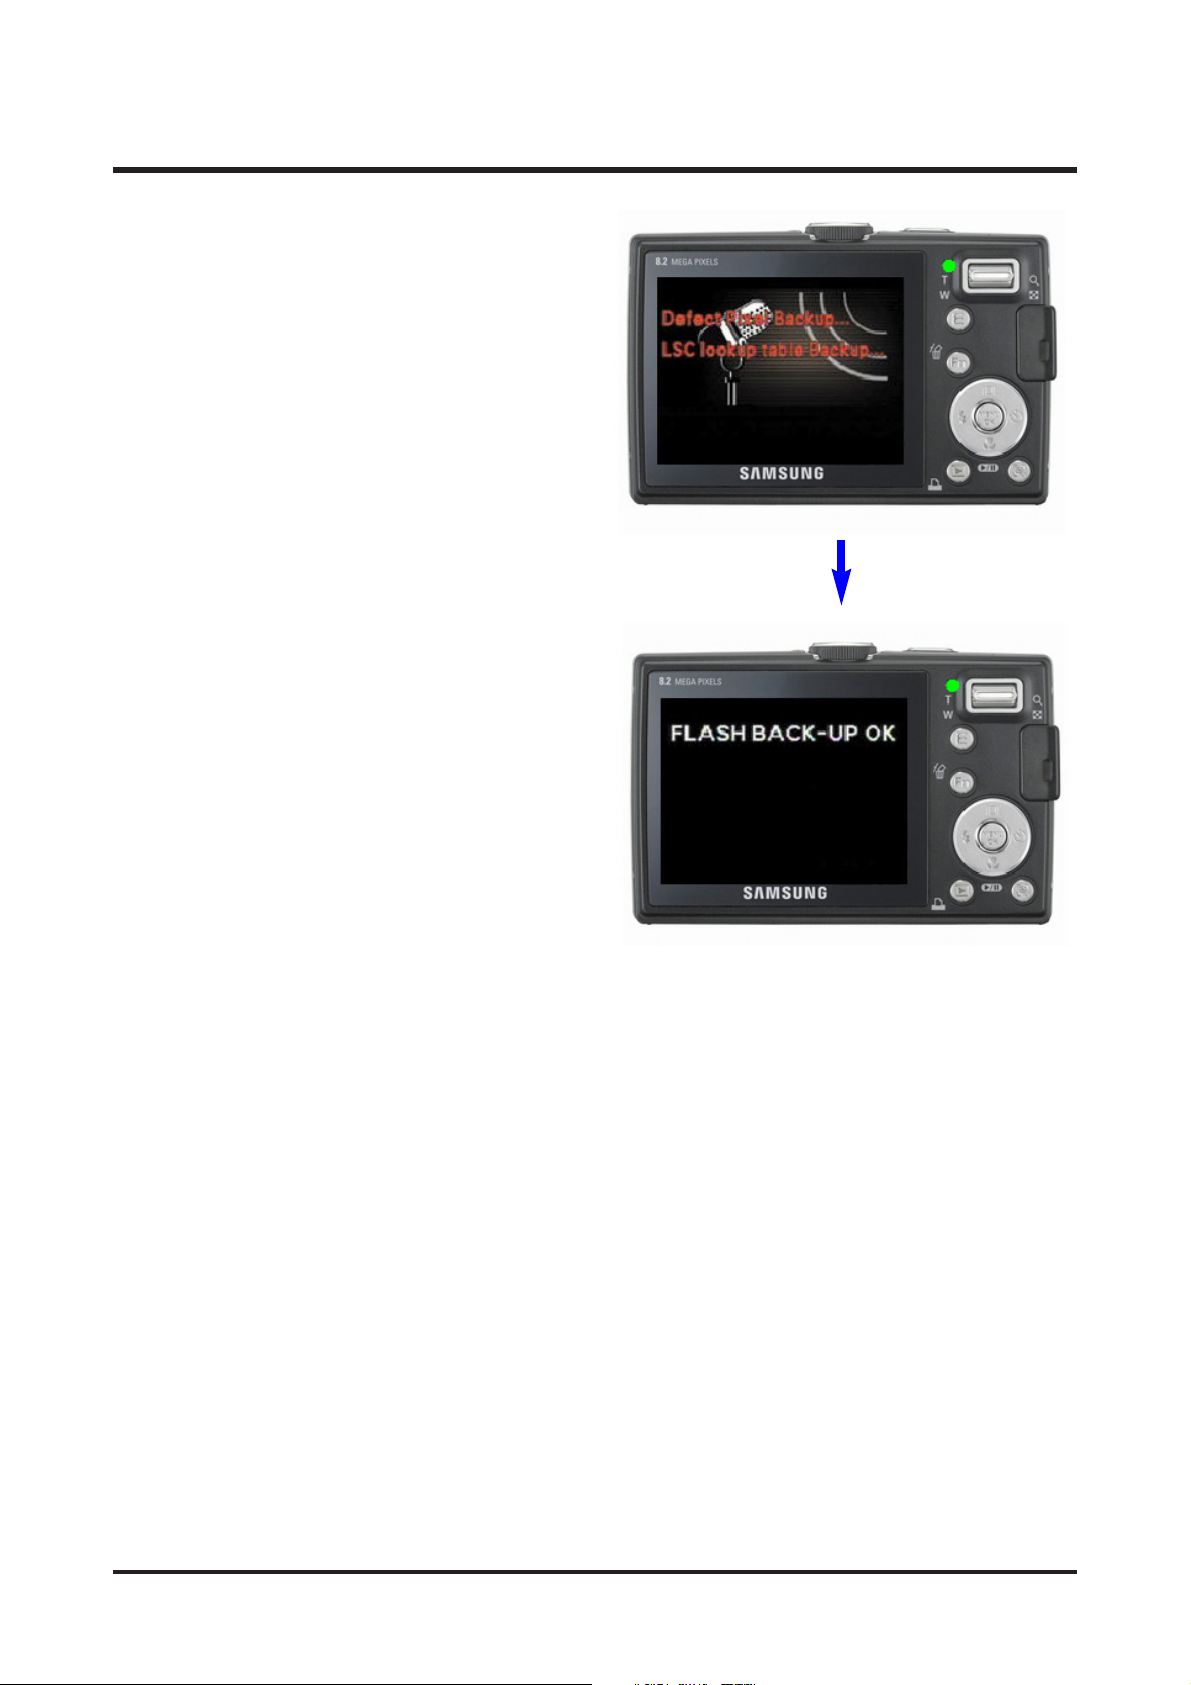
6. The upgrade will start, displaying the
progress message on the LCD as shown
below. (The green Status LED blinks.)
7. After completing the upgrade, the camera is turned off automatically.
Page 7

48 - This Document can not be used without Samsung's authorization -
Ⅳ. ADJUSTMENT
4) Full Firmware
Full Firmware Procedures 1
Perform when the camera does not operate at all, even if the power is on.
▷Camera phenomenon :
- A phenomenon where the electric current consumption (check the power supply) shows between 200
and 300mA and the camera does not operate when it is turned on.
▷Cause :
- Caused by damage to the data of address "0" in the flash memory on the main PCB.
▷Corrective action :
- Restore the flash memory address "0" on the main PCB by running a full version firmware as below.
▷Action after completion :
- Lens shading and defect cells must be adjusted after completing a full version firmware.
1. Short circuit with 2 patterns on the main
PCB as in the diagram below.
2. Insert the SD card containing the firmware file into the camera.
* Updating the firmware will delete all the data in the Flash memory. Be sure to back up all the data onto
your PC before updating the firmware. The firmware file name is always "L483_FULL.ELF".
Page 8

49- This Document can not be used without Samsung's authorization -
Ⅳ. ADJUSTMENT
3. Connect a power supply to the camera and turn on the camera.
Use a battery connection tool to connect the camera to the power supply.
4. If the display current on the power supply goes up to 200mA and then down to 0, the upgrade is
completed.
Page 9

50 - This Document can not be used without Samsung's authorization -
Ⅳ. ADJUSTMENT
Full Firmware Procedures 2
You can conduct a Full Firmware upgrade if your camera only has the basic functions, according to your
needs.
▷Note :
- Full Firmware is a firmware upgrade method that erases all the data and then reinstalls the firmware.
- Since Full Firmware deletes the adjustment data, you have to backup saved adjustment data before
conducing Full Firmware.
- The adjustment data will automatically be backed up into the SD card if you complete the following Full
Firmware upgrade procedures. In this case, you can reload the adjustment data into the camera as
follows without removing the SD card containing the adjustment data.
- Check if the following data files are copied into the SD card before starting a Full Firmware upgrade:
LSCLUT0.BIN, DefectivePixel0.bin, and DefectivePixel1.bin.
1. Insert the SD card containing the firmware file into the camera.
* Updating the firmware will delete all the data in the Flash memory. Be sure to back up all the data onto
your PC before updating the firmware. The firmware file name is always "L483_FULL.elf".
2. Connect the AC adapter or a fully charged battery.
To upgrade the firmware, the battery level indicator on the LCD monitor must be full (level three).
3. Turn on the camera.
Page 10

51- This Document can not be used without Samsung's authorization -
Ⅳ. ADJUSTMENT
4. Enter the voice recording mode by pressing
the menu button twice.
5. Press the buttons in the following sequence:
Left Button →
Right Button → Down Button →
Fn Button
Page 11

52 - This Document can not be used without Samsung's authorization -
Ⅳ. ADJUSTMENT
6. Automatic upgrade starts in the following sequence.
6-1. The process data is automatically
copied into an SD card prior to the full
firmware upgrade.
6-2. The full firmware upgrade starts.
(The green LED for status indication blinks.)
6-3. Check if there are 3 files, namely
LSCLUT0.BIN, DefectivePixel0.bin and
DefectivePixel1.bin in the SD card after the
full firmware upgrade.
Page 12

53- This Document can not be used without Samsung's authorization -
Ⅳ. ADJUSTMENT
7-2. Turn on the camera.
7-1. Insert the SD memory card with the saved
process data.
7. Upload the data for adjustment to the camera again.
Page 13

54 - This Document can not be used without Samsung's authorization -
Ⅳ. ADJUSTMENT
7-3. Enter the voice recording mode by
pressing the menu button.
7-4. Press the direction buttons in
the following sequence.
Tele button →
Wide button →
Down button → Ok button.
Page 14
55- This Document can not be used without Samsung's authorization -
Ⅳ. ADJUSTMENT
8. When the screen on the right hand side appears,
the process data upload will be complete.
Even if the upload is completed, the power won't be turned off automatically.
Press the power button to turn it off.
 Loading...