

Samsung g313h Disassembly & Reassembly

7.
Level
Repair
2
1
1. Remove the REAR COVER first, and disconnect the
LCD connector.
2. The dryer & glass absorber Used to disassemble the
LCD ASS'Y and REAR assy.
Disassemble REAR Dummy
and Disassemble LCD Conn.
2
Disassemble REAR
1. Disassemble 4 point screws.
3
Disassemble Home Key Dummy
1. Home Key DUMMY right home using tweezers to lift
the back round Remove the HOME KEY Dummy.
4
Disassemble PBA Ass'y
②
ⓛ
1. REAR pulling outward from the hook to the bottom
2. Disassemble side hook first, and after that,
disassemble from downside to upside
7-1
Confidential and proprietary-the contents in this service guide subject to change without prior notice.
Distribution, transmission, or infringement of any content or data from this document without Samsung’swritten authorization is strictly prohibited.
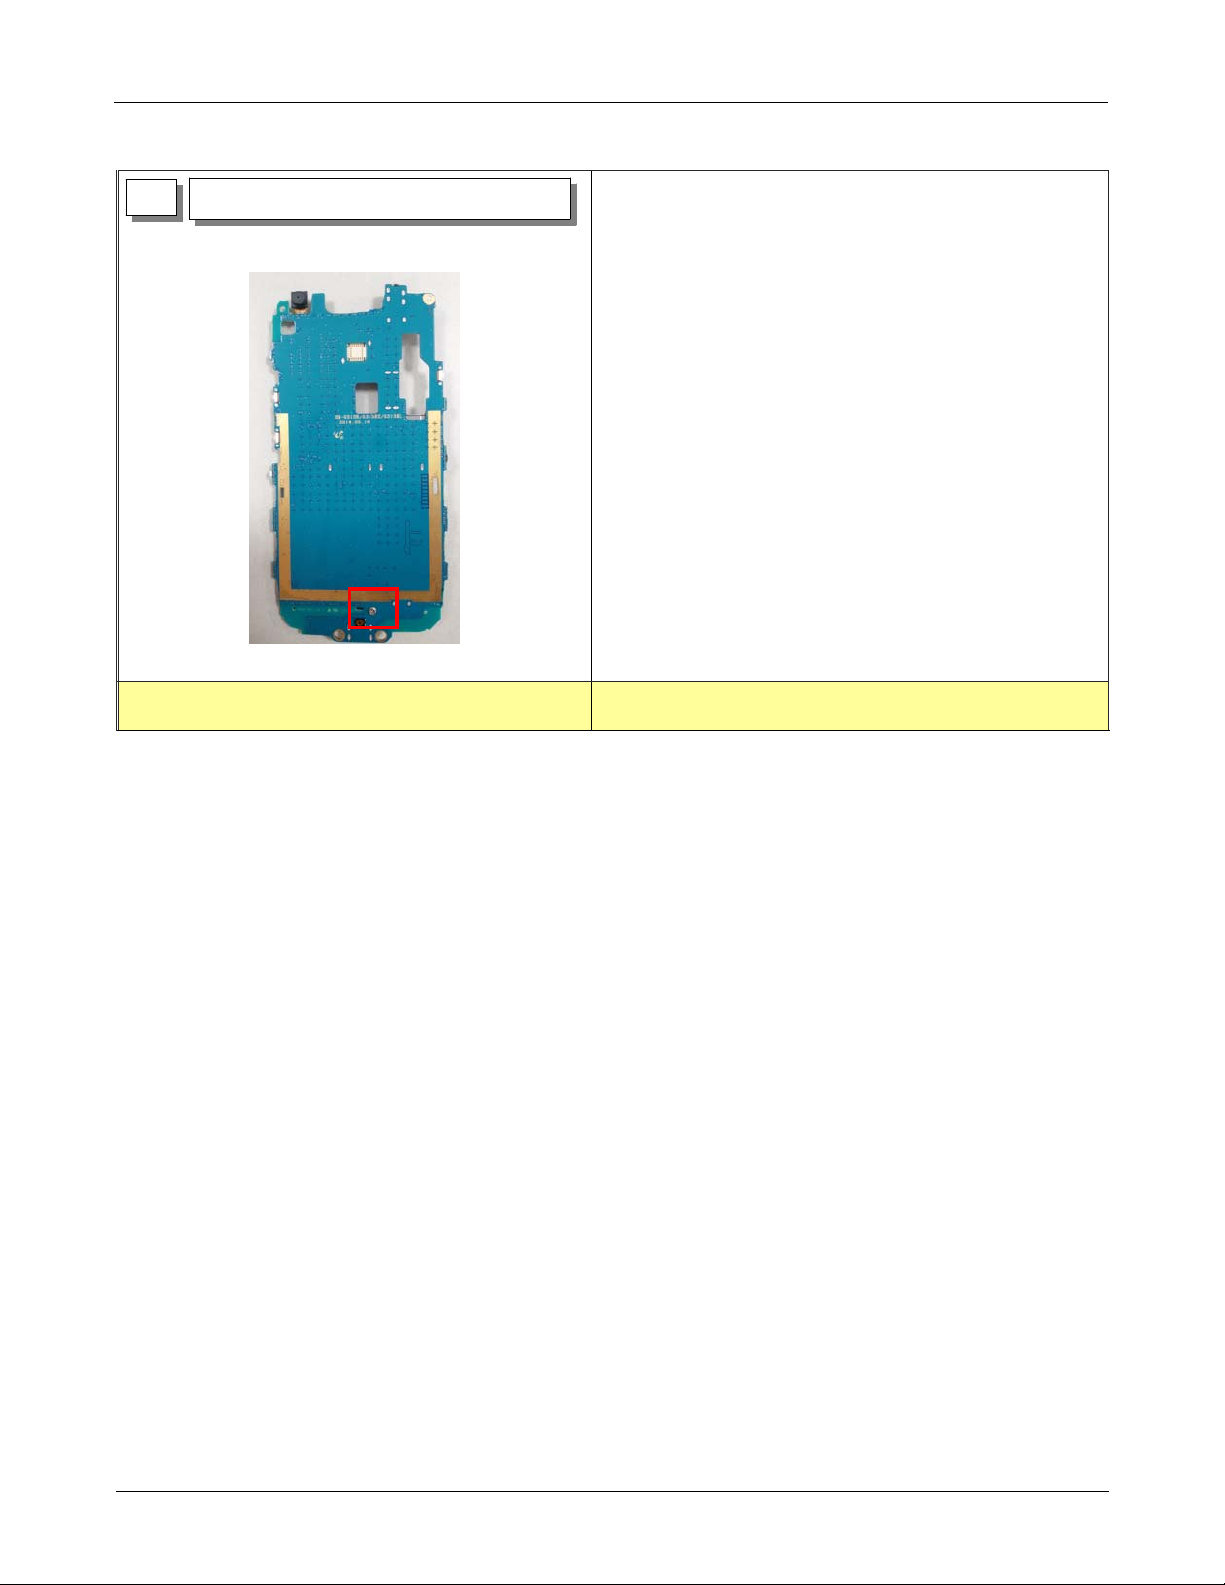
5
Disassemble SHIELD CAN Screw
Level2Repair
1. Disassemble 1 point screw.
7-2
Confidential and proprietary-the contents in this service guide subject to change without prior notice.
Distribution, transmission, or infringement of any content or data from this document without Samsung’swritten authorization is strictly prohibited.
 Loading...