

Samsung CSF983 User Manual
SF-900p+E 12/1/98 3:26 PM Page i
Color Monitor
Owner’s
Instructions
SF-900p+E 12/1/98 3:26 PM Page ii
CAUTION: TO REDUCE THE RISK OF ELECTRIC SHOCK,
DO NOT REMOVE COVER (OR BACK).
NO USER-SERVICEABLE PARTS INSIDE.
REFER SERVICING TO QUALIFIED SERVICE PERSONNEL.
The lightning flash with arrowhead symbol, within an
equilateral triangle, is intended to alert the user to the
presence of uninsulated “dangerous voltage” within the
product’s enclosure that may be of sufficient magnitude to
constitute a risk of electric shock.
C A U T I O N
RISK OF ELECTRIC SHOCK
DO NOT OPEN
The exclamation point within an equilateral triangle is
intended to alert the user to the presence of important
operating and servicing instructions in the literature
accompanying the appliance.
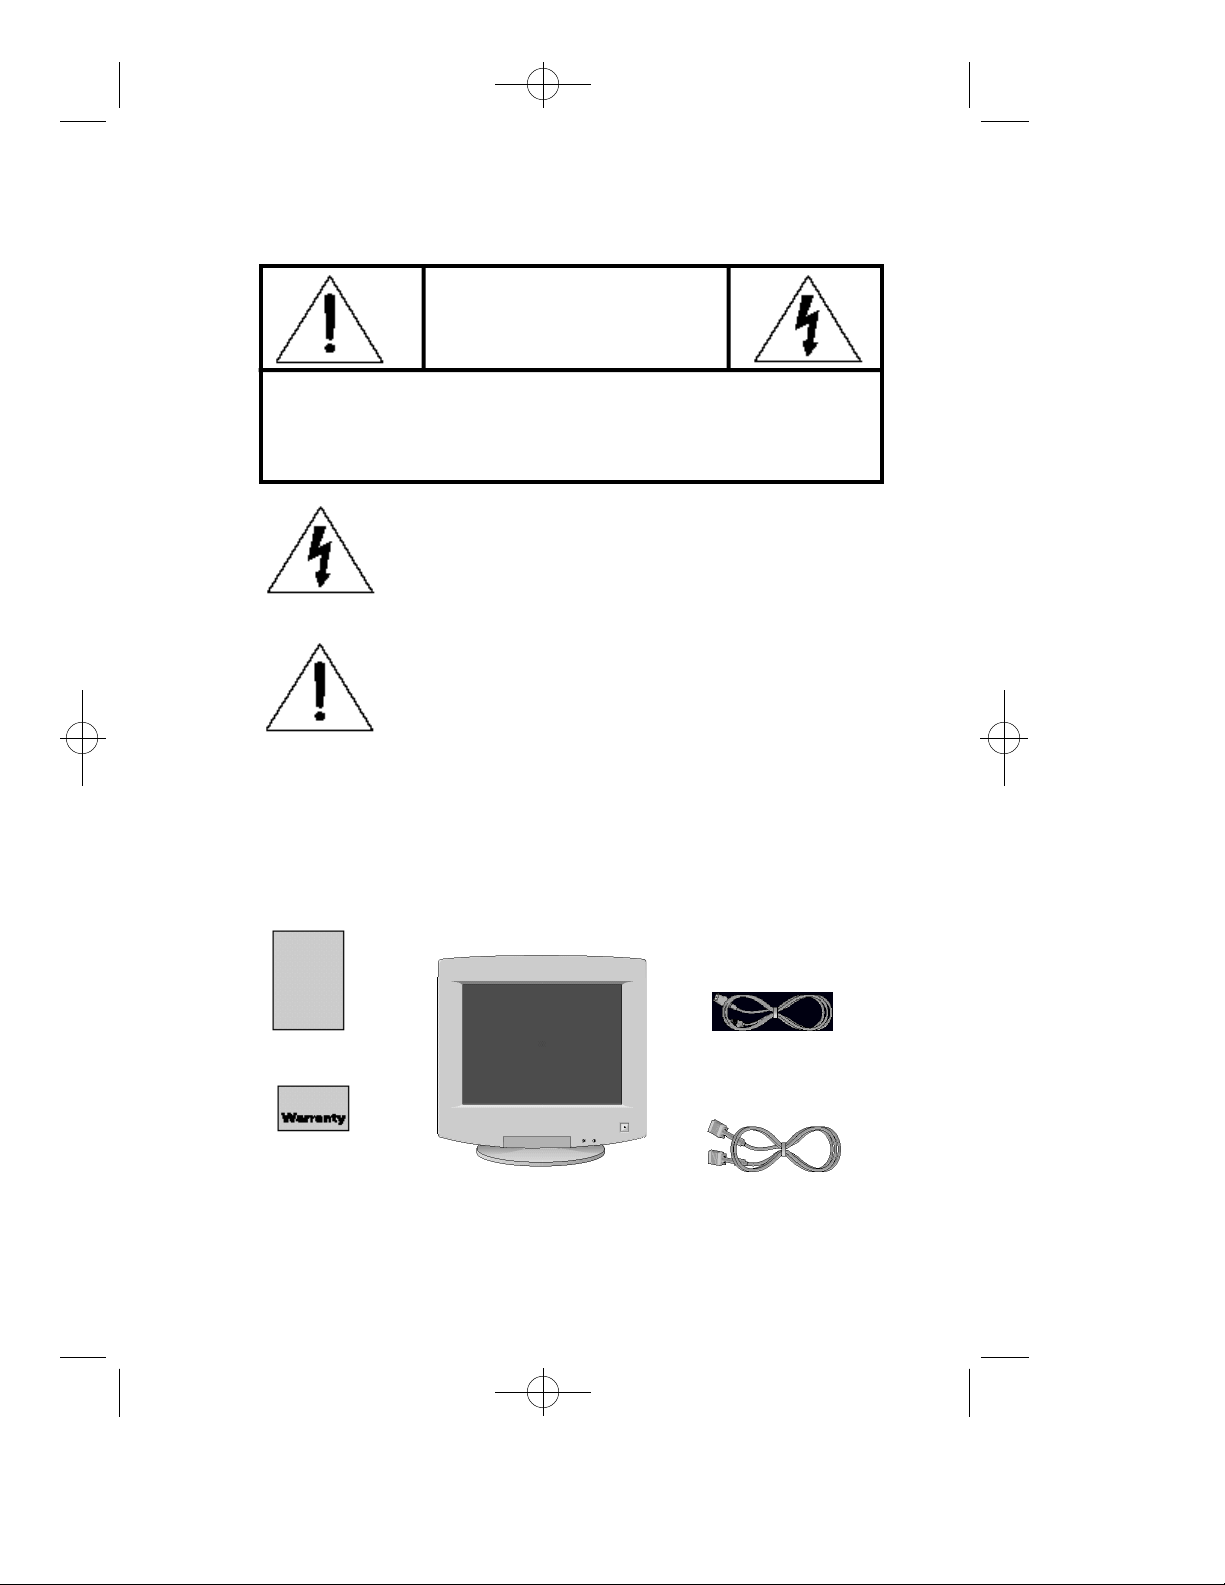
Unpacking your Monitor
Please make sure the following items are included with your computer monitor:
This Manual
Warranty Card
(Not available in all
areas)
Monitor and Stand
Power Cord
Signal Cable
ii
SF-900p+E 12/1/98 3:26 PM Page 1
Preface: Safety Information . . . . . . . . . .2
Chapter One: Overview of Your Monitor 3
Chapter Two: Installation . . . . . . . . . . . . .5
Chapter Three: Adjusting Your Monitor . .6
A p p e n d i x . . . . . . . . . . . . . . . . . . . . . . . . .1 7
I n d e x . . . . . . . . . . . . . . . . . . . . . . . . . . . . .2 0
R e g u l a t o ry Inform a t i o n . . . . . . . . . . . . . .i i i
Table of Contents
Front Panel.....................................................................................3
Rear Panel......................................................................................4
Connecting Your Monitor to a Computer ..................................5
Overview........................................................................................6
Brightness..............................................................................6
Contrast...................................................................................6
Direct Access Features...............................................................7
Position....................................................................................7
Size...........................................................................................7
Pincushion/Trapezoid............................................................8
Parallel/Rotation....................................................................8
Menu Features.......................................................................9
Color Temperature.................................................................9
Color Control...........................................................................9
Degauss.................................................................................10
Recall.....................................................................................10
Menu Position......................................................................11
Menu Duration.....................................................................11
D-SUB/BNC ..........................................................................11
Pinbalance............................................................................12
Clear Moire...........................................................................12
Languages ............................................................................12
Display Timing ......................................................................13
Video Input Level.................................................................13
Sync. Input Type...................................................................14
Exit..........................................................................................14
PowerSaver.................................................................................15
Troubleshooting ..........................................................................16
Specifications..............................................................................17
Pin Assignments.........................................................................18
Display Modes Timing Chart.....................................................19
1

SF-900p+E 12/1/98 3:26 PM Page 2
Preface: Safety Information
Please read and follow these instru c t i o n s
when connecting and using your
computer monitor.
B e f o re connecting the AC power
1
c o rd to an outlet, make sure the
voltage designation on your monitor
c o rresponds to the local electrical
s u p p l y.
Never insert anything metallic into
2
the monitor openings. Doing so may
c reate the danger of electric shock.
To avoid electric shock, never
3
touch the inside of the monitor.
Only a qualified technician should
open the monitor’s case.
Never use your monitor if the power
4
c o rd has been damaged. Do not
allow anything to rest on the power
c o rd, and keep the cord away fro m
w h e re people could trip over it.
Be sure to hold the plug, not the
5
cord, when disconnecting the
monitor from an electric socket.
Openings in the monitor cabinet are
6
p rovided for ventilation. To pre v e n t
o v e rheating, these openings should
not be blocked or covered. Also,
avoid using the monitor on a bed,
sofa, rug, or other soft surface.
Doing so may block the ventilation
openings in the bottom of the
cabinet. If you put the monitor in a
bookcase or some other enclosed
space, be sure to provide adequate
v e n t i l a t i o n .
Put your monitor in a location with
7
low humidity and a minimum of
dust. Avoid places like damp
basements or dusty hallways.
Do not expose the monitor to rain or
8
use it near water (In kitchens, next
to swimming pools, etc.). If the
monitor accidentally gets wet,
unplug it and contact an authorized
dealer immediately. You can clean
the monitor with a damp cloth when
n e c e s s a ry, but be sure to unplug
the monitor first.
Place the monitor on a solid surf a c e
9
and treat it care f u l l y. The screen is
made of glass and can be damaged
if dropped or sharply hit.
Locate your monitor near an easily
10
accessible AC outlet.
If your monitor does not operate
11
normally – in particular, if there
are any unusual sounds or smells
coming from it – unplug it
immediately and contact an
authorized dealer or service center.
High temperatures can cause
12
problems. Don’t use your monitor
in direct sunlight, and keep it away
from heaters, stoves, fireplaces,
and other sources of heat.
Unplug the monitor when it is
13
going to be left unused for an
extended period of time.
Unplug your monitor from the AC
14
outlet before any service.
2
SF-900p+E 12/1/98 3:26 PM Page 3
Chapter One: Overview of Your Monitor
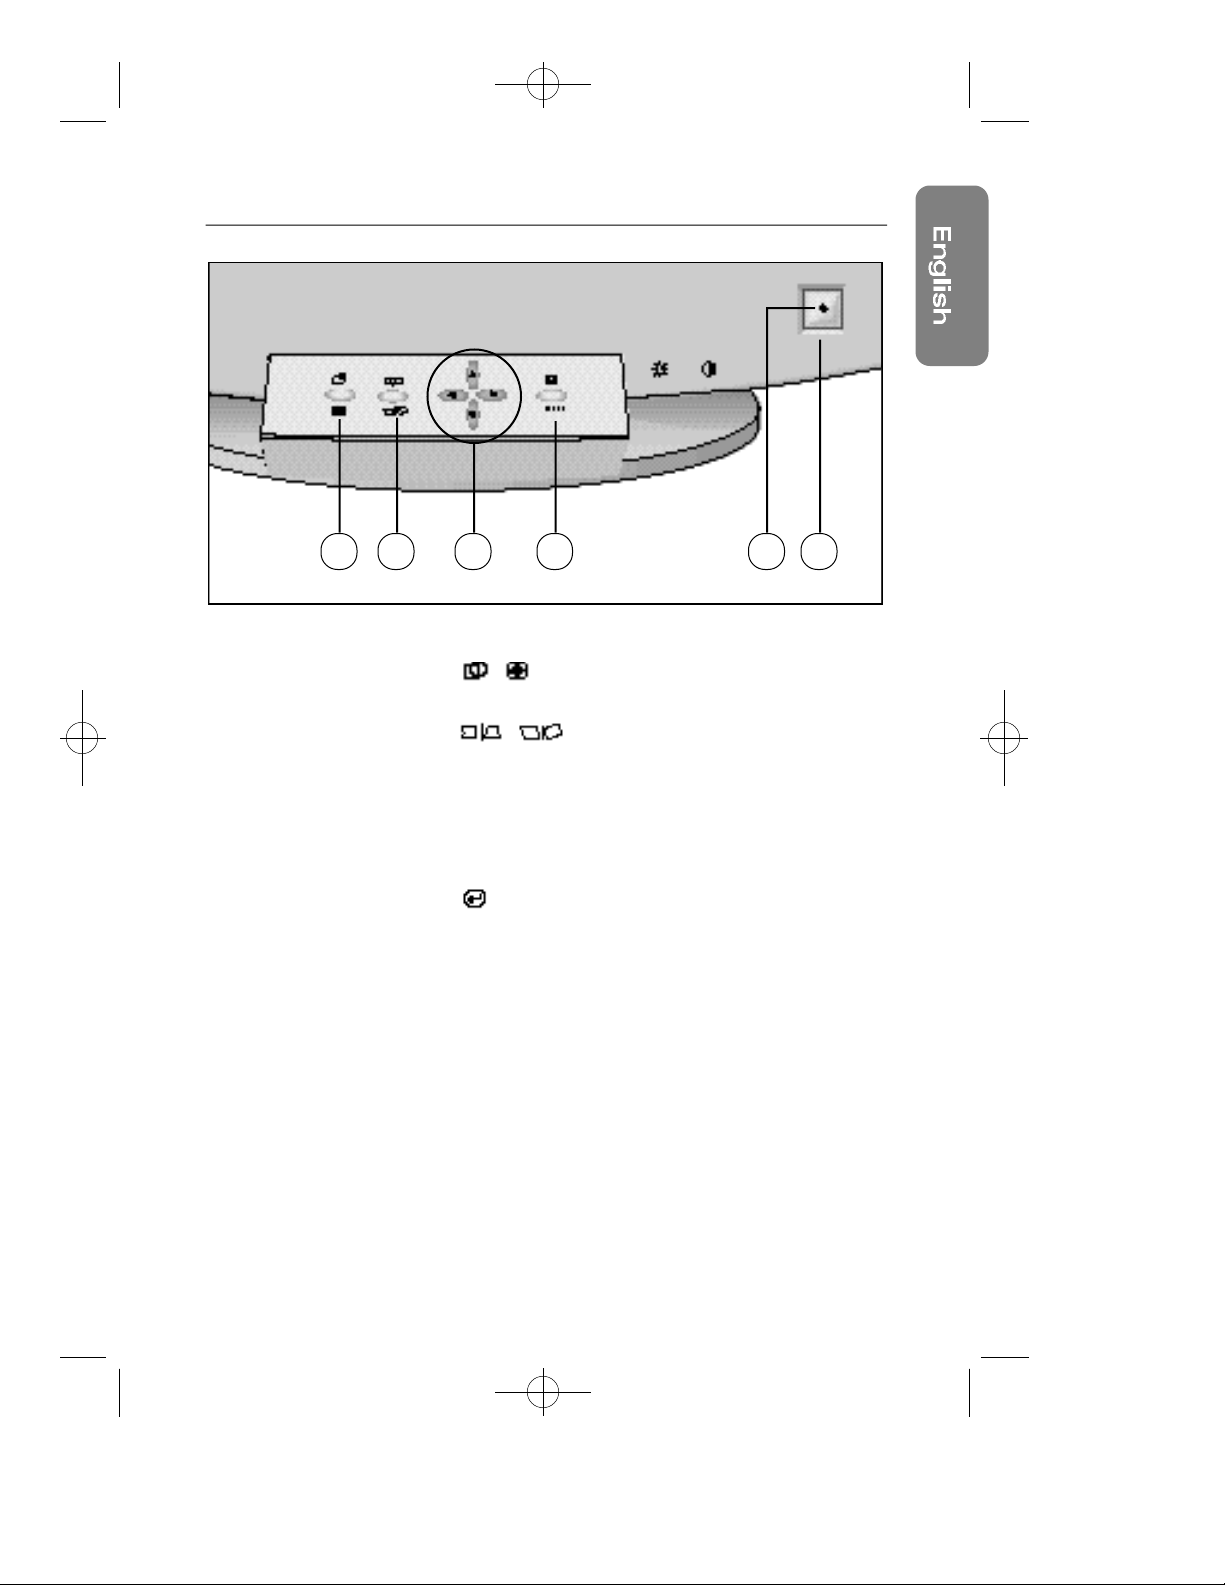
1 2 3 4 5 6
Front Panel
1
, button
Use this button to adjust the position or size.
, button
2
Use this button to adjust the pincushion/trapezoid or
parallel/rotation screen effects.
▲, ▼, $, % buttons
3
Use these buttons to choose or adjust items in the
on-screen display.
, MENU button
4
Use this button to activate the on-screen display, to
enter a selection in the on-screen display, or to exit
the on-screen displays.
Power indicator
5
This light glows green during normal operation, and
blinks amber once as your adjustments are saved.
Power button
6
Use this button to turn the monitor on and off.
3
SF-900p+E 12/1/98 3:26 PM Page 4
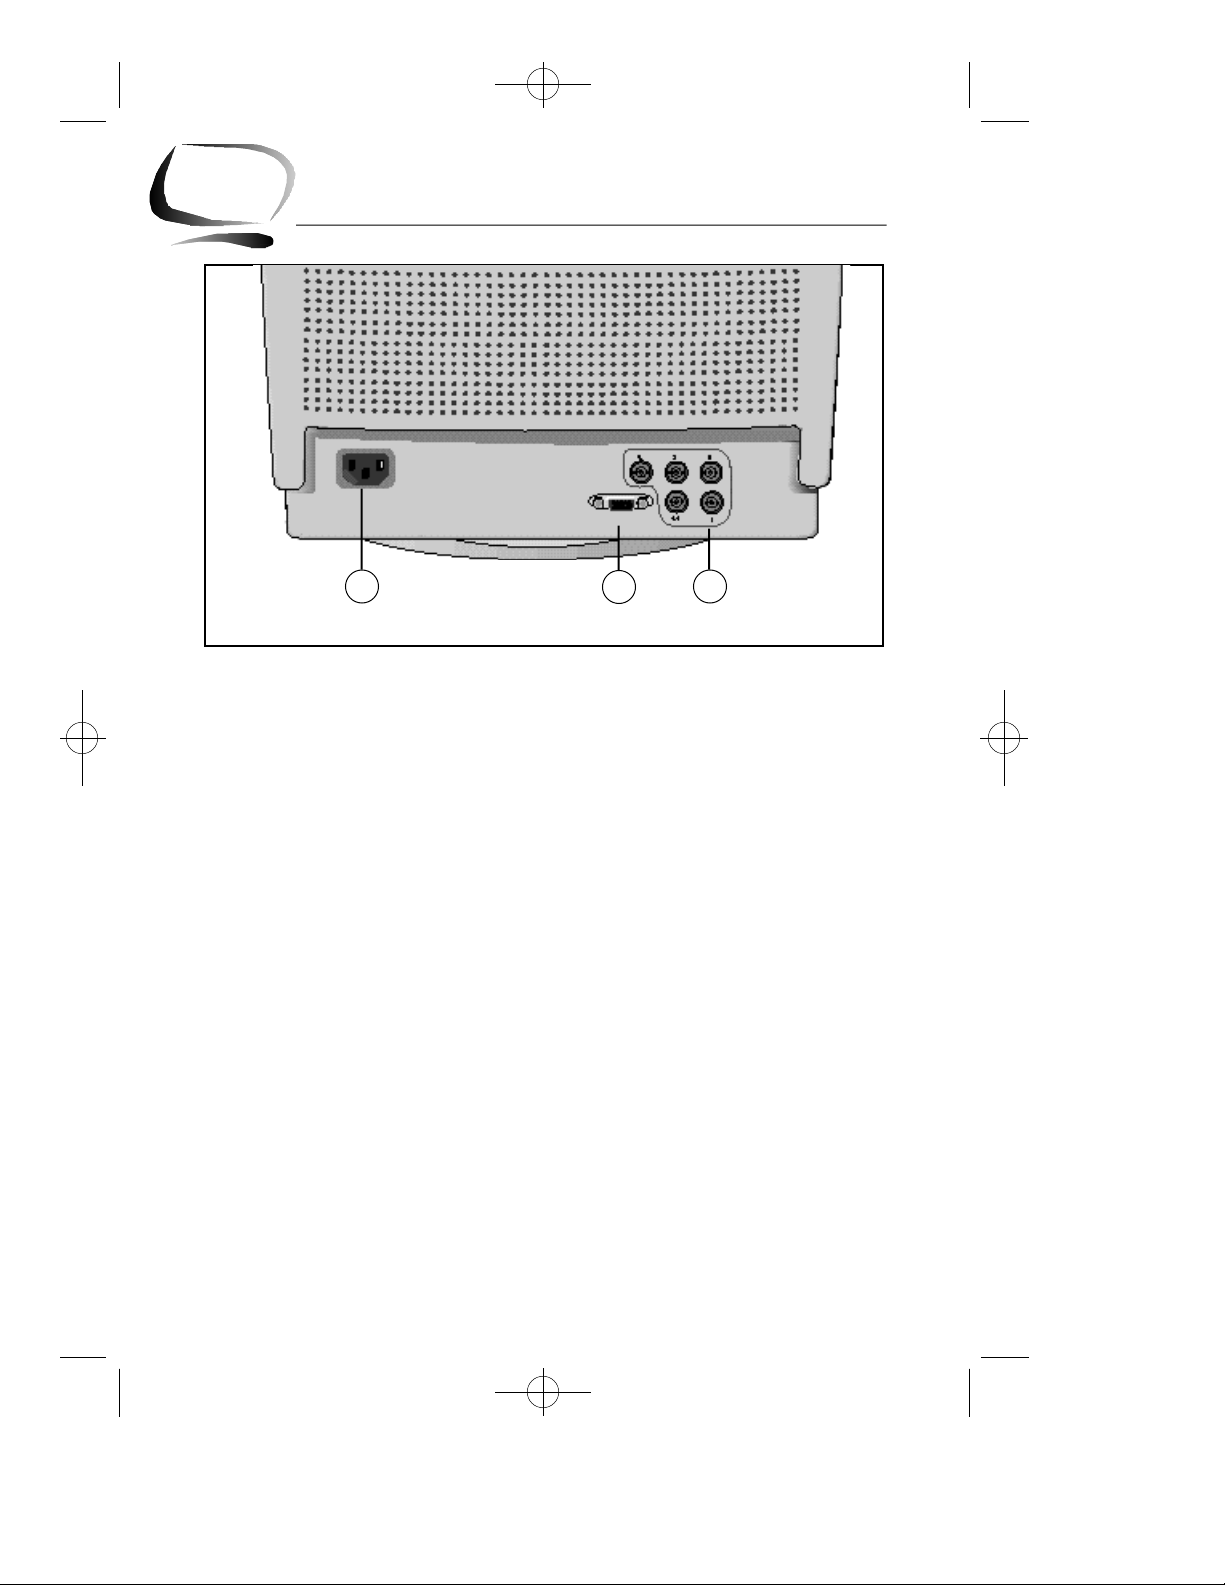
Chapter One: Overview of Your Monitor
Rear Panel
1
Power port
1
Connect the power cord here.
Signal port
2
Connect your signal cable here.
BNC signal port
3
Connect a BNC signal cable here.
(BNC signal cable not included)
2
3
4
SF-900p+E 12/1/98 3:26 PM Page 5
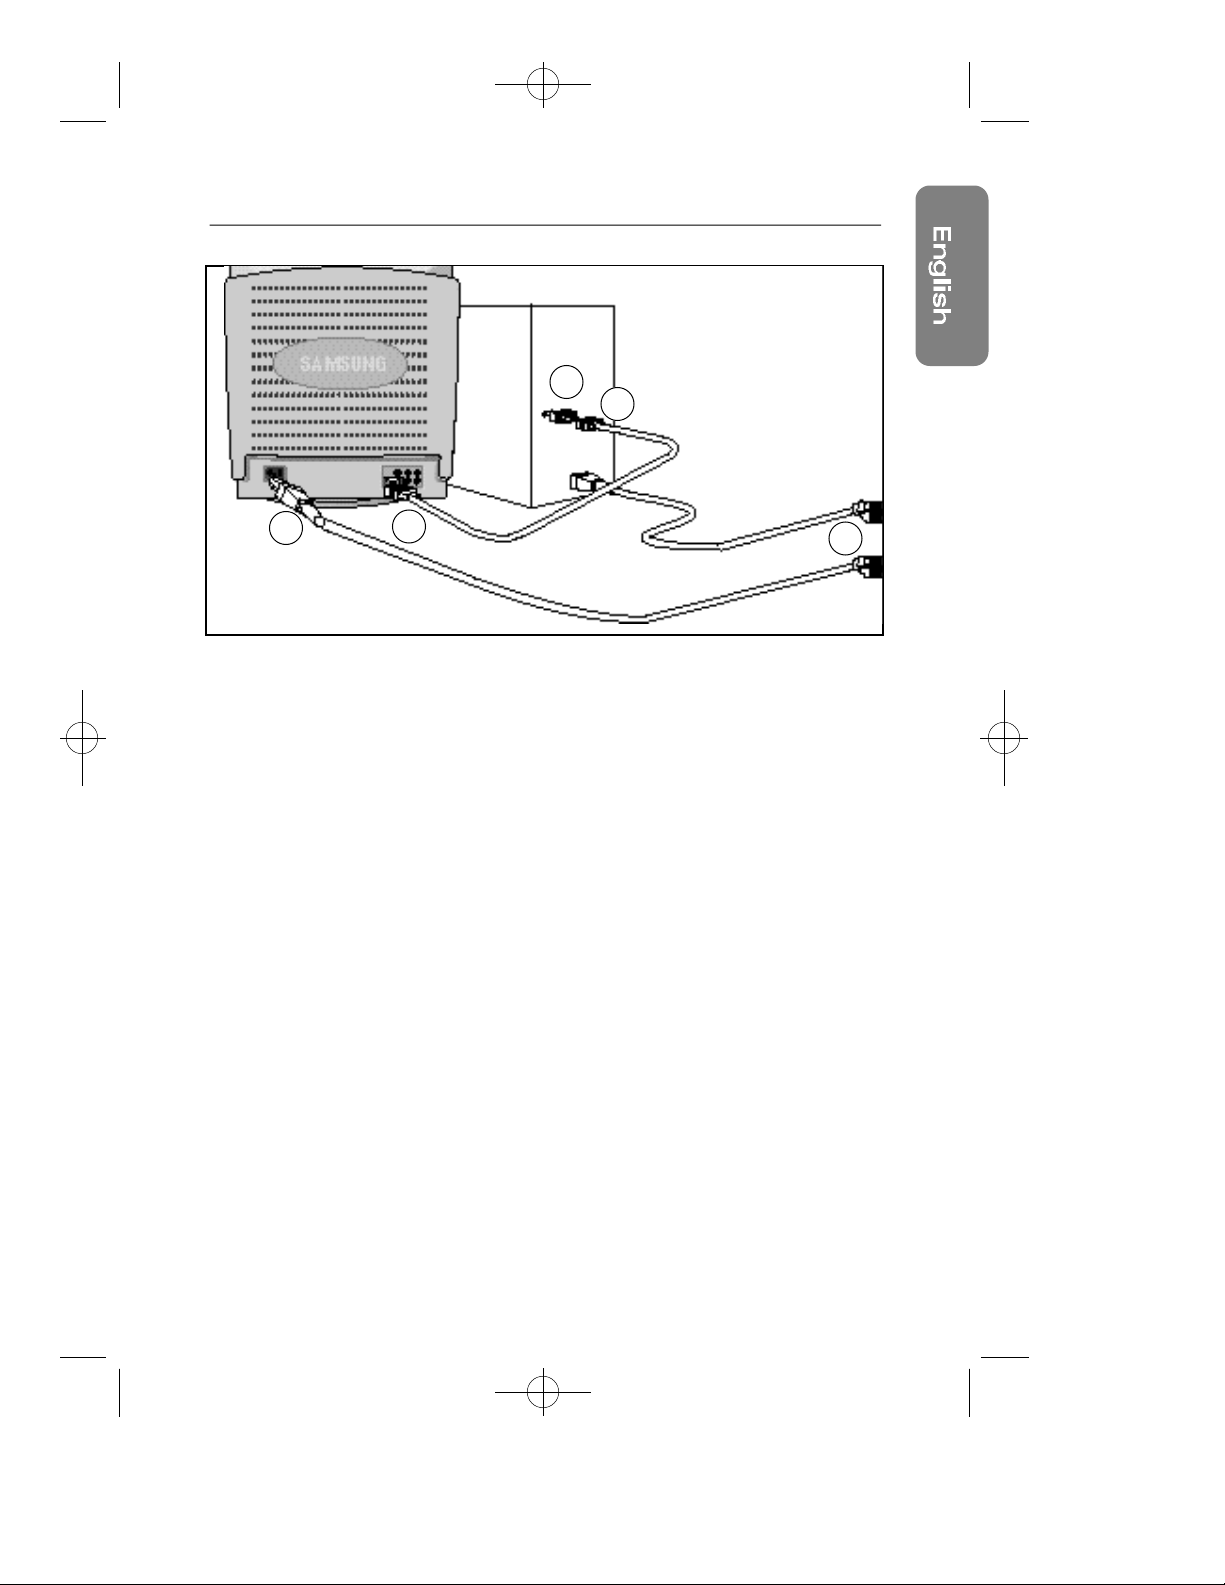
Chapter Two: Installation
5
3
6
Connecting Your Monitor
to a Computer
Turn off your computer and unplug
1
its power cord.
Connect the signal cable to the
2
D-SUB or BNC signal port on the
back of your monitor.
If you are using an IBM-compatible
3
computer, skip to step 5. If you are
using a Macintosh computer,
connect the other end of the signal
cable to a Macintosh adapter.
(The adapter is not included with
your monitor. Contact your dealer
for more information.)
Follow the instructions included
4
with your adapter to set the pins on
your adapter, if necessary.
2
Connect the signal cable (With the
5
adapter, if necessary) to the video
port on the back of your computer.
This port might be directly attached
to your computer, or it might be
part of a video adapter, video card,
or graphics card.
Connect the power cord for your
6
monitor to the power port on the
back of the monitor.
Plug the power cords of your
7
computer and your monitor into a
nearby outlet.
Tu rn on your computer and monitor.
8
If your monitor displays an image,
installation is complete.
7
5
SF-900p+E 12/1/98 3:26 PM Page 6
Chapter Three: Adjusting Your Monitor
Overview
Your Samsung SyncMaster computer monitor allows you to easily
adjust the characteristics of the image being displayed.
All of these adjustments are made using the control buttons on
the front of the monitor. These buttons operate the on-scre e n
menu, which shows you the monitor’s settings and allows you to
change those settings.
1 2
• The MENU ( ) button perf o rms the following actions:
First push: Opens the on-screen menu.
Second push: Activates the highlighted menu item.
T h i rd push: Closes the active menu and re t u rns you to the
p revious menu level.
F o u rth push: Closes the on-screen menu system.
• The ▲, ▼, and $, % buttons allow you to highlight and adjust
items in the menu.
• All menus automatically save your adjustments 3 seconds
after you stop adjusting the setting.
Brightness
1
This feature will adjust the overall brightness of the display
image. Rotate the ro t a ry control to the right to increase the
level of brightness, or to the left to decrease the brightness.
Contrast
2
This feature will adjust the monitor’s contrast. Rotate the ro t a ry
c o n t rol to the right to increase the contrast between dark
colors and light colors, or move it to the left to decrease the
c o n t r a s t .
6
 Loading...