

Page 1
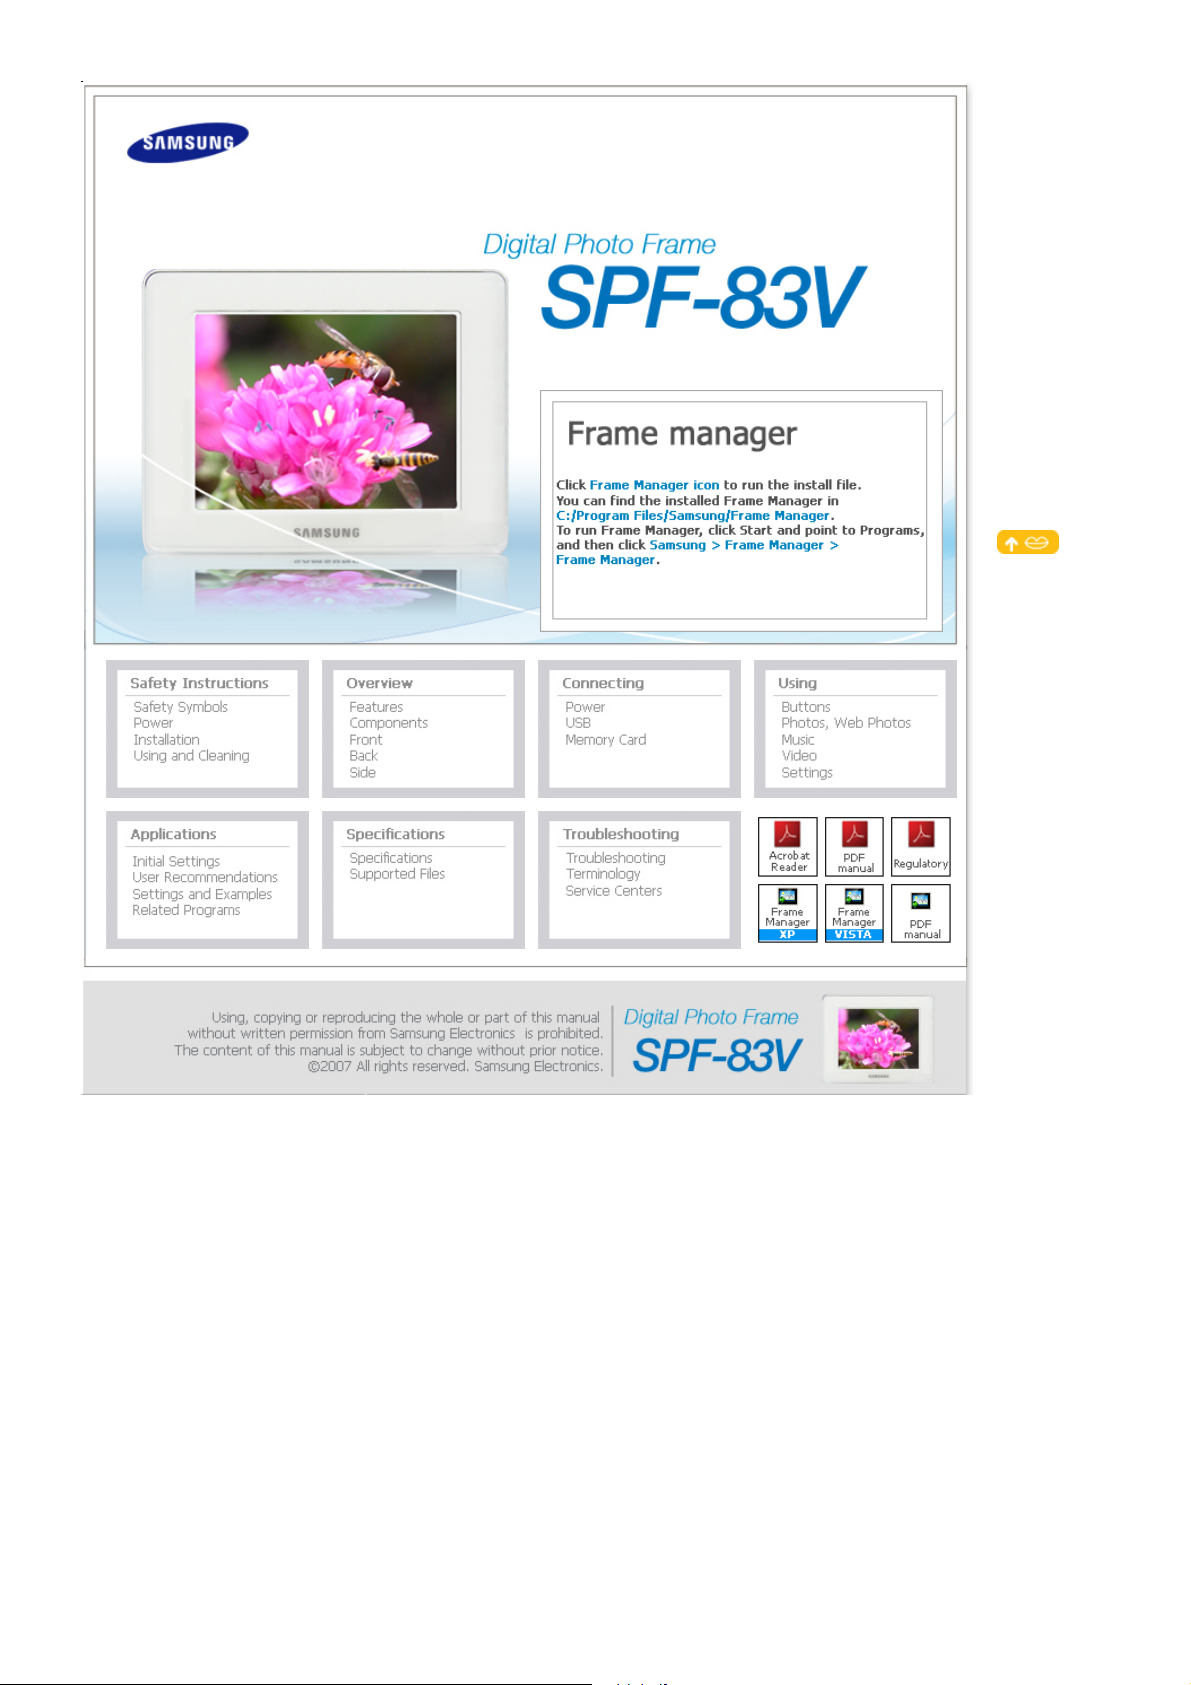
BT08PS
Page 2
|
T
Safety Symbols
|
Power | Installation
Safety Symbols
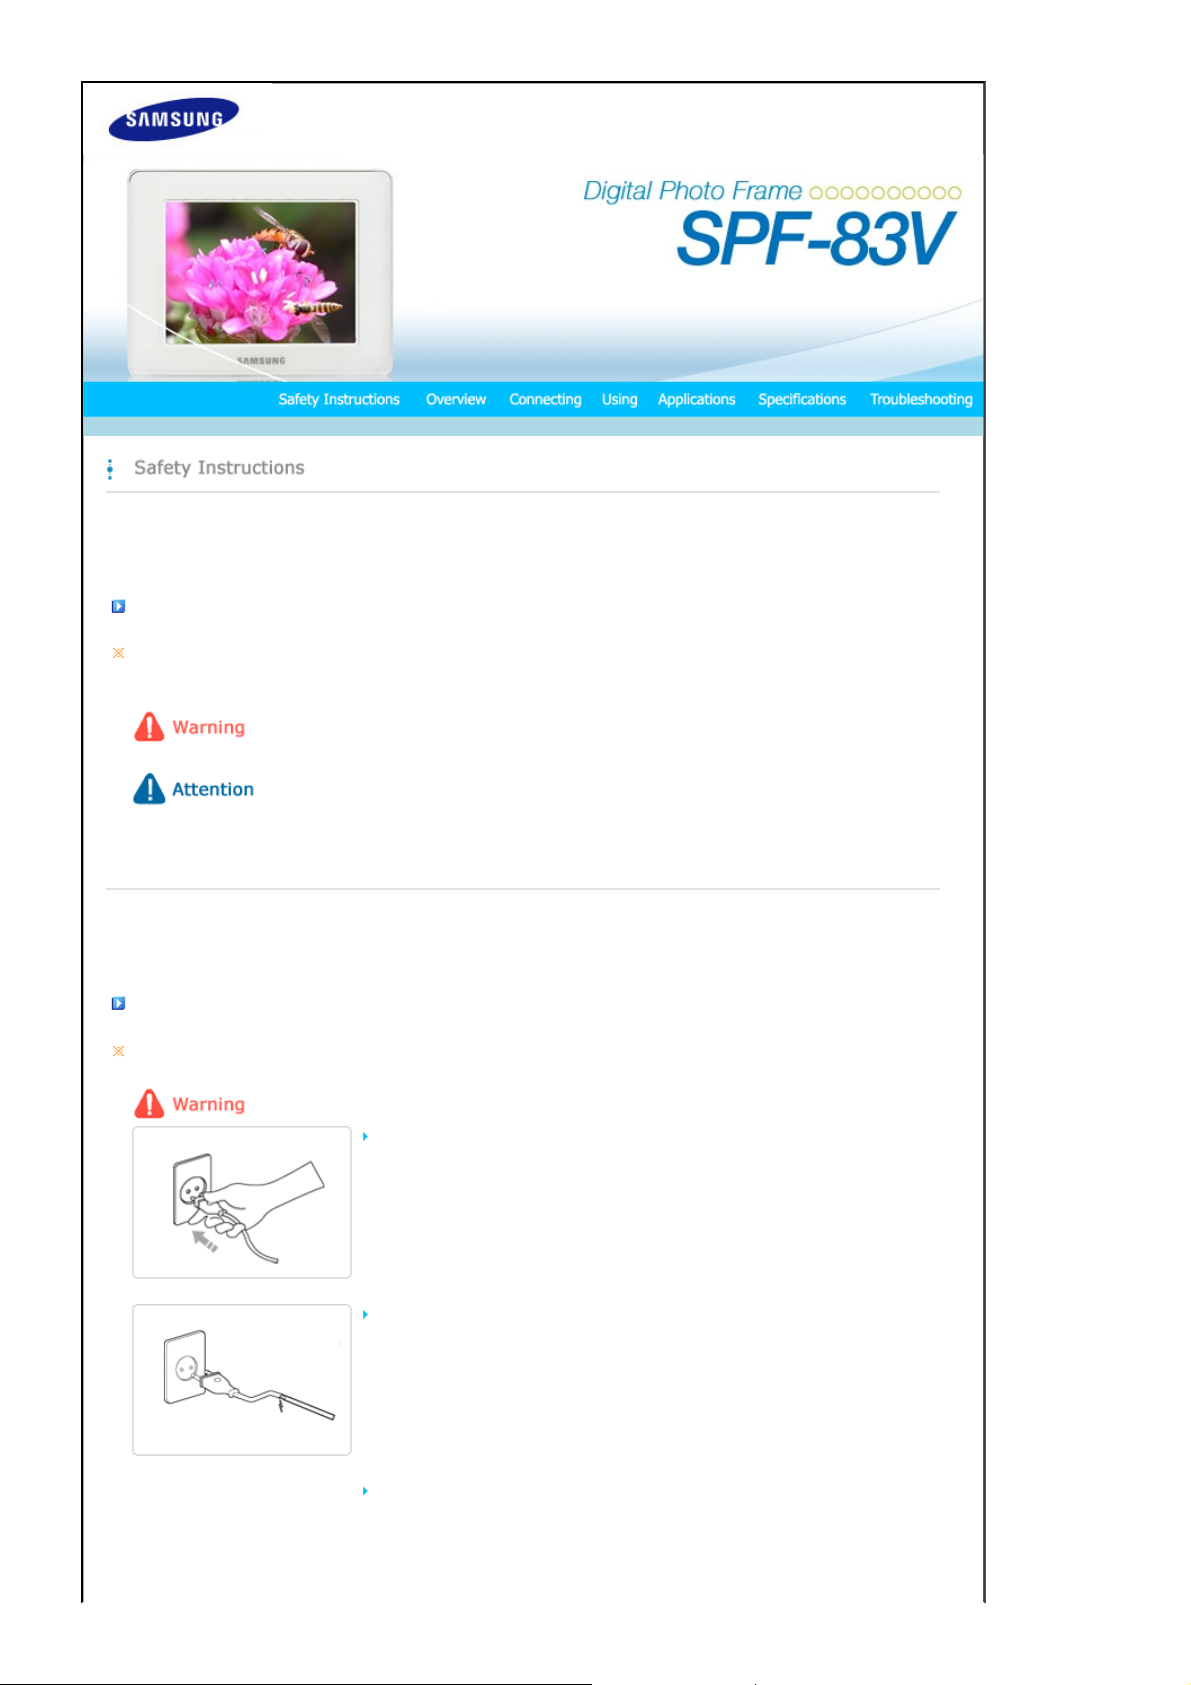
Make sure to follow the directions below to prevent accidents and damage to the product.
Failure to follow the accompanying directions may lead to serious injury or death.
Failure to follow the accompanying directions may lead to minor personal injury or property damage.
|
Using and
Cleaning
|
|
Safety Symbols
|
Power | Installation
Power
he images here are for reference only, and are not applicable in all cases (or countries).
Insert the power plug correctly until it is firmly in place.
z Failing to do so, may cause fire.
Do not use a damaged power plug, cord or outlet, as this may cause electric shock
or fire.
Do not touch the power plug with wet hands, as this may cause electric shock.
|
Using and
Cleaning
|
Page 3
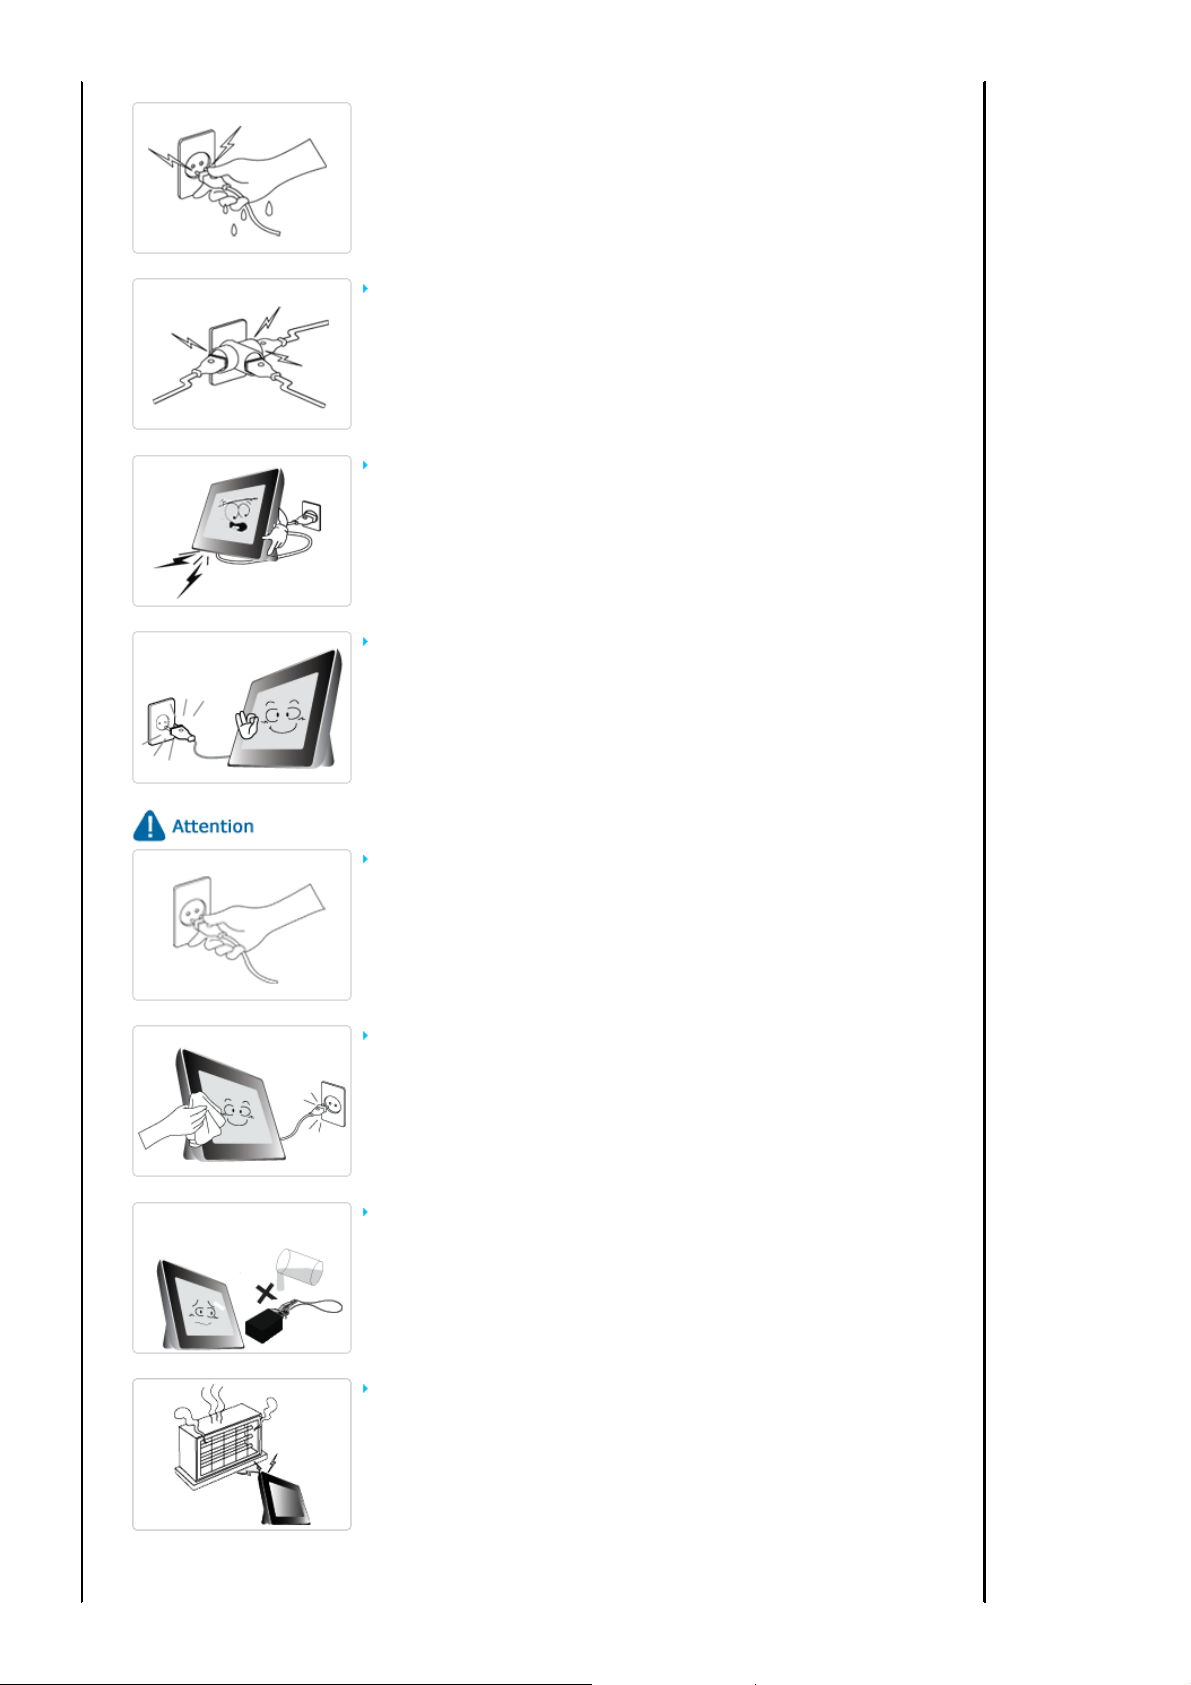
Do not connect more than one appliance to a single outlet, as an overheated outlet
may cause fire.
Do not use force to pull the power cord.
z Don't place anything heavy on the power cord, as this may cause electric shock or
fire.
Make sure to turn the power off and disconnect the power plug from the outlet
before moving the product. Make sure to disconnect the connection cables from
other devices as well.
z Moving the product without disconnecting the power cord may damage it while
moving, and may cause electric shock or fire.
Hold and pull out the plug by its body when disconnecting it from the outlet, as
pulling the plug out by the cord may cause it to be damaged.
z Failing to do so, may cause fire, or the product may not turn on normally.
Ensure that the power plug is disconnected before cleaning the product.
z Failing to do so, may cause electric shock or fire.
Do not let water come into contact with or enter the power adapter,as this may
cause electric shock or fire.
z Do not use the product outdoors in snowy or rainy weather, or near any water.
z When cleaning the floor with water, avoid any water contact with the power adapter.
Do not place the power adapter near a heater, as this may cause fire.
Page 4
Installation
|
Safety Symbols
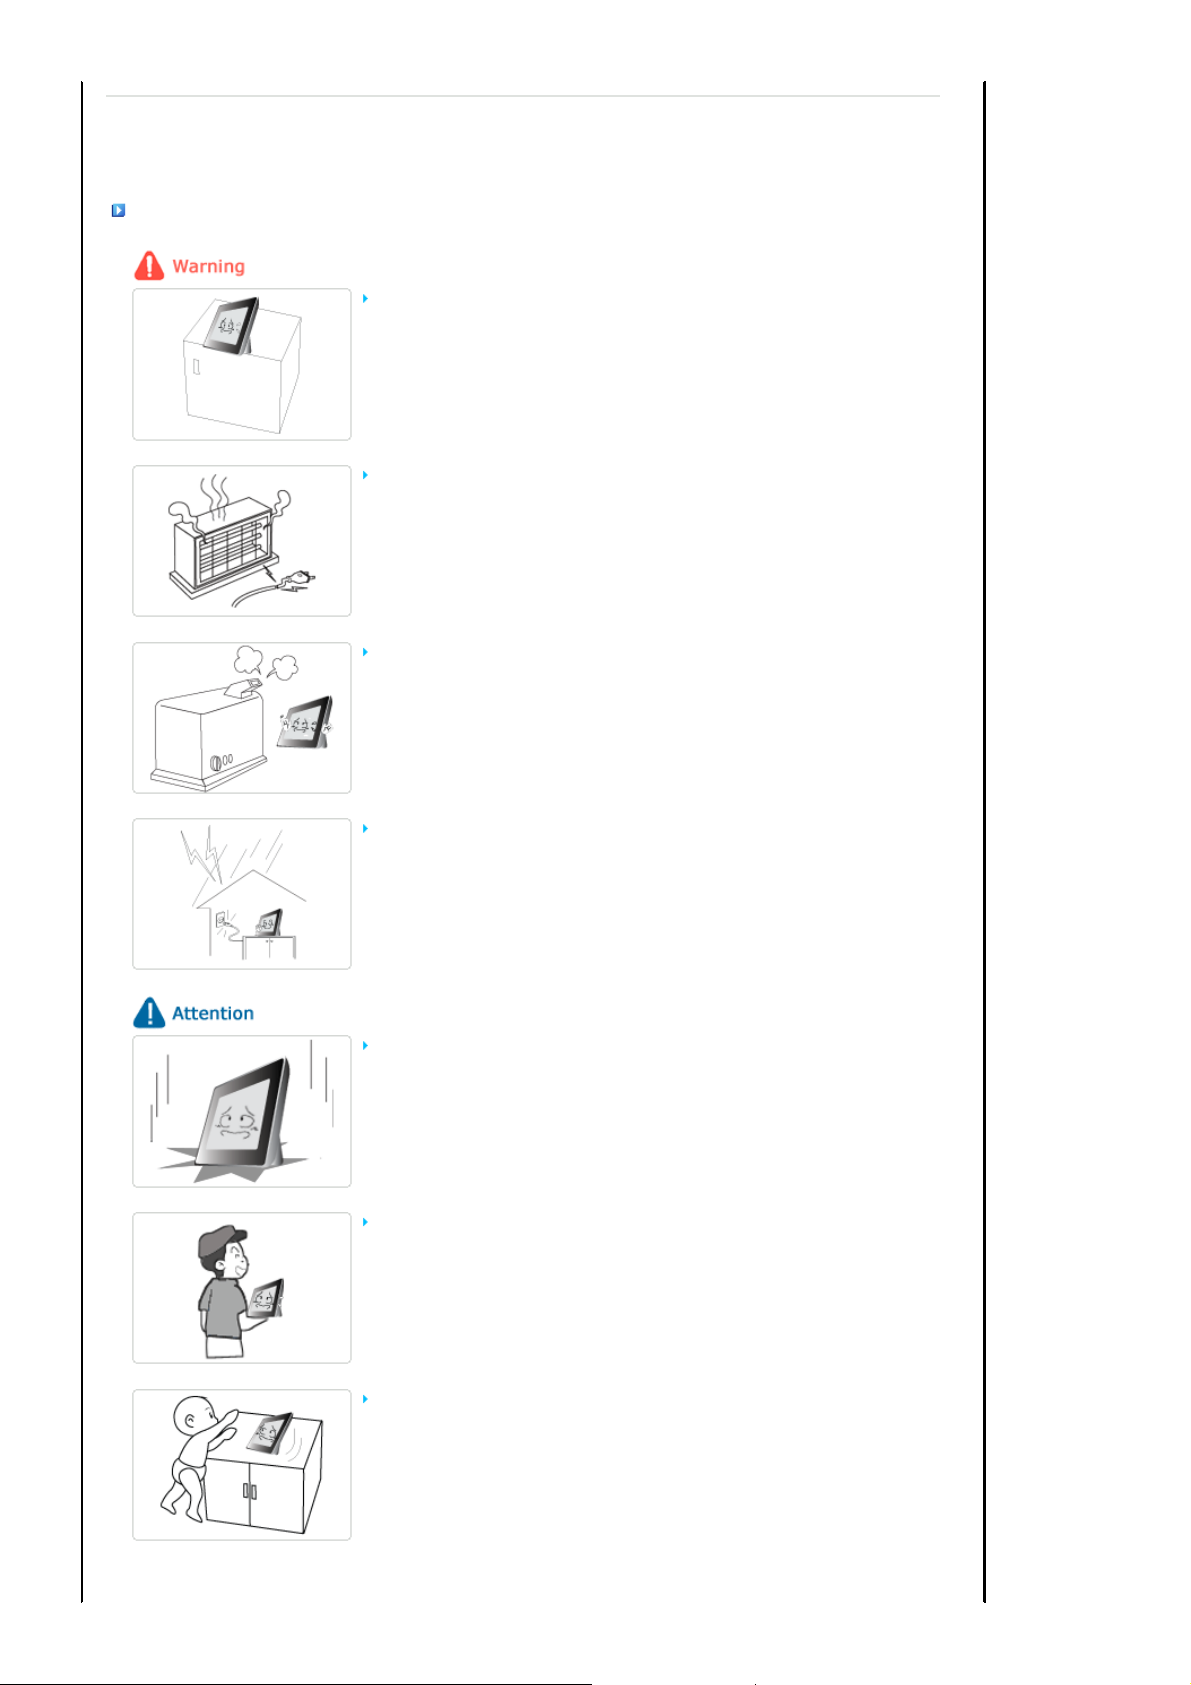
When installing the product on a cabinet or shelf, do not let the front end of the
product project beyond its front edge.
Do not place the power cord near a heater, as the power cord may melt, causing
electric shock or fire.
Do not install the product in a car or a location exposed to oil, smoke, moisture,
water, or rainwater.
|
Power | Installation
z Failing to do so, may cause the product to fall, resulting in a product malfunction or
|
Using and
Cleaning
personal injury.
z Any contact of these materials with the product may cause electric shock or fire.
|
Disconnect the power plug when there is thunder or lightning.
z Failing to do so, may cause electric shock or fire.
Place the product down gently when installing it.
z Failing to do so may cause product damage or personal injury.
Avoid dropping the product when moving, as this may cause product damage or
personal injury.
Do not install the product in a location easily reached by children.
z As the product may fall and cause personal injury.
Page 5
|
Safety Symbols
|
Power | Installation
Using and Cleaning
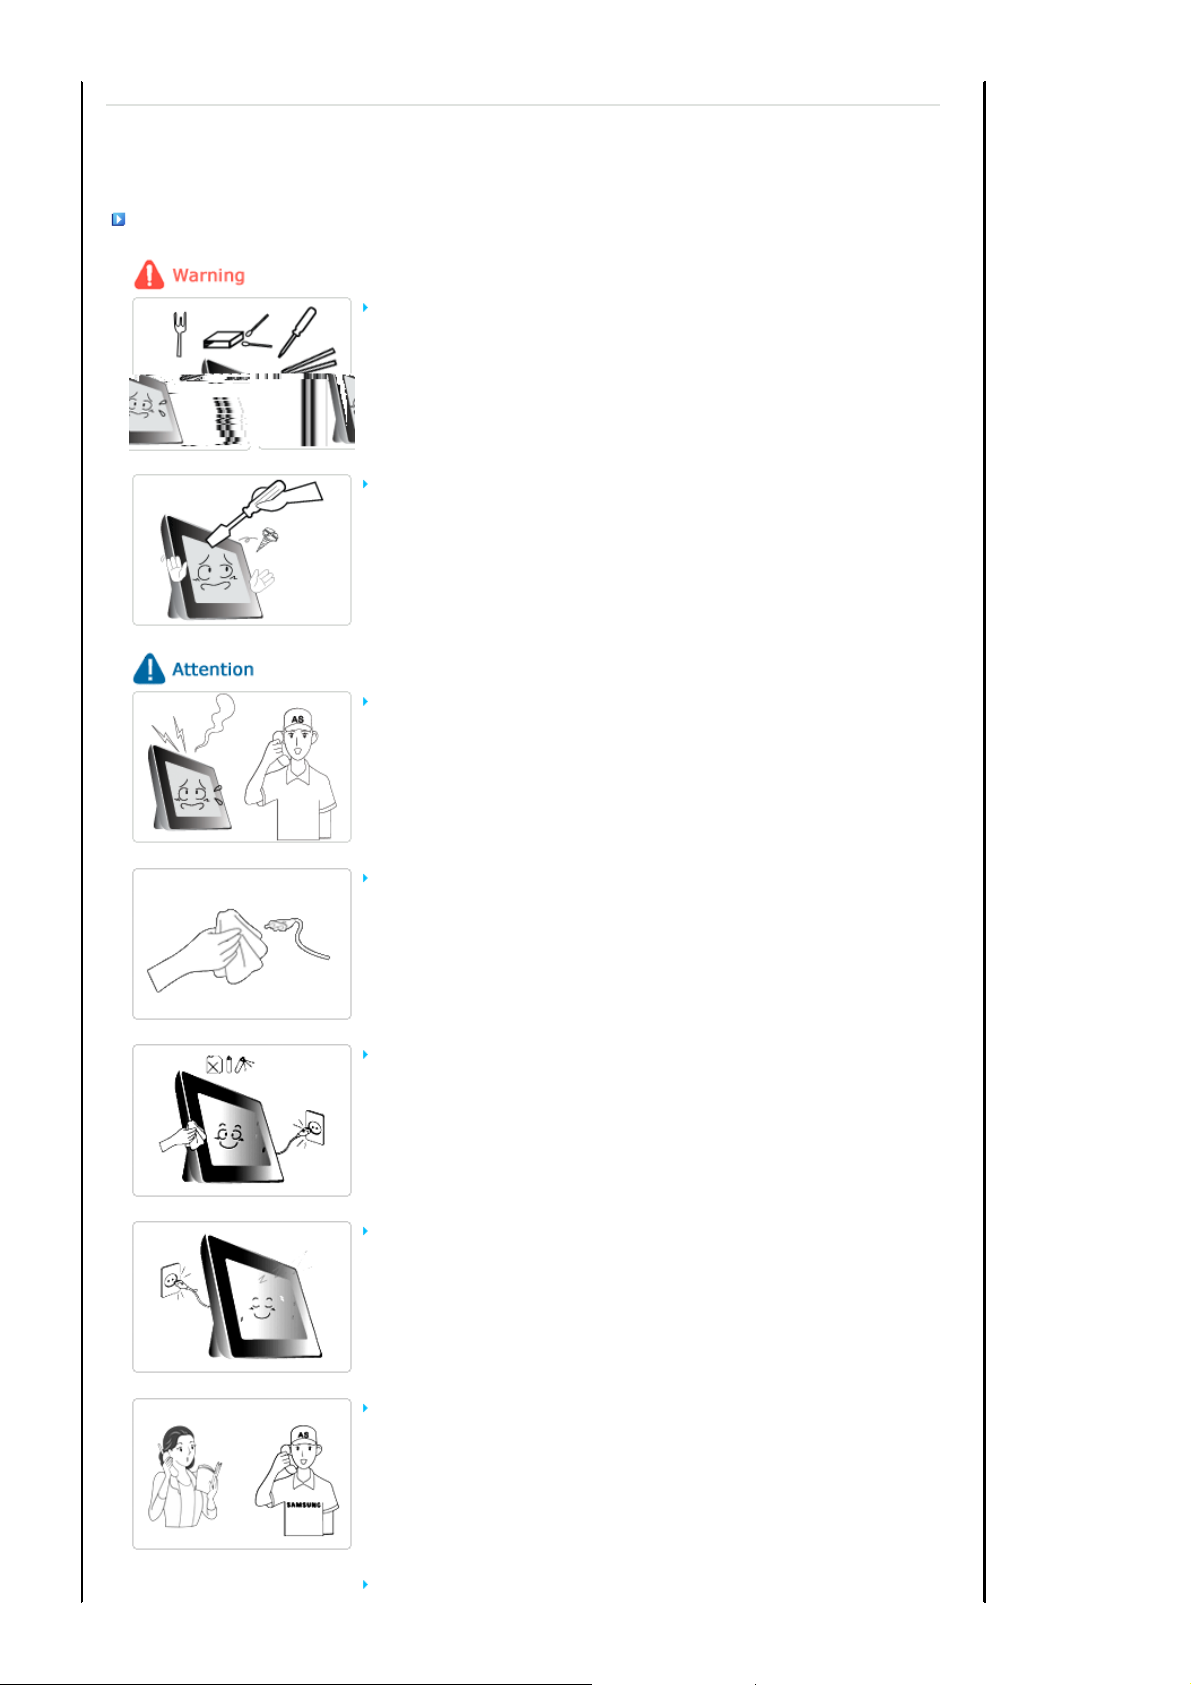
Do not insert any metal objects such as forks, wire, or gimlets, or flammable items
such as paper or matches into the ports at the back of the product, as this may
cause electric shock or fire.
z
If water or any foreign substance enters the product, make sure to turn the product
off disconnect the power plug from the outlet, and contact a service center.
Never disassemble, repair, or modify the product yourself.
z If you need to repair your product, contact a service center. An attempt at repairing
this product may cause electric shock or fire.
If you hear a strange sound, smell anything burning, or see smoke, disconnect the
power plug immediately and contact a service center.
|
Using and
Cleaning
|
z Failing to disconnect the power plug may cause electric shock or fire.
Always remove dust and water from the pins and connections of the power plug.
z Failing to do so may cause electric shock or fire.
When cleaning the product, first disconnect the power plug and clean it with a soft,
dry cloth.
z Do not use any chemicals such as benzene, alcohol, thinners, mosquito repellant,
aromatic, lubricant, detergent or wax.
When not using the product for a long time, make sure to disconnect the power plug.
z Heavy accumulated dust may cause electric shock or fire.
If the product needs to be installed in a location that doesn't satisfy general
conditions, make sure to contact one of our service engineers about the installation
as the product may encounter serious quality problems due to its environment.
z This refers to locations exposed to conditions such as heavy fine dust, chemicals, high or
low temperature, moisture, or when the product needs to be used continually without a
break over a long time.
If the product has been dropped or the product casing is damaged, turn it off and
Page 6
disconnect the power plug.
z Using the product without verifying that it has not been damaged may cause electric
shock or fire. Please contact a service center.
Correct Disposal of This Product
(Waste Electrical & Electronic Equipment) - Europe only
(Applicable in the European Union and other European countries with separate
collection systems)
This marking shown on the product or its literature, indicates that it should not be disposed
with other household waste at the end of its working life. To prevent possible harm to the
environment or damage to health from uncontrolled waste disposal, please separate this from
other types of waste and recycle it responsibly to promote the sustainable reuse of material
resources.
Household users should contact either the retailer where they purchased this product, or their
local government office, for details of where and how they can take this item for
environmentally safe recycling.
Business users should contact their supplier and check the terms and conditions of the
purchase contract. This product should not be mixed with other commercial wastes for
disposal.
Page 7
|
A
Features| Components
|
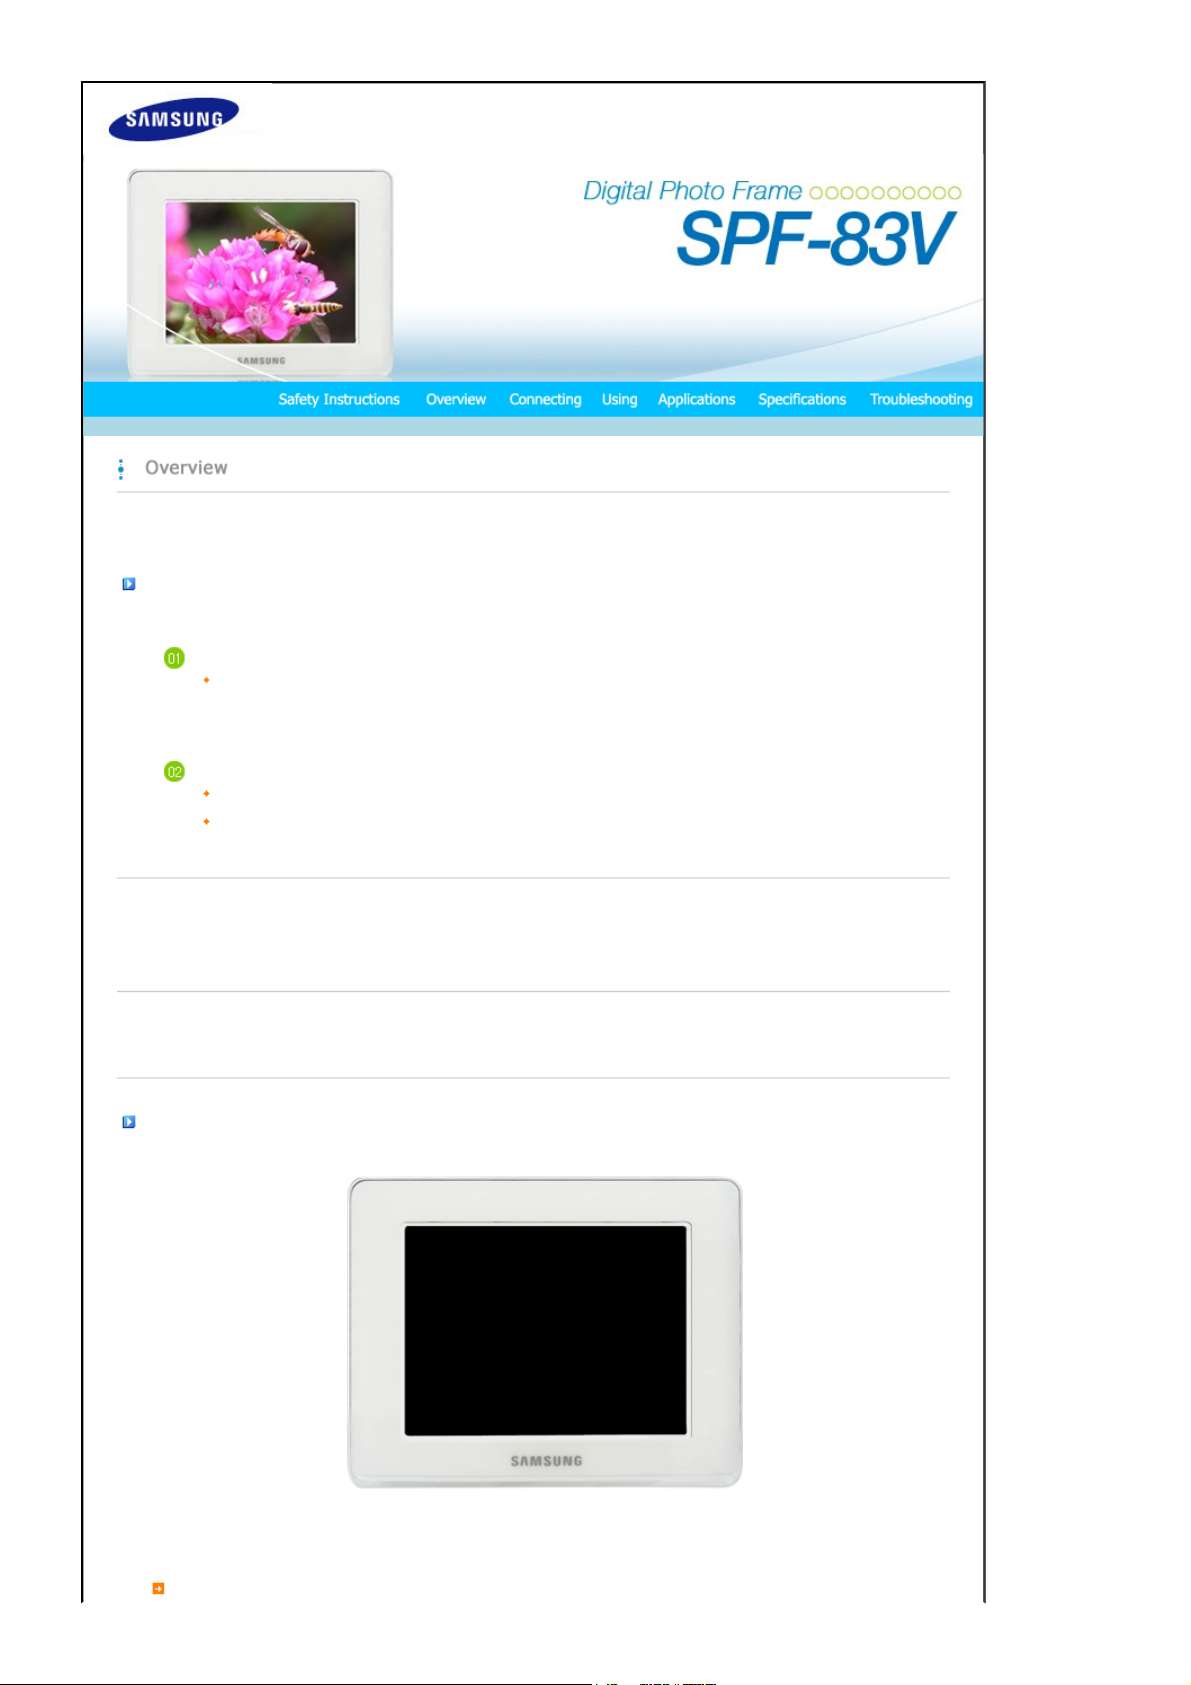
Front
Features
Expand the memory capacity with a memory card. Enjoy stored images immediately.
By connecting a CF or SD/MMC/MS/XD memory card of your digital camera to your digital photo frame, you can enjoy
the images on your digital photo frame quickly and easily. This also provides a way to expand the memory capacity of
your digital photo frame.
Stylish design
With its sleek and clean, high class design, your digital photo frame doubles as an ornament for your desk or table.
rotating stand allows both horizontal and vertical installations.
|
Back
|
Side
|
|
Features| Components
Please check that all components are contained in the delivered package.
If anything is omitted, contact the local distributor where the product was purchased. For optional items, contact a service center.
Never use a power adapter other than the adapter provided with the product.
|
Front
|
Back
|
Side
Components
Digital Photo Frame
(Colors may differ for each product.)
Manual
|
Page 8

Cables
Quick Start
Warranty
(Not available in all locations)
User Manual
Sold separately
Front
Power cord
CF/SD/MMC/MS/XD card
|
Features| Components
USB cable
(A-mini B type)
Power Adapter
|
Front
|
Back
|
Side
|
Back
|
Features| Components
|
Front
|
Back
|
Side
|
Page 9

T
A
Y
Kensington lock
Power terminal
USB connection
terminal
Stand
Sliding Prevention
Holder
Headphone
connection jack
Speaker
he Kensington lock is a device used to physically fix the system when using it in a
public place. (The locking device has to be purchased separately.)
For using a locking device, contact where you purchase it.
Connect the power adapter to this jack.
Connect the power cord to the power terminal of the power adapter.
Connect a PC or an external device using a USB cable.
Up stream
terminal
Make sure to use the USB cable (A-mini B type) provided with the product when
connecting your digital photo frame to a PC through the up stream terminal.
stand allows both horizontal and vertical installations.
If your digital photo frame is installed vertically, you can rotate your photos using the
rotation function to fit to the vertical installation.
Supports the product so that it stays firmly in place on slippery surfaces.
Connect your headphones to the Headphone connection jack.
ou can listen to music files and movies.
Connect your digital photo frame to a PC's USB terminal with a USB
cable. (Compatible to USB 1.1(host))
|
Features| Components
|
Front
|
Back
|
Side
|
Side
Page 10

[] Power Button
T
Adj
Adj
Power Indicator Connect the power cord to the power terminal of the power adapter.
[MENU] Menu Button Displays the menu at the bottom left corner of the screen.
urns the product on or off.
Hold down the power button at the right of the product for about 2 seconds.
Shows the power status. When the product is powered on, the power light turns
on.
[VOL +] Volume Button
[] Up Button
[] Left Button
[ ] Right Button
[VOL -] Volume Button
[ ] Down Button
[ENTER( )] Enter Button
[▶ll] Play / Pause Button
[BACK] Back Button Return to the previous menu.
usts the sound volume when playing music files or movies.
Moves the selected frame in the menu up.
Moves the selected frame in the menu to the left.
Moves the selected frame in the menu to the right.
usts the sound volume when playing music files or movies.
Moves the selected frame in the menu down.
Selects a file to play back, a setting on the menu, or an item.
Play / Pause during playback.
Page 11

Y
ou can insert a CF, SD/MMC, MS, XD card into this slot to view and use the contents stored on it.
Connect a PC or an external device using a USB cable.
Down stream terminal Connect your digital photo frame to a USB-supporting storage device
with a USB cable.
Page 12

Connecting the Power
|
Power
|
USB
|
Memory Card
|
Connect the power adapter to the terminal at the back of the product.
Connect the power cord to the power adapter.
Plug the power cord for the product into a nearby outlet.
Press the button at the right of the product to turn the product on.
Connecting via USB
|
Power
|
USB
|
Memory Card
|
Page 13

T
T
Up Stream
Terminal
Down Stream
Terminal
Used to connect your digital photo frame to a PC.
When connecting your digital photo frame to a PC through the up stream terminal, make sure to use
the USB cable provided with the product.
Used to connect an external USB-supporting device to your digital photo frame.
Some USB devices may not support Mini-Monitor.
his product does not support USB card readers. Only USB storage is supported.
he external devices connected to your Digital Photo Frame are not recognized by your PC.
When connecting an external device to the down stream terminal, use the USB cable provided with
the external device. (For more information on external devices and their cables, contact a relevant
service center.)
Samsung carries no liability for external device malfunctions caused by using any cable except the
standard cables specified for each device.
Some external products provide a cable that does not meet USB standards. Hence, they may cause a
malfunction.
If an external storage device does not work normally when connected to your digital photo frame, try
to connect it to your PC. If it still does not work normally when connected to your PC, contact a service
center for that external device or your PC.
Connect to the upstream jack of your digital photo frame.
Connect the USB terminal of your PC.
Folder Structure
When connecting this product to your PC, it is displayed as a removable disk (E:), as shown in the figure below.
You can save and play all music and movie files in the following folders.
You can also add and delete folders as required. (However, if you delete the following default folders, they are automatically
created when your product is turned on again.)
images A default folder created by the product
Page 14

T
T
Favorites Mainly stores photos.
Recent
imagecashe Stores as many Web Photos (photos from the Windows Live or
he capacity of this product is 64 MB.
If the capacity is exceeded, no further files can be stored.
Do not turn off the product while saving, playing, or deleting a file.
he volume name of the removable disk (for example, E:, F:, G:) may differ
depending on your computer environment.
(The full path displayed in the Digital Photo Frame: Photos /
frame memory / images)
Temporarily stores the last displayed photo.
RSS) to the cache as were used in the images folder.
If you copy your photos from your PC to the imagecashe, they
are invisible and cannot be viewed with your Digital Photo
Frame.
|
Power
Connecting a Memory Card
CF/SD/MMC/MS/XD CARD Slide the card in the direction marked on the top of the card.
|
USB
|
Memory Card
|
Removing the memory card while playing MP3s, movies, or photos, may
cause the product to operate abnormally. In this case, turn the product off
and on.
Page 15

|
Buttons| Photos, Web Photos
Buttons
Control Buttons
Button Description
|
Buttons| Photos, Web Photos
MENU Opens the on-screen menu and exits from the menu.
VOL +, VOL - Push the button to adjust volume.
∧,∨,<,>
ENTER Activates a highlighted menu item.
BACK Use this button to step one step back in the menu.
Photos / Web photos
List Menu (Only Photos)
|
Music
Turns the product on or off.
Hold down the power button on the side of the product for about 2 seconds.
These buttons allow you to adjust items in the menu.
|
Music
|
Video
|
Video
|
|
Settings
Settings
|
|
When pressing the MENU button, the on-screen menu is displayed on the screen.
Sub OSD
Description
Upper OSD
Show Pictures From
Memory Card, CF Card, USB, Frame Memory(:default value)
Select a connected storage media.
You can only select an external device which is currently connected.
Page 16

Thumbnail List Menu
When pressing the MENU button, the on-screen menu is displayed on the screen.
Sub OSD
Description
Description
Show Related Photos
Slideshow Menu
Pause Slide Show/
Resume Slide Show
Slide Show Settings
Show Related Photos
Upper OSD
Start Slide Show Start Slide Show
Copy
Delete
Set as Background
Background Music
Upper OSD
Brightness
Rotate
Copy File, Copy All Files
You can copy the selected file to other connected storage devices.
Yes, No
Delete the file. (This is enabled when Photos is selected.)
Allows you to view a list of other photos which have a relationship to the selected image, for example,
other photos with a similar date to it.
-. You can only use images shared by Windows Media Player on your PC while your digital photo frame
is connected to it.
Sets the currently selected image as the Home Background for the main screen.
At this time, the Home Background in the Settings menu is automatically set to Custom.
On, Off, Setting
Set the Background Music to On by pressing the Menu button. Then set the Background Music to
Setting by pressing the Menu button again and selecting the music you want from among the music
files saved on the Frame Memory or the connected external memory.
Sub OSD Detail OSD
Pause Slide Show/Resume Slide Show
Transition
Select an effect for your slide show when transitioning between images.
Interval 5 Seconds, 10 Seconds, 20 Seconds
Controls the time intervals between image files for a slide show.
Repeat On, Off
Select the Repeat for displaying images.
Shuffle On, Off
Select whether to playback the files sequentially or in shuffle mode.
Allows you to view a list of other photos which have a relationship to the selected image, for example,
other photos with a similar date to it.
-. You can only use images shared by Windows Media Player on your PC while your digital photo frame is
connected to it.
0~100
Adjust the brightness from 0 to 100.
Original, 90°, 180°, 270°
You can rotate an image 90°, 180°, or 270°. You can also keep the image as is by selecting Original.
Fade, Wipe, Slide, Blind, Checker, Random, None
Page 17

Rate Photos
Photo Aspect
Set as Background Sets the image being displayed in the slide show as the Home Background for the main screen.
Background Music
Direct Functions (Slide Show)
Button Description
> Play the next file in the list.
< Play the previous file in the list.
▶ ll Pressing the ▶ ll button alternately plays and pauses the file.
MENU Opens the on-screen menu and exits from the menu.
While a slide show is in progress, stars (★) are displayed according to the grade set by Windows Media
Player.
-. You can only use images shared by Windows Media Player on your PC while your digital photo frame is
connected to it.
Original, Auto Fit, Fit To Width, Fit To Screen
Select an aspect ratio for images to display.
On, Off, Setting
You can specify the background music for your slide shows.
Select On and move to Settings. Then select the music you want to play.
You can adjust the volume using the ∧∨ buttons to the right of your digital photo frame.
|
Buttons| Photos, Web Photos
|
Music
|
Music
List Menu
When pressing the MENU button, the on-screen menu is displayed on the screen.
Sub OSD
Description
Upper OSD
Music Source
Playback Mode
Copy
Memory Card, CF Card, USB, Frame Memory(:default value)
Select a connected media storage device. You can only select an external device which is currently
connected.
Once, Repeat, Repeat Once, Shuffle
Select to playback music files either Once, repeatedly or randomly.
Copy File
Video
|
Settings
|
Page 18

You can copy the selected file to other connected storage devices.
V
Delete Delete the file.
Play Menu
When pressing the MENU button, the on-screen menu is displayed on the screen.
Direct Functions
Upper OSD
Playback Mode
Brightness
>
<
∧,∨
▶ll
MENU
Once, Repeat, Repeat Once, Shuffle
Select to playback music files either Once, repeatedly or randomly.
0~100
Adjust the brightness from 0 to 100.
Plays the next file.
Plays the previous.
Adjusts the volume.
Plays and Pauses a file.
Displays the menu.
Exits the menu.
Description
Sub OSD
|
Buttons| Photos, Web Photos
|
Music
|
ideo
List Menu
When pressing the MENU button, the on-screen menu is displayed on the screen.
Upper OSD
Video Source
Memory Card, CF Card, USB, Frame Memory(:default value)
Select a connected media storage device. You can only select an external device which is currently
Sub OSD
Description
Video
|
Settings
|
Page 19

connected.
When pressing the MENU button, the on-screen menu is displayed on the screen.
Playback Mode
Copy You can copy the selected file to other connected storage devices.
Delete Delete the file.
Play Menu
Upper OSD
Playback Mode
Brightness
Direct Functions
>
<
∧,∨
▶ll
MENU
Play the next file.
Play the previous.
Adjust volume.
Plays and Pauses a file.
Displays the menu.
Exits the menu.
Once, Continuous
You can playback movie files either Once or Continuously.
Sub OSD
Description
Once, Continuous
Select a mode among Once, Continuous.
0~100
Adjust the brightness from 0 to 100.
|
Buttons| Photos, Web Photos
Settings
Set the Settings
|
Music
|
Sub OSD
Video
|
Settings
|
Page 20

Upper OSD Description
g
Default Computer
Language
Time Zone You can select the Time Zone that you are in. Select a Time Zone.
Daylight Saving Time
Date and Time
Alarm
Auto Picture On/Off
By using the wireless LAN connection search function, you can reset the current connection and reselect the computer from which you are receiving photos.
English, Deutsch, Español, Français, Italiano, Русский, Português
Select a language to use for your product.
On, Off
Selects whether to apply DST (Daylight Saving Time) depending on the Time Zone and Summer
Time.
Month, Day, Year, Hour, Minute, am/pm
Enter and set the Month, Day, Year, Hour, Minute, am or pm.
Activation, Hour, Minute, am/pm, Repeat, Sound, Volume
You can set alarms.
Activation, Hour, Minute, am/pm
The screen turns off and all operations stop at the Off Time.
The screen turns on and all operations return to their previous states at the On Time.
If the screen was turned off at the Off Time, it turns on a
pressed.
When your Photo Frame is connected to your PC as a Mass Storage device using a Mini-Monitor
or USB cable, the screen will not be turned off even at the Off Time.
ain when a key other than the Power key is
OSD Color Theme
Home Background
Time Format
Starting Mode
Internet Time Update
Timeout
Button Sound
Brightness
Wireless Network (SSID) Displays a list of available SSIDs when an access point exists in your vicinity.
Wireless Network Code Displays the password required if the access point has a security setting.
Managment Web Address Displays the webpage address to connect to Samsung Photo Frame Web Configuration.
Proxy Required
Firmware Update
Reset Settings
Product Information
Violet Style, Blue Style, Green Style, Orange Style
You can select a color theme for the OSD background.
Default, Custom
You can reset the Home Background of the main menu to the default image.
12 hours, 24 hours
You can select whether to display the time in the 12 or 24 hour mode.
In 24 hours, am and pm will not be displayed.
Home Menu, Last Mode
You can select the menu which is displayed when your Digital Photo Frame starts.
Auto, Manual, Update Time Now
Select whether to set the time information which is received through the Internet as the system time
for your Digital Photo Frame.
1 Minute, 3 Minutes, 5 Minutes
Select the time for the screensaver to start.
However, if no button is operated for one minute, the screensaver starts, regardless of the Timeout
settings on the Main menu.
On, Off
You can turn the sound of the operation buttons on or off.
0~100
Adjust the brightness from 0 to 100.
Yes, No
You can specify whether to use a proxy server.(On/Off)
Update the product using external memory(CF/SD/MMC/MS/XD,USB).
Please visit www.samsung.com for the latest firmware update.
Yes, No
Reverts the product settings to factory defaults.
Model, Firmware Version, Copyright
Page 21

Management Web
Upper Menu
Photo Frame
Web Photos
View the product information.
Go to [Settings]-[Management Web Address] in your Photo Frame and then open this URL using Internet Explorer on your
PC.
When connected, the Welcome page will be displayed. Enter the Password which you can see in the [Settings][Management Password] of your Photo Frame in the [Password] box on the Welcome page, and click the [sign in] button.
Sub Menu
Description
Password
Welcome
Storage
Settings
Help Displays the help section for using Samsung Photo Frame Web Configuration.
Enter the password displayed in Management Password.
Enables case-sensitive mode.
Now Playing
You can monitor the photos which are being displayed in the slide show at the same time.
Photo Feeds, Photos Windows Live Spaces
You can add or remove a website address from which you can receive photos.
Photo Feeds, Photos Windows Live Spaces
You can check the size of the photos in the addresses listed in Web Photos.
Basic, Administrator Password, Date and Time, Network Settings
You can enter and change the product name, administrator password, time, and network proxy server,
etc.
 Loading...