

Samsung ADT SmartThings F-ADT-PIR-1 Setup Manual
MANUAL,QUICK START,NOVA,PIR - NORTEK P/N: 10015709C- INK: BLACK PLUS PMS 286C - MATERIAL: 105G COATED PAPER - SIZE: 105MM X 105MM -
SCALE: 1-1 - BINDING: TRIM, FOLD AND SADDLE STITCHED - PAGE 1 OF 16
PRINTER’S INSTRUCTIONS:
ADT Motion Detector
Setup Guide

A
Setup
Take the ADT Motion Detector to where you intend
1.
to mount it after setup.
• Make sure you are within 350 feet from the
ADT Security Hub. (Exact range depends on
your home’s construction, the environment, the
position of the ADT Security Hub, and the position
and number of other connected devices.)
• Make sure that your ADT Security Hub is disarmed
before connecting a new device.
• Make sure that you only setup one new device
at a time.
• Do not remove the battery tab until you are ready
to set up the detector.
2.
3.
Setup
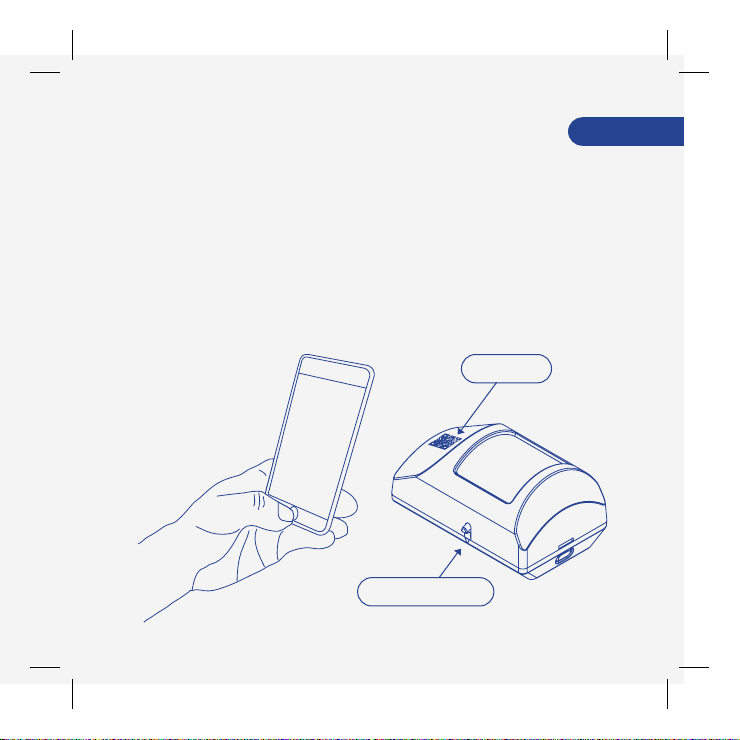
2. Use the SmartThings app on your smartphone
to select the “My Home” tab. Select "Things", and
then “Add a Thing".
3. Use the SmartThings app to scan the QR code on the
front of the detector and then follow the on-screen
instructions to complete setup.
QR Code
Walk Test Button
Setup
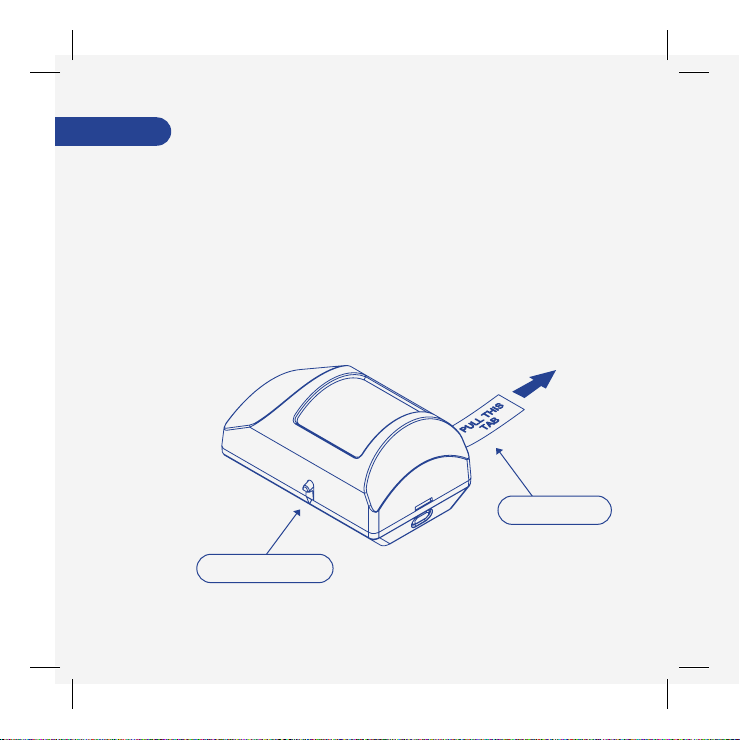
5.4. Remove the tab on the detector marked “Pull
This Tab”.
Battery Tab
Walk Test Button

5. Remove the QR code from the front of the detector
and attach it inside the ADT Security Hub User Guide
for future reference.
Setup
 Loading...