

Samsung 460TMn User Manual

LCD DISPLAY
quick start guide
460TMn
ii
Introduction
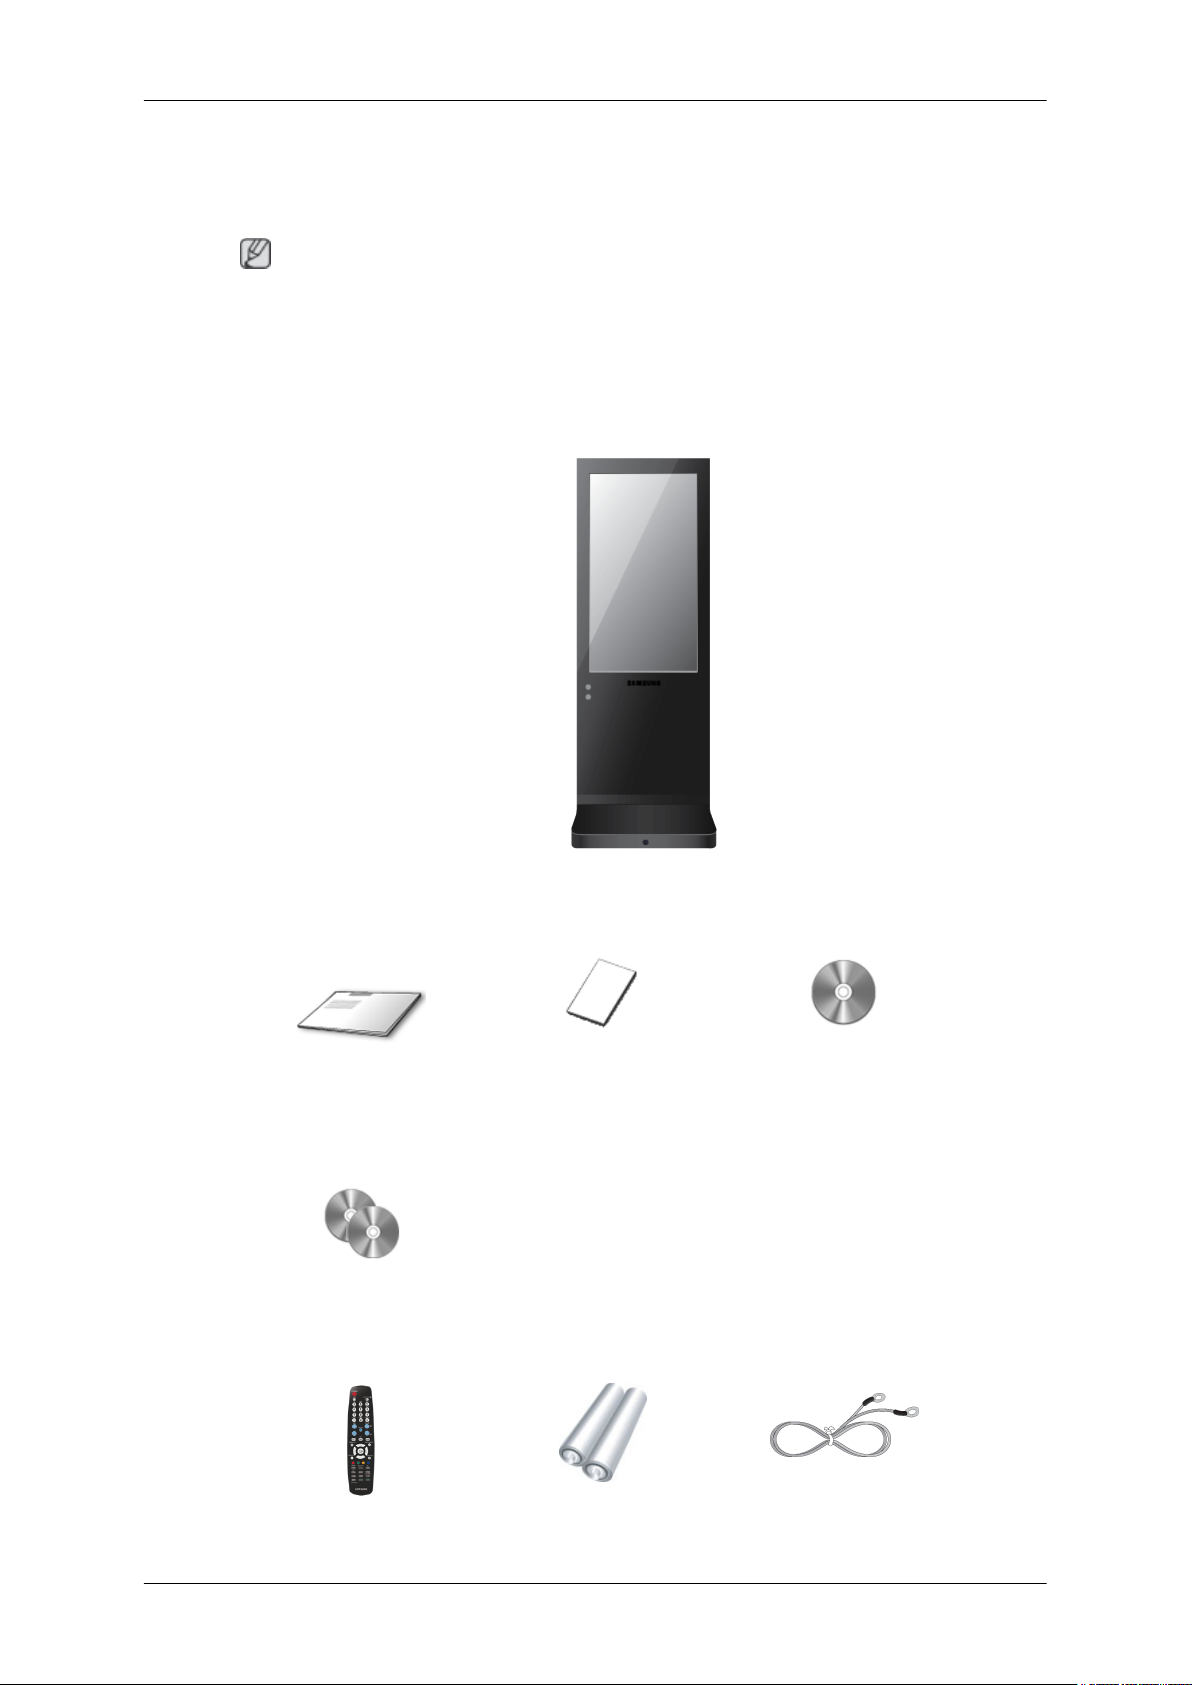
Package Contents
Note
Please make sure the following items are included with your LCD Display.
If any items are missing, contact your dealer.
Contact a local dealer to buy optional items.
Unpacking
Manuals
Quick Setup Guide Warranty Card
(Not available in all loca-
tions)
MagicInfo Software CD,
MagicInfo Manual CD
Others
LCD Display
User's Guide
Remote Control Batteries (AAA X 2) GND Cable
7

Others
Your LCD Display
Front
Introduction
(Not available in all loca-
tions)
MENU button [MENU]
Opens the on-screen menu and exits from the menu. Also use to exit the
OSD menu or return to the previous menu.
Navigate buttons (Up-Down buttons)
Moves from one menu item to another vertically or adjusts selected menu
values.
Adjust buttons (Left-Right buttons) / Volume buttons
Moves from one menu item to another horizontally or adjusts selected
menu values. When OSD is not on the screen, push the button to adjust
volume.
ENTER button [ENTER]
Activates a highlighted menu item.
SOURCE button [SOURCE]
Switches from PC mode to Video mode. Changing the source is only allowed for external devices that are connected to the LCD Display at the
time.
[HDMI] → [MagicInfo]
D.MENU
Opens the on-screen D.MENU.
8

Introduction
Note
• This is available when a TV tuner box is installed.
Note
• This function does not work for this LCD Display.
Power button [ ]
Use this button for turning the LCD Display on and off.
Brightness Sensor
The product's Brightness Sensor function automatically detects the surrounding brightness using a brightness sensor and adjusts its brightness
accordingly.
Power indicator
Shows PowerSaver mode by blinking green
Note
Rear
See PowerSaver described in the manual for further information regarding
power saving functions. For energy conservation, turn your LCD Display
OFF when it is not needed or when leaving it unattended for long periods.
Remote Control Sensor
Aim the remote control towards this spot on the LCD Display.
Speaker
Note
For detailed information concerning cable connections, refer to Connecting Cables under
Setup. The LCD Display 's configuration at the back may vary slightly depending on the LCD
Display model.
9
 Loading...