

Page 1
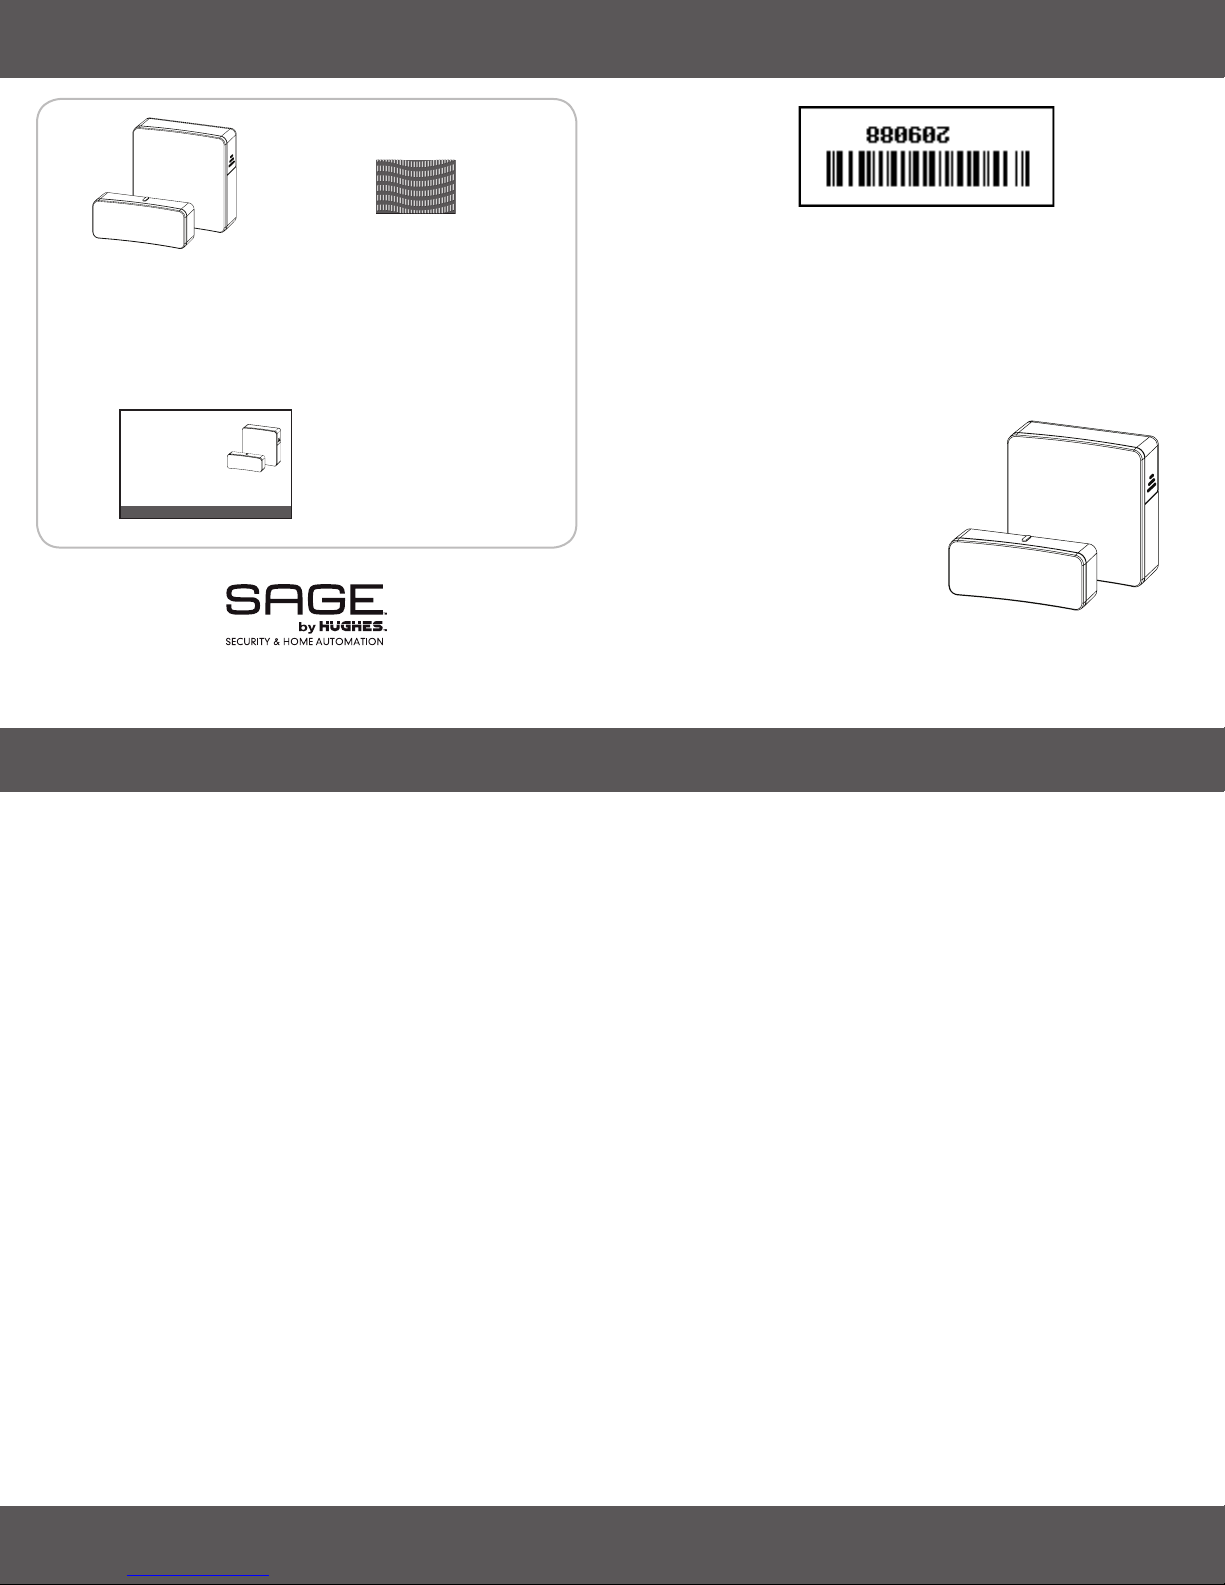
PACKAGE CONTENTS
Adhesive Fastener
Door/
Window
Sensor
(Double-sided tape)
(Qty. 3 pieces,
perforated)
Quick Start
DOOR/WINDOW SENSOR
QUICK START GUIDE
For all your customer needs, go to SAGEbyHughes.com
LIMITED WARRANTY
One year Limited Warranty. Limited Warranty details are
available at SAGEbyHughes.com/warranty.
Guide
p/n 209088
product is designed in the United States and manufactured in India.
mentioned are the Trademarks of their respective owner(s). This
EchoStar Technologies L.L.C. Other products, brands, and companies
80112. All rights reserved. EchoStar is a registered trademark of
Copyright © 2016. EchoStar Technologies L.L.C., Englewood, Colorado
DOOR/WINDOW SENSOR
QUICK START GUIDE
REGULATORY INFORMATION
This Class B digital apparatus complies with Canadian ICES -003.
Cet appareil numérique de la classe B est conforme à la norme N MB- 003 du C anada.
This device complies with Part 15 of the FCC Rules and with Industry Canada licenceexempt RSS st andard(s). Operation is subject to the following two conditions:
(1) this device may not cause harmful interference, and (2) this device must accept any
interference received, including interference that may cause undesired operation.
Le présent appareil est conforme aux CNR d’Industrie Canada applicables aux
appareils radio exempts de license. L’exploitation est autorisée aux deux conditions
suivantes: (1) l’appareil ne doit pas produire de brouillage, et (2) l’utilisateur de
l’appareil doit accepter tout brouillage radioélectrique subi, même si le brouillage est
susceptible d’en compromettre le fonctionnement.
This equipment has been tested and found to comply with the limits for a Class B
digital device, pursuant to Part 15 of the FCC Rules. These limits are designed to
provide reasonable protection against harmful interference in a residential installation.
This equipment generates, uses and can radiate radio frequency energy and, if not
installed and used in accordance with the instructions, may cause harmful interference
to radio communications. However, there is no guarantee that interference will not
occur in a particular installation. If this equipment does cause harmful interference to
radio or television reception, which can be determined by turning the equipment off
and on, the user is encouraged to try to correct the interference by one or more of the
following measures:
• Reorient or relocate the receiving antenna.
• Increase the separation between the equipment and receiver.
• Connect the equipment into an outlet on a circuit different from that to which the
receiver is connected.
• Consult the dealer or an experienced radio/T V technician for help.
If none of the remedies stops the radio interference, you should contact a licensed radio/
television technician, your satellite dealer, or visit SAGEbyHughes.com for assistance.
Product must be installed at least 20 cm (~8 inches) from typical person locations per
FCC RF exposure regulations.
Do not make changes or modifications to this equipment. This could void the user’s
authority to operate the equipment.
Page 2

SETUP AND INSTALLATION
This sensor allows you to set-up and control up multiple sensors using Zigbee signals that communicate with your SAGE Hub and that you
can control and modify using your TV and mobile devices. To begin installing your SAGE Door/Window Sensor, follow the instructions below.
Using your SAGE remote, press HOME.
1
Select Settings.
2
Select Add Devices.
3
Select Sensors.
4
REPLACING THE BATTERY
Select Door/Window Sensor.
5
Follow the SAGE Hub on-screen prompts to install and
6
IMPORTANT SAFETY NOTICE: The installation instructions
on your SAGE Hub include important safety information. Do
not begin installation of your sensor until you have carefully
reviewed this information. Installation of your device without
reviewing these instructions may result in electric shock, which
could cause injury or death.
set up your SAGE Door/Window Sensor, pair it, and
establish the rules for it.
When the Low Battery Warning appears for the SAGE Door/Window Sensor, use these instructions to replace the battery.
Note: The SAGE Door/Window Sensor takes a CR2032 3V Lithium battery.
Note: Dispose of used batteries at a retail recycling drop-off in accordance with local codes.
Remove the front cover by grasping grips toward the top
1
2
3
of the cover and gently pulling outward (see figure 1).
Remove the battery by lifting up on its lower right side,
and then dispose of the battery properly (see figure 2).
Slide the new battery under the ledge on the left side of
the terminal, ensuring polarity is correct (see figure 3).
Replace the front cover by slotting it correctly in the side
4
rails and then pushing it closed (see figure 4).
You may need to re-pair the sensor with the SAGE
5
Hub.
1
2
3
4
 Loading...