

Page 1
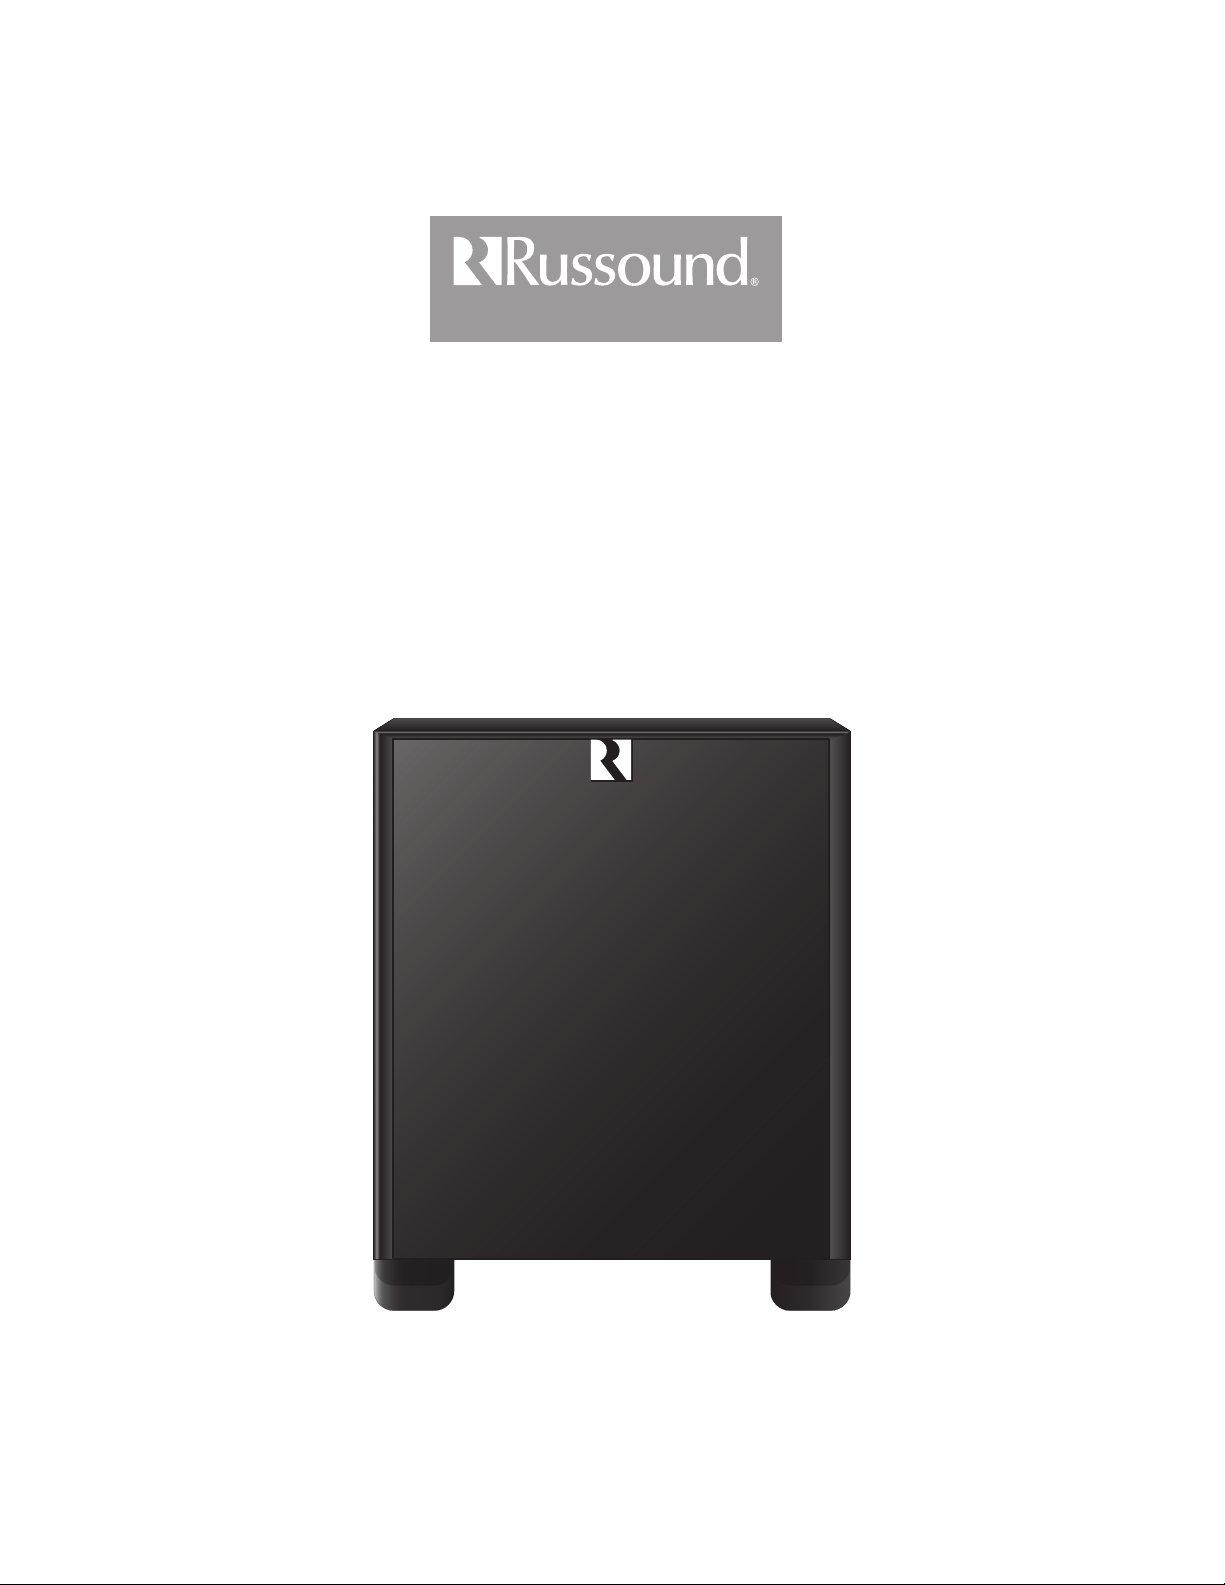
Complement Series
R10DT
10” Powered Subwoofer
User’s Manual
Page 2
“WARNING” TO REDUCE THE RISK OF FIRE OR ELECTRIC SHOCK, DO NOT
EXPOSE THIS APPLIANCE TO RAIN OR MOISTURE.
“CAUTION” TO REDUCE THE RISK OF ELECTRIC SHOCK, DO NOT REMOVE
COVER. NO USER - SERVICEABLE PARTS INSIDE. REFER SERVICING TO QUALIFIED SERVICE PERSONNEL.
The lightning flash with arrowhead symbol, within an equilateral
triangle, is intended to alert the user to the presence of uninsulated “dangerous voltage” within the products enclosure that
may be of sufficient magnitude to constitute a risk of electric
shock to persons.
The exclamation point within an equilateral triangle is intended
to alert the user to the presence of important operating and
maintenance (servicing) instructions in the literature accompanying the appliance.
SAFETY INSTRUCTIONS
1. Read Instructions - All the safety and operating instructions should be read
before the appliance is operated.
2. Retain Instructions - The safety and operating instructions should be retained
for future reference.
3. Heed Warnings - All warnings on the appliance in the operating instructions
should be adhered to.
4. Follow Instructions - All operating and user instructions should be followed.
5. Water and Moisture - To prevent fire or shock hazard do not expose this subwoofer system to rain or excessive moisture. The appliance should not be
used near water - for example, near a bathtub, washbowl, kitchen sink, laundry tub, in a wet basement, or near a swimming pool, and the like.
6. Heat - The appliance should be situated away from heat sources such as radiators, heat registers, stoves, or other appliances ( including amplifiers ) that
produce heat.
7. Power Sources - The appliance should be connected to a power supply only
of the type described in the operating instructions or as marked on the appliance.
8. Grounding or Polarization - The precautions that should be taken so that the
grounding or polarization means of an appliance is not defeated. The subwoofer may be equipped with a polarized alternating current line plug (a plug
having one blade wider than the other). This plug will fit into the power outlet
only one way. This is a safety feature. If you are unable to insert the plug fully
into the outlet, try reversing the plug. If the plug is still unable to fit, contact or
electrician to replace your obsolete outlet.
9. Power - Cord Protection - Power supply cords should be routed so that they
are not likely to be walked on or pinched by items placed upon or against
them, paying particular attention to cords at plugs, receptacles, and the point
where they exit from the appliance.
10.Cleaning - The appliance should be cleaned only as recommended by the
manufacturer.
11.Non-use Periods - The power cord of the appliance should be unplugged from
the outlet when left unused for a long period of time.
12.Object and Liquid Entry - Care should be taken so that objects do not fall and
liquids are not spilled into the enclosure through the openings.
13.Damage Requiring Service - The appliance should be serviced by qualified
service personnel when:
A. The power - supply cord or the plug has been damaged; or
B. Objects have fallen, or liquid has been spilled into the appliance; or
C. The appliance has been exposed to rain; or
D. The appliance does not appear to operate normally; or
E. The appliance has been dropped or the enclosure is damaged.
14.Servicing - The user should not attempt to service the appliance beyond that
described in the operating instructions. All other servicing should be referred
to qualified service personnel.
15.The apparatus shall not be exposed to dripping or splashing and no objects
filled with liquids, such as vases, shall be placed on the apparatus.
PRECAUTIONS
1. Do Not Touch The Unit With Wet Hands. Do not handle the unit or power cord
when your hands are wet or damp. If water or any other liquid enters the
amplifier cabinet, take the amplifier to qualified service personal for inspection.
2. Location of the Unit - Do not expose the unit to direct sun light or heating
units as the amplifier internal components temperature may rise and shorten
the life of the components. Avoid damp and dusty places.
3. Care – From time to time you should wipe off the front and side panels and
the cabinet with a soft cloth. Do not use rough material, thinners, alcohol or
other chemical solvents or cloths since this may damage the finish or
remove the panel lettering.
4. Lightning – For added protection for the subwoofer during a lightning storm,
or when left unattended and unused for a long period of time, unplug it from
the wall outlet. This will prevent damage to the subwoofer due to a lightning
strike and power-line surges.
5. Do not operate the speakers or subwoofer with the bass, treble and loudness controls set to full boost. This will place undue strain on the electronics
and speakers and could damage them.
6. Whenever changing cables, pulling plugs, etc., always turn off all equipment
including the subwoofer. This prevents transients from entering the speakers
and prevents electrical energy from reaching the user. Keep all connections
out of the reach of children.
2
IMPORTANT SAFEGUARDS
Page 3
3
INTRODUCTION
The Russound R10DT active subwoofer delivers the
chest-thumping deep bass sound you want for a supersonic listening experience. Whether it’s the asteroids
breaking apart in your favorite sci-fi movie or the in-yourface concert experience of a classic rock band performance, the R10DT keeps up its end of the deal in your
home theater or audio system. With its built-in amplifier,
the R10DT fits into to any system, and is tuned for both
stereo music audio and for a home theater surround
setup. The R10DT filters out mid- and high-range frequencies by sending bass-only signals to its own amplifier via
an active crossover network.
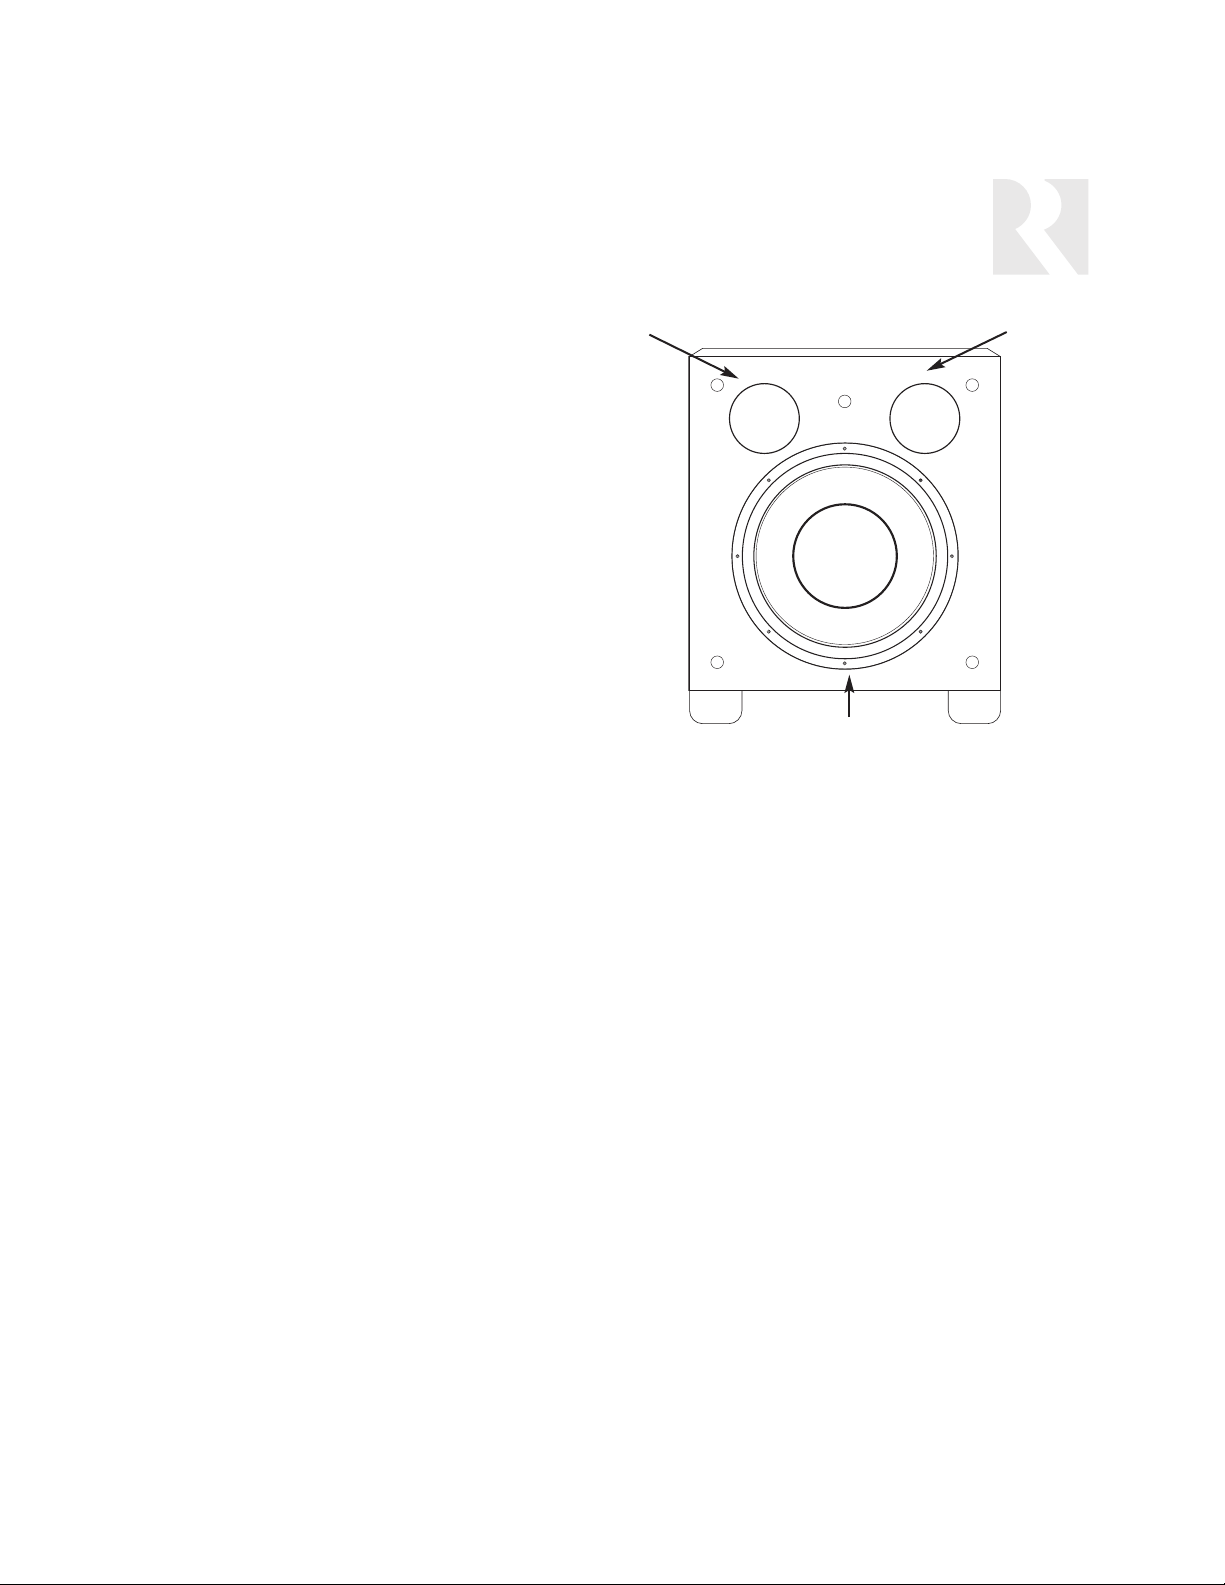
DUAL TUNED PORT DESIGN
The R10DT subwoofer ports are tuned to provide optimum bass reinforcement for systems designed primarily
for home theater entertainment or for music listening.
With home theater systems, both ports are left open.
This tuning provides an increase in low frequency output
which is more ideal for movies where explosions and
other action sounds need greater impact.
For music applications, one of the ports is blocked with
the included plug. This tunes the enclosure for a flatter
response with extended low frequency response. It will
produce lower notes and do so more accurately.
Port Port
Subwoofer front (grille removed)
The front-firing 10-inch woofer has a 38mm diameter
voice coil and vented pole piece for high power handling and more efficient operation.
Woofer
R10DT SUBWOOFER
CONNECTIONS
When you make connections make sure the power
switches of all components are off, including the
subwoofer.
Audio Cables
If you are connecting your subwoofer into a system
made up of separate components (preamps and power
amps), you will need audio cables long enough to reach
the subwoofer from the preamplifier and the power
amplifier.
Speaker Wire
Typical speaker wire has a pair of separate conductors
with insulating jackets that are molded together. We recommend that you use 16-gauge wire for connecting the
receiver to the front speakers.
Polarity
All speakers in a system must be connected with the
same polarity. Speaker wire is marked for polarity so
that you can identify which wire in the pair is which.
Polarity is shown by a color strip on the insulation, by
ridged molded into the insulation or be the colors of the
wires, one copper and one silver.
Strip the insulation from speaker wire ends to reveal the
bare conductors before connecting to receiver, subwoofer or speaker terminals.
Note: Always connect the red + terminal on the receiver to the red (+) terminal on the subwoofer, and the
black (–) terminal on the receiver to the black (–) terminal
on the subwoofer. The same is true for connecting the
receiver outputs to the front speakers red (+) to red (+)
and black (–) to black (–).
Page 4

4
1 2 3 4 5
9
Volume Level Adjustment: Increase or decrease
the output level relative to the incoming signal.
Crossover: Provides active filtering of the incoming
signal to allow only lower frequencies to be amplified. Adjustment range from 60Hz to 160Hz.
Power Auto, On and Off: Auto setting - amplifier
turns on when audio is detected. On - amplifier is
always on. Off - amplifier is off.
Phase Selection: The speaker Phase can be
inverted 180 degrees. Used with more than one
subwoofer or for abnormal room acoustics.
Low-Level Line Input: Left and Right channel RCA
connections for low-level audio signal feed.
LFE Input: RCA connection for pre-filtered, low
level signals from a processor such as home theater receiver
Speaker Level Input: (with passthrough) Springloaded terminals for up to 12 gauge speaker wire.
Allows input connections to be sourced from an
amplified speaker signal such as the Left and Right
output from an amplifier/receiver. This amplified signal is tapped off for feeding the subwoofer but the
signal is unaltered and is passed directly on to
adjoining output terminals.
Speaker Level Output: Spring-loaded terminals
accept speaker wire up to 12 gauge in size. Output
terminals feed audio to the speakers which would
otherwise be directly connected to the
amplifier/receiver’s main Left and Right outputs
(those connected to the speaker level inputs).
Power: Molded power cord for 120V 60Hz 1.25A
power supply.
6
1
2
3
4
5
7
8
6
7
8
9
R10DT SUBWOOFER
Page 5

5
CONNECTION OPTIONS
Note: Choose Method A, Method B or Method C con-
nection option. DO NOT combine them; choose only one.
Method A (Most desirable)
This configuration will have the best result for a home
theater system. If your preamp receiver or processor
has a subwoofer or LFE (low frequency effect) output
jack that is variably controlled by the master volume control, use a single RCA audio cable to connect that output
to the subwoofer’s LFE in jack. This method bypasses
the subwoofer internal crossover.
Method B
This method provides better sound quality and is preferred over Method C. The preamp (variable line level)
outputs from the receiver carry the full range of audio
signal frequency and the R10DT will use the active
crossover to filter out the mid- and high-range frequencies, those which the subwoofer is not designed to
reproduce.
Note: If the subwoofer is plugged into a different electrical circuit from that which supports the rest of the audio
system, a ground loop may result. This causes a 60Hz
low frequency hum. This can be eliminated by using the
same electrical circuit or by inserting a ground loop isolation filter in line with the RCA cables.
R10DT SUBWOOFER
Speakers
Receiver
LFE or
Subwoofer
Output
Speakers
Receiver
Preamp
Output
RCA
Cable
RCA
Cables
METHOD A
Subwoofer
Subwoofer
METHOD B
Page 6

6
PLACEMENT
The R10DT subwoofer uses the sonic reflective qualities
of an on-floor, corner placement to achieve optimal
sound performance. The closer it is placed to a corner,
the more emphasized the bass will sound. The R10DT
should also be placed close enough to the audio system
so that cables and wires are as short a run as possible.
Installation tip: put the subwoofer in the location where
the seated listener would be connect the subwoofer and
adjust for best sound. Move around the room and you
will hear a difference in the subwoofer output based on
your location and how the room acoustics affect it. Find
the area where the subwoofer sounds the best and that
is where the subwoofer should be placed. The crossover
point and the volume level may be retuned to compensate for slight changes that may be needed.
ADJUSTMENTS
To start, set the crossover control to its center position.
This adjustment selects the frequency where the audio
will start to be filtered out (Method B and C only). The
higher the setting, the more signal range will be allowed,
increasing output along with frequency range. Too high a
setting can cause poor sound if the subwoofer is covering frequencies that are not in need of reinforcement,
e.g., main speakers and subwoofer covering the same
range may create undesirable levels of mid bass notes.
Phase selection can compensate for subwoofer placement that is irregular or too far from the listener in relation to the main speakers. Low frequencies have long
wavelengths that have peaks and low spots. If these do
not align with the main speakers, there can be bass cancellation. Reversing the phase will correct this.
Set the volume level control fully counterclockwise to minimum.
This should be reset after making other adjustments.
Method C (Most universal installation, least
desirable sonically)
This connection method allows the subwoofer to be used
with virtually any audio system, but its audio output is
not as clean as when line in or LFE signals are used as
in Methods A and B.
Connect speaker wire from the amplifier/receiver’s main
Left and Right outputs to the speaker level input on the
subwoofer. Using the same size speaker wire, connect
the speaker level outputs from the subwoofer to the
main Left and Right speakers.
This method directly connects the main Left and Right
speaker inputs to the speaker outputs, but the subwoofer amplifier taps onto the speaker level signal to get
an audio feed.
This signal, being previously amplified by the
amplifier/receiver, is not only too strong but also contains a certain percentage of distortion relative to the
audio signal. This percentage (the lower the better)
should be specified in the amplifier/receiver’s manual.
This signal is internally reduced to feed the amplifier for
the subwoofer which will not only re-amplify the audio but
also any distortion present in the signal as well.
R10DT SUBWOOFER
Receiver
Speakers
Subwoofer
METHOD C
Page 7

7
SPECIFICATIONS
Driver Complement and Enclosure: Front-firing 10” long throw woofer with dual ports
Voice Coil: 38mm dia.
Frequency Response: 28Hz to 160Hz +/- 3dB
Amplification: 120 watts continuous power into 4 ohm load
THD+N: 1.0%
Crossover Frequency (-3dB): 60Hz @ Min., 160Hz @ Max.
Audio Input: RCA Line Level and Speaker Level
Power requirements: 120VAC 60Hz 1.25A
Molded 2 terminal power cord
Dimensions: 14.0" W x 16.3" D x 17" H (35.6 x 41.5 x 43.2 cm)
Weight: 36.7lbs. (16.6kg.)
WARRANTY
The Russound R10DT is fully guaranteed for two (2) years from the date of purchase against all defects in materials
and workmanship. During this period Russound will replace any defective parts and correct any defect in workmanship without charge for either parts or labor. For this warranty to apply, the unit must be installed and used according
to its written instructions. If service is necessary, it must be performed by Russound. The unit must be returned to
Russound at the owners expense and with prior written permission. Accidental damage and shipping damage are not
considered defects under the terms of the warranty. Russound assumes no responsibility for defects resulting from
abuse or servicing performed by an agency or person not specifically authorized in writing by Russound. Damage to
or destruction of components due to improper use voids the warranty. In these cases the repair will be made at the
owners expense. To return for repairs, the unit must be shipped to Russound at the owners expense, along with a
note explaining the nature of the service required. Be sure to pack in a corrugated container with at least 3 inches of
resilient material to protect the unit from damage in transit.
Russound sells products only through authorized Dealers and Distributors to ensure that customers obtain proper
support and service. Any Russound product purchased from an unauthorized dealer or source, including retailers,
mail order sellers and online sellers will not be honored or serviced under existing Russound warranty policy. Any sale
of products by an unauthorized source or other manner not authorized by Russound shall void the warranty on the
applicable product.
R10DT SUBWOOFER
Page 8

5 Forbes Rd. Newmarket, NH 03857, USA
Tel 603.659.5170 • Fax 603.659.5388
e-mail: tech@russound.com 28-1172 01/04/05
Complement Series
R10DT Powered Subwoofer
User’s Manual
Copyright © 2005 Russound®All rights reserved.
 Loading...