

Page 1
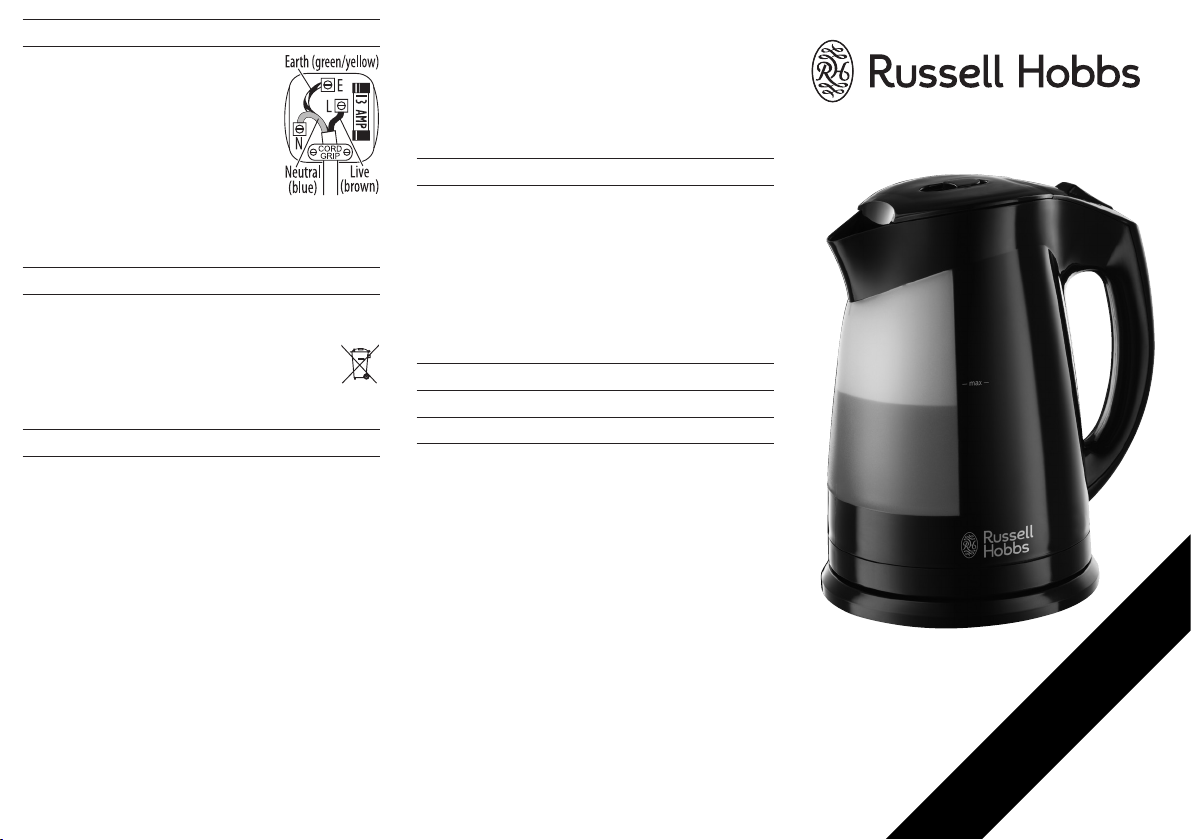
D WIRING UK PLUGS
The product must be earthed. It
has a 13A BS1362 fuse in a 13A
BS1363 plug. To replace the plug,
fit the green/yellow wire to E or E,
the blue wire to N, and the brown
wire to L. Fit the cord grip.
If in doubt, call an electrician.
Don’t use a non-rewireable plug unless the
fuse cover is in place. If you remove the plug,
dispose of it.
H ENVIRONMENTAL PROTECTION
To avoid environmental and health problems
due to hazardous substances in electrical and
electronic goods, appliances marked with
this symbol mustn’t be disposed of with
unsorted municipal waste, but recovered,
reused, or recycled.
S SERVICE
If you ring Customer Service, please have the
Model No. to hand, as we won’t be able to help
you without it. It’s on the rating plate (usually
underneath the product).
The product isn’t user-serviceable. If it’s not
working, read the instructions, check the plug
fuse and main fuse/circuit breaker. If it’s still not
working, consult your retailer.
If that doesn’t solve the problem – ring
Customer Service – they may be able to offer
technical advice.
If they advise you to return the product, pack it
carefully, include a note of your name, address,
day phone number, and what’s wrong. If under
guarantee, say where and when purchased,
and include proof of purchase (till receipt).
Send it to:
Customer Service
Spectrum Brands (UK) Ltd
Fir Street, Failsworth, Manchester M35 0HS
email: service@russellhobbs.com
telephone: 0845 658 9700 (local rate number)
E GUARANTEE
Defects affecting product functionality
appearing within two years of first retail
purchase will be corrected by replacement or
repair provided the product is used and
maintained in accordance with the instructions.
Your statutory rights are not affected.
Documentation, packaging, and product
specifications may change without notice.
J ONLINE
www.russellhobbs.co.uk for more products
I REGISTRATION AND PRIZE DRAW
Collect your free reward and a chance to win £10,000
visit www.productregister.co.uk/rhobbs
551-659
instructions
£10,000 prize draw
Register online now to
PLUS Free Rewards Gallery
collect your reward
details
See back for
Page 2

Read the instructions, keep them safe, pass
them on if you pass the kettle on. Remove all
packaging before use.
A IMPORTANT SAFEGUARDS
Follow basic safety precautions, including:
1 The kettle must only be used by or under
the supervision of a responsible adult. Use
and store the kettle out of reach of children.
2 Don’t put the kettle, stand, cable, or
plug in liquid; don’t use the kettle in
a bathroom, near water, or outdoors.
3 Keep the kettle, stand, and cable away from
the edges of worktops.
4 Put the stand on a stable, level surface.
5 Wind excess cable beneath the stand.
6 Unplug the stand when not in use.
7 Don’t use the kettle without fitting the filter.
8 Use the kettle only with the stand supplied
(and vice versa).
9 Don’t use the kettle for any purpose other
than heating water.
10 Don’t use it with a timer or remote control.
11 Don’t use it if it’s damaged or malfunctions.
12 If the cable is damaged, return the kettle, to
avoid hazard.
household use only
U BEFORE FIRST USE
• Fill to max, boil, discard the water, and rinse.
C FILLING
1 Squeeze the lid lock into the lid to open it.
2 Fill with at least 2 cups of water, but not
above max.
3 If you overfill, it may spit boiling water.
4 Close the lid, and press down to lock it.
C SWITCHING ON
5 Plug the stand into the wall socket.
6 Put the kettle on the stand – it glows blue.
7 Press 1 – it glows red, and starts to heat up.
C SWITCHING OFF
8 When it boils, it switches off and glows blue.
9 To switch off manually, press 0.
C GENERAL
10 Pour slowly and don’t over-tilt the kettle.
11 Don’t worry about moisture on the stand.
The steam used to switch the kettle off is
condensed and vented under the kettle.
12 Don’t worry about discolouration on the
floor of the kettle. It’s due to the bonding of
the element to the kettle floor.
F USING WITH INSUFFICIENT WATER
13 This will shorten the life of the element. A
boil-dry cut-out will switch the kettle off.
14 To avoid cycling on and off, take it off the
stand, and leave it to go completely cold.
C CARE AND MAINTENANCE
15 Unplug the stand, and let the kettle cool.
16 Wipe inside and outside with a damp cloth.
17 Keep all connectors and sockets dry.
C DESCALE REGULARLY
18 Descale regularly, (at least monthly). Use a
descaler suitable for use in plastic products
(most products have plastic parts). Follow
the instructions on the package of descaler.
, Products returned under guarantee with
faults due to scale will incur a repair charge.
C CLEANING THE FILTER
19 Switch off, unplug, and let it cool.
20 Squeeze the lid lock into the lid to open it.
21 To remove the filter:
a) turn the kettle till the spout faces you
b) place your index fingers inside the kettle,
at either side of the top of the filter
c) press the top of the filter towards the
spout, and upwards
d) lift it out of the kettle
22 Brush the filter under a running tap.
23 Rinse the kettle, to remove scale particles.
24 To replace the filter:
a) slide the filter into the spout, keeping the
bottom of the filter against the front of
the spout and the rear of the filter against
the support at the rear of the spout
b) engage the bottom of the filter in the
support at of the spout
c) engage the top rear of the filter in the
support at the top ear of the spout
25 Close the lid.
 Loading...