

Roper Nouvelle 4347928 Use And Care Manual
owndraft Slide-In
Use and
Care
Manual
\-
I/
AL-I
I
I
I
READ AND SAVE THIS
BOOK
(66)

THIS PAGE
INTENTIONALLY LEFT:BLANK
i
\
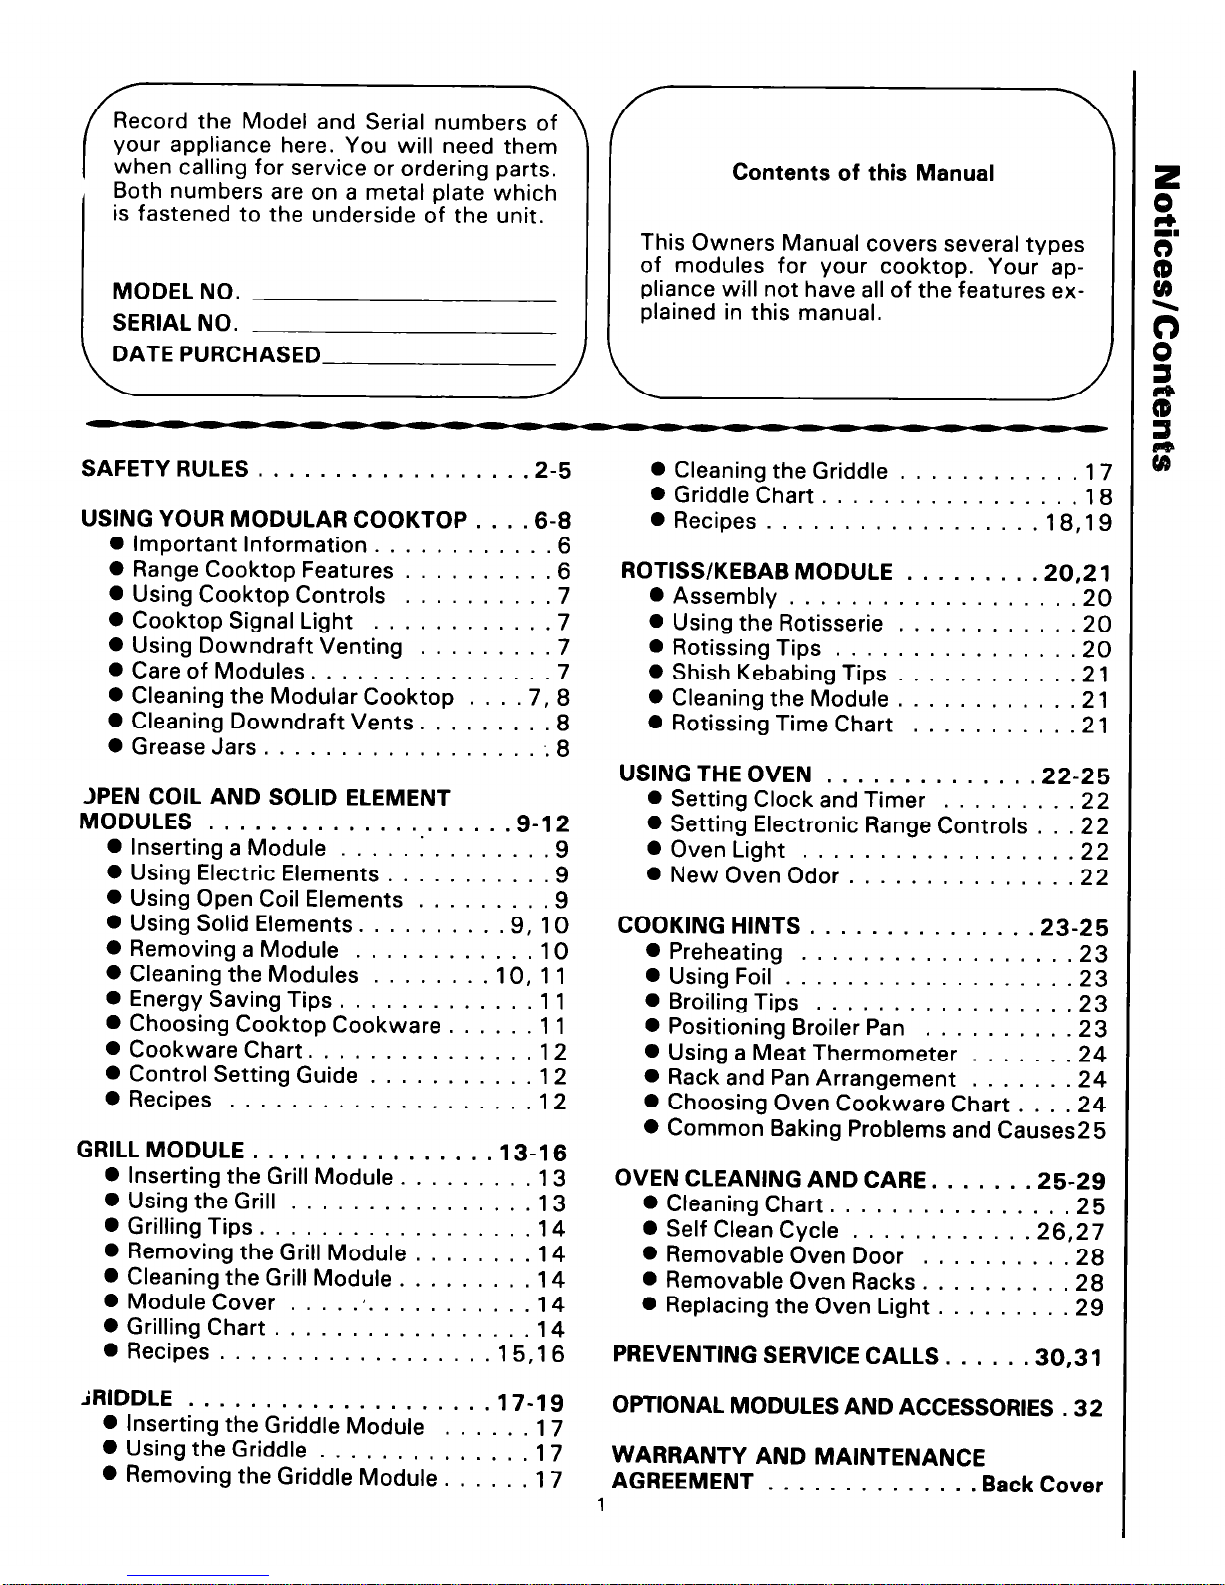
Record the Model and Serial numbers of
your appliance here. You will need them
when
calling for service or ordering parts.
Both numbers are on a metal plate which
is fastened to the underside of the unit.
MODEL NO.
SERIAL NO.
DATE PURCHASED
Contents of this Manual
This Owners Manual covers several types
of modules for your cooktop. Your appliance will not have all of the features explained in this manual.
SAFETY RULES
.................
.2-5
USING YOUR MODULAR COOKTOP
...
.6-B
l
Important Information
...........
.6
0 Range Cooktop Features
......... .6
0 Using Cooktop Controls
..........
7
0 Cooktop Signal Light
...........
.7
l
Using Downdraft Venting
.........
7
0 Careof Modules.
..............
.7
0 Cleaning the Modular Cooktop
....
7, 8
0 Cleaning Downdraft Vents.
.......
.8
0 Grease Jars.
..................
.8
JPEN COIL AND SOLID ELEMENT
MODULES
...................
.9-l 2
0 Inserting a Module
.....
:
....... .9
0 Using Electric Elements
........... 9
0 Using Open Coil Elements
........
.9
0 Using Solid Elements.
........
.9, 10
0 RemovingaModule
............
10
0 Cleaning the Modules
........ 10, 1 1
0 Energy Saving Tips
.............
1 1
0 Choosing Cooktop Cookware.
..... 11
0 CookwareChart.
..............
12
0 Control Setting Guide
........... 12
0 Recipes
...................
.12
GRILLMODULE
...............
.13-16
0 Inserting the Grill Module
.........
13
0 Using the Grill
................
13
0 GrillingTips.
.................
14
0 Removing the Grill Module
........
14
0 Cleaning the Grill Module
.........
14
0 Module Cover
.................
14
0 Grilling Chart.
................
14
0 Recipes
..................
15,16
iRIDDLE
...................
.17-19
l
Inserting the Griddle Module
...... 17
0 Using the Griddle
..............
17
l
Removing the Griddle Module.
..... 17
0 Cleaning the Griddle
............
1
0 Griddle Chart.
................
1
0 Recipes
..................
18,l
ROTISS/KEBAB MODULE
........
.20,2
0 Assembly
..................
.2
0 Using the Rotisserie
............
2
0 Rotissing Tips
...............
.2
0 Shish Kebabing Tips
...........
.2
0 Cleaning the Module
...........
.2
0 Rotissing Time Chart
..........
.2
USING THE OVEN
............. .22-2
0 Setting Clock and Timer
.........
2
0 Setting Electronic Range Controls
... 2
0 Oven Light
.................
.2
0 NewOvenOdor
..............
.2,
COOKING HINTS
.............. .23-2!
0 Preheating
.................
.2:
0 Using Foil
..................
.2:
0 Broiling Tips
.................
2:
0 Positioning Broiler Pan
..........
2:
0 Using a Meat Thermometer
.......
24
0 Rack and Pan Arrangement
......
.24
0 Choosing Oven Cookware Chart
...
.24
0 Common Baking Problems and Causes2!
OVEN CLEANING AND CARE.
..... .25-2!
0 Cleaning Chart.
..............
.2!
l
Self Clean Cycle
...........
.26,2;
0 Removable Oven Door
.........
.2f
0 Removable Oven Racks.
........
.2E
0 Replacing the Oven Light
........
.2!
PREVENTING SERVICE CALLS.
.... .30,3 1
OPTIONAL MODULES AND ACCESSORIES .3:
WARRANTY AND MAINTENANCE
AGREEMENT
..............
Back Cove
1
B
3
a
E
2
d
4
GENERAL
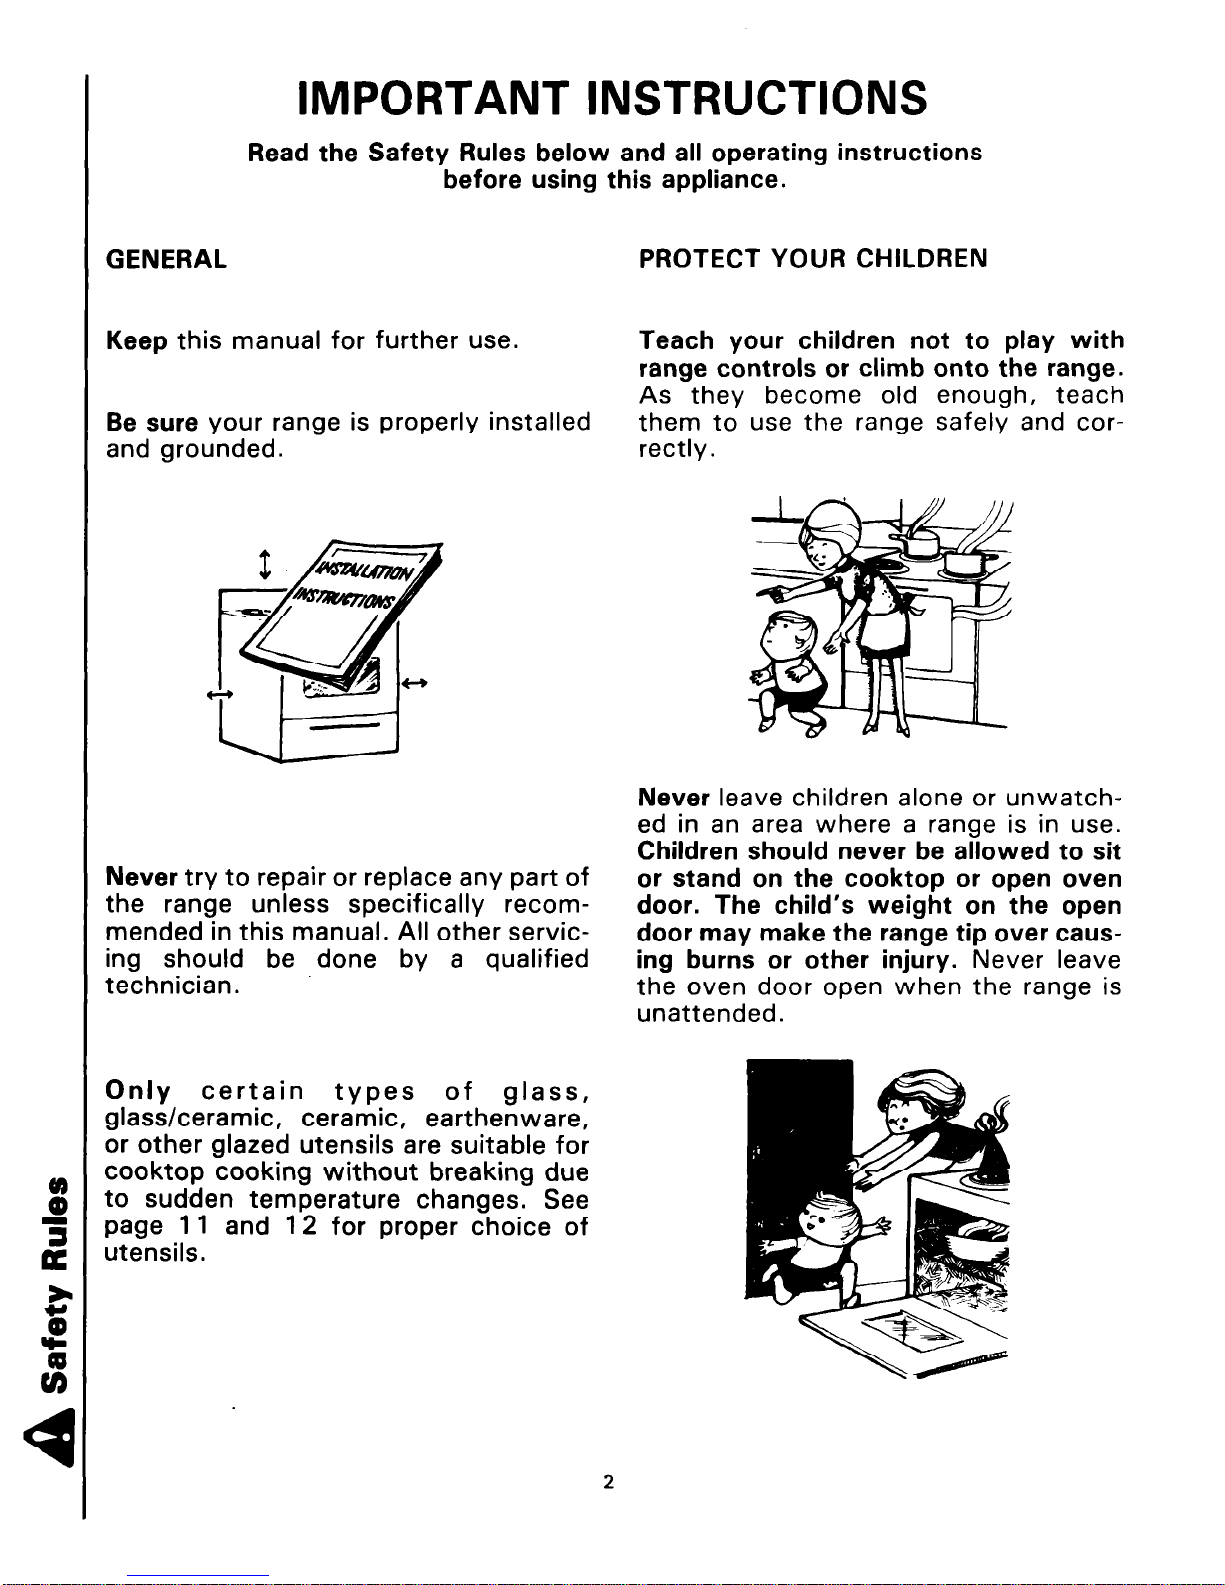
IMPORTANT INSTRUCTIONS
Read the Safety Rules below and all operating instructions
before using this appliance.
Keep this manual for further use.
Be sure your range is properly installed
and grounded.
Never try to repair or replace any part of
the range unless specifically recommended in this manual. All other servicing should be done by a qualified
technician.
Only certain types of glass,
glass/ceramic,
ceramic, earthenware,
or other glazed utensils are suitable for
cooktop cooking without breaking due
to sudden temperature changes. See
page 1 1 and 12 for proper choice of
utensils.
PROTECT YOUR CHILDREN
Teach your children not to play with
range controls or climb onto the range.
As they become old enough, teach
them to use the range safely and correctly .
Never leave children alone or unwatched in an area where a range is in use.
Children should never be allowed to sit
or stand on the cooktop or open oven
door. The child’s weight on the open
door may make the range tip over causing burns or other injury. Never leave
the oven door open when the range is
unattended.
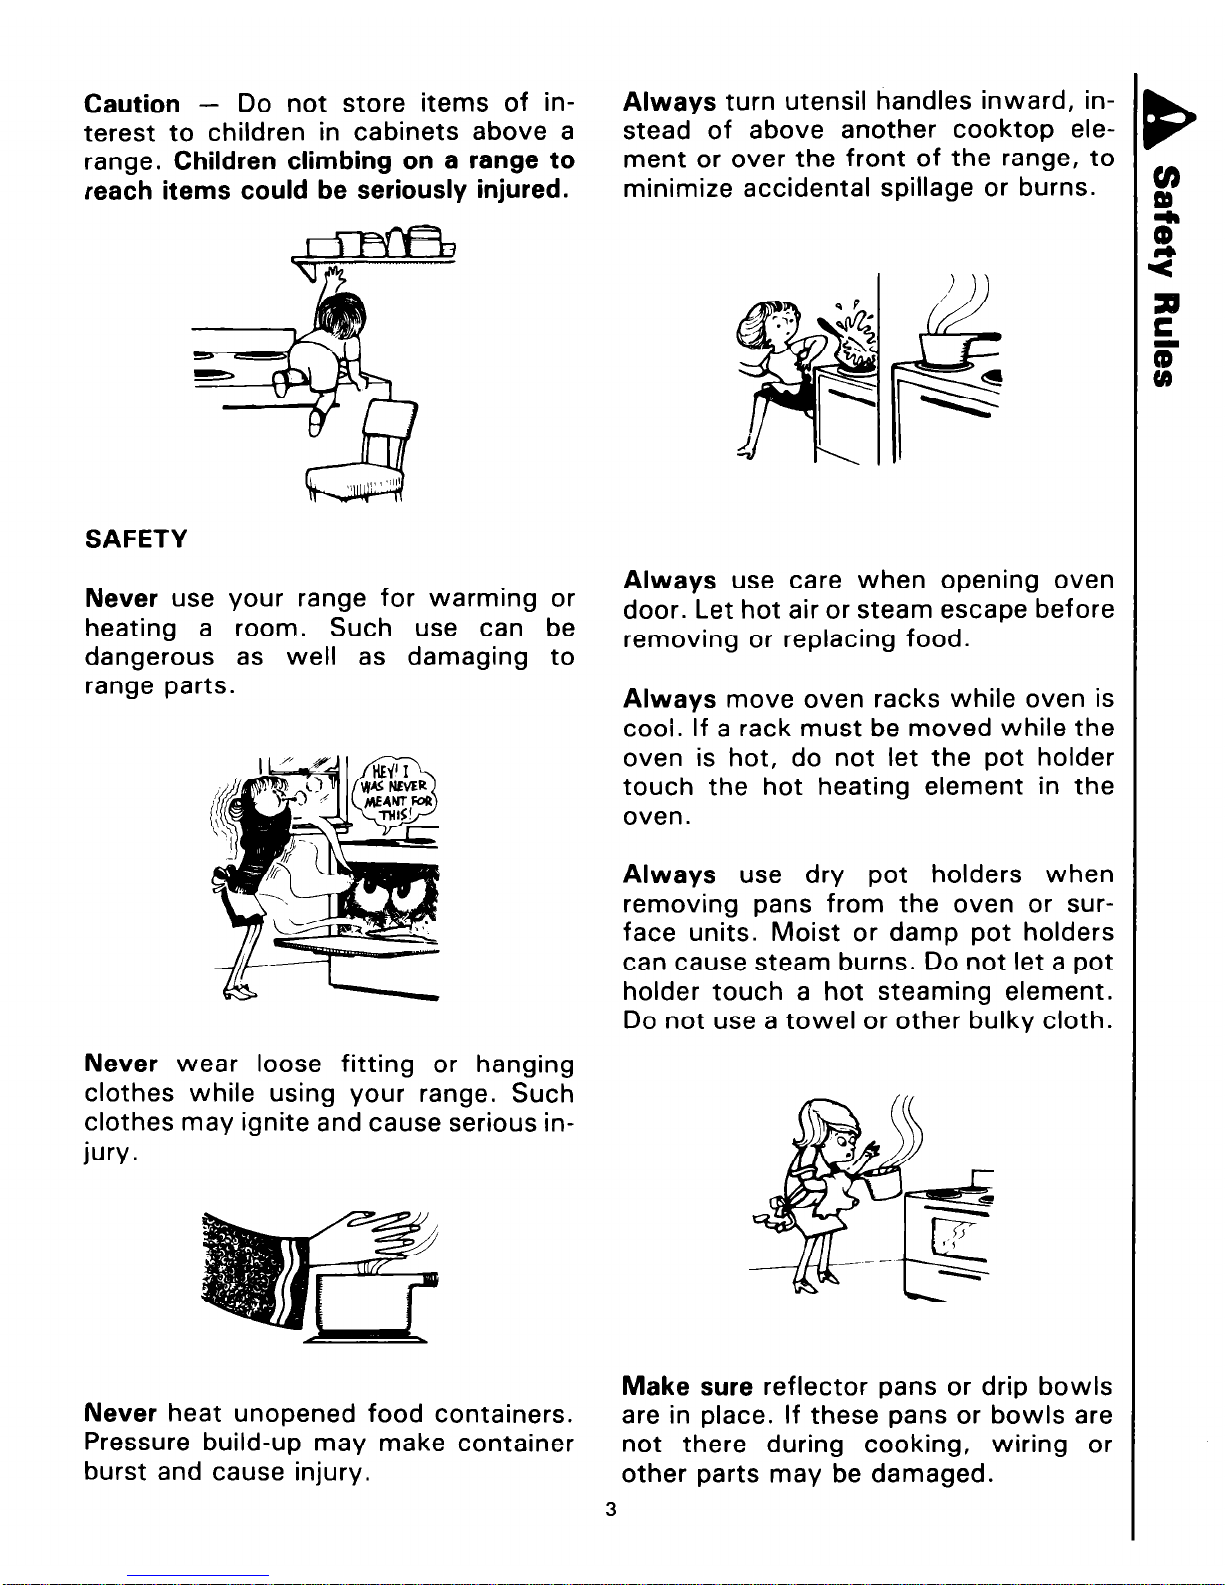
Caution -
Do not store items of interest to children in cabinets above a
range. Children climbing on a range to
reach items could be seriously injured.
SAFE
,TY
Never use your range for warming or
heating a room.
Such use can be
dangerous as well as damaging to
range parts.
Never wear loose fitting or hanging
clothes while using your range. Such
clothes may ignite and cause serious in-
jury.
Never heat unopened food containers.
Pressure build-up may make container
burst and cause injury.
Always turn utensil handles inward, instead of above another cooktop element or over the front of the range, to
minimize accidental spillage or burns.
Always use care when opening oven
door. Let hot air or steam escape before
removing or replacing food.
Always move oven racks while oven is
cool. If a rack must be moved while the
oven is hot, do not let the pot holder
touch the hot heating element in the
oven.
Always use dry pot holders when
removing pans from the oven or surface units. Moist or damp pot holders
can cause steam burns. Do not let a pot
holder touch a hot steaming element.
Do not use a towel or other bulky cloth.
Make sure reflector pans or drip bowls
are in place. If these pans or bowls are
not there during cooking, wiring or
other parts may be damaged.
3
Never touch cooktop elements, areas
near cooktop elements, oven heating
elements or interior surfaces of oven.
Heating elements and nearby areas
may be hot enough to burn you even
though they are dark in color. During
and after use, do not let clothing or
flammable materials touch heating
elements or oven surfaces until they
have had time to cool. Other surfaces
that may become hot during use are the
oven vent duct and the oven door.
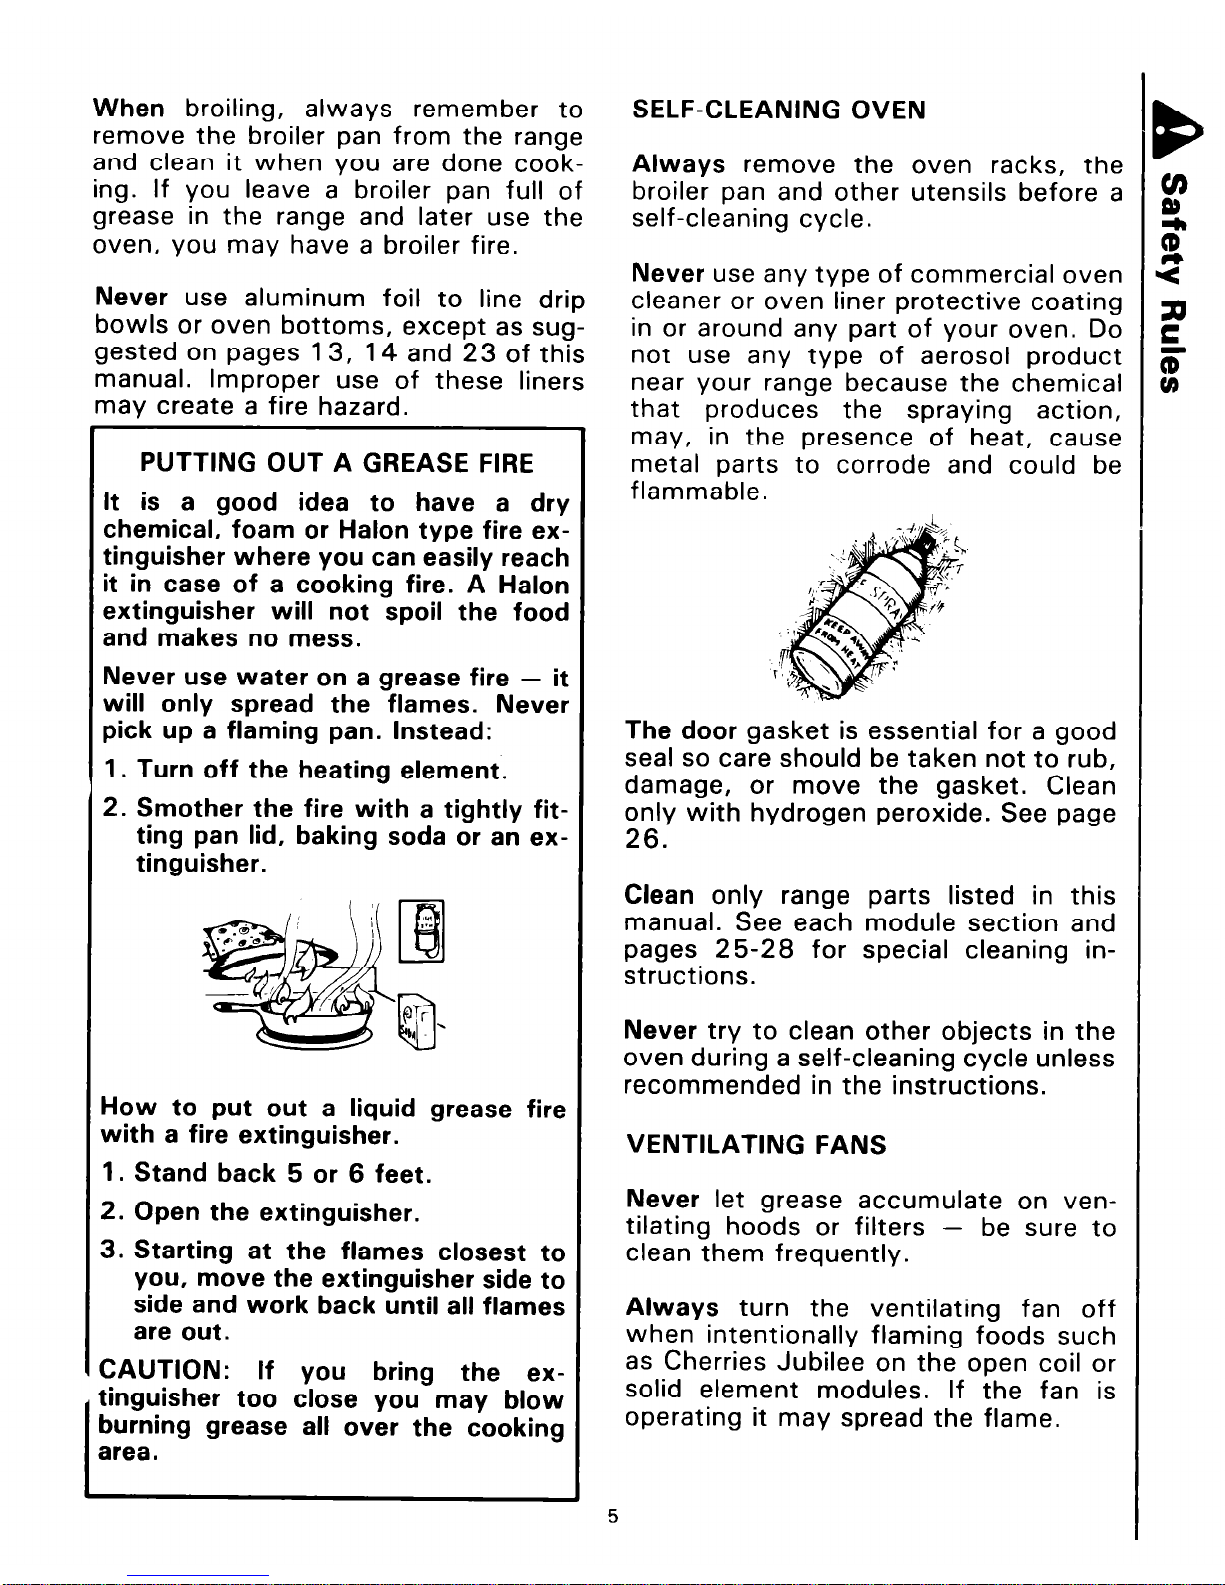
Select utensils with flat bottoms large
enough to cover the entire cooktop ele-
ment. This will reduce risk of ignition of
clothing from a partially exposed heat-
ing element, and improve efficiency.
Never soak or immerse removable
heating elements in water.
GREASE FIRES
Never leave containers of fat or drip-
pings on or near the range. Never let
grease collect on your range. You can
help prevent grease fires if you clean up
grease and spillovers after each range
use.
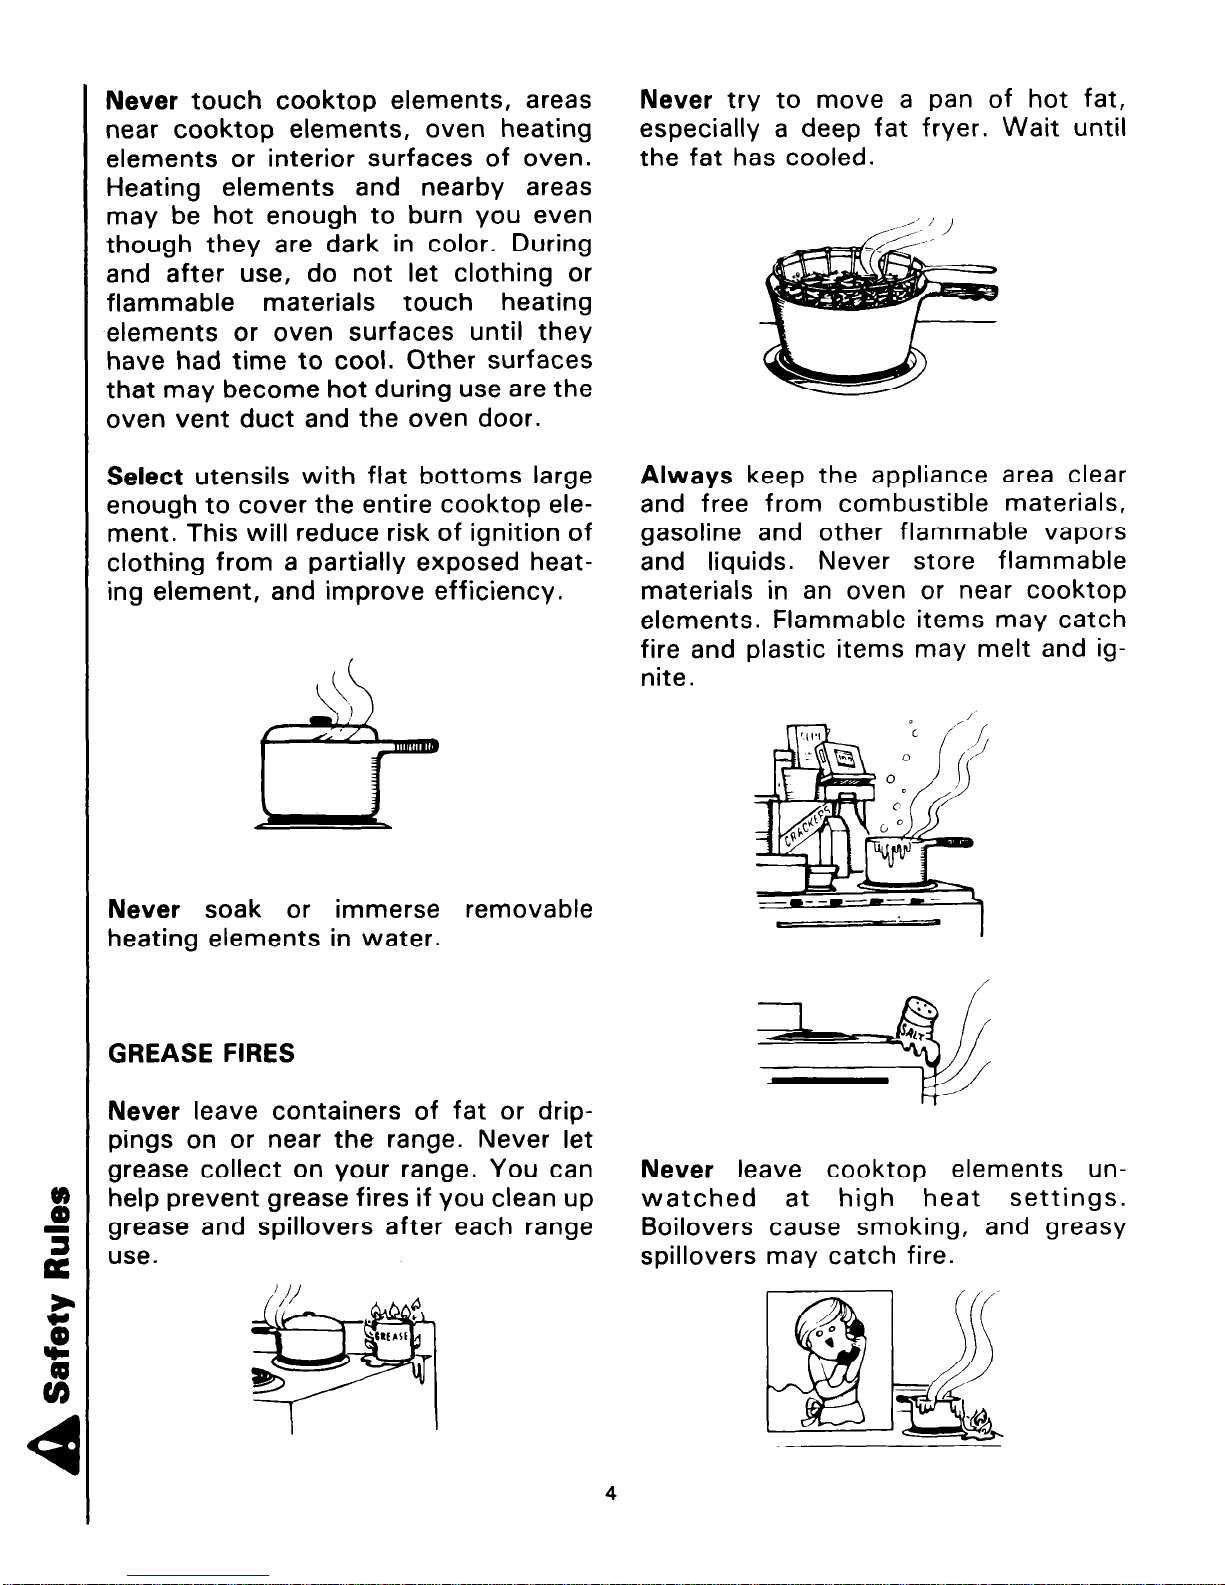
Never try to move a pan of hot fat,
especially a deep fat fryer. Wait until
the fat has cooled.
Always keep the appliance area clear
and free from combustible materials,
gasoline and other flammable vapors
and liquids.
Never store flammable
materials in an oven or near cooktop
elements. Flammable items may catch
fire and plastic items may melt and ig-
nite.
Never leave cooktop elements un-
watched at high heat settings.
Boilovers cause smoking, and greasy
spillovers may catch fire.
4
When broiling,
always remember to
remove the broiler pan from the range
and clean it when you are done cooking. If you leave a broiler pan full of
grease in the range and later use the
oven, you may have a broiler fire.
Never use aluminum foil to line drip
bowls or oven bottoms, except as suggested on pages 13, 14 and 23 of this
manual. Improper use of these liners
may create a fire hazard.
PUTTING OUT A GREASE FIRE
It is a good idea to have a dry
chemical, foam or Halon type fire extinguisher where you can easily reach
it in case of a cooking fire. A Halon
extinguisher will not spoil the food
and makes no mess.
Never use water on a grease fire - it
will only spread the flames. Never
pick up a flaming pan. Instead:
1. Turn off the heating element.
2. Smother the fire with a tightly fit-
ting pan lid, baking soda or an extinguisher.
How to put out a liquid grease
fire
with a fire extinguisher.
1. Stand back 5 or 6 feet.
2. Open the extinguisher.
3. Starting at the flames closest to
you, move the extinguisher side to
side and work back until all flames
are out.
CAUTION: If you bring the extinguisher too close you may blow
burning grease all over the cooking
area.
SELF-CLEANING OVEN
Always remove the oven racks, the
broiler pan and other utensils before a
self-cleaning cycle.
Never use any type of commercial oven
cleaner or oven liner protective coating
in or around any part of your oven. Do
not use any type of aerosol product
near your range because the chemical
that produces the spraying action,
may, in the presence of heat, cause
metal parts to corrode and could be
flammable.
The door gasket is essential for a good
seal so care should be taken not to rub,
damage, or move the gasket. Clean
only with hydrogen peroxide. See page
26.
Clean only range parts listed in this
manual. See each module section and
pages 25-28 for special cleaning instructions.
Never try to clean other objects in the
oven during a self-cleaning cycle unless
recommended in the instructions.
VENTILATING FANS
Never let grease accumulate on ven-
tilating hoods or filters - be sure to
clean them frequently.
Always turn the ventilating fan off
when intentionally flaming foods such
as Cherries Jubilee on the open coil or
solid element modules. If the fan is
operating it may spread the flame.
5

IMPORTANT INFORMATION
This manual covers all the features on your downdraft
illustrated below and must be vented to the outside.
range and all optional modules and accessories. Your
Never try to move the range without first unplugging
unit will not have all the features covered in this manual.
the blower electrical connector in the lower compart-
Your range has a downdraft venting system built in, as
ment. See your Installation Guide for more information.
1. Downdraft Vent
2. Grill Module in Place
3. Electronic Range Control
4. Receptacle
6”
. Open Well
i. Downdraft Vent Switches
7. Downdraft Vent Blower
8.
Grease Jars
9. Door Lock/Unlock Handle
10. Cooktop Signal Light
1 1.
Cooktop Controls
6
INSERTING AND REMOVING MODULES
Modules can be interchanged quickly and easily. Each
module has a plug which fits into a receptacle in the
side of the well nearest the center of the cooktop.
Some modules are inserted and removed differently
than others. See each module section for specific instructions for installing and removing that module.
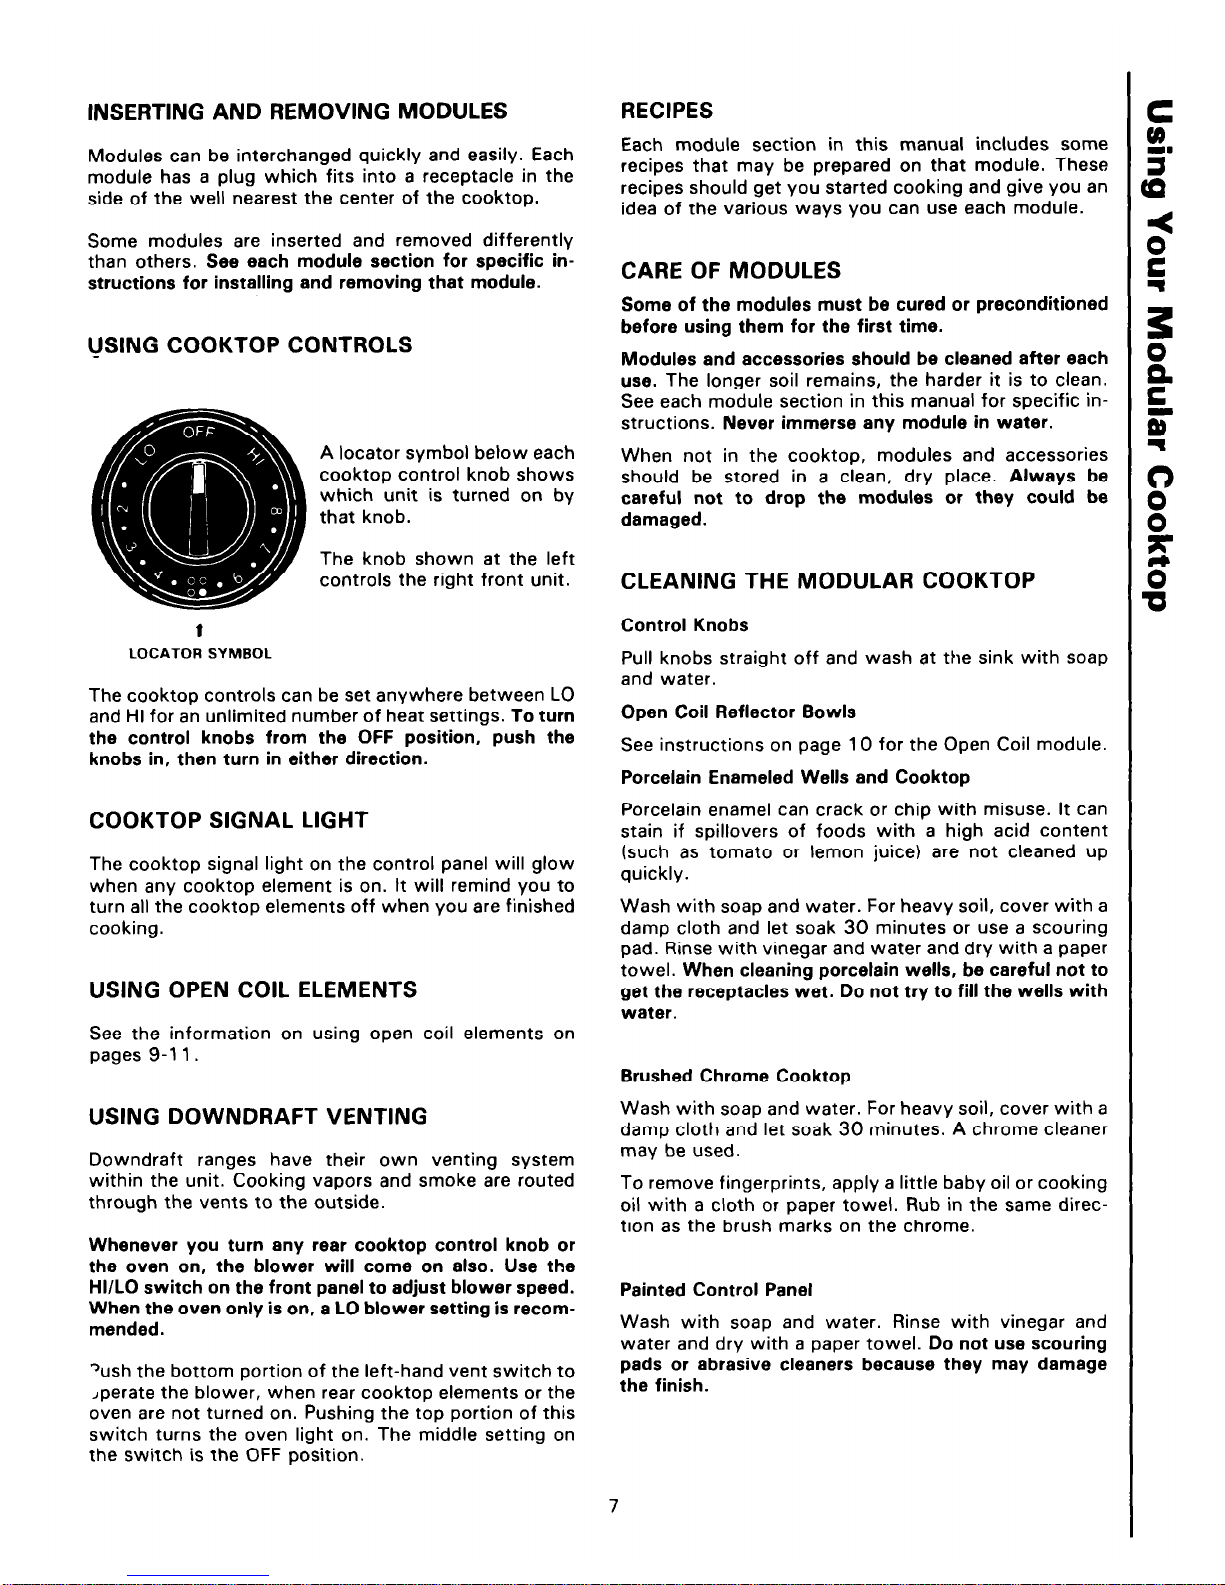
USING COOKTOP CONTROLS
t
LOCATOR SYMBOL
The cooktop controls can be set anywhere between LO
and HI for an unlimited number of heat settings. To turn
the control knobs from the OFF position, push the
knobs in, then turn in either direction.
COOKTOP SIGNAL LIGHT
The cooktop signal light on the control panel will glow
when any cooktop element is on. It will remind you to
turn all the cooktop elements off when you are finished
cooking.
USING OPEN COIL ELEMENTS
See the information on using open coil elements on
pages 9-l 1.
USING DOWNDRAFT VENTING
Downdraft ranges have their own venting system
within the unit. Cooking vapors and smoke are routed
through the vents to the outside.
Whenever you turn any rear cooktop control knob or
the oven on, the blower will come on also. Use the
HI/LO switch on the front panel to adjust blower speed.
When the oven only is on, a LO blower setting is recom-
mended.
Xsh the bottom portion of the left-hand vent switch to
Jperate the blower, when rear cooktop elements or the
oven are not turned on. Pushing the top portion of this
switch turns the oven light on. The middle setting on
the switch is the OFF position.
RECIPES
Each module section in this manual includes some
recipes that may be prepared on that module. These
recipes should get you started cooking and give you an
idea of the various ways you can use each module.
CARE OF MODULES
Some of the modules must be cured or preconditioned
before using them for the first time.
Modules and accessories should be cleaned after each
use. The longer soil remains, the harder it is to clean.
See each module section in this manual for specific instructions. Never immerse any module in water.
When not in the cooktop, modules and accessories
should be stored in a clean, dry place. Always be
careful not to drop the modules or they could be
damaged.
CLEANING THE MODULAR COOKTOP
Control Knobs
Pull knobs straight off and wash at the sink with soap
and water.
Open Coil Reflector Bowls
See instructions on page 10 for the Open Coil module.
Porcelain Enameled Wells and Cooktop
Porcelain enamel can crack or chip with misuse. It can
stain if spillovers of foods with a high acid content
(such as tomato or lemon juice) are not cleaned up
quickly.
Wash with soap and water. For heavy soil, cover with a
damp cloth and let soak 30 minutes or use a scouring
pad. Rinse with vinegar and water and dry with a paper
towel. When cleaning porcelain wells, be careful not to
get the receptacles wet. Do not try to fill the wells with
water.
Brushed Chrome Cooktop
Wash with soap and water. For heavy soil, cover with a
damp cloth and let soak 30 minutes. A chrome cleaner
may be used.
To remove fingerprints, apply a little baby oil or cooking
oil with a cloth or paper towel. Rub in the same direction as the brush marks on the chrome.
Painted Control Panel
Wash with soap and water. Rinse with vinegar and
water and dry with a paper towel. Do not use scouring
pads or abrasive cleaners because they may damage
the finish.
7

CLEANING DOWNDRAFT VENTS
Downdraft vents and filters should be cleaned frequently - after every use is best. If they are not cleaned frequently, a build-up of grease will reduce efficiency and make cleaning much harder. Also, a really
greasy filter may let some grease pass through into the
blower system.
To clean:
1.
Remove vent grills and lift out aluminum grease
filters (see illustration).
2.
Wash grills and filters at the sink in soap and
water or in your dishwasher. You can use a small
vegetable brush for difficult soil.
3. Be sure the blower switch is off. Wash out the
vent chambers at each side of the cooktop with a
damp soapy cloth or kitchen brush, rinse and dry.
Do not use a sponge because small pieces may
break off and be sucked into the blower motor. Do
not leave excess liquid in these chambers.
To replace:
The aluminum grease filters are interchangeable from
side to side but they should be placed in the vent
chamber as shown in the illustration.
The angled flanges at the top and bottom edges of the
filter should face toward the inside of the unit with the
top edge slanted outward.
GREASE JARS
Behind the lower panel two grease jars are mounted
(one for each well) to catch fat and drippings. To open
the lower panel grasp the handle and pull.
The lid of the jar is permanently mounted and connected by a tube to a spout at the front of each well.
The jar can be unscrewed from the lid to be emptied
and cleaned, or to be replaced. The jar is a standard 1
pint mayonnaise or salad dressing jar. Other glass jars
such as 1 pint instant tea, dry creamer and malted milk
jars as well as pint or quart canning jars may also fit.
Different foods give different amounts of fat and drippings so you should check the jar each time it is used. If
the jar is not emptied or replaced often enough, the fat
and drippings may overflow.
8
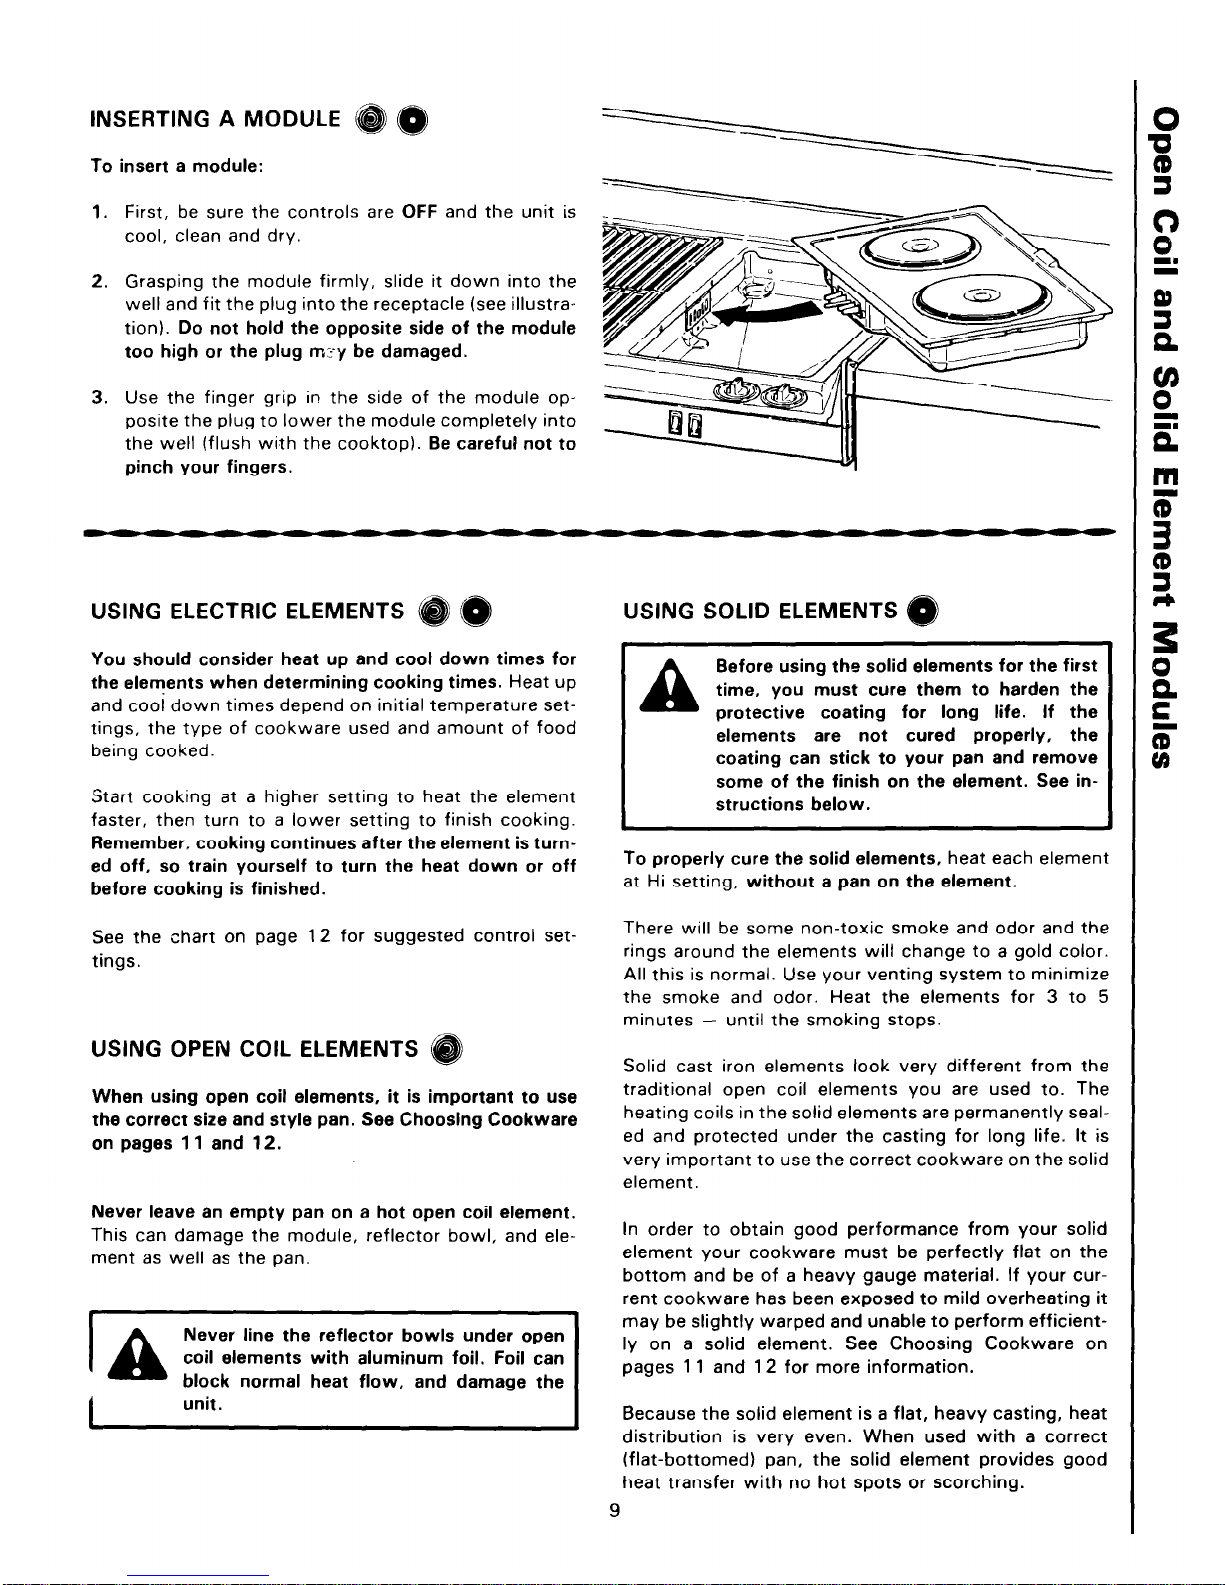
INSERTING A MODULE
@
To insert a module:
1. First, be sure the controls are OFF and the unit is
cool, clean and drv.
2. Grasping the module firmly, slide it down into the
well and fit the plug into the receptacle (see illustration). Do not hold the opposite side of the module
too high or the plug m:-y be damaged.
3. Use the finger grip in the side of the module opposite the plug to lower the module completely into
the well (flush with the cooktop). Be careful not to
pinch your fingers.
’ USING ELECTRIC ELEMENTS
dlrB
You should consider heat up and cool down times for
the elements when determining cooking times. Heat up
and cool down times depend on initial temperature settings, the type of cookware used and amount of food
being cooked.
Start cooking at a higher setting to heat the element
faster, then turn to a lower setting to finish cooking.
Remember, cooking continues after the element is turned off, so train yourself to turn the heat down or off
before cooking is finished.
See the chart on page 12 for suggested control settings.
USING OPEN COIL ELEMENTS
When using open coil elements, it is important to use
the correct size and style pan. See Choosing Cookware
on pages 11 and 12.
Never leave an empty pan on a hot open coil element.
This can damage the module, reflector bowl, and element as well as the pan.
la
Never line the reflector bowls under open
coil elements with aluminum foil. Foil can
block normal heat flow, and damage the
1
unit.
USING SOLID ELEMENTS f@
A
Before using the solid elements for the first
time, you must cure them to harden the
protective coating for long life. If the
elements are not cured properly, the
coating can stick to your pan and remove
some of the finish on the element. See instructions below.
To properly cure the solid elements, heat each element
at Hi setting, without a pan on the element.
There will be some non-toxic smoke and odor and the
rings around the elements will change to a gold color.
All this is normal. Use your venting system to minimize
the smoke and odor. Heat the elements for 3 to 5
minutes - until the smoking stops.
Solid cast iron elements look very different from the
traditional open coil elements you are used to. The
heating coils in the solid elements are permanently sealed and protected under the casting for long life. It is
very important to use the correct cookware on the solid
element.
In order to obtain good performance from your solid
element your cookware must be perfectly flat on the
bottom and be of a heavy gauge material. If your current cookware has been exposed to mild overheating it
may be slightly warped and unable to perform efficiently on a solid element. See Choosing Cookware on
pages 1 1 and 12 for more information.
Because the solid element is a flat, heavy casting, heat
distribution is very even. When used with a correct
(flat-bottomed) pan, the solid element provides good
heat transfer with no hot spots or scorching.
9
 Loading...