

RIDGID RT-100 User Manual
Ridge Tool Co., Elyria, Ohio, U.S.A.
3/98
Printed in U.S.A. 999-998-004.10
RT-100 Mini Electric Soldering Gun
General and Specific Safety
Information
Refer to the attached RT-175 Operator’s Manual
Specifications
Power Input...................115V, 15A
Power Output
(open circuit voltage) .....4.0V
Current Draw.................12A
Duty Cycle.....................Continuous
Solder Gun
Cable Length.................72″
Power Cord Length.......84”
Weight...........................23 lbs.
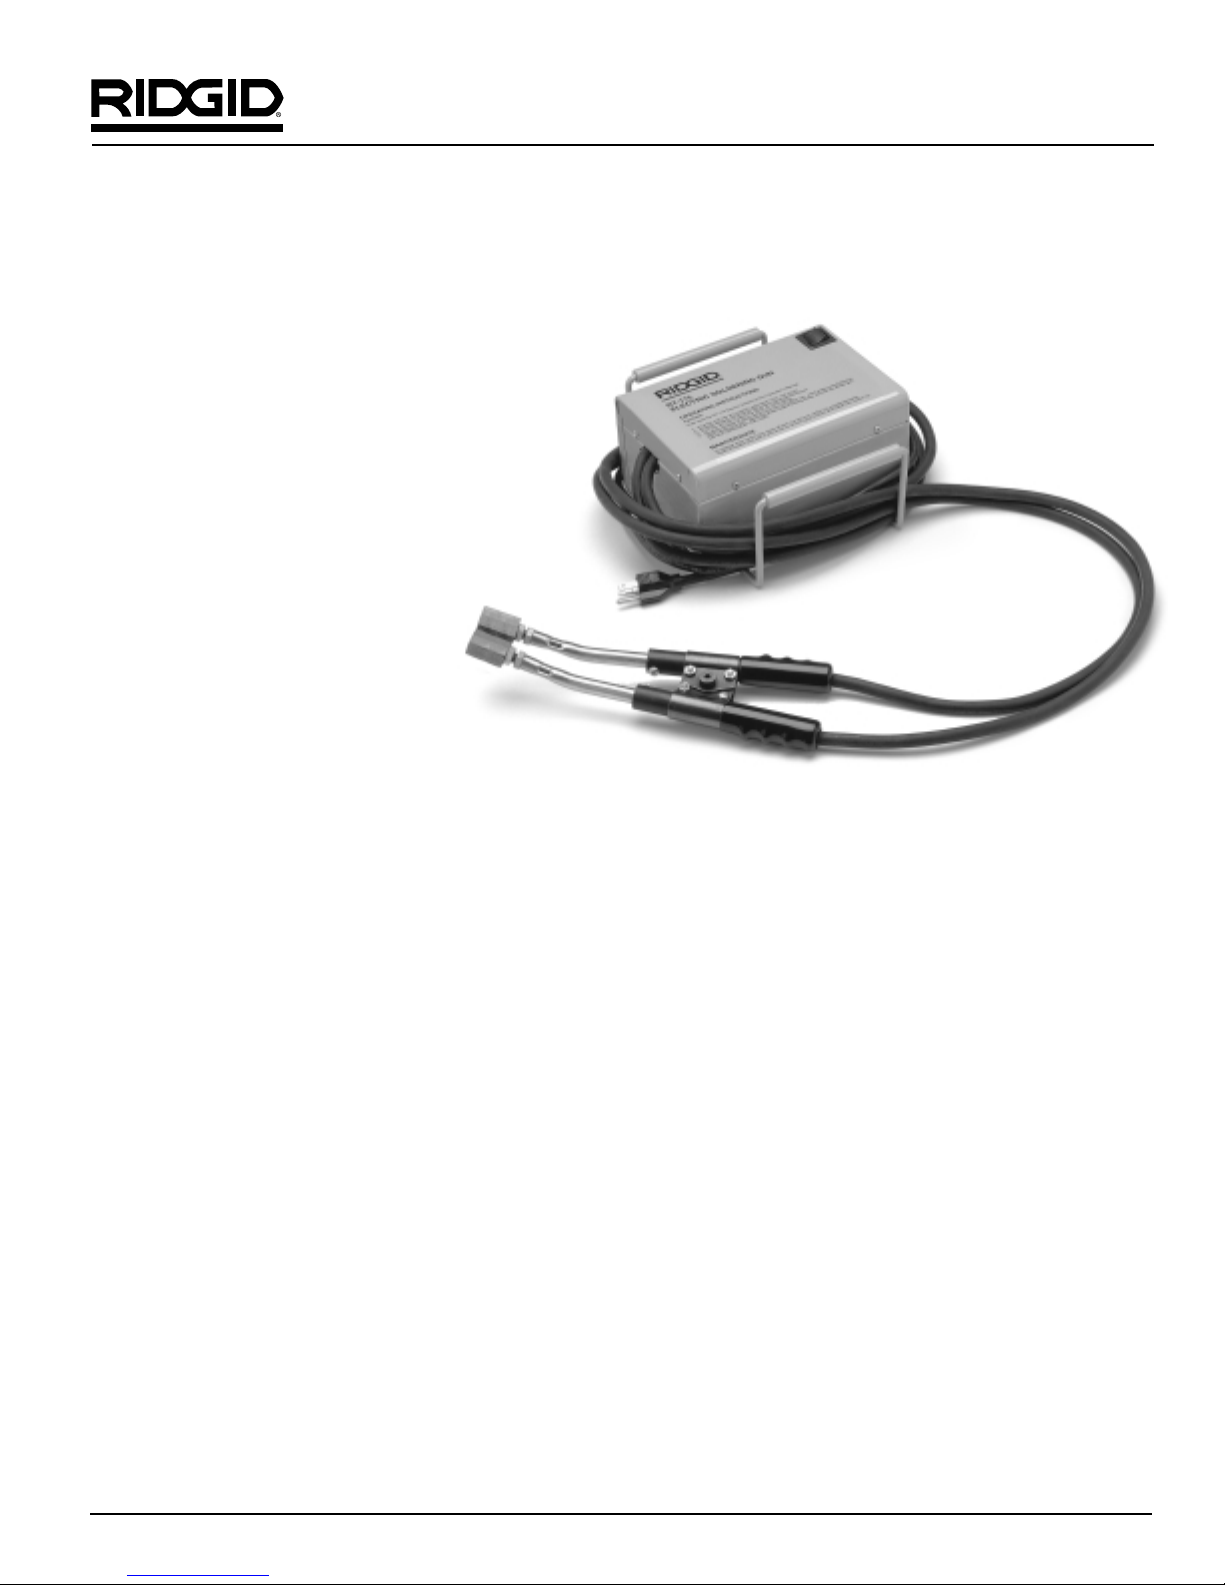
RT-100 MINI ELECTRIC SOLDERING GUN
Thank-you for purchasing the RIDGID RT -100 Mini Electric Soldering Gun. It is designed to safely heat copper tube and
fittings to solder joints. The RT-100 uses resistance heating to melt the solder without the danger of using an open
flame. It is a safer, faster method of soldering copper tube.
The RT-100 can efficiently and quickly solder joints in copper tube up to 1
1
/2″ diameter while using a standard 120V,
15A circuit. The soldering gun will heat the copper to
temperatures in excess of 750°F which allows it to
melt all solders used in plumbing applications - from
the 50/50 solders to the 95/5 lead-free types.
The RT-100 has cable lengths of 72″ which lead to
the handles. The unit has a wireform welded to the
case that acts as a cord wrap for the cables and power
cord and as a handle for portability. The RT-100
is similar to Ridge Tool’s RT-175 Electric
Soldering Gun but in a smaller, more
compact design. The unit is designed
with the service plumber in mind for the
repair and renovation projects that require
soldering in tight locations and minimizing destruction
of existing structures.
This instruction sheet along with the attached Operator’s Manual for the RT-175 outline all the safety and operational
features for the RT-100 Mini Electric Soldering Gun. Listed below are the specifications and operating instructions for
the RT-100.
Dimensions
Height......................... 5″
Width..........................10″
Length........................14″
Accessories/Replacement Parts
• Carbon Tips Catalog No. 39966
• Threaded Studs Catalog No. 39976
• Leather Holster N/A
NOTE! The holster is designed to fit over the carbon
tips and stainless steel arms. It will protect the
handle cables and power cord from damage
from the tips and arms and will protect the carbon tips during transport.
Lifetime Warranty
The reputation of RIDGID®tools is the result of consistent product quality and years of pride in workmanship. Rigorous checks and controls, from raw materials
to packaged products, ensure product confidence widely accepted as the benchmark of the professional trades. RIDGID®tools are warranted to be free of defects
in workmanship or material for the life of the tool. Expendable Materials, such as pipe or drain cleaning tools, rods and cables, etc. are not covered by this warranty. Obviously, failures due to misuse, abuse, or normal wear and tear are not covered by this warranty. NO OTHER WARRANTY EXPRESS OR IMPLIED,
APPLIES, INCLUDING MERCHANTABILITY OR FITNESS FOR A PARTICULAR PURPOSE. No employee, agent, dealer, or other person is authorized to alter
this or make any other warranty on behalf of RIDGE TOOLCOMPANY. To obtain the benefit of this warranty, deliver the complete product prepaid to RIDGE TOOL
COMPANY or any RIDGID
®
AUTHORIZED SERVICE CENTER. Pipe wrenches and other hand tools should be returned to place of purchase. Warranted products will be repaired or replaced, at RIDGE TOOL'S option, at no charge and returned via prepaid transportation. This limited LIFETIME WARRANTY is the sole
and exclusive warranty for RIDGID
®
products, and the remedy of repair or replacement is the sole and exclusive remedy for any nonconformity with this warran-
ty. RIDGE TOOL shall not be responsible for damages of any sort, including incidental or consequential damages.
Ridge Tool Company/Elyria, Ohio, U.S.A.
RT-100 Mini Electric Soldering Gun Operator’s Manual
Operating Instructions
Refer to the attached RT-175 Operators Manual for
additional information.
NOTE! When using the RT-100, proper-soldering tech-
niques should continue to be followed:
1. Plug the power cord into a 115V, 15 Amp grounded receptacle.
2. Thoroughly clean the copper tube and fitting and
apply the flux.
3. Turn the unit ON.
NOTE! 26′ - 50′ EXTENSION CORD SHOULD CONSIST
OF #12 GAUGE WIRE A T AMINIMUM. (SEE SAFETY SECTION FOR PROPER SIZE CORD).
4. Squeeze handles together to open the carbon tips
to fit over the joint. Be sure to place the carbon tips
over the joint to allow capillary effect to draw the
solder into the solder cup of the fitting.
5. Hold solder wire at fitting lip until the solder begins
to flow freely. When this occurs, squeeze handles
and remove solder gun.
WARNING
Do not overheat fitting.
WARNING
Solder gun stainless steel sleeves and carbon
tips remain hot. Do not touch. Do not lay on surfaces that may be damaged until sleeves and
tips have cooled.
6. If the joint to be soldered is in a difficult to reach
location, it is not necessary to clamp the carbon
tips around the tube. The carbon tips only have to
be in contact with the fitting.
7. Do not clamp or touch stainless steel sleeves,
threaded studs, or lock nuts against the tube or fittings. If this happens, sparking or excessive current draw may occur.
8. Switch the unit OFF when not in use. After the unit
has cooled sufficiently, place the leather holster
over the tips and stainless steel arms.
Maintenance
Refer to the attached RT-175 Operator’s Manual.
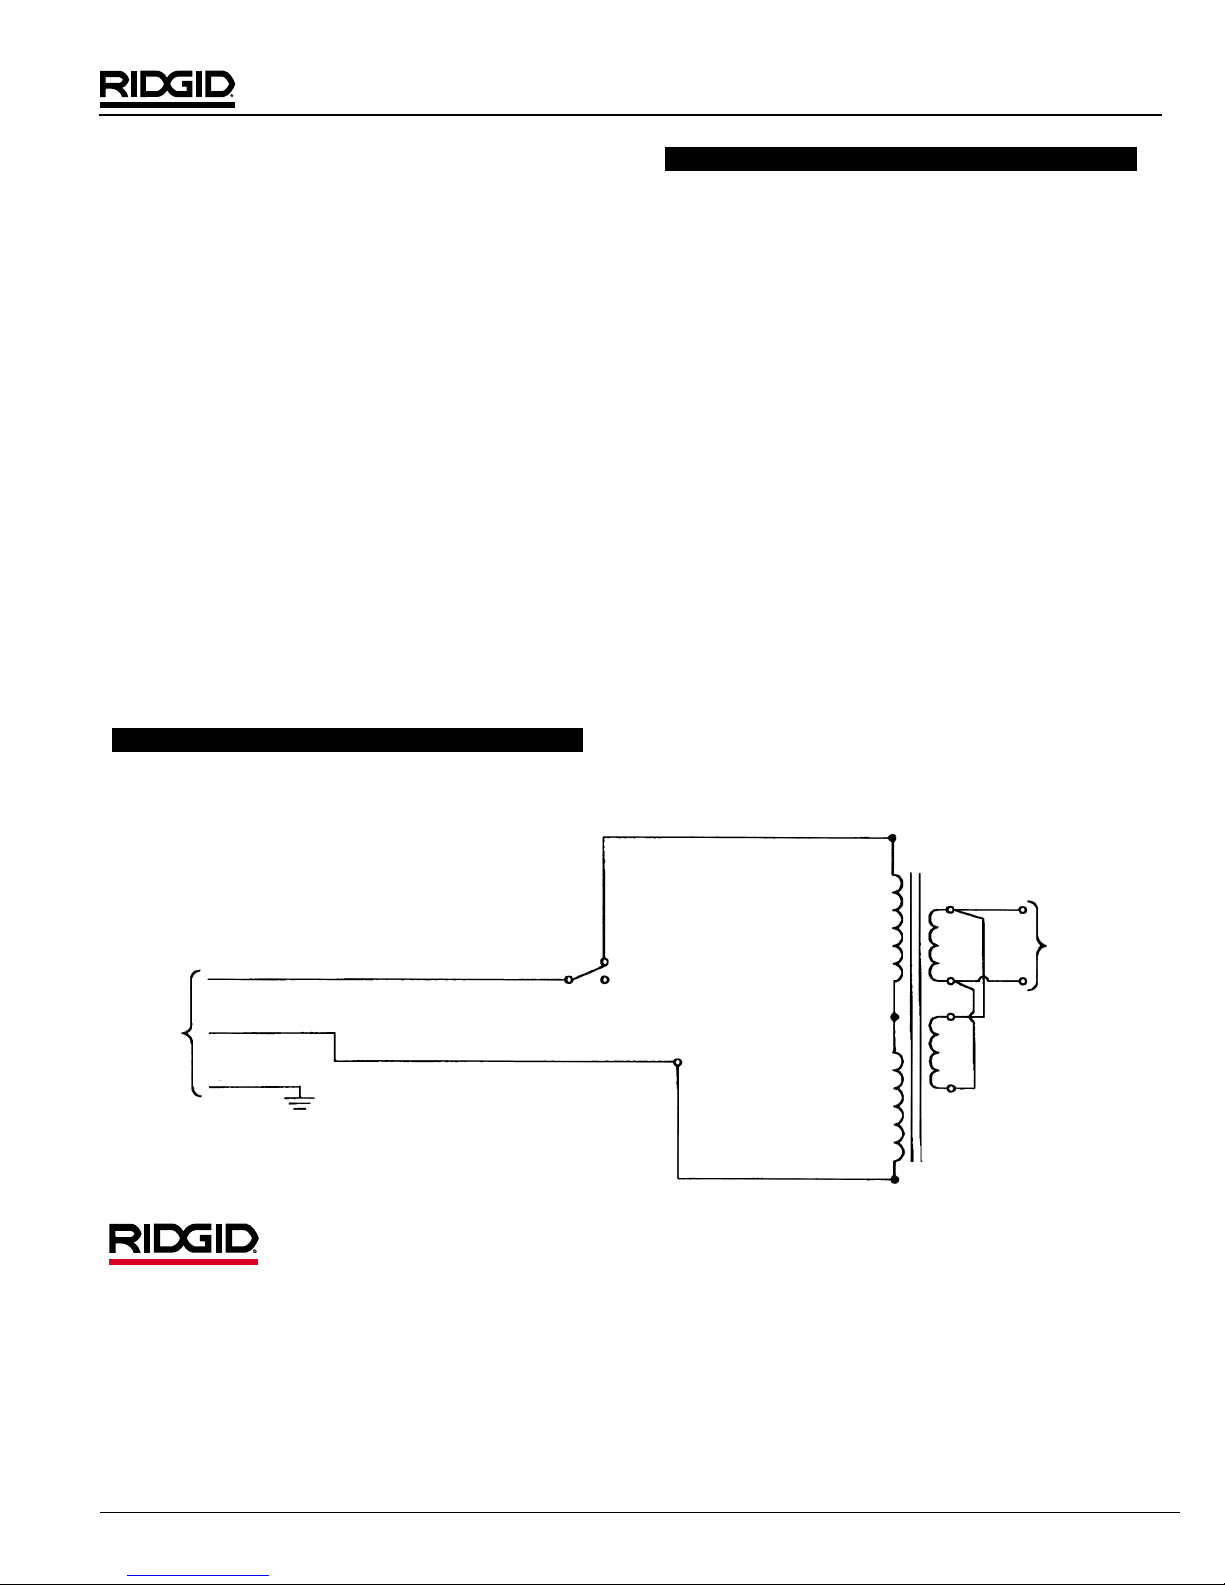
Wiring Diagram
115VAC
25-60Hz
15A
H
G
N
ON
OFF
OUTPUT
RANGE
4.0 VA C
AT CURRENT
UP TO 400A
 Loading...