

Page 1
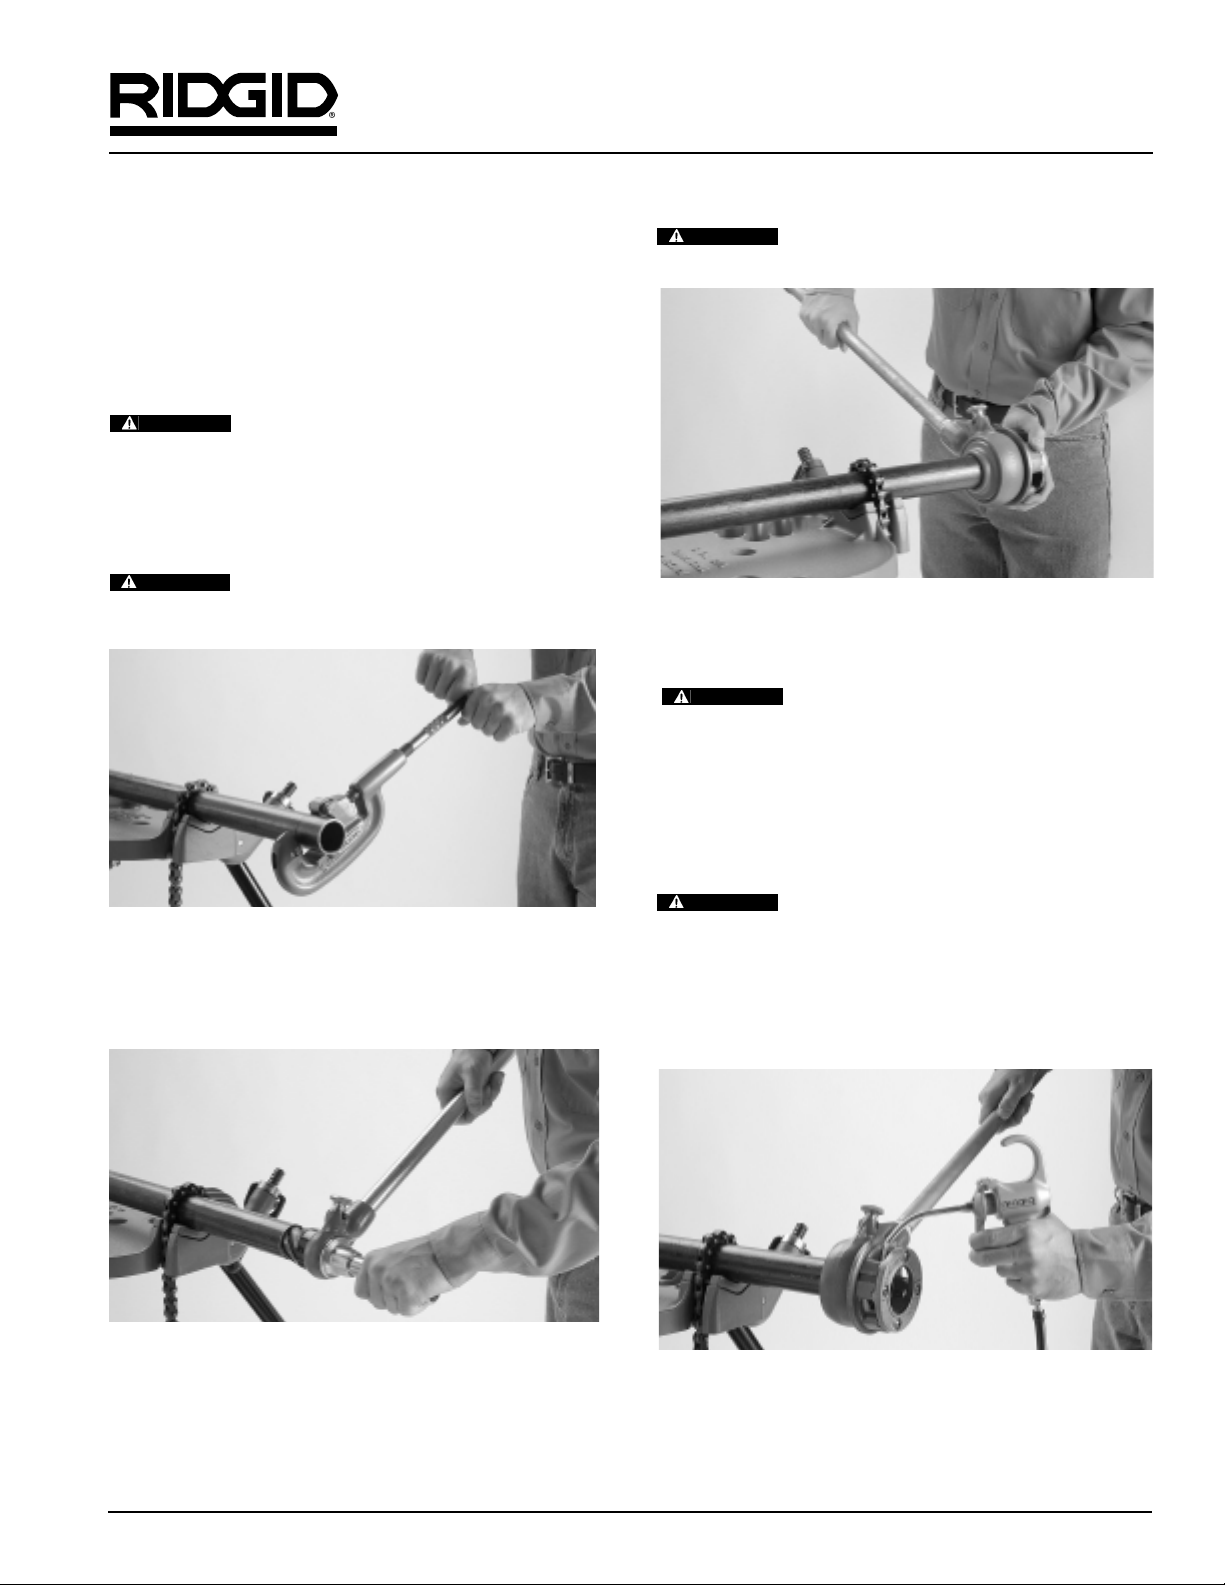
moving the handle down in order to start the threader
(Figure 3).
Make sure the handle is clean and free from
oil and grease. This allows for better control of the tool.
Figure 3 – Sliding Threader On Pipe
5. Before applying force to the handle, ensure that the
ratchet pawl is engaged.
Pawl may fail to engage if pushed against
the side of the die head. Specific care should be taken
when threading pipe that is vertical.
6. When hand threading, your weight should be above the
handle ensuring maximum leverage. If possible, do not
do all the work with your arms, use your weight. Do not
overreach. Keep proper footing and balance to maintain better control.
Do not slide a pipe or “cheater” over the
handle to gain extra leverage. This practice can result in
serious injury .
7. Apply a generous quantity of RIDGID Thread Cutting Oil
when threading (Figure 4). Use of a lubricating oil or a
poor thread cutting oil can result in a poor quality cut
thread, leaky joints, short die life and high handle forces.
Figure 4 – Applying Thread Cutter Oil
8. Stop threading when the end of the dies are flush with
the end of the pipe. At this point, the correct size has
been reached to produce the proper joint. To continue
8/03
Manual Pipe Threader Instructions
Printed in U.S.A. 999-997-601.10
RIDGID 00-R, 12-R and 11-R Threaders are designed to
thread pipe or conduit using individual die heads for each
size of pipe and a manually operated ratchet.
Warning! Read these instructions carefully before
using this tool. Failure to follow all instructions may
result in property damage and/or serious injury .
1. Inspect the threader before use. Replace dies or any
other part that shows damage or wear. To ensure a
high quality thread, only use RIDGID replacement dies.
Worn dies can result in poor thread quality
and high handle forces.
2. Mount the pipe firmly in a pipe vise. When threading
an existing pipe, make sure it is secure and will not
move. Cut the end of the pipe cleanly and squarely
using a pipe cutter (Figure 1).
When working on a scaffold or lift, the operator should be properly secured to prevent injury in the
event of a fall.
Figure 1 – Cutting End of Pipe
3. Ream the end of the pipe to remove any burrs that
may have been produced during the cutting of the pipe
(Figure 2).
Figure 2 – Reaming End of Pipe
4. Select the correct die head for the size and type of
pipe to be threaded and the thread form you require.
Insert die head into the ratchet. Slip the pipe guide at
the rear of the threader over the pipe and gently apply
pressure to the front of the die head at the same time
WARNING
WARNING
WARNING
WARNING
WARNING
Test Equipment Depot - 800.517.8431 -
99 Washington Street Melrose, MA 02176 - TestEquipmentDepot.com
Page 2

beyond this point would make a straight or running
thread.
9. When the thread is complete, back of
f the die head by
reversing the ratchet mechanism and turning the die
head in the opposite direction. When the dies are
nearly removed from the thread, maintain close control
of the threader so that the threads are not damaged
when removing the die head.
Manual Pipe Threader Instructions
NOTE! Clean any oil spill or splatter that is on the
ground. At the end of each job, always clean
your threader and store in a clean dry area to
protect against damage.
99 Washington Street
Melrose, MA 02176
Phone 781-665-1400
Toll Free 1-800-517-8431
Visit us at www.TestEquipmentDepot.com
 Loading...