

Ricoh MPC 1500sp Troubleshooting Manual
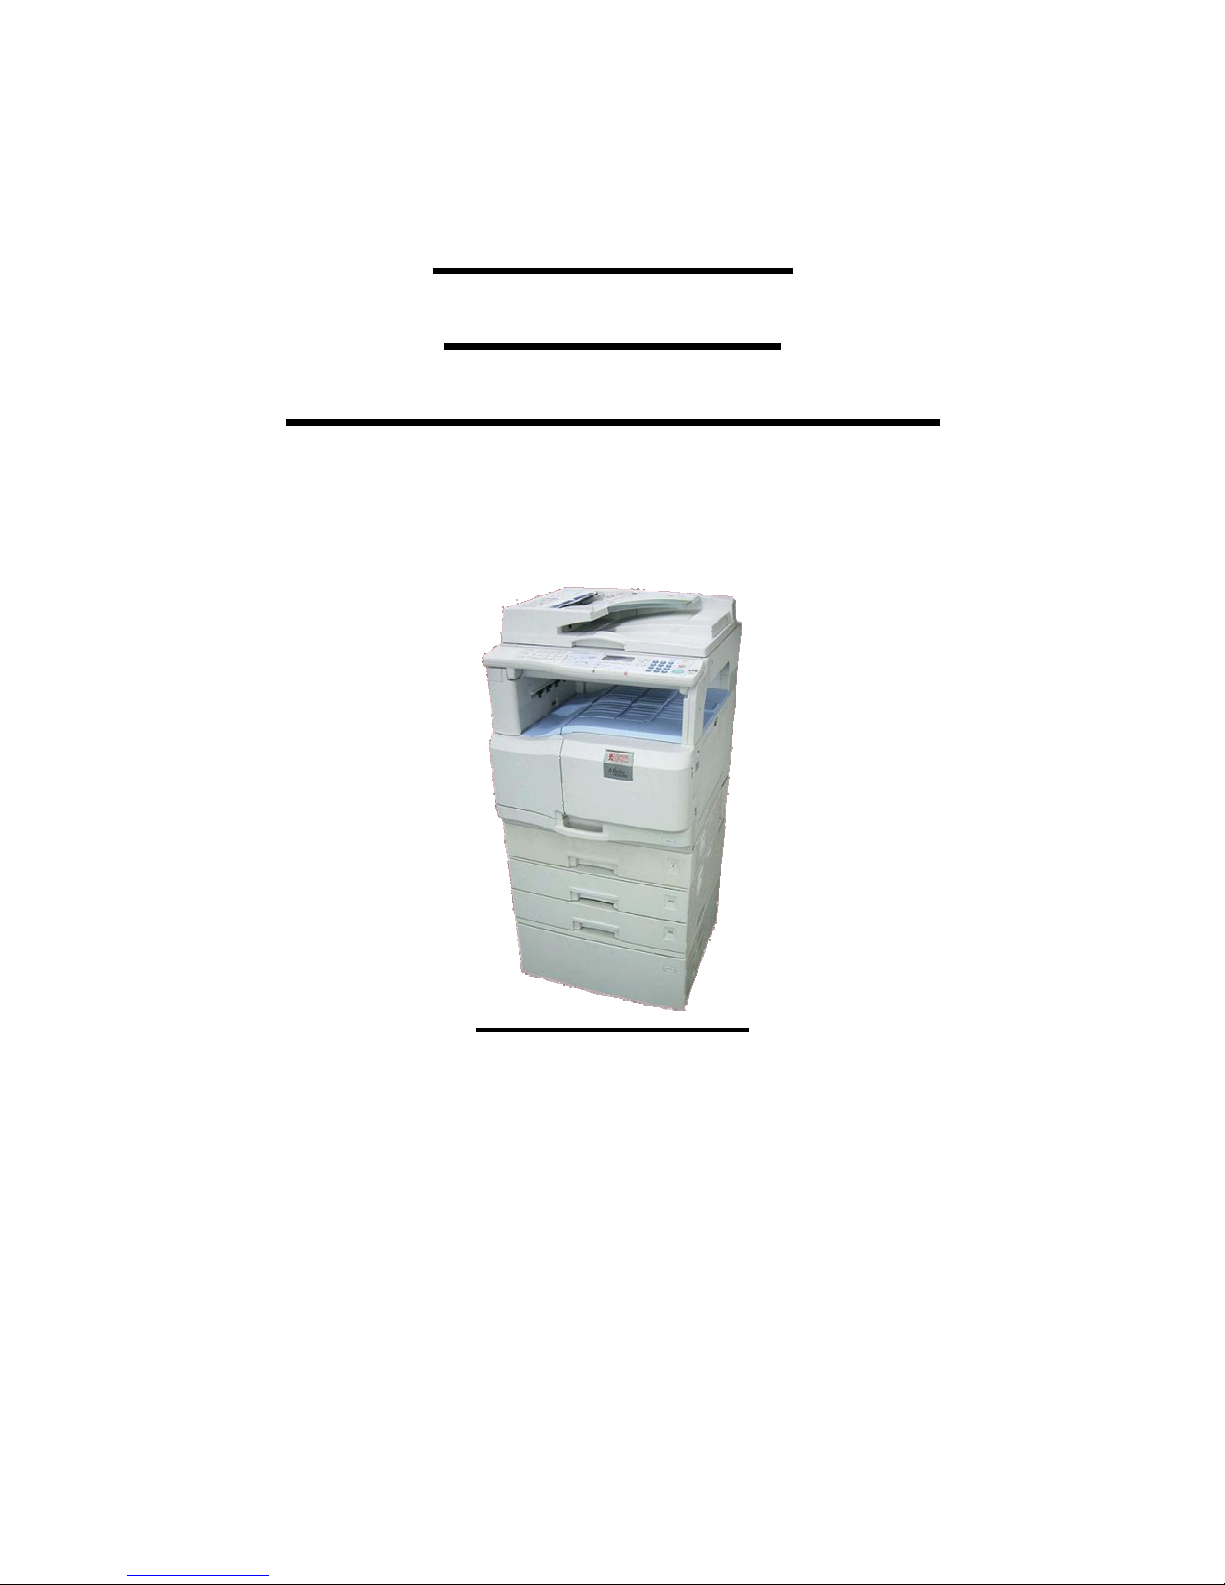
MPC 1500sp
Technicians
Troubleshooting Guide
This guide is designed to help you with known issues.
Produced by M. Drage v1.2

White or Coloured Lines
Before completing any of the following, REMOVE AND
CLEAN THE MAINTENANCE UNIT. Pay particular
attention to the wiper area, the roller and first cap.
CLEAN ONLY WITH A CLOTH DAMPENED WITH
WATER - NO CHEMICALS!
Once the above has been completed, move onto head cleaning or flushing.
Select User tools, Maintenance, Head Cleaning or Flushing.
To check which print head is blocked use the Nozzle Check Pattern.
To clean, select CLEAN from the menu - you will have a check box by each
colour. Use the right arrow to select and the down arrow to move onto the
next item.
This is a good one
This shows that the black and cyan print heads are blocked
Sometimes you will have to perform head cleaning more than once to
resolve the issue. If after 4 head cleans, you still have a problem, then try
head flushing. If after this, there is still an issue, then try physically cleaning
the heads.
ONLY USE SPECIALISED HEAD CLEANING CLOTHS
PART NUMBER B2299311
If this is happening regularly there are a few options you can try depending
on when the lines appear.
1. If the symptom occurs when a printout is made after leaving the
machine unused for a long time, make sure the Engine Firmware is
v1.10 or later. This will ensure the head home position is correct, thus
ensuring the heads are capped correctly on the maintenance unit.
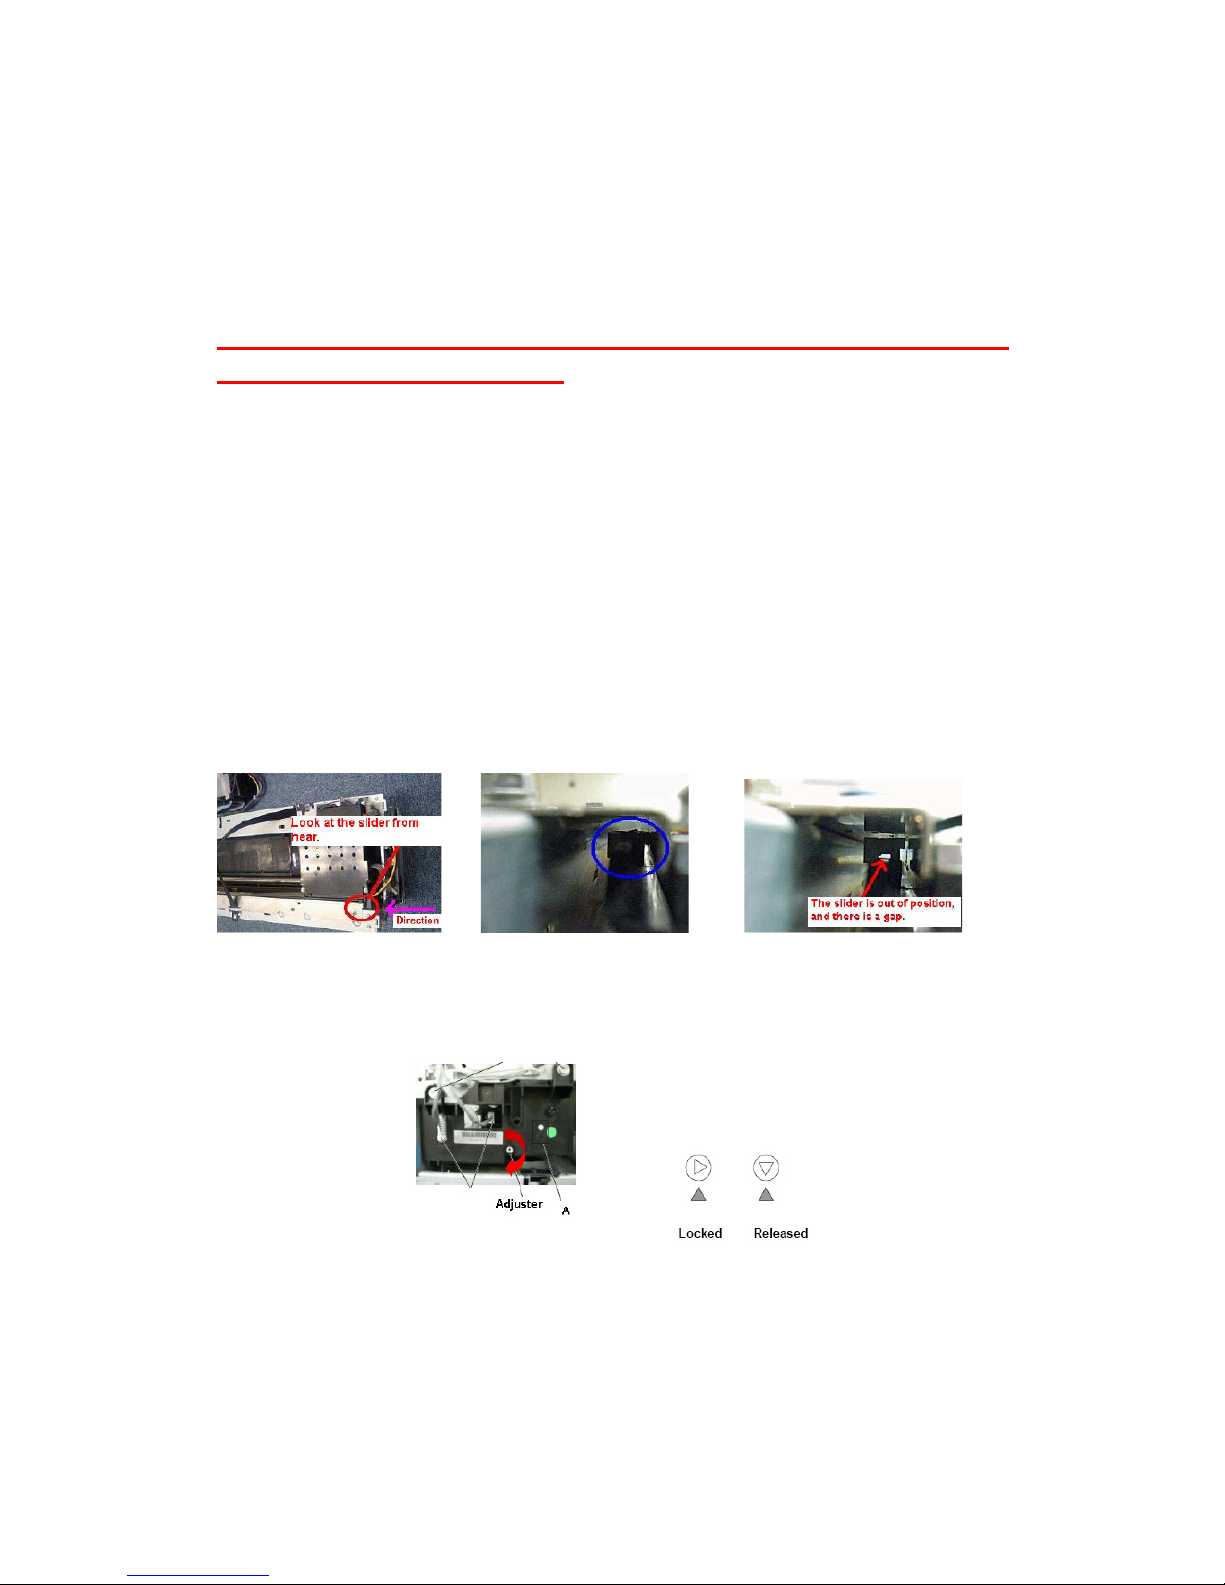
2. Make sure the carriage slide is in the correct position. If it is not then,
as previously the heads will not cap correctly, thus drying out. Use
the following guide to check and adjust.
Correct position Incorrect position
Release the lock for the maintenance unit. To do this turn the adjuster clockwise until the
heads of the triangles line up.
Slide the carriage until the small white part in the photo lines up with the hole.

Lift up the carriage unit and insert a small slot screwdriver into the hole and push until
you hear a click.
If the carriage slide is out of position you may get SC202 and/or jams in
areas A/C.
3. If the machine is installed in an environment with a relative humidity
of 15% or less, the ink will dry out quicker, as this is outside of the
machines operational specification and the machine will have to be
moved to a more suitable environment.
4. If the symptom occurs during regular use, then set SP2 508 001
(Exhalation Interval Change) to a value of 1 (every 15 seconds), also
do ONE of the following:
Set bit 6 of SP3 112 004 (print mode setting1) to a value of 1.
Ink mist can easily be generated when using paper with a high surface
impedance such as recycled paper. This mist can clog the nozzles.
Or
Change the setting of SP3 112 004 (print mode setting 4), so that auto
shading is performed more often.
xxxxx000: Default (1 time per approx 300 pages)
xxxxx001:1.3 times
xxxxx002:2 times
xxxxx003:4 times
xxxxx004:10 times. Remember, the more times it cleans, the
slower the print.
5. Each visit, clean the maintenance unit, if you have tried all of the
above you may have to replace the maintenance unit.
Smudged images
This is usually caused when the customer copies or prints onto unsuitable
paper. If the paper is not absorbent enough, the ink cannot dry before the
print head returns. Unfortunately there is no hard and fast rule as to the type
of paper that should be used - it is just a matter of trial and error.
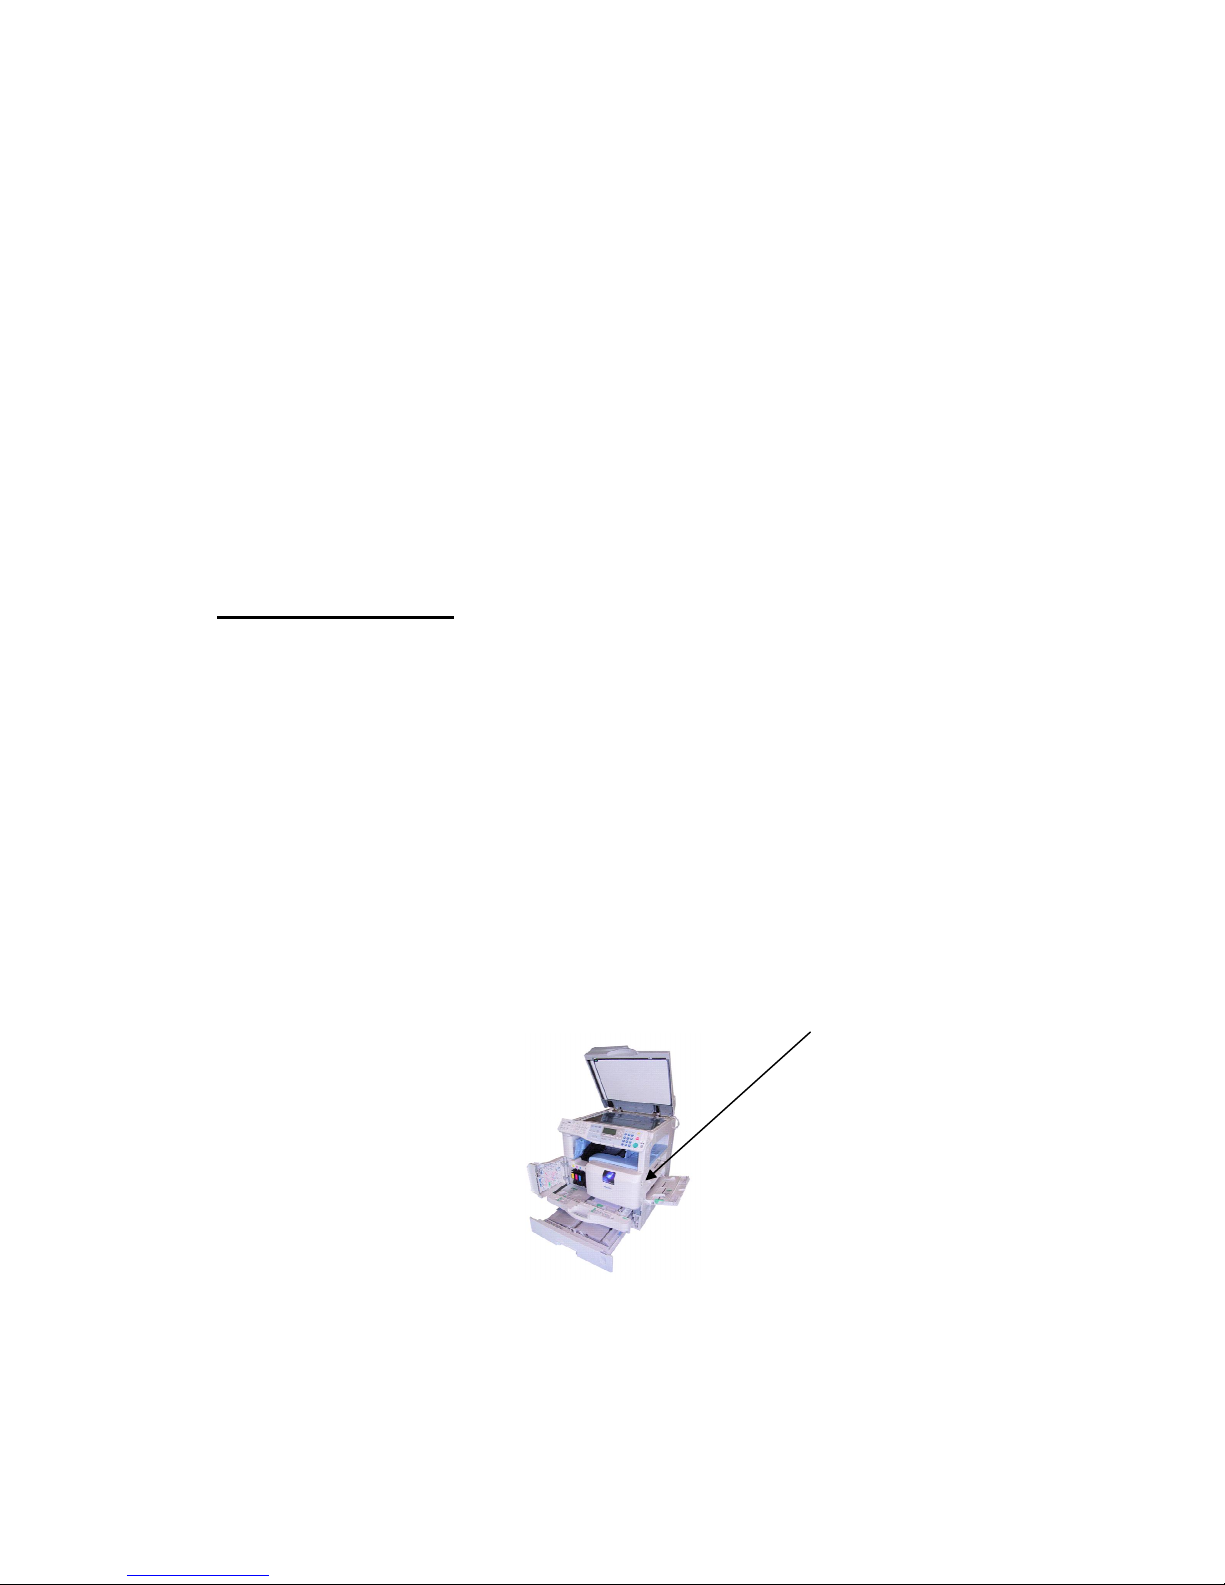
Smudged copies can also occur if the paper is too thick. This product is able
to feed up to 105gms from the trays, 162gms from the bypass and 220gms
from the one sheet bypass. If the customer is using 220gms paper, then the
envelope lever may have to be used (in the down position), this will raise the
print head by about 2mm giving more clearance. Make sure the lever is put
back to normal (up position) as this may cause quality issues when using
normal paper.
Envelope lever
 Loading...