

Ricoh G222 Maintenance Manual
Printer Maintenance Kit Type 7100A/Type 7100F
R
R
(Code: G222)
MAINTENANCE GUIDE
WARNING:
• Do not incinerate spilled toner
or used toner. Toner dust is
flammable and might ignite
when exposed to an open
flame. Disposal should take
place at an authorized dealer
or an appropriate collection
site. If you dispose of the used
toner containers yourself, dispose of them according to local regulations.
CAUTION:
• The inside of the machine becomes very hot. Do not touch the
parts with a label indicating a
"hot surface". Touching a "hot
surface" could result in a burn.
• Keep toner (used or unused) and
the toner cartridge out of reach
of children.
• Our products are engineered to
meet the highest standards of
quality and functionality. When
purchasing expendable supplies, we recommend using only
those provided by an authorized
dealer.
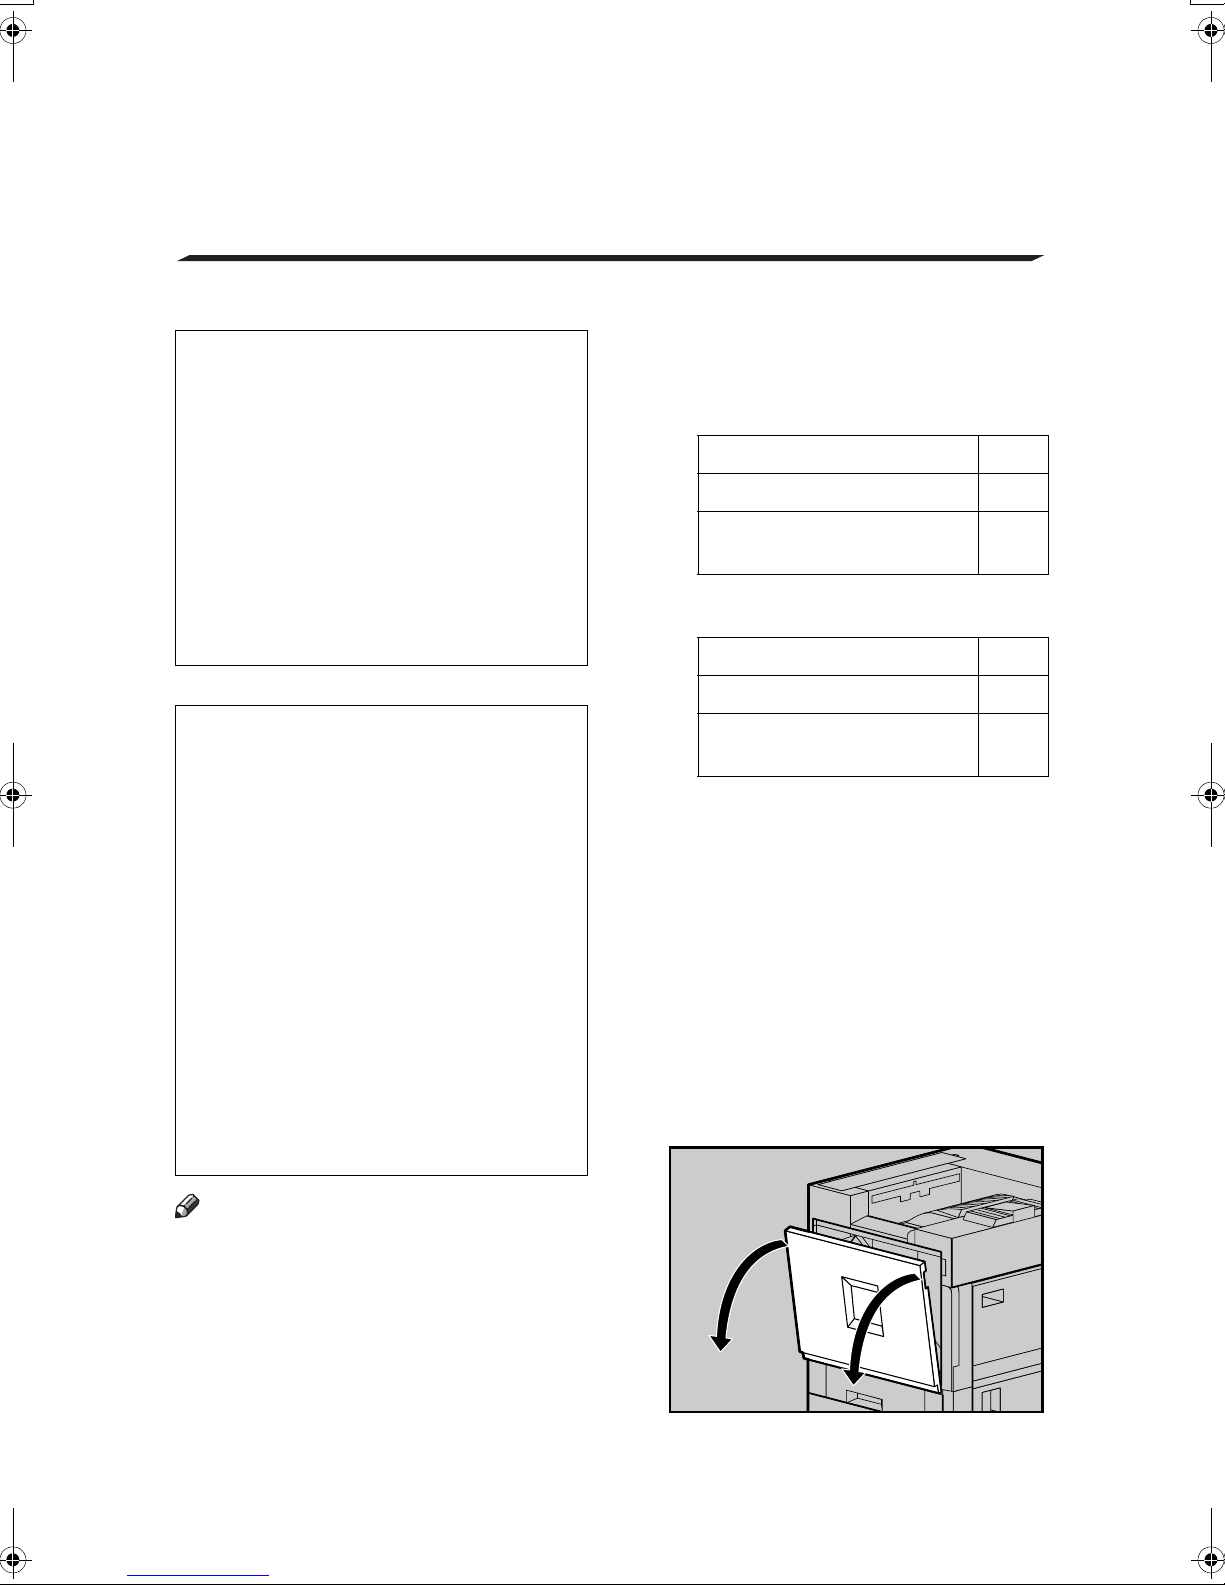
A Check the contents of the box for
the following items:
❖ Type 7100A
Description Q'ty
Photoconductor Unit (CMY) 3
Maintenance Guide (This
manual)
1
❖ Type 7100F
Description Q'ty
Photoconductor Unit (K) 1
Maintenance Guide (This
manual)
1
B Be sure to check the following
points:
• The power is turned off.
• The power cord is unplugged
from the wall outlet.
• The interface cable is unplugged from the printer.
C Slowly open the front cover by
pulling on the two areas on the
left and right.
Note
❒ The replacement procedure for the
third photoconductor unit from
the top left will be described. The
procedure is the same for all four
photoconductor units.
ZDJH007J
1
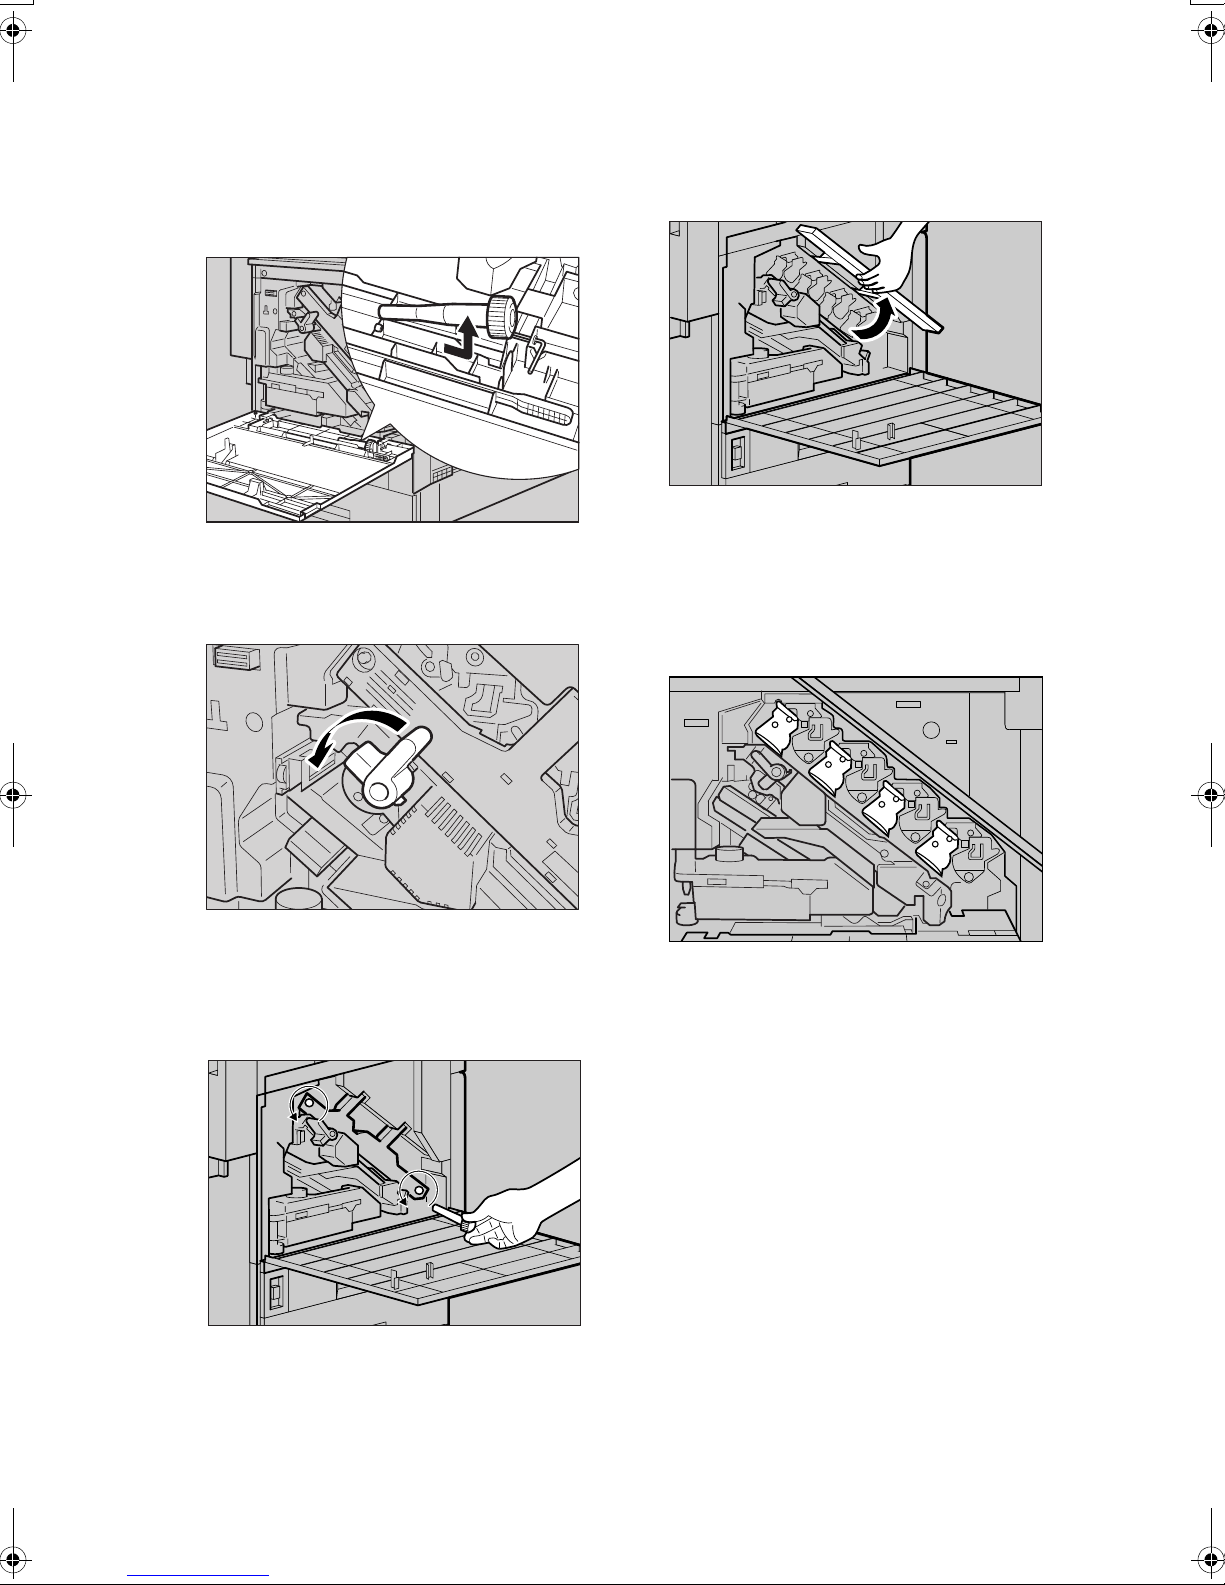
D Remove the green screwdriver.
Use this screwdriver for all attachment and detachment of screws.
G Lift the inner cover until it clicks
into place and holds.
ZHXH460J
ABT020S1
E Turn the green lever counter-
clockwise.
ZHXH410J
F Loosen the two screws fastening
the inner cover, using the provided screwdriver.
The photoconductor units are installed as shown. Starting from the
upper left, the units are attached in
the order of black (K), yellow (Y),
cyan (C), and magenta (M).
ZHXH470J
H Remove the photoconductor unit
you want to replace.
For black, remove the upper left
one, and for color, remove the
three on the right.
You cannot remove these two
screws.
2
ZHXH430J
 Loading...