

Ricoh D2200 Operating Instructions Manual

Operating Instructions
For safe and correct use, be sure to read the Safety Information in Read This First before using the machine.


TABLE OF CONTENTS
Introduction......................................................................................................................................................... 6
How to Read This Manual................................................................................................................................. 7
Symbols...........................................................................................................................................................7
Disclaimer........................................................................................................................................................7
Notes...............................................................................................................................................................7
Terminology........................................................................................................................................................ 8
Precautions for Use.............................................................................................................................................9
Handling This Product.................................................................................................................................... 9
Wireless Networking..................................................................................................................................... 9
Cleaning....................................................................................................................................................... 10
Copyright Notice......................................................................................................................................... 10
1. Overview
Things You Can Do with Interactive Whiteboard.......................................................................................... 11
Screen Configuration.......................................................................................................................................16
Screen Display Modes.................................................................................................................................... 18
Icons Displayed on the Interactive Whiteboard............................................................................................ 19
Operating the Screen...................................................................................................................................... 25
Inserting a USB Flash Memory Device...........................................................................................................27
2. Using a Whiteboard
Basic Operations..............................................................................................................................................29
Writing on the Screen..................................................................................................................................29
Deleting Strokes........................................................................................................................................... 33
Enlarging, Reducing, or Moving the Strokes.............................................................................................39
Cutting, Copying, or Pasting Strokes......................................................................................................... 40
Changing the Display Magnification/Moving the Display Area............................................................42
Undoing Operations....................................................................................................................................45
Operating a Page............................................................................................................................................ 46
Adding a Page.............................................................................................................................................46
Deleting a page........................................................................................................................................... 47
Turning Pages...............................................................................................................................................48
Operating a File............................................................................................................................................... 49
Saving Pages................................................................................................................................................49
Saving Pages Temporarily.......................................................................................................................... 52
1

Importing a File............................................................................................................................................ 53
Importing a Temporarily Saved File........................................................................................................... 56
Sending Pages by E-mail............................................................................................................................ 59
Specifying Destinations............................................................................................................................... 62
Printing.......................................................................................................................................................... 65
Linking with a Smart Device........................................................................................................................ 67
3. Connecting Devices
Devices That Can Be Connected to the Machine..........................................................................................69
Connecting a Computer or Tablet to the Machine........................................................................................71
Connecting a Video Conferencing Device to the Machine..........................................................................73
Sharing the Whiteboard Screen in a Video Conference..........................................................................74
Using a Projector to Project a Screen............................................................................................................. 76
4. Connecting to a Video Conference
Using the RICOH UCS Function......................................................................................................................79
Installation Requirements.............................................................................................................................80
Preparing for Use.........................................................................................................................................82
Holding a Meeting...................................................................................................................................... 83
What you can do during a meeting........................................................................................................... 84
Specifying the Settings.................................................................................................................................86
5. Using the Web Page of the Machine
Things You Can Do on the Web Page........................................................................................................... 89
Displaying the Top Page............................................................................................................................. 89
Downloading Temporarily Saved Files.......................................................................................................... 91
Managing Temporarily Saved Files............................................................................................................... 93
Opening Administrator Settings...................................................................................................................... 95
6. Using the Machine to Perform Operations on a Computer Screen
IWB Remote Desktop Software Overview.....................................................................................................97
Downloading IWB Remote Desktop Software.............................................................................................. 98
Installing IWB Remote Desktop Software.......................................................................................................99
Uninstalling IWB Remote Desktop Software............................................................................................... 101
Using IWB Remote Desktop Software to Perform Operations on a Computer Screen........................... 102
7. Using a Remote Whiteboard to Share the Screen
Overview of Remote Whiteboard................................................................................................................ 105
2

Opening a Remote Whiteboard Session.....................................................................................................107
Opening a Remote Whiteboard Session in Compatible Mode............................................................109
Closing a Remote Whiteboard Session....................................................................................................... 111
Participating in a Remote Whiteboard Session...........................................................................................112
Participating from the Interactive Whiteboard........................................................................................112
Participating from the Web Browser........................................................................................................115
Participating from Remote Viewer............................................................................................................116
Leaving a Remote Whiteboard Session.......................................................................................................119
Checking the Remote Whiteboard Information...........................................................................................120
8. Changing the Interactive Whiteboard Settings
Changing the Detailed Settings.................................................................................................................... 123
Displaying the Desktop..................................................................................................................................125
Icons on the Desktop.................................................................................................................................125
Opening General Settings............................................................................................................................ 126
General Settings Icons.............................................................................................................................. 126
Opening Administrator Settings....................................................................................................................127
Administrator Settings................................................................................................................................128
Configuring Network Settings.......................................................................................................................132
Configuring Wireless Network Settings.......................................................................................................134
Setting the Date and Time............................................................................................................................. 136
Configuring Region and Language Settings................................................................................................137
Adding or Deleting Your Remote License.................................................................................................... 138
Adding Your Remote License....................................................................................................................138
Deleting a Remote License........................................................................................................................138
Configuring SMTP Server Settings............................................................................................................... 140
Settings for Using the Mail to Print Function............................................................................................ 140
Managing a Remote Contact List................................................................................................................. 142
Creating a Remote Contact List................................................................................................................ 142
Adding a Remote Contact List.................................................................................................................. 144
Exporting a Remote Contact List...............................................................................................................145
Managing an Email Address Book.............................................................................................................. 146
Creating an Email Address Book............................................................................................................. 146
Adding an Email Address Book............................................................................................................... 148
3

Exporting an Email Address Book............................................................................................................149
Managing a Shared Folder List....................................................................................................................150
Creating a Shared Folder List...................................................................................................................150
Importing a Shared Folder List................................................................................................................. 153
Exporting a Shared Folder List................................................................................................................. 154
Collecting Logs...............................................................................................................................................155
Saving the Log to a USB Flash Memory Device..................................................................................... 156
Attaching the Log to E-mail.......................................................................................................................156
Updating Your System...................................................................................................................................158
Updating the System Using a USB Flash Memory Device.....................................................................158
Changing the System Settings.......................................................................................................................160
Changing the Security Settings.....................................................................................................................167
Changing the Print Settings........................................................................................................................... 170
Changing the Video Conference Settings....................................................................................................172
Managing Devices Connected via Bluetooth..............................................................................................173
Adding a device........................................................................................................................................173
Deleting a device.......................................................................................................................................173
Managing the Device Settings......................................................................................................................174
Performing a Configuration Settings Backup.......................................................................................... 175
Restoring Configuration Settings.............................................................................................................. 176
Synchronizing Settings on Multiple Whiteboards.................................................................................. 177
Restoring the Factory Default Settings..........................................................................................................178
9. Troubleshooting
If a Message is Displayed during Operation..............................................................................................179
If an Error Message is Displayed during Startup....................................................................................179
Error Messages Related to Drawing/Editing/Erasing Strokes............................................................. 180
Error Messages Related to Remote Whiteboard....................................................................................180
Error Messages Related to PDF File Importing/Saving......................................................................... 183
Error Messages Related to Temporarily Saved Files..............................................................................191
Error Messages Related to the RICOH UCS Function............................................................................191
Error Messages Related to the Authentication Function Using RICOH Streamline NX....................... 194
Error Messages Related to the System.................................................................................................... 195
Error Messages Related to Configuration Settings.................................................................................196
4

Error Messages Related to Web Page.................................................................................................... 198
Other Error Messages...............................................................................................................................199
Error Massages Related to IWB Remote Desktop Software..................................................................200
When You Cannot Use the Interactive Whiteboard As You Want........................................................... 202
When Turning the System On/Off.......................................................................................................... 202
When Displaying an Image..................................................................................................................... 203
When Using the System as a Whiteboard.............................................................................................. 203
When Using the System as a Monitor..................................................................................................... 204
While Using Remote Whiteboard............................................................................................................205
When Using a USB Flash Memory Device............................................................................................. 205
When Accessing the Web Page.............................................................................................................. 206
When Printing............................................................................................................................................ 207
When Exporting or Importing Registration Data.................................................................................... 207
When Synchronizing Device Settings......................................................................................................209
10. Appendix
Managing the Machine with RICOH Streamline NX................................................................................. 211
Preparing for Use...................................................................................................................................... 211
Logging in.................................................................................................................................................. 212
Logging out................................................................................................................................................ 213
Using the Crestron Function.......................................................................................................................... 214
Using Remote Viewer.................................................................................................................................... 215
Installing Remote Viewer on a Computer................................................................................................216
Uninstalling Remote Viewer from the Computer..................................................................................... 217
Changing the Display Magnification of Remote Viewer........................................................................217
Configuring the Remote Viewer Settings................................................................................................. 218
Creating a Remote Contact List................................................................................................................ 219
Maintenance..................................................................................................................................................221
Cleaning the Display.................................................................................................................................221
List of Video Input Signals Supported by the Machine...............................................................................222
Specifications................................................................................................................................................. 227
Trademarks.....................................................................................................................................................231
5

Introduction
This manual contains detailed instructions and notes on the operation and use of this machine. For your
safety and benefit, read this manual carefully before using the machine. Keep this manual in a handy
place for quick reference.
6
How to Read This Manual
Symbols
This manual uses the following symbols:
Indicates points to pay attention to when using the software. Be sure to read these explanations.
Indicates supplementary information that you may find helpful, but not essential to completing a task.
[ ]
Indicates the names of screens, menus, settings, and buttons.
Disclaimer
To the maximum extent permitted by applicable laws, in no event will the manufacturer be liable for any
damages whatsoever arising out of failures of this machine, losses of the registered data, or the use or
non-use of this product and operation manuals provided with it.
Make sure that you always copy or have backups of the data registered in this machine. Documents or
data might be erased due to your operational errors or malfunctions of the machine.
In no event will the manufacturer be responsible for any documents created by you using this machine or
any results from the data executed by you.
Notes
Contents of this manual are subject to change without prior notice.
Some illustrations or explanations in this guide may differ from your product due to improvement or
change in the product.
The manufacturer shall not be responsible for any damage or expense that might result from the use of
parts other than genuine parts from the manufacturer with your office products.
Two kinds of size notation are employed in this manual.
7

Terminology
This section explains the terms used in this manual.
Captured page
A page captured to the machine.
Stroke
A line can be drawn with your fingers. A stroke starts when you start drawing and ends when your
finger is moved away from the surface of the screen.
8

Precautions for Use
Handling This Product
Observe the following points when moving the machine:
• Turn off the machine and remove the AC adapter from the AC outlet.
• Remove all the connector cables connected to the machine.
When carrying the machine by hand
When traveling by plane, take this machine onboard as carry-on luggage.
When Transporting the Machine
This machine contains a large number of glass and precision parts. Observe the following points to
prevent the machine from being damaged by excessive shock:
• Wrap the machine in cushioning material to prevent it from being directly exposed to shock.
• Put the machine and its parts in a sturdy cardboard box or the original package that
contained this machine when you purchased it. When using the original package, replace the
cushioning material with material of the appropriate size.
• Inform the carrier that the machine is a piece of precision equipment.
• For more information about transporting the machine, consult your carrier.
Avoid contact with rubber and plastic materials for an extended period of time. Doing so may lead to
discoloration or cause the exterior coating to peel off.
Do no use this machine for an extended period of time. Doing so may lead to failure or shorten the
product life.
Wireless Networking
• This product features a certified construction. Disassembling or modifying this product without
permission may be punishable by law.
• Before using a wireless LAN, make sure there is nobody with a pacemaker nearby. This product
may cause pacemakers to malfunction due to electromagnetic interference.
• Before using a wireless LAN, make sure there is no medical equipment nearby. This product may
cause medical equipment to malfunction due to electromagnetic interference.
• Before using a wireless LAN, make sure there are no limitations or restrictions in the place you will
be using it. There may be restricted use in places such as medical facilities due to electromagnetic
interference.
9

• Do not use a wireless LAN if there is electromagnetic interference from other equipment. Doing so
may cause an accident due to the other equipment malfunctioning from the electromagnetic
interference.
Cleaning
• Never use benzene or thinner to clean the machine. Doing so may lead to deformation,
discoloring, or cause the exterior coating to peel off.
• Do not use a chemically treated cloth.
• Periodically remove the dust that accumulates in the air outlet. If the air outlet becomes clogged, the
flow of air inside the machine decreases. Poor air flow can result in failure.
Copyright Notice
Using this machine to perform any of the following acts, without permission from the copyright holder,
for purposes other than personal use may constitute an infringement on the copyright and/or
neighboring rights of the commercial video software or cable broadcasting program. These acts include
broadcasting or transmitting commercial video software or cable broadcasting programs, modifying
videos, such as by freezing, or resizing videos to be displayed in an aspect ratio different from the
original. To avoid the risk of possible infringement, we advise you to obtain permission from the
copyright holder and take all other measures necessary before performing any of the above-mentioned
acts.
10
1. Overview
DQS044
DQS024
DQS025
This chapter provides an overview of the whiteboard function of RICOH Interactive Whiteboard
products. It also explains how to view the screen.
Things You Can Do with Interactive Whiteboard
You can use the Interactive Whiteboard in a variety of ways to fit your needs.
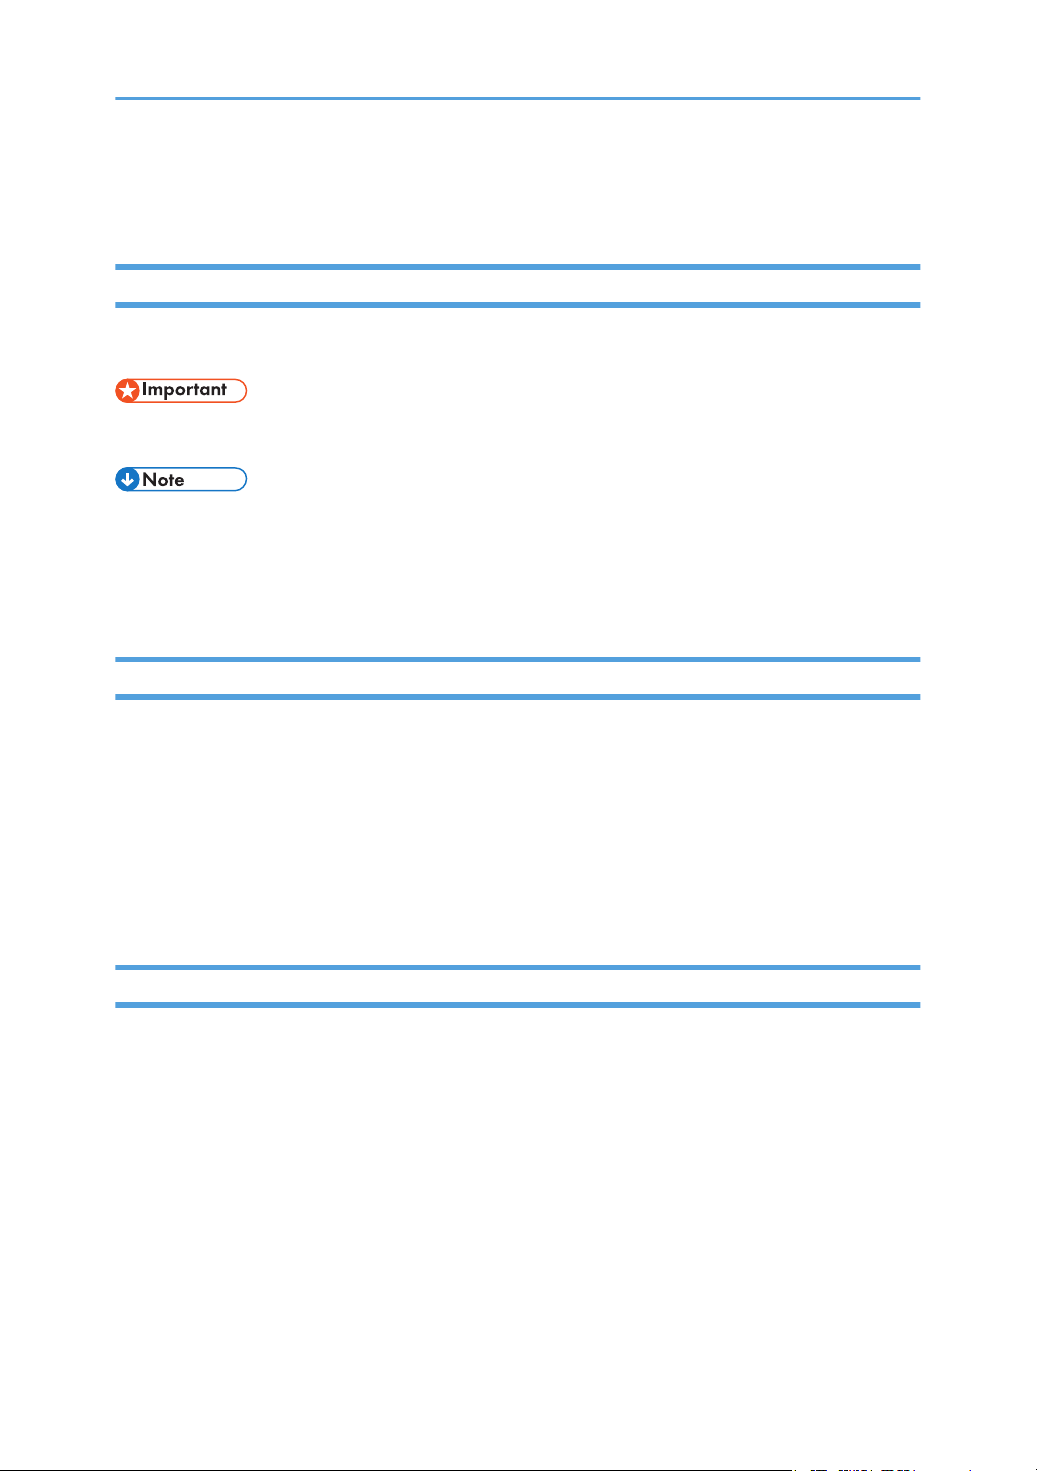
Use a Whiteboard
This chapter provides an overview of the
whiteboard function of Interactive Whiteboard
products. It also explains how to view the screen.
In addition to drawing freehand lines, you also can
convert freehand-written characters to text data,
correct or align freehand-drawn circles and lines,
and enter stamps and figures by selecting them from
the list.
See page 29 "Writing on the Screen".
Operate pages
You can add or delete pages. You can switch
between pages to write, draw, or edit text and
figures. You also can change the display
magnification of the displayed page.
See page 46 "Operating a Page".
Save pages
You can combine all the pages within a single PDF
file. This file can be saved to a USB flash memory
device or sent by e-mail. You also can temporarily
save the page you are currently using on the solidstate drive of the machine.
See page 49 "Saving Pages".
See page 59 "Sending Pages by E-mail".
See page 52 "Saving Pages Temporarily".
11

DQS033
DQS026
DQS027
1. Overview
Print pages
You can print the currently displayed page or all
pages.
See page 65 "Printing".
Import a file and write text or draw figures
You can import and display a PDF or PowerPoint file
on the screen, and write text or draw figures on the
displayed file.
See page 53 "Importing a File".
Display the screen of a computer and write text or
draw figures
You can display an image from a computer, tablet,
or document camera. You can also write text or
draw figures on the image that is displayed.
See page 71 "Connecting a Computer or Tablet
to the Machine".
12
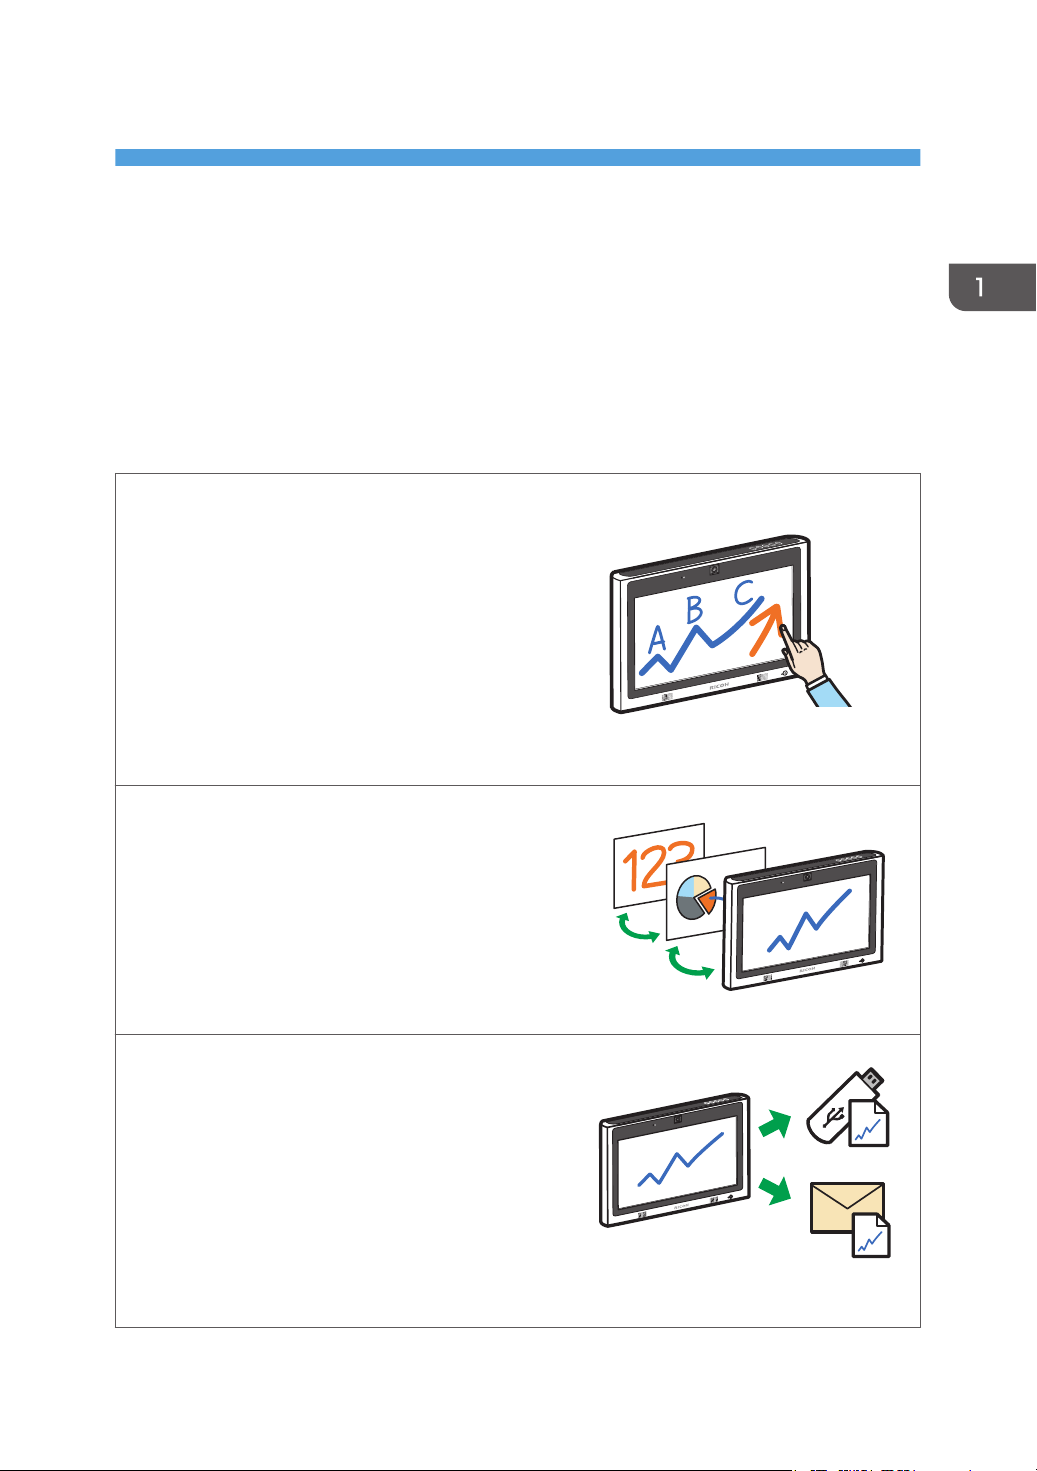
Use Video/Audio devices
DQS034
DSR001
You can display an image from a video
conferencing device or share the screen image of
the machine with other devices at remote locations
(RICOH UCS screen sharing). You also can use a
projector to project the screen of the machine.
See page 73 "Connecting a Video Conferencing
Device to the Machine".
See page 74 "Sharing the Whiteboard Screen in
a Video Conference".
See page 76 "Using a Projector to Project a
Screen".
See page 173 "Managing Devices Connected via
Bluetooth".
Connect to a video conference
You can use RICOH UCS-based video conferencing
to hold a meeting via a built-in camera,
microphone, and speaker.
Things You Can Do with Interactive Whiteboard
See page 79 "Connecting to a Video
Conference".
13
DQS048
DQS029
1. Overview
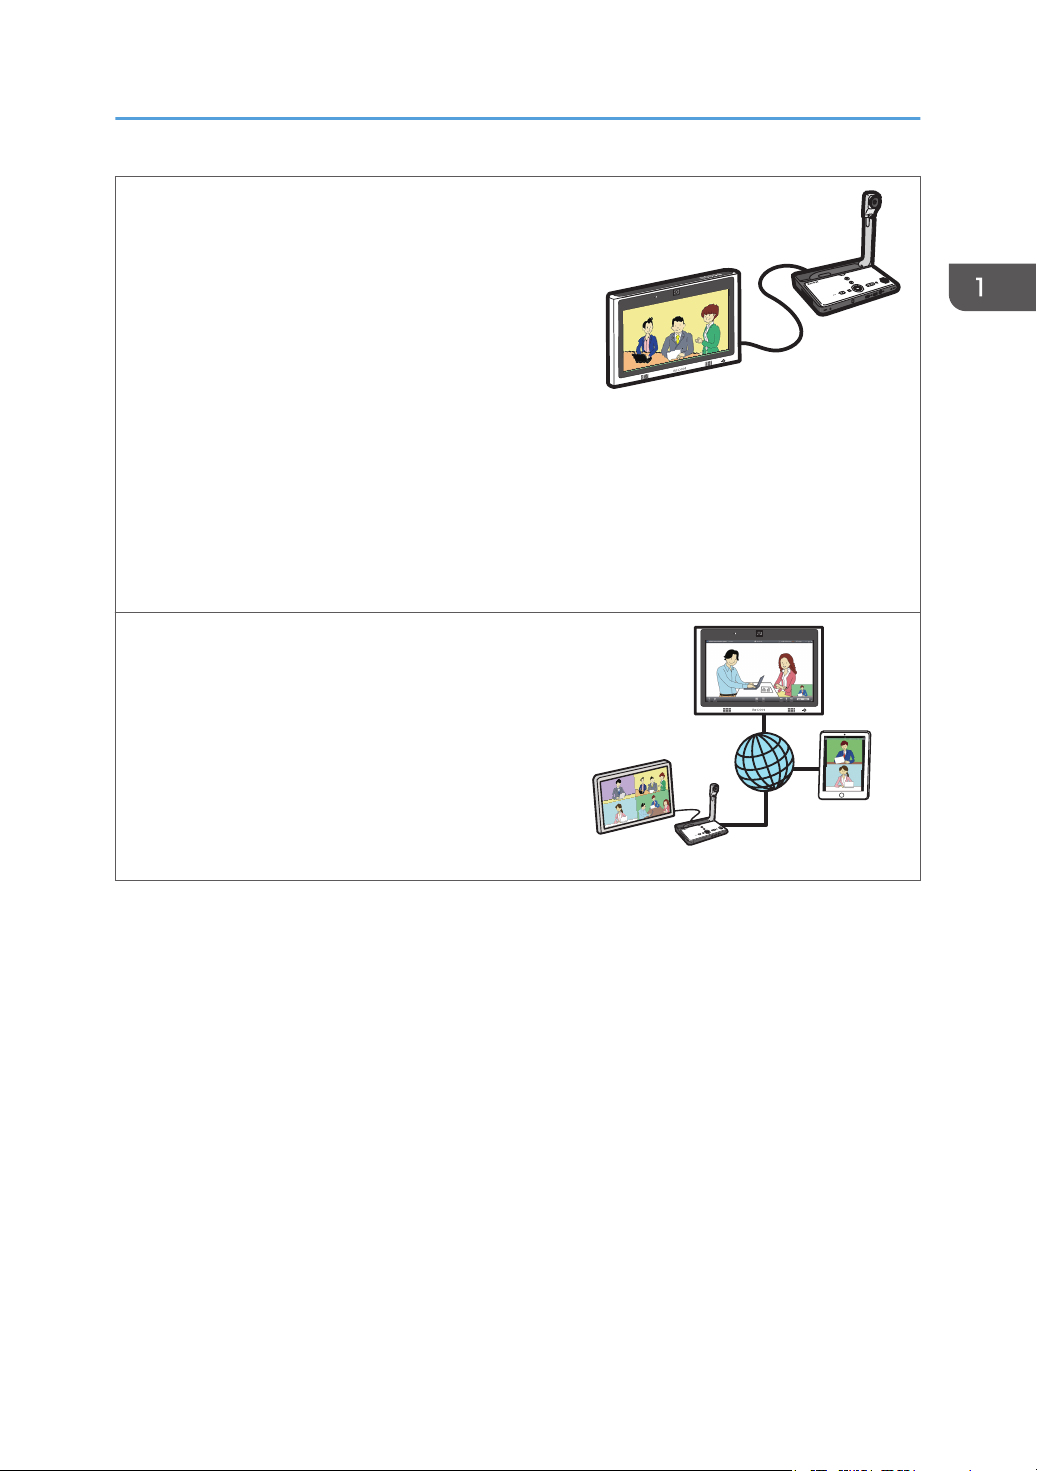
Share a screen with other devices via remote
whiteboard
You can share a screen with multiple devices
connected via a network. You can also perform
operations on the shared screen.
See page 105 "Using a Remote Whiteboard to
Share the Screen".
See RICOH Interactive Whiteboard Client Start
Guide.
View the screen of a remote whiteboard session
You can view the screen of a remote whiteboard
session.
See page 115 "Participating from the Web
Browser".
See page 116 "Participating from Remote Viewer".
Upload image files to the machine
Photos taken with a smart device or stored image
files can be uploaded to the machine.
See RICOH Interactive Whiteboard Client Start
Guide.
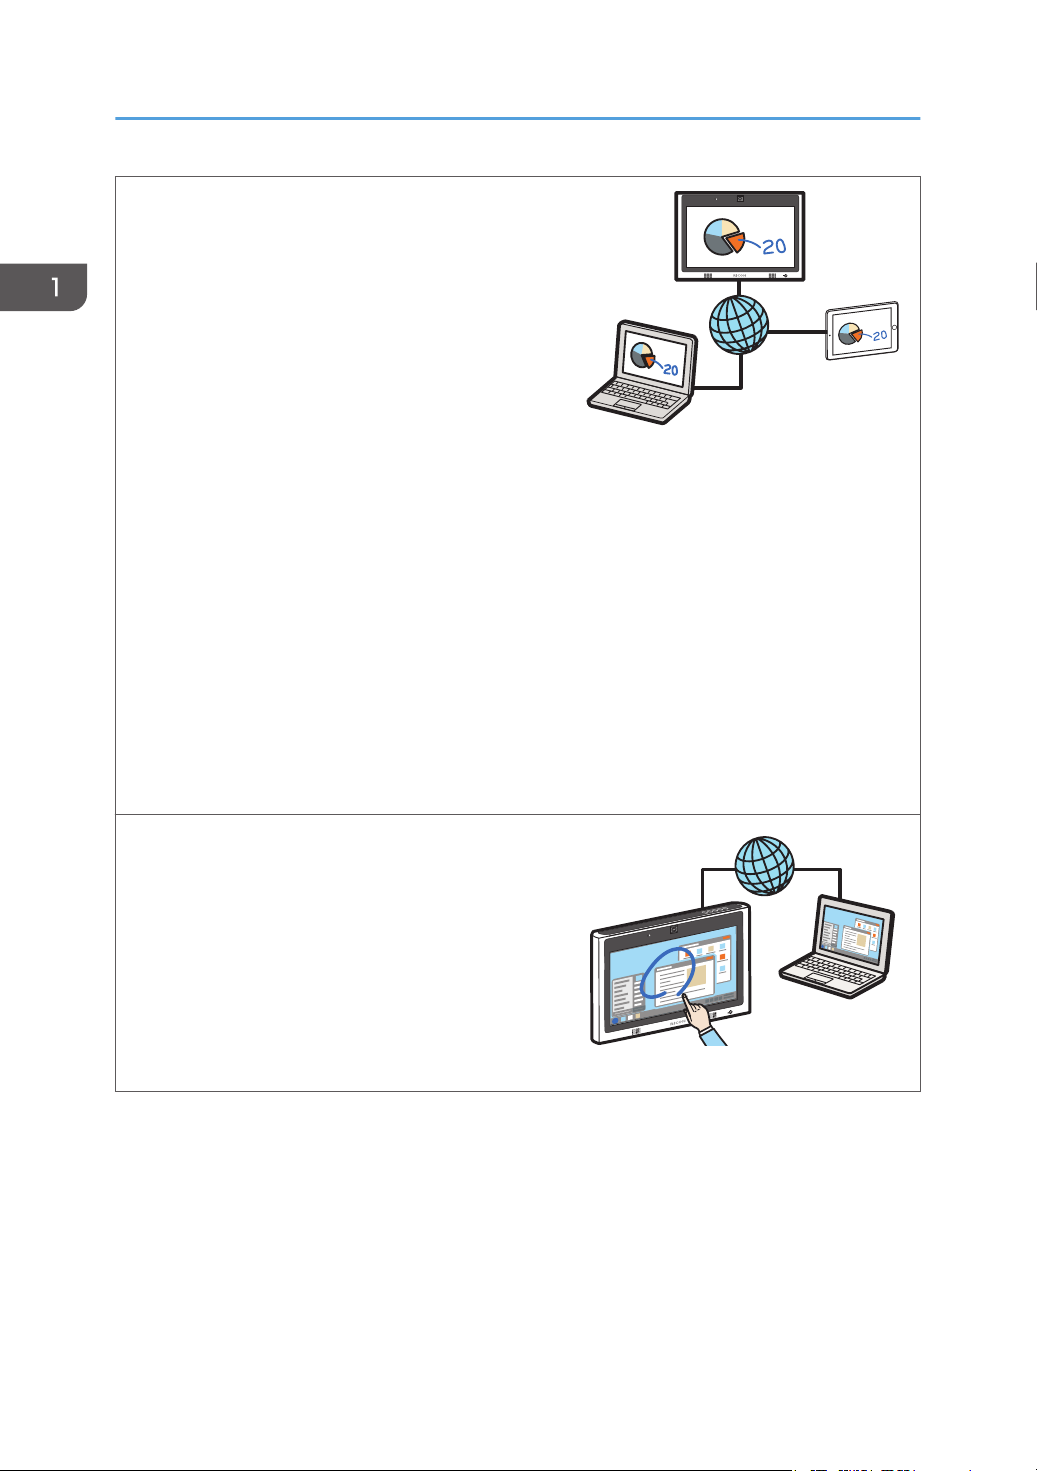
Display the screen of a computer connected via a
network
You can use IWB Remote Desktop Software to
display the screen of a computer connected via a
network. You can also operate the computer from
the machine.
See page 102 "Using IWB Remote Desktop
Software to Perform Operations on a Computer
Screen".
14
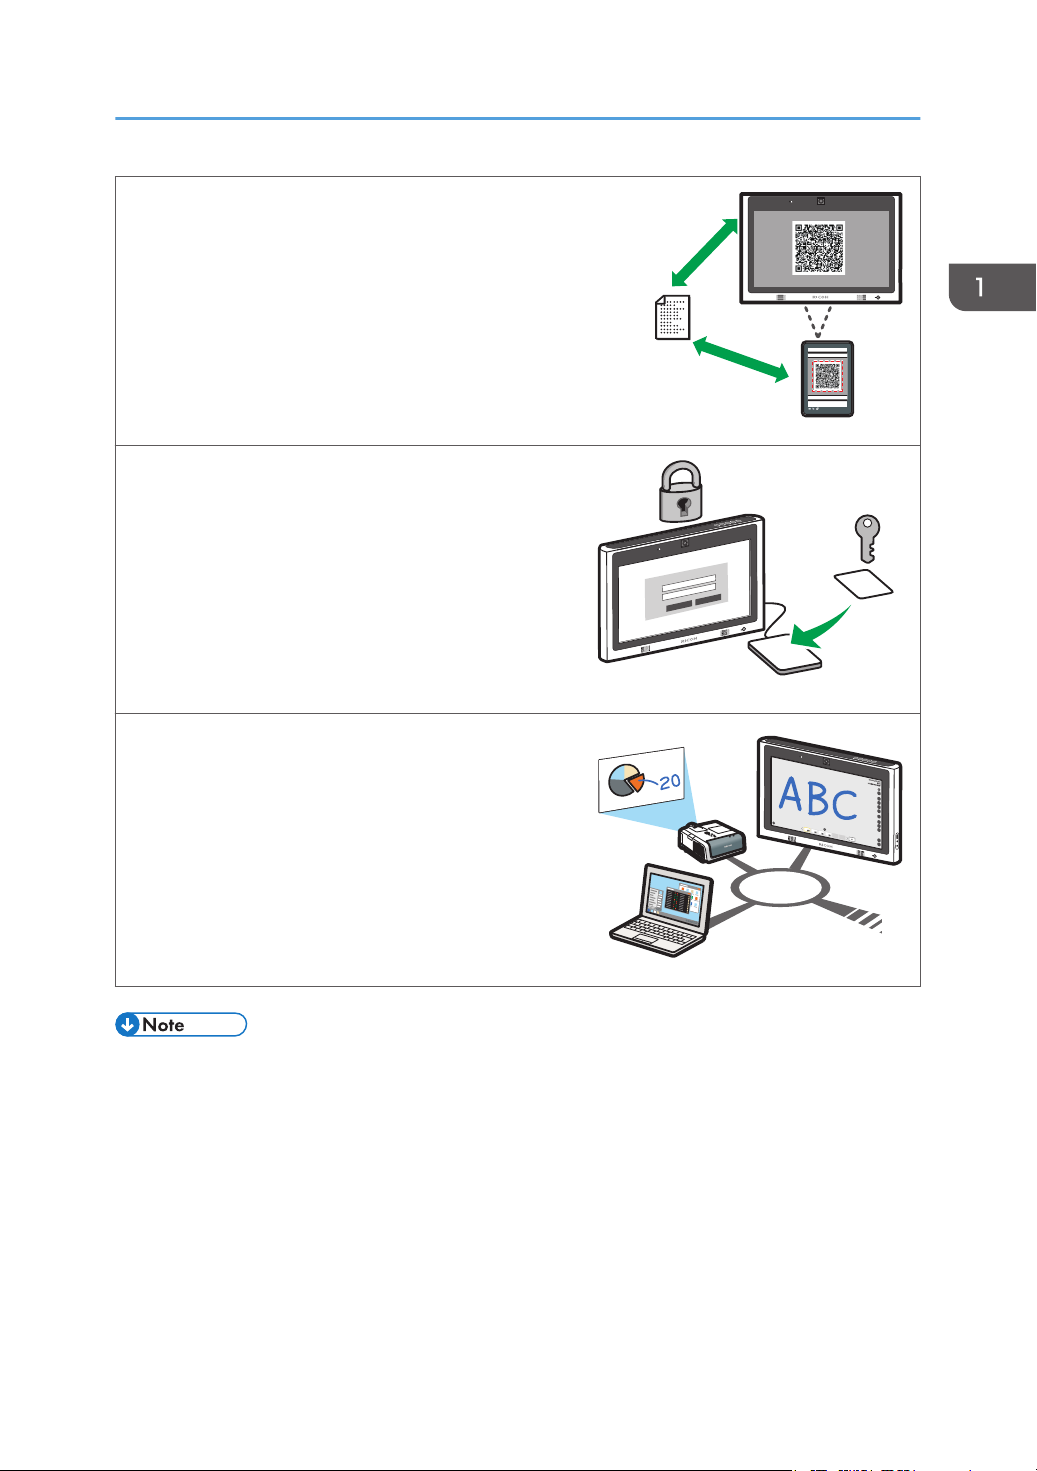
Link with a smart device to display or save files
DQS049
DSQ002
DQS045
By scanning the QR code that is displayed on the
machine by a smart device, you can display the files
shown on a smart device on the machine or save the
pages displayed on the machine in the smart device.
See page 67 "Linking with a Smart Device".
Manage the machine with RICOH Streamline NX
You can use the RICOH Streamline NX-based
integrated management system to manage the
machine by using an IC card- or keyboard inputbased authentication function.
See page 211 "Managing the Machine with
RICOH Streamline NX".
Things You Can Do with Interactive Whiteboard
Control IWB from Crestron system
As a Crestron supported device, you can connect
and control the machine from Crestron system.
See page 214 "Using the Crestron Function".
• Before using this machine, configure the time, date, network, and other settings. For details about
these settings, see Opening Administrator Settings.
15
5 4
3
1
2
DSR007
1. Overview
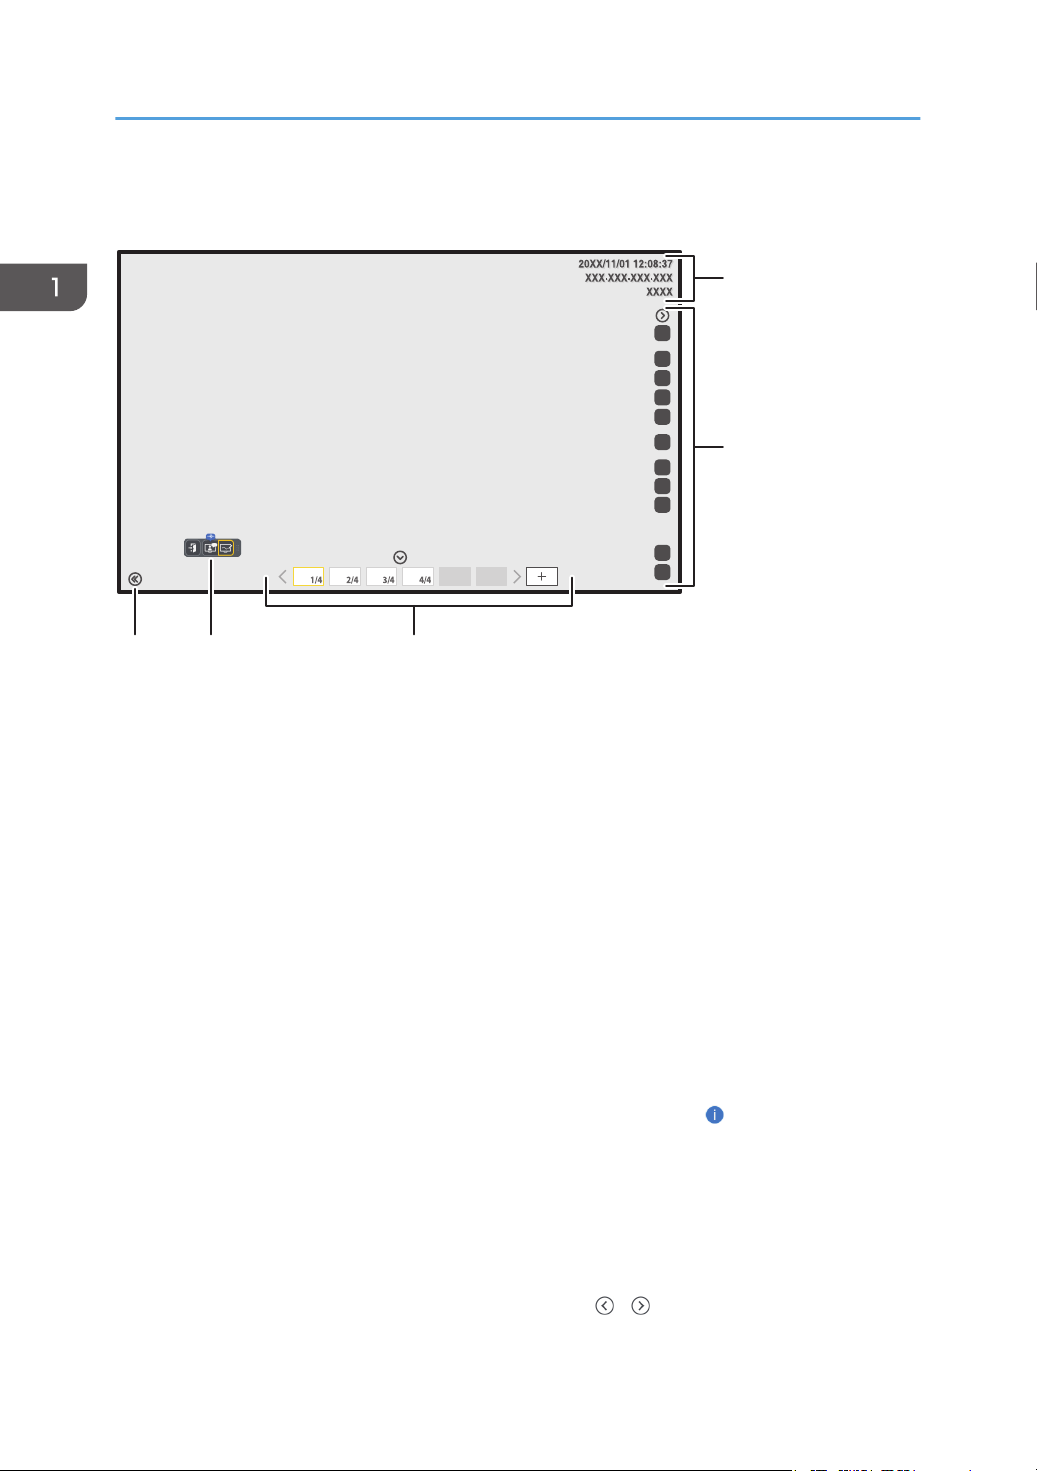
Screen Configuration
1. Information display area
This area displays the following information:
• Date and time
This area displays the current date and time.
The date and time can be changed in Administrator Settings. For details about how to change the date
and time, see page 136 "Setting the Date and Time".
• Host name
Indicates the host name of this machine. If no host name is specified, this area is blank. The host name is
displayed only when information about this machine is registered in a reverse record on the DNS server.
• IP address
Indicates the IP address of this machine.
• Passcode
Indicates the passcode. The passcode is used to join in a remote whiteboard session. In the administrator
settings, you can choose whether to manually enter or automatically set the passcode when the machine
starts up. For details about changing the settings, see page 167 "Changing the Security Settings".
The host name, IP address, and passcode can be shown or hidden by pressing , the Information display
icon. The information is automatically hidden one minute after it is displayed by selecting this icon. To continue
displaying the information, change the security settings in Administrator Settings. For details about how to
change the settings, see page 167 "Changing the Security Settings".
2. Main operation panel
The icons in this area are used to draw a stroke and perform various other operations on the screen. For
details about the icons displayed, see page 19 "Icons Displayed on the Interactive Whiteboard".
The main operation panel can be shown or hidden by pressing / , the Show and Hide icons.
16
Screen Configuration
3. Page operation panel
The icons and thumbnails in this area are used to switch and edit pages. For details about the icons displayed,
see page 19 "Icons Displayed on the Interactive Whiteboard".
While an externally input image is displayed, the Page operation panel will disappear automatically if no
operations are performed for 10 seconds.
The page operation panel can be shown or hidden by pressing / , the Show and Hide icons.
4. Floating toolbar
The floating toolbar is displayed only when the RICOH UCS function is enabled. For details about the RICOH
UCS function, see page 79 "Using the RICOH UCS Function".
You can change the position of the floating toolbar.
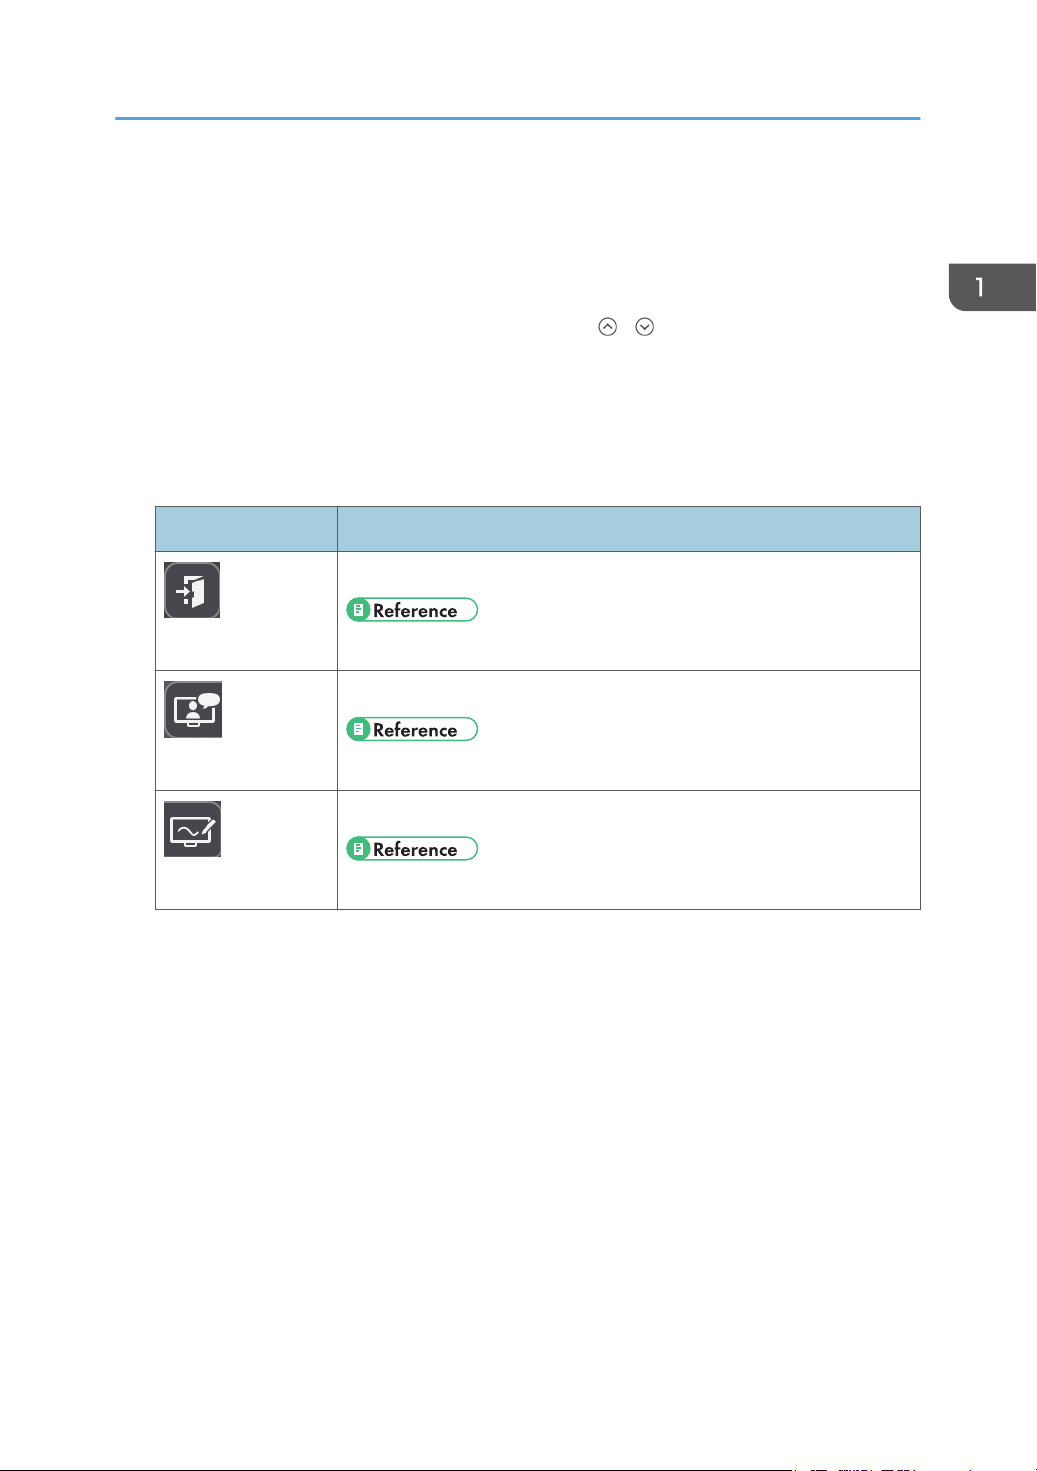
The floating toolbar contains the following icons:
Icon Description
Changes the machine to the standby mode.
Standby
• page 18 "Screen Display Modes"
Switches to RICOH UCS mode.
RICOH UCS
• page 79 "Using the RICOH UCS Function"
Switches the screen to whiteboard mode.
Whiteboard
5. Move the main operation panel icon
Moves the main operation panel to the opposite side. The IP address, passcode, and date and time also move
together with the panel.
By default, this icon is located on the bottom-left corner of the screen. When the main operation panel is
moved to the left, the icon moves to the bottom-right corner of the screen.
• page 18 "Screen Display Modes"
17

1. Overview
Screen Display Modes
You can switch the screen display mode only when the RICOH UCS function is enabled. For details
about the RICOH UCS function, see page 79 "Using the RICOH UCS Function".
The following two different screen display modes are available:
Display Mode Description Selection Method
Whiteboard Mode
RICOH UCS Mode
Toggling between display modes during a meeting
You can switch to whiteboard mode anytime while you are connected to a meeting in RICOH UCS
mode. The connection to the meeting is maintained even after you switch to whiteboard mode.
Displays the whiteboard
screen.
Displays the RICOH UCS
screen
Touch , the Whiteboard icon, on the floating
toolbar when you are in RICOH UCS mode.
Touch , the RICOH UCS icon, on the floating
toolbar when you are in whiteboard mode.
18
Icons Displayed on the Interactive Whiteboard
Icons Displayed on the Interactive Whiteboard
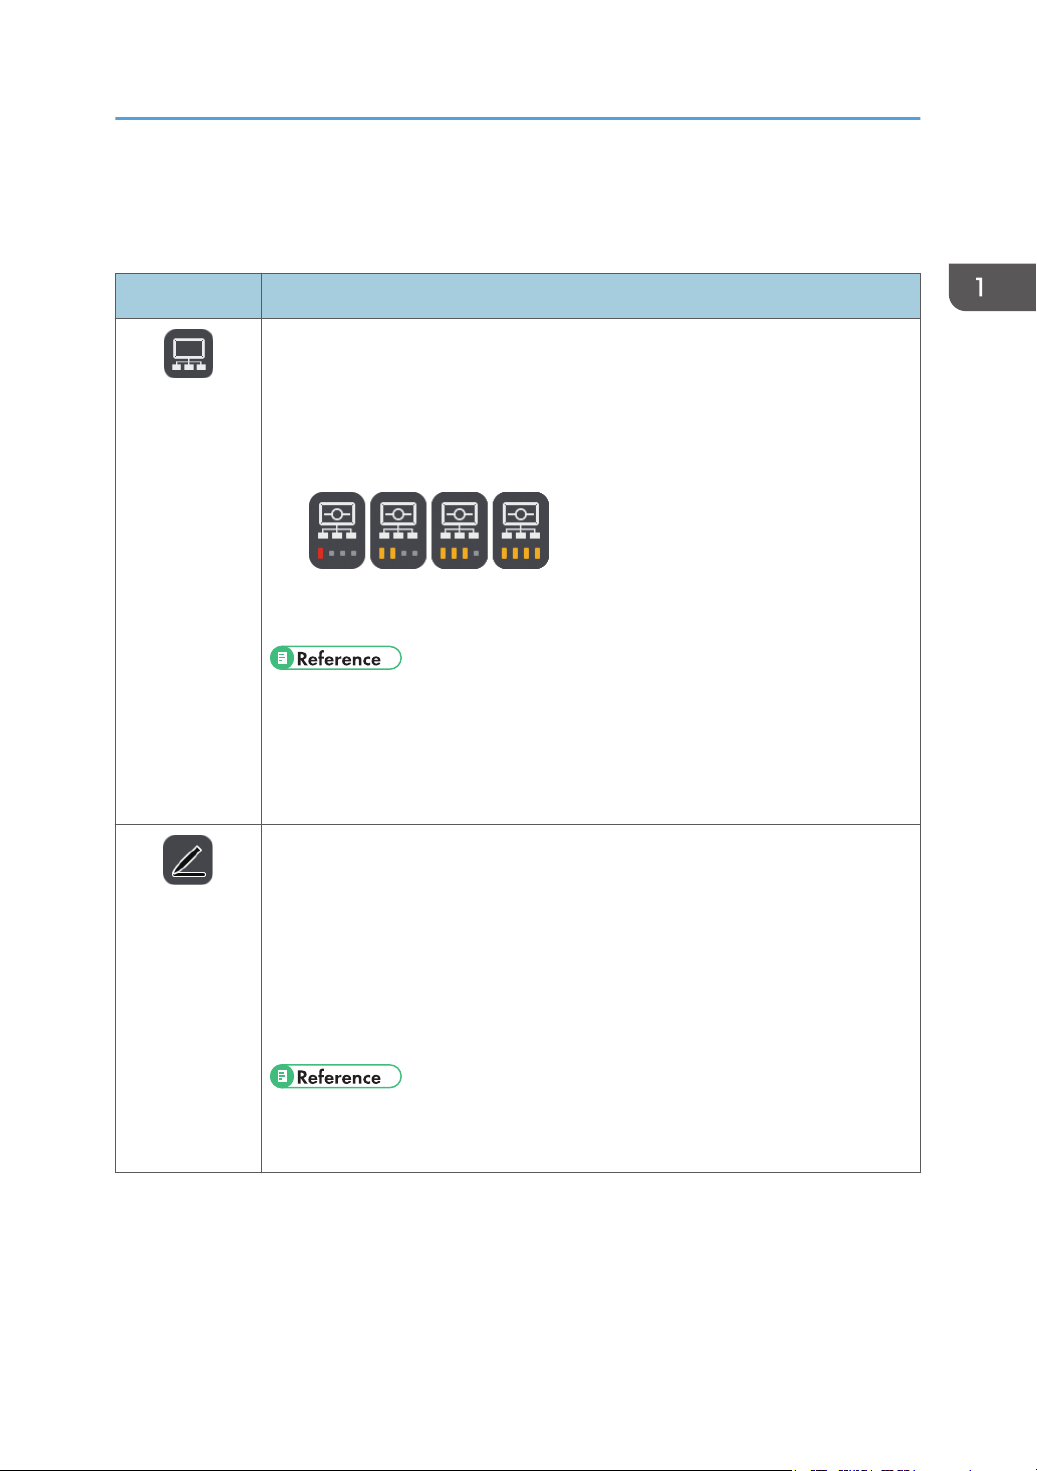
Main operation panel
Icon Description
• Used to host a remote whiteboard session.
• Used to participate in the hosted remote whiteboard session.
Share
• The number of antenna bars that are displayed when connecting from a
remote whiteboard may change depending on the communication status of
the network.
• Used to share the whiteboard screen in a video conference. (RICOH UCS
screen sharing)
Pen
Handwritten
Entry Mode
• See page 107 "Opening a Remote Whiteboard Session".
• See page 112 "Participating in a Remote Whiteboard Session".
• See page 120 "Checking the Remote Whiteboard Information".
• See page 74 "Sharing the Whiteboard Screen in a Video Conference".
• Used to draw strokes, text, or figures, or enter a stamp.
• This icon appears when handwritten entry mode is selected from the pen
submenu.
• Used to change the colors and thickness of the drawing.
• Used to display a grid on the screen.
• The color of the icon changes according to the selected color. Also, the line
width of the icon changes according to the selected line width.
• See page 29 "Writing on the Screen".
• See page 31 "Writing in handwritten entry mode".
19

1. Overview
Icon Description
• This icon appears when fair copy entry mode is selected from the pen
submenu.
Fair Copy Entry
Mode
Line Entry Mode
Stamp Entry
Mode
• Used to write handwritten text and have the text recognized and converted to
text data.
• The color of the icon changes according to the selected color.
• See page 29 "Writing on the Screen".
• See page 32 "Writing in fair copy entry mode".
• This icon appears when line entry mode is selected from the pen submenu.
• Used to draw lines, dotted lines, and arrows.
• The color of the icon changes according to the selected color. Also, the shape
of the icon changes according to the selected line type.
• See page 29 "Writing on the Screen".
• See page 33 "Writing in line entry mode".
• This icon appears when stamp entry mode is selected from the pen submenu.
• Used to select and enter a stamp.
• The color of the icon changes according to the selected color. Also, the shape
of the selected stamp is displayed. If the entered text is too long, an icon
similar to the following appears:
20
• See page 29 "Writing on the Screen".
• See page 33 "Writing in stamp entry mode".
Icon Description
DQN021
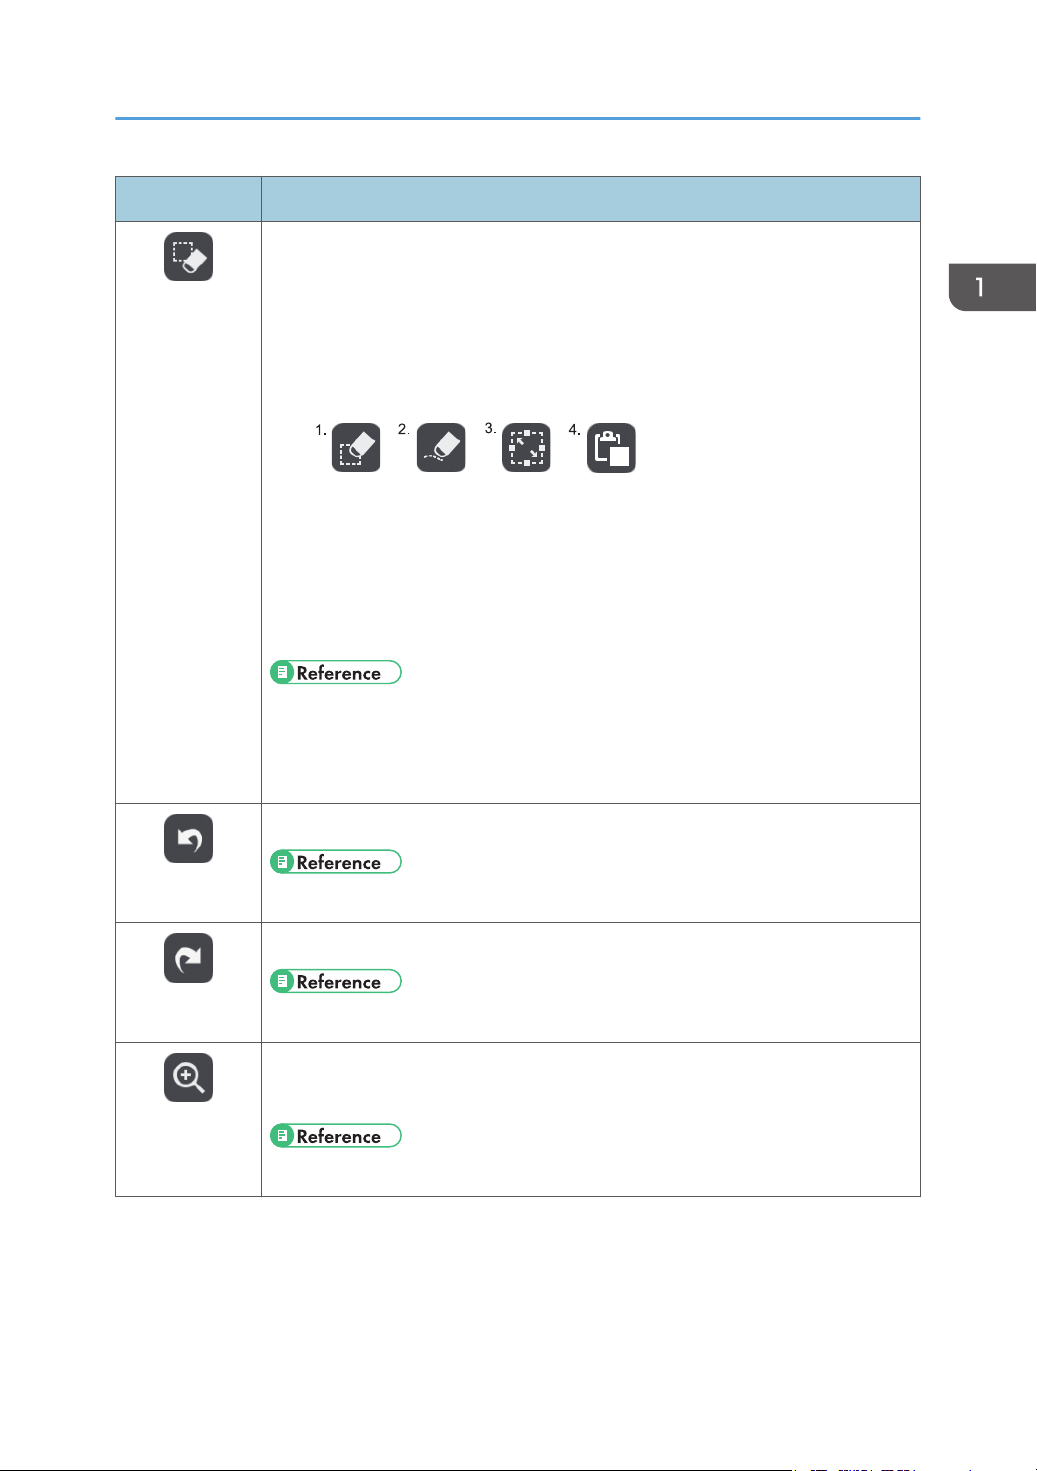
• Used to select a stroke, text, figure, or stamp to edit.
• Used to delete a stroke, text, figure, or stamp.
Select and
Delete
• Used to draw strokes, text, figures, or cut/copy/paste stamps.
• Depending on the function that is selected on the select or delete submenu,
one of the following icons appears:
1. Delete
2. Partially Delete
3. Select
4. Paste
Icons Displayed on the Interactive Whiteboard
Undo
Redo
Loupe
• See page 39 "Enlarging, Reducing, or Moving the Strokes".
• See page 33 "Deleting Strokes".
• See page 40 "Cutting, Copying, or Pasting Strokes".
Used to undo a drawn, edited, or deleted stroke, text, figure, or stamp.
• See page 45 "Undoing Operations".
Used to redo the operation that was undone.
• See page 45 "Undoing Operations".
• Used to change the display magnification.
• Used to move a displayed area.
• See page 44 "Using the submenu accessed from the Loupe icon".
21

DQN022
1. Overview
Icon Description
• Displays a screen from a connected device in real time. You can switch the
displayed screen by touching the icon.
Switch External
Input
• This icon appears when an image from any of the external input terminals is
being displayed.
• The available icons are as follows:
1. When the image from the VGA Input is selected
2. When the image from the DisplayPort Input is selected
3. When the image from the HDMI Input is selected
4. When the image of the computer that is connected via Remote Desktop
Software is being displayed
5. When an externally input image of the whiteboard that is shared by remote
whiteboard is being displayed
6. If the handwritten entry is still displayed when the external input is
disconnected
• See page 71 "Connecting a Computer or Tablet to the Machine".
22
Import to Page
• See page 97 "Using the Machine to Perform Operations on a Computer
Screen".
• See page 105 "Using a Remote Whiteboard to Share the Screen".
• Captures a screen or an image of the connected device.
• This icon appears when an image from any of the external input terminals is
being displayed.
• See page 71 "Connecting a Computer or Tablet to the Machine".

Icon Description
DHG014
2
1
56
3 4
• Used to operate a computer screen displayed on the screen of the machine.
• This icon appears when an image from any of the external input terminals is
Operate
being displayed.
Computer
• See page 102 "Using IWB Remote Desktop Software to Perform Operations
on a Computer Screen".
• Used to load a file.
• Used to save pages.
Import and
Save
• Used to send pages by e-mail.
• Used to print pages.
• Used when using a QR code.
• See page 53 "Importing a File".
Icons Displayed on the Interactive Whiteboard
• See page 49 "Saving Pages".
• See page 59 "Sending Pages by E-mail".
• See page 65 "Printing".
• See page 67 "Linking with a Smart Device".
Used to put the machine into standby mode. You can temporarily save the page
when you put the machine into standby mode.
Close
• See page 52 "Saving Pages Temporarily".
Page operation panel
23

1. Overview
1. Captured the page operations icon
Appears when a page in the page list is selected. If no operations are performed for three seconds, the
icon will disappear automatically. The following icons are included:
2. Insert Page icon
Adds a new page before the currently selected page. For details, see page 46 "Adding a new page".
3. Page Copy icon
Adds a page by making a copy of the page selected in the page list. For details, see page 47
"Copying a page".
4. Page Delete icon
Deletes the page selected in the page list. For details, see page 47 "Deleting a page".
5. Page List
Displays the thumbnails of pages. To operate a page, touch a thumbnail. Page information is displayed
as "page number/total number of pages" at the lower right of the thumbnails.
Up to four pages are displayed. If five or more pages are to be displayed, use / , the Scroll icons, to
move between pages.
6. New Page icon
Adds a new blank page at the end of the page list. For details, see page 46 "Adding a new page at
the end of the page list".
24

Operating the Screen
Operating the Screen
You can use your fingers or palm to operate the screen.
To select an icon or button, touch the item you want to use with your finger.
To execute the function of an icon on the desktop, touch the same spot twice quickly with your finger.
When operating a computer from the machine, you can perform a single-click by touching the screen
once or a double-click by touching the same location twice.
Also, you can enter up to 4 strokes at one time to perform handwritten entry.
Major Screen Operations
Input
Several methods of entering text and drawing strokes on the whiteboard such as the
handwritten entry, fair copy entry, drawing figures, or stamps are available.
Delete
Deletes a whiteboard entry.
You can select and delete a specific stroke or portion of handwriting, or use the palm of your
hand or the balls of your fingers to delete an entry (palm deletion mode).
Select
To select an item, enclose the item with a stroke.
Reduce/Enlarge
The selected item can be enlarged or reduced.
Move
The selected item can be moved to a different position.
Cut/Copy/Paste
The selected item can be cut, copied or pasted.
Marker
To draw a marker, touch the screen with your finger and slide it across the surface.
• For details about the screen operation, see page 29 "Basic Operations".
Notes before operating
• If a shirt sleeve touches the display while you are operating the screen, text or figures may not
be written or drawn on the display of the whiteboard correctly.
• When the machine is in palm deletion mode, you cannot perform any operation other than
deletion.
• You cannot perform scaling, moving strokes, or other operations while drawing on the screen
with your fingers.
25

1. Overview
• While you are operating the screen with your fingers to scale or move an object, the touch
may not be recognized accurately when the distance between your fingers touching the
screen is too narrow.
• A touch on the top of the screen may not be recognized accurately.
26
Inserting a USB Flash Memory Device
Inserting a USB Flash Memory Device
You can save the pages, log files and various settings that are created or specified on the machine to a
USB flash memory device. To use this feature, attach a USB flash memory device to the machine using
the following procedure.
• Keep USB flash memory devices out of reach of children. If a child accidentally swallows a
USB flash memory device, consult a doctor immediately.
• If a USB flash memory device is being accessed, do not disconnect it. Doing so can damage the
USB flash memory device and corrupt its data.
• The video files stored on a USB flash memory device cannot be played back on the machine.
• Use a USB device that supports USB 2.0.
• Use a USB device that is formatted in FAT16, FAT32, or NTFS file system.
• A USB flash memory device protected by a password cannot be used.
1. Move the USB flash memory device in the correct direction, and then push it straight into a
vacant USB port.
27

1. Overview
28
 Loading...