

Page 1

B479 8542
85/105PPM MFP UPGRADE KIT
(Machine Code: B479)
INSTALLATION PROCEDURE
For Machine Code: A294/A295 Copier
NOTE: THE UPGRADE KIT MUST BE INSTALLED BY A CUSTOMER SERVICE
REPRESENTATIVE WHO HAS COMPLETED THE TRAINING COURSES
ON THE BASE COPIERS.
Printed in Japan
Page 2

<<< 1. Existing Toner Removal >>>
<From machine front side>
1. Remove the drum unit, the transfer unit and the devel opment unit.
2. Remove the toner bottles. (Upper: SP 5804-62, Lower: SP 5804 -63)
<From machine rear side>
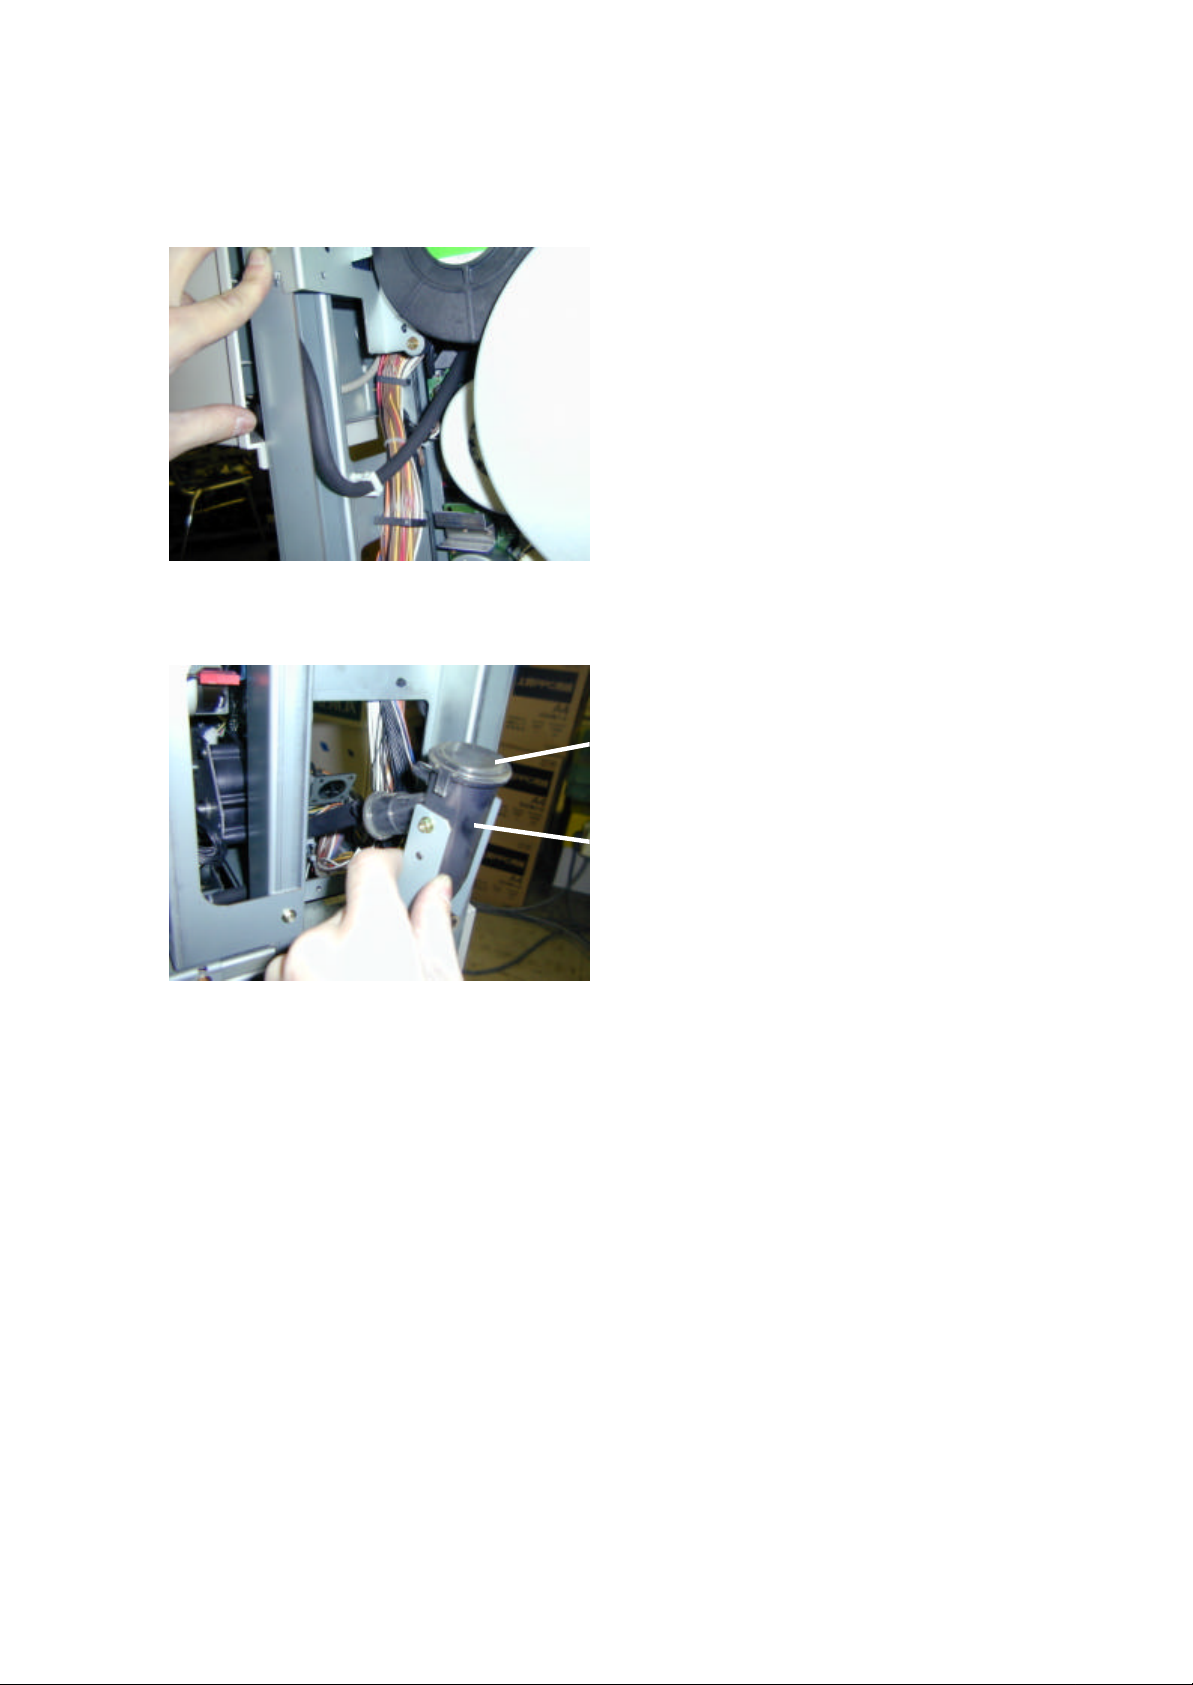
3. Remove the upper right cover and the upper/lower rear covers.
4. Turn on the drum motor (SP 5804 -43) for 2 minutes to remove the toner in the toner
collection unit.
NOTE: More toner can be removed by tapping the case for 20 to 30 seconds as shown.
5. Remove the paper feed connectors.
1
Page 3
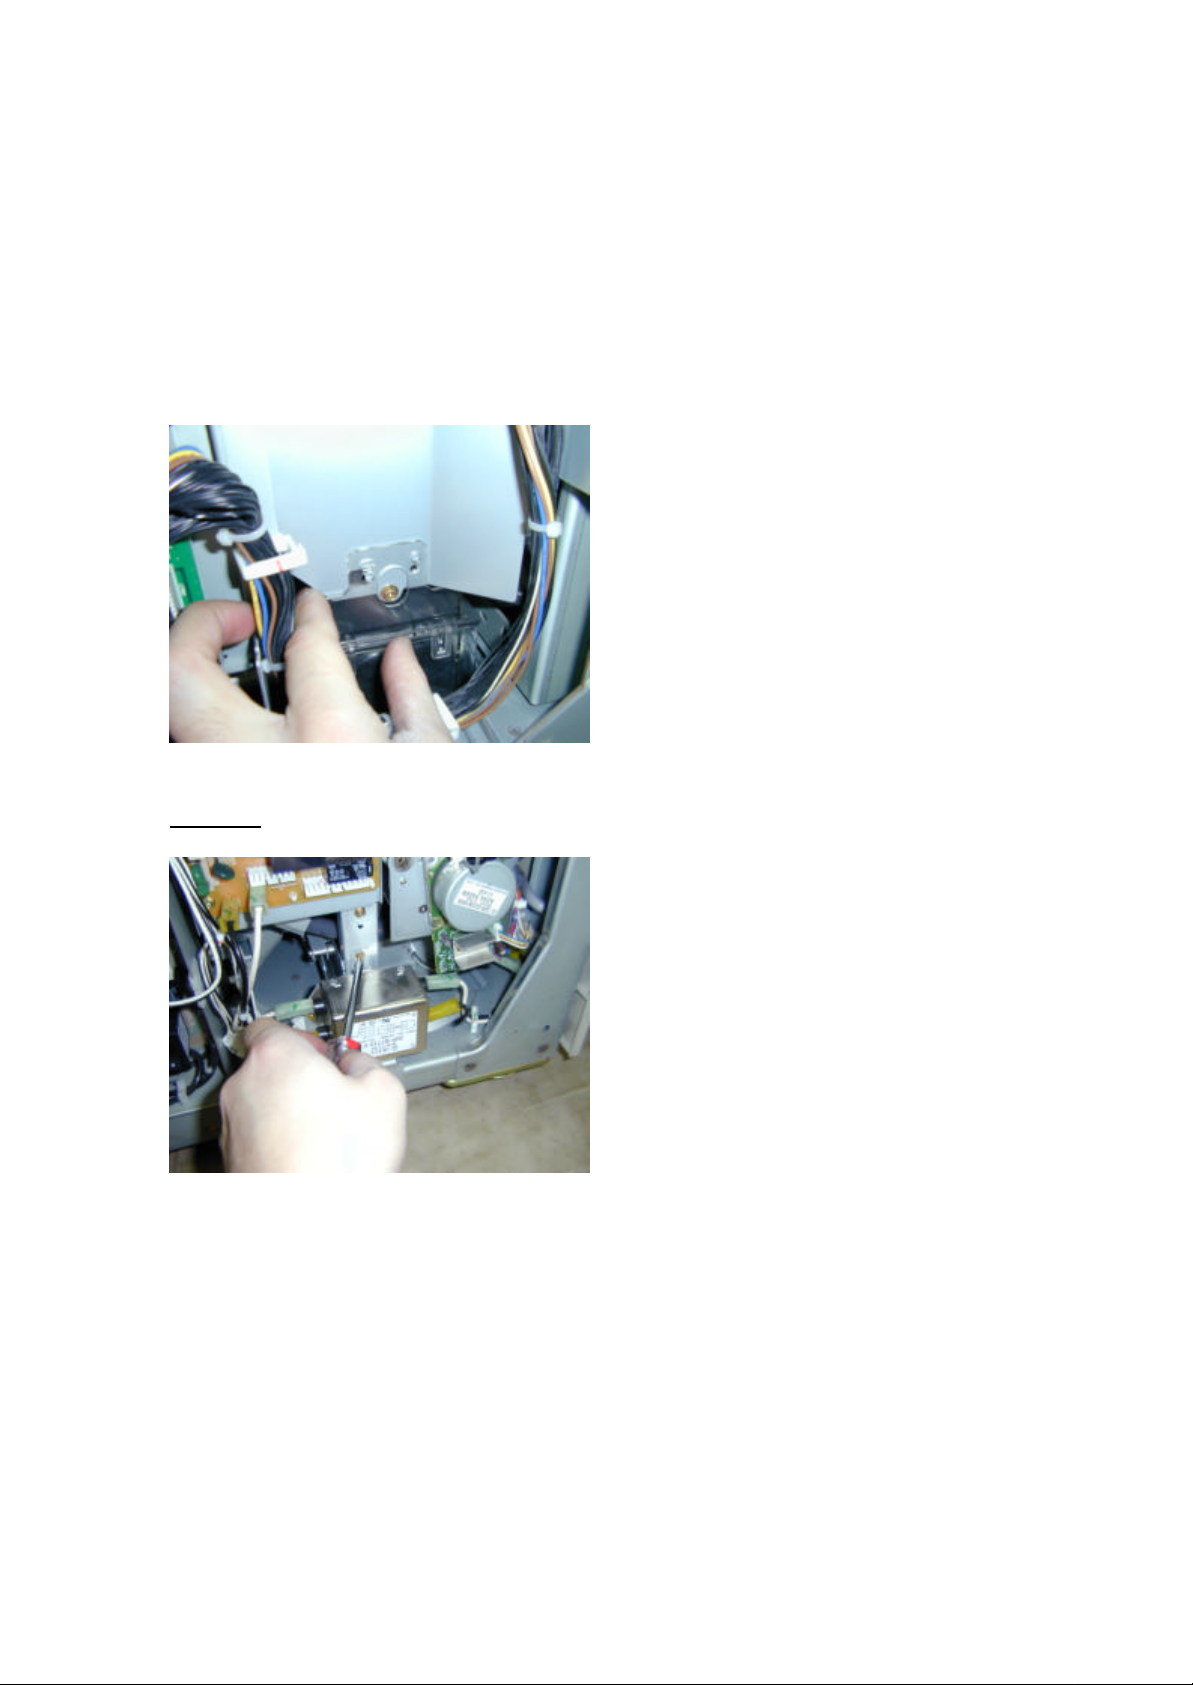
6. Remove the two-Ö6 tubes. Hook the upper end of the tube on the machine frame as shown
to prevent toner dropping.
7. Remove the cap [A] of the tube joint case [B] at the end of the Ö12.4-silicon tube on the right
side of the main frame.
[A]
[B]
8. Using a vacuum cleaner, suck the toner from the end of the tube joint case.
NOTE: Do not damage the coil inside the tube joint case.
9. Run the toner bank motor (SP5804-61) and the supply clutch (SP5804 -64) for about 2
minutes.
10. Clean out the inside of the tube Ö6 tube as well (3 places).
2
Page 4
<<< 2. Toner Bank Unit Replacement >>>
11. Turn off the main switch and plug off the power supply cord.
12. Remove the left lower cover, rear upper and rear lower covers.
<From machine rear side>
13. Remove the screw of the distribution case (A2943641) on the upper part of the toner bank
unit, and then slide the case up.
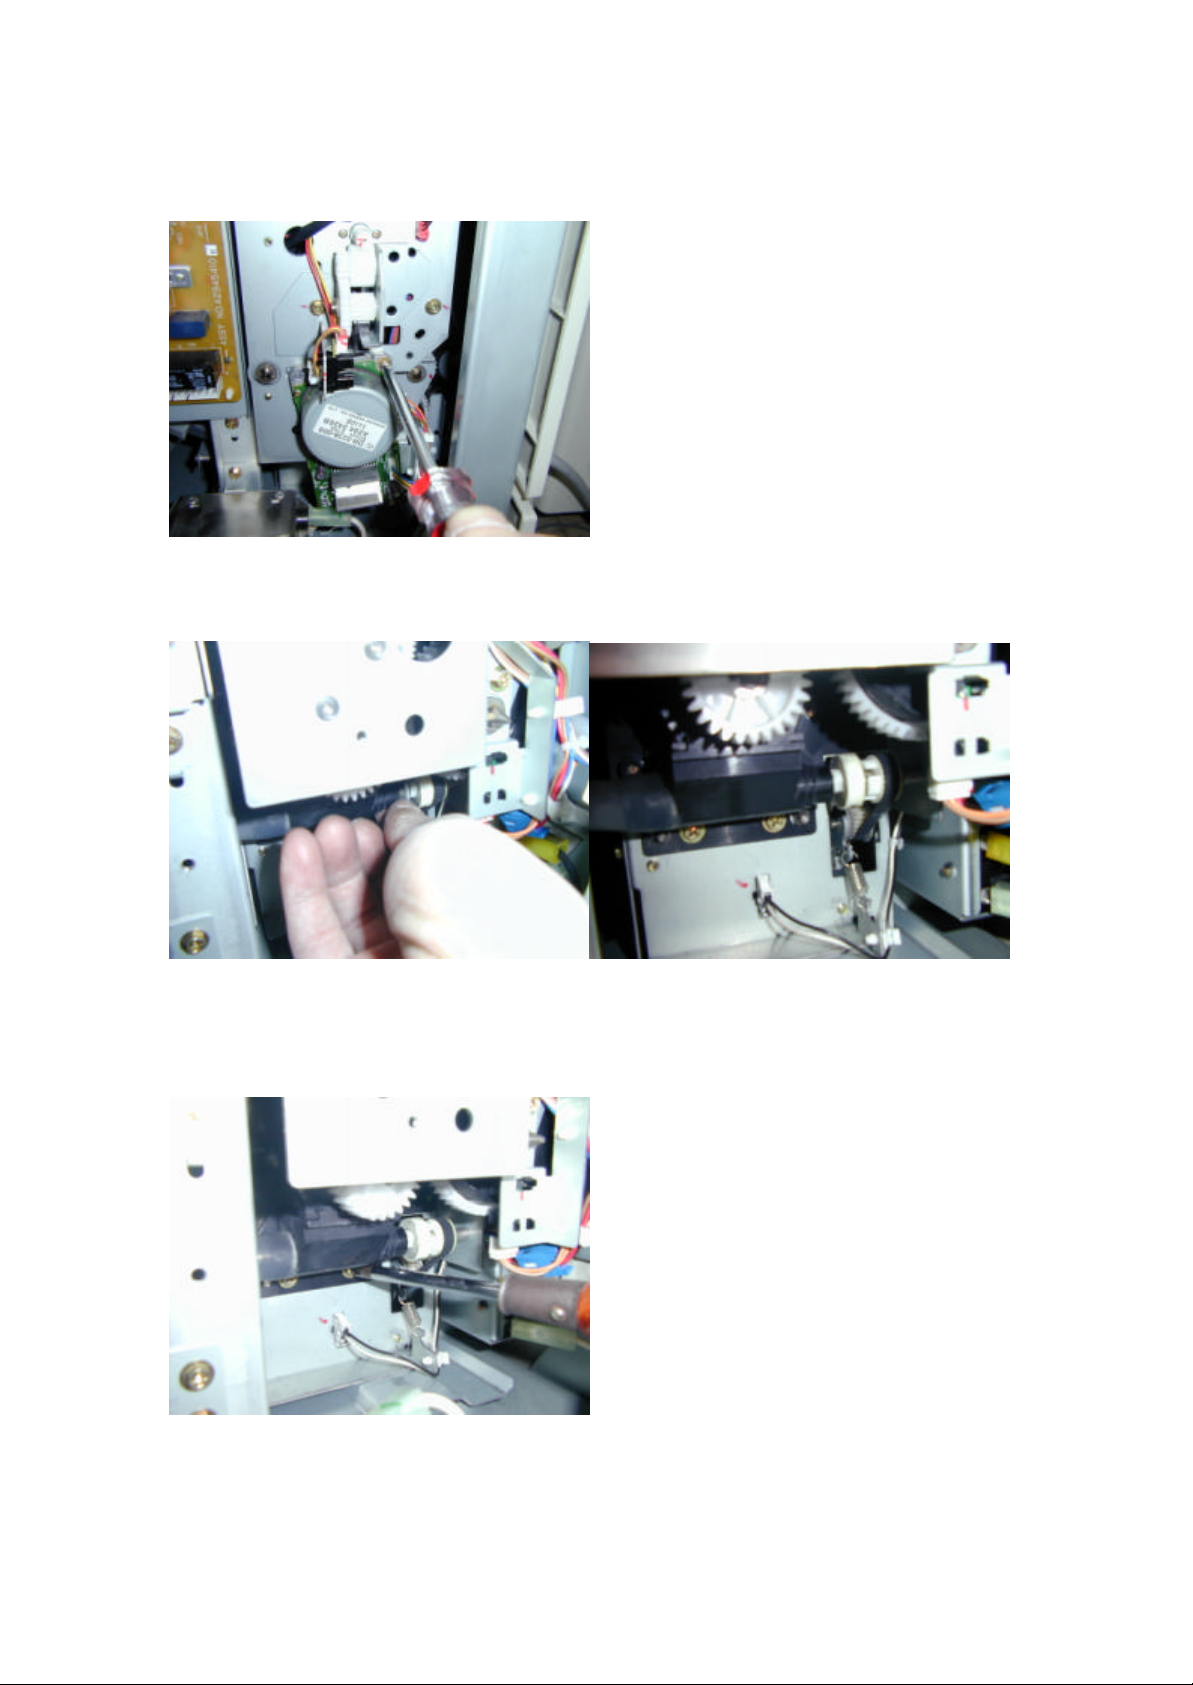
14. Pull the power plug out and remove the noise filter. (2 screws)
CAUSION: Be sure that the main switch is tuned off and the power supply cord is removed.
3
Page 5
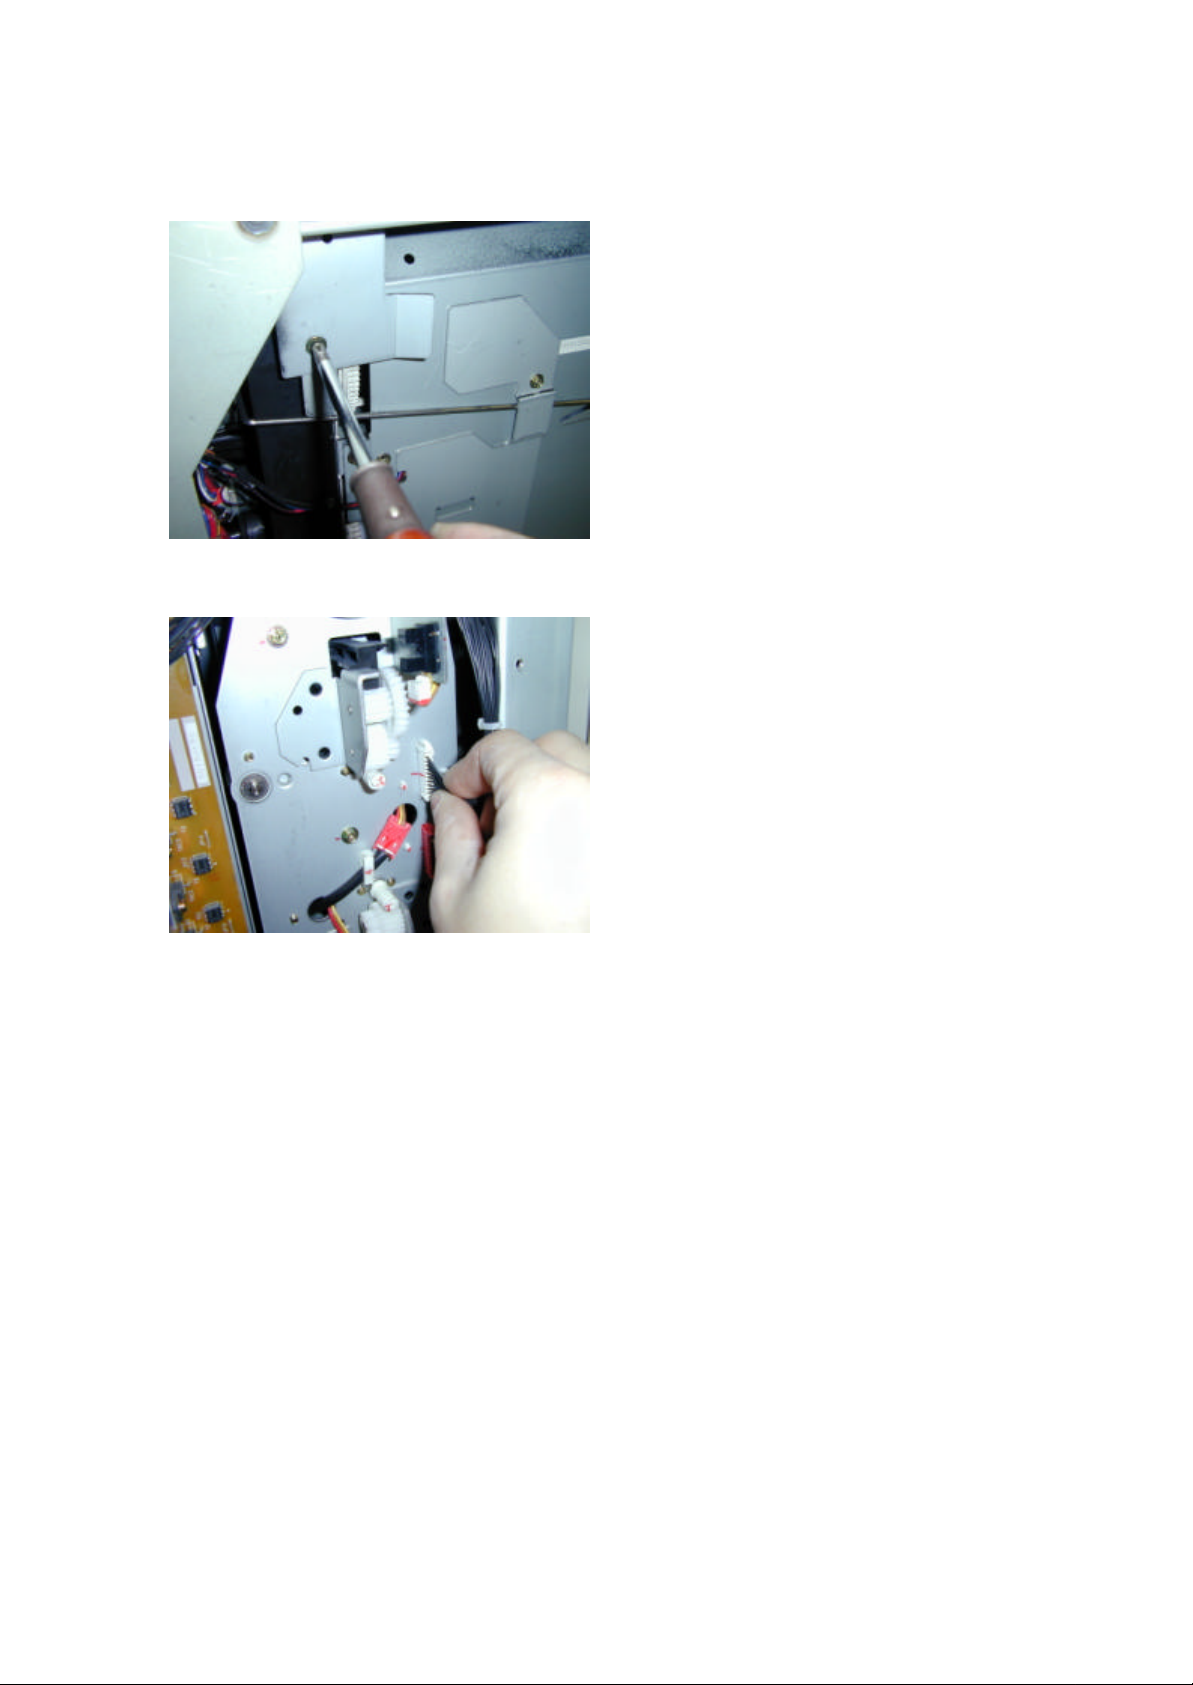
15. Remove the motor DC-5.1W. (1 connector, 2 screws)
16. Remove the snap ring of the toner transport screw and slide the toner transport screw joint
over to the left.
17. Remove the toner transport screw case. (2 screws)
NOTE: When the case is removed, toner remai ning inside the bank will fall out. Clean it using a
vacuum cleaner.
4
Page 6
18. Remove the 1 screw on the side of the toner bank unit itself.
19. Disconnect the toner bank harness in 3 places and remove it.
<From machine front side>
20. Remove the outer and inner covers of the toner bank unit (3 screws).
21. Remove the 3 screws on the front of the toner bank unit.
22. Slowly pull out the toner bank unit from the mainframe (toward the front).
23. Replace the toner bank with new type toner bank.
24. Re-assemble the removed parts.
NOTE: 1) Do not forget repositioning the distribution case and secure the screw, which were
done in Step 13.
2) Do not forget reinstall the snap ring, which was done in Step 16.
5
Page 7

<<< 3. Suction Motor and Toner Collection Bottle Installation >>>
25. Remove the mainframe left and rear outer covers.
The picture below is an overview of the parts that need to be replaced/added during this field
modification. This is a view from the right side of the machine.
Connector
bracket
Tube
Suction
Toner
Collection
Bottle
Pump
Tube
26. Attach the tube (6mm diam eter, 515mm long) and 2 connectors removed from the existing
bracket to the new development unit connector bracket.
NOTE: This is easier to perform if you connect the tube to the joint before securing it with screws
to the mainframe.
6
Page 8

27. Install the new development unit connector bracket to the mainframe. (1 screw).
28. Install the toner suction pump to the pump bracket . (2 M4x8 tapping screws with washers)
29. From the right side of the machine, install the pump unit. (1 M4x8 tapping screw with
washer)
30. After removing the lower right cover, remove the vertical transport unit door and harness
inner cover (A2941524B).
7
Page 9

31. After installing the guide rail ass'y (A2943710) to the new inner cover (A2941524C), secure
the inner cover to the mainframe (1 screw).
NOTE: Ricoh plans to add a screw hole to the guide rail and a boss to the inner cover to secure
the guide rail in place.
32. Attach the guide rail in the enhancement kit to the inner cover (A2941524B) in the
mainframe, then install the two-part assembly in the mainframe (see photo below).
NOTE: Align the guide rail edge to the inner cover edge as shown in the photo below.
33. Reinstall the vertical transport unit.
8
Page 10

34. Set the toner coll ection bottle (A2943700) in the mainframe and attach the tube (12mm
diameter).
35. Fasten a screw of the toner collection bottle ass'y (A2943713).
36. Lead theÖ6 tube (515mm long) as shown.
37. Attach one end of the cream-colored Ö12 tube to the pump unit, and the other end to the
collection bottle.
38. Fasten the tube in place by adding on one clamp from the kit.
NOTE: Make sure there are no bends or excessive slack in the tube.
Clamp
9
Page 11

<<< 4. I/O Board Replacement and Harness Routing >>>
The following are the additional parts:
l I/O board
l Long pump harness (pump unit)
l Short pump harness (toner collection bottle set detection)
39. Remove the upper right and lower right covers.
40. Remove the existing I/O board located in the rear of the vertical paper feed section, and
replace it with the new I/O board.
41. Orient the long harness so that the forked end is facing forward, and the end with the 6-pin,
white connector is facing back. Pass the harness inside the vertical frame support (rear side,
upper right).
10
Page 12

42. Pass the 6-pin connector end of the harness on the inside of the rear frame and lead it until it
reaches the I/O board.
43. Connect the 6-pin connector end to the connector that sticks out of the screw hole on the
upper right of the I/O board.
NOTE: This I/O board connector has 5 lines running to the I/ O board and is not marked red.
44. For the other end of the long pump harness (the forked end), remove the pump bracket (1
screw) and connect the red connector to the pump motor harness.
11
Page 13

45. Connect the other end of the fork (white connector) to the connector on the pump unit drive
sensor (photo interruptor type). Reinstall the pump bracket.
46. Fasten the pump unit drive sensor harness with the pump unit clamp. If necessary, use
clamps to take up the extra slack in the harness.
47. Fasten the long pump harness with the existing 2 clamps near the harness. To prevent the
harness from getting pinched between moving parts or other components, remove the slack
from the harness with the clamps if necessary.
12
Page 14

48. Fasten the relay connector side of the short pump harness using the clamp near the rear
vertical frame support and the clamp underneath the I/O board.
49. Connect the other end of the harness to the connector that sticks out of the upper right screw
hole in the I/O board. This I/O board connector has 3 lines running to the I/O board and is
marked red.
50. Connect the bottle set sensor connector to the short pump harness relay connector, located
on the back face of the mainframe. To prevent the harness from getting pinched between
moving parts or other components, remove the slack from the harness with the clamps if
necessary.
13
Page 15

<<< 5. Development Unit & Lower Drum Unit Installation >>>
51. Remove the existing development unit.
52. Lower the transfer belt unit.
53. Take out the drum unit by holding the handle [A].
NOTE: 1) Cover the drum unit with a sheet of paper to protect it from light when the unit is left
outside the machine for servicing.
2) Do not touch the drum surface with bare hands.
54. Disconnect the connector of the drum potential sensor [B].
55. Open the upper drum unit (2 screws [C]).
56. Remove the drum [D].
57. Replace the lower drum unit [E].
NOTE: Be sure to re-connect the connector of the drum potential sensor [B].
[B]
[D]
58. Attach the cover with duct onto the new development unit.
59. Insert the developer into the development unit and attach the new hopper (w/red gears).
60. Hook the tube of the cover w/duct onto the clamp in front of the hopper.
[A]
[C]
[E]
14
Page 16

61. Set the development unit in the machine.
62. Connect the tube and 2 connectors to the proper places in the mainframe.
63. Attach the drum stay. Then, lead the tube through the upper route as shown so that it does
not get caught or pinched between the plate and hopper.
Locate the tube
at the highest
position.
15
Page 17

<<< 6. Cleaning Web Unit and Pressure Roller Replacement >>>
64. Pull out the fusing and exit unit [A].
65. Remove the fusing unit inner cover [B] (2 screws).
CAUSION: The oil supply and cleaning web unit is still hot even if the main switch is turned off for
servicing.
66. Remove the oil supply unit and cleaning web unit [C] (1 screw).
NOTE: Make sure that the web collecting roller gear engages with the gears on the fusing/exit
unit after re -installing the oil supply and cleaning web unit.
[A]
[C]
[B]
67. Replace the web unit drive unit with a new one.
16
Page 18

68. Turn the hot roller stripper unit [A] clockwise approximately 160° and slide the pivot shaft out
of the cutout [B].
69. Release the fusing pressure by turning the pressure level [C] 1/4 of a turn counterclockwise
with a screwdriver.
NOTE: If the fusing pressure is still released when re -installing the inner cover of the fusing
unit, the cover cannot be installed.
[B]
[C]
NOTE: Do not remove the four M4 bind screws [D] in the next step.
[A]
70. Remove the four M5 pan head screws [E] and remove the hot roller unit [F].
NOTE: 1) When re -installing the hot roller unit, make sure that the flanges of the ball
bearings in the hot roller unit are set inside the fusing exit side plate [G] and the
gear in the hot roller unit is installed on the rear side.
2) Secure the M5 pan head screws at the rear side first. Then, secure the screws at
the front side.
71. Remove the two bind screws [H] securing the pressure roller stripper unit [I].
72. Slide the pressure roller stripper unit [I] to the right while slightly raising the side near the
pressure roller (1 connector [J] and 1 clamp [K]).
NOTE: Be careful not to touch the pressure roll er surface during this step.
73. Lift up the pressure roller unit [L].
[E] [F]
[D]
[E]
[D]
[H]
[I]
[J]
[L]
[G]
[K]
17
Page 19

74. Remove the C-ring [A] from the pressure roller and replace the pressure roller [B] (2 ball
bearings, 2 bushings)
NOTE: Lubricate the inner surface [C] of the pressure roller (bearing [D] contact part) with
BARRIERTA L55/2 grease when replacing the pressure roller.
[A]
[D]
[D]
[C]
[D]
[B]
<<< 7. SP Mode Settings >>>
NOTE: 1) Before inputting the following SP settings, be sure that the engine firmware is the right
version that supports the A294/295 Image Enhancement Kit.
2) Perform SP2962 as the last step of the SP settings before making copies/prints.
3) The mark of * shows new SP numbers.
SP Mode No. Description Version Setting
1105-4 Fusing Temperature Correction
(A4/LT)
1902-2 Web Motor Drive Interval
1902-3 Web Motor Drive Time All 2.8 sec
1902-4 Web Near End Setting All 53%
2001-4 Grid Voltage for
Transparent Sheet
2001-7 Charge corona current
(When Process Control setting is ON)
2201-1 Image Area All 650
2201-3 Transparent Sheet All 650
2201-4 ID Sensor Development Potential All 280
US, 85ppm +5°C
US, 105ppm +5°C
EU, 85ppm +10°C
EU, 105ppm +15°C
US, 85ppm 21 sec
US, 105ppm 17 sec
EU, 85ppm 11 sec
EU, 105ppm 9 sec
US 360K/420K (Reference) Web Near End/End
EU 160K/220K
All 950
All 850
18
Page 20

SP Mode No. Description Version Setting
2804-1 Corona Wire Cleaner Operation
Setting
2911-1 Transfer Current On/Off Timing La All 0 mm
* 2911-2 Transfer Current On/Off Timing Lb All 45 mm
2911-3 Transfer Current On/Off Timing Lc All 0 mm
* 2940-1 to 7 Lead Edge Transfer Current for Tray 1
to 6 and Duplex Tray
* 2941 Transfer Current for Recycled Paper All 0: Plain paper
* 2972 Operation Time of Toner Collection
Bottle (Toner from Dev. Unit)
* 2973 Operation Time of Toner Suction
Motor
2962 Auto Process Control All Start
NOTE: SP2804-1
This setting is different from the existing A294/A295. Instruct customers that the corona
wire cleaner performs cleaning for about 1minute every 5000 prints/copies. However the
cleaning is only performed at the end of a job. During the cleaning, the message “Copies
will start after warm up.” is displayed, and customers can input modes for next job or
scanning originals in the ADF can be done. The message is one of the existing ones
although it is not the right sentence for this purpose.
All 2
(See note below)
(0 to 60 by 1 step)
85ppm 120µA
(10 to 200 by 1 step)
105ppm 140µA
(10 to 200 by 1 step)
(1: Thick paper)
All 0
(0 to 300 by 1 step)
All 0
(0 to 600 by 1 step)
<<< 8. Decal Attachment >>>
Attach the new model name decal [A] and new toner type decal [B] on the machine covers
[B]
[A]
19
 Loading...