

Page 1

Revolabs Solo™ Single-Channel – Polycom® SoundStation 2 Setup Guide
NOTES AND CAUTIONS:
This setup guide will guide you through the steps needed to properly connect a
Revolabs Single-Channel device to a Polycom SoundStation 2 speakerphone.
1. Connecting the Cables
2. Configuring the SoundStation 2 speakerphone
Note: It is important to carefully follow these instructions in order and completely. Otherwise,
your Single-Channel System and/or the phone may not function properly. Please read through
these instructions completely before proceeding. Contact Revolabs Technical Support if you
have any questions.
IMPORTANT: This will only work with the SoundStation 2 with LCD screen (expandable
version – P/N 2201-16200-601). The SoundStation 2 models without LCD screen or the
expandable capability do not have the ability to activate an external wireless microphone.
Requirements for connecting systems:
1. Revolabs Single-Channel system
2. Polycom SoundStation 2 speakerphone with LCD screen
3. Qty 1 Revolabs 2.5mm to RCA breakout cable (provided with single-
channel system)
Page 2
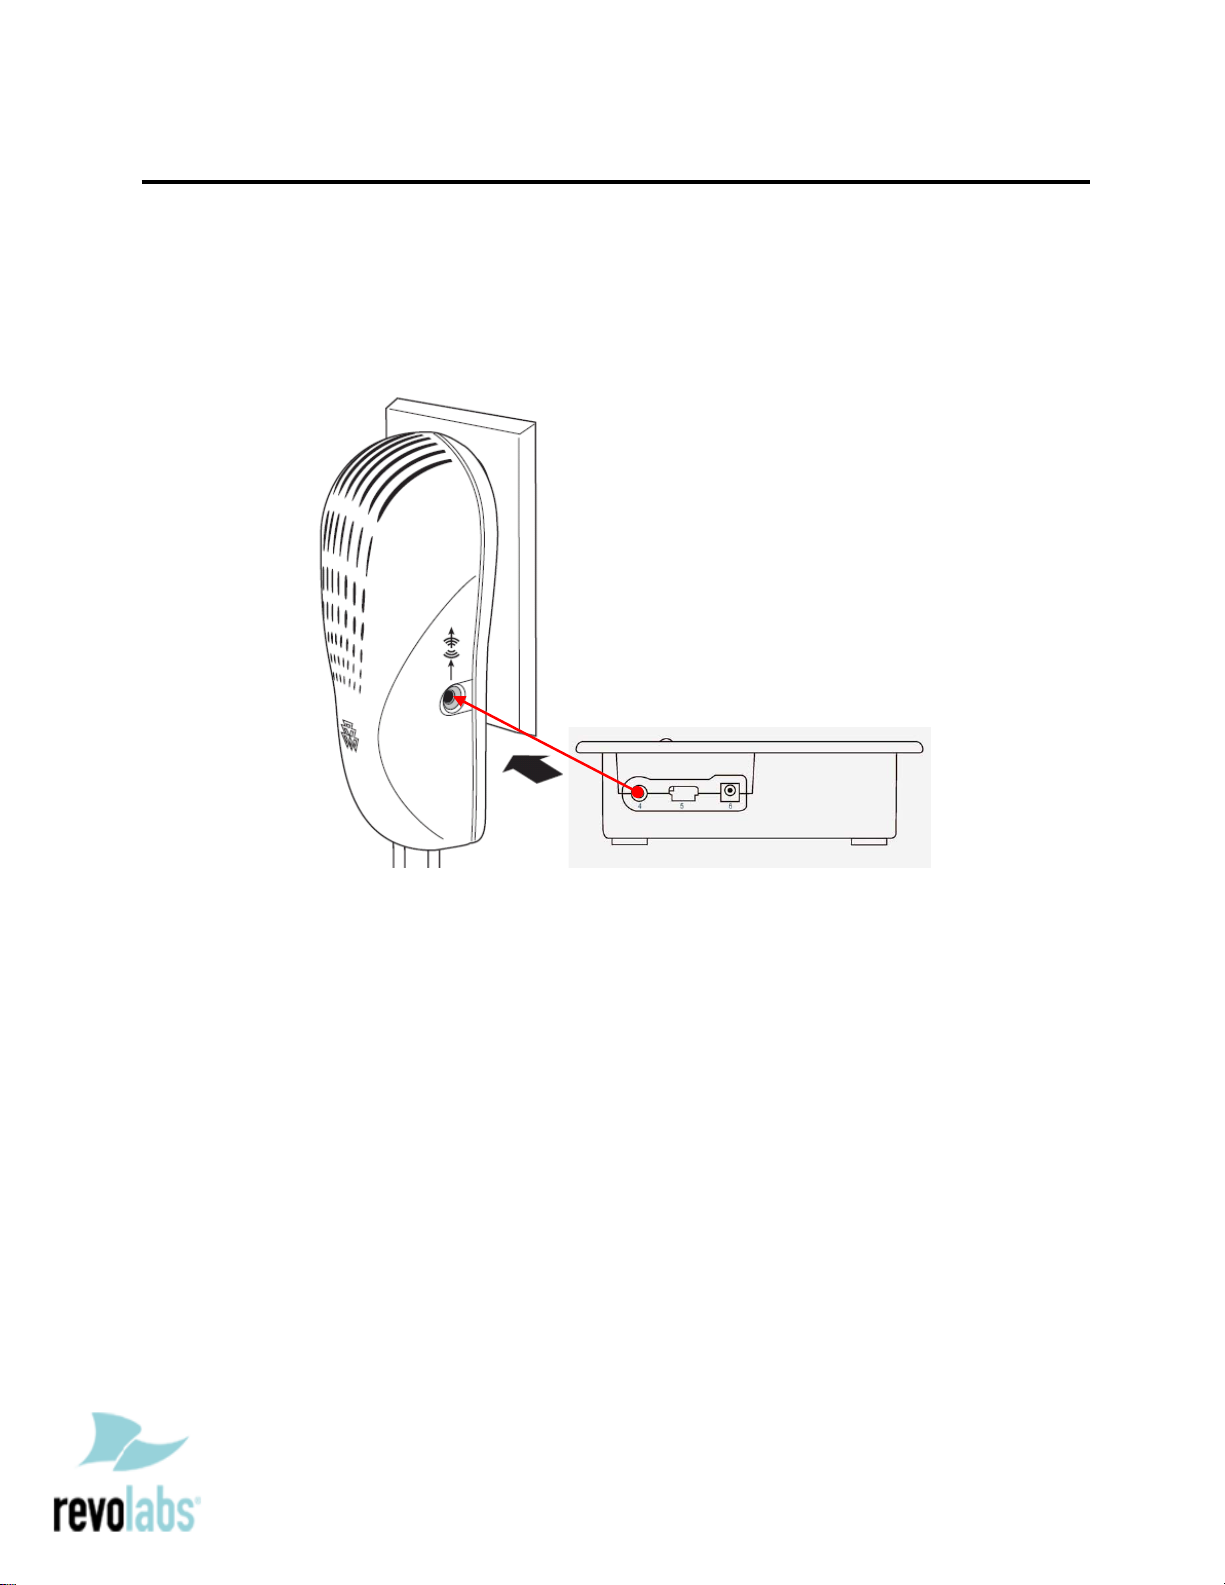
Connecting the Cables
CONNECTING A REVOLABS FUSION TO SOUNDSTATION 2 SPEAKERPHONE
1. Connect Single-Channel to SoundStation 2 Auxiliary Audio Port using Revolabs
2.5mm to RCA cable
Page 3

Configuring the SoundStation 2 Speakerphone
CONFIGURING THE AUDIO MENUS OF THE SOUNDSTATION 2 SPEAKERPHONE
1. Press MENU Button
2. Press SELECT (Checkmark) for Settings
3. Scroll down to AUX AUDIO then Press SELECT
4. Use Soft Keys Right to select WIRELESS MIC then press SAVE
NOTES:
1. In this case, Revolabs only recommends using the wearable lapel
microphone or using a third-party dynamic microphone with the
Revolabs XLR adapter module. Please note that the volume levels of
the Revolabs microphones are not adjustable.
2. The use of Revolabs boundary microphones (omnidirectional or
directional versions) has been tested and found to be significantly
louder than the SoundStation 2 microphones at a 3’ distance. Use of
these microphones may overpower other users on the Polycom
microphones (built-in console microphone and/or external
microphones). As above, the volume levels of the Revolabs
microphones are not adjustable.
 Loading...