

Page 1
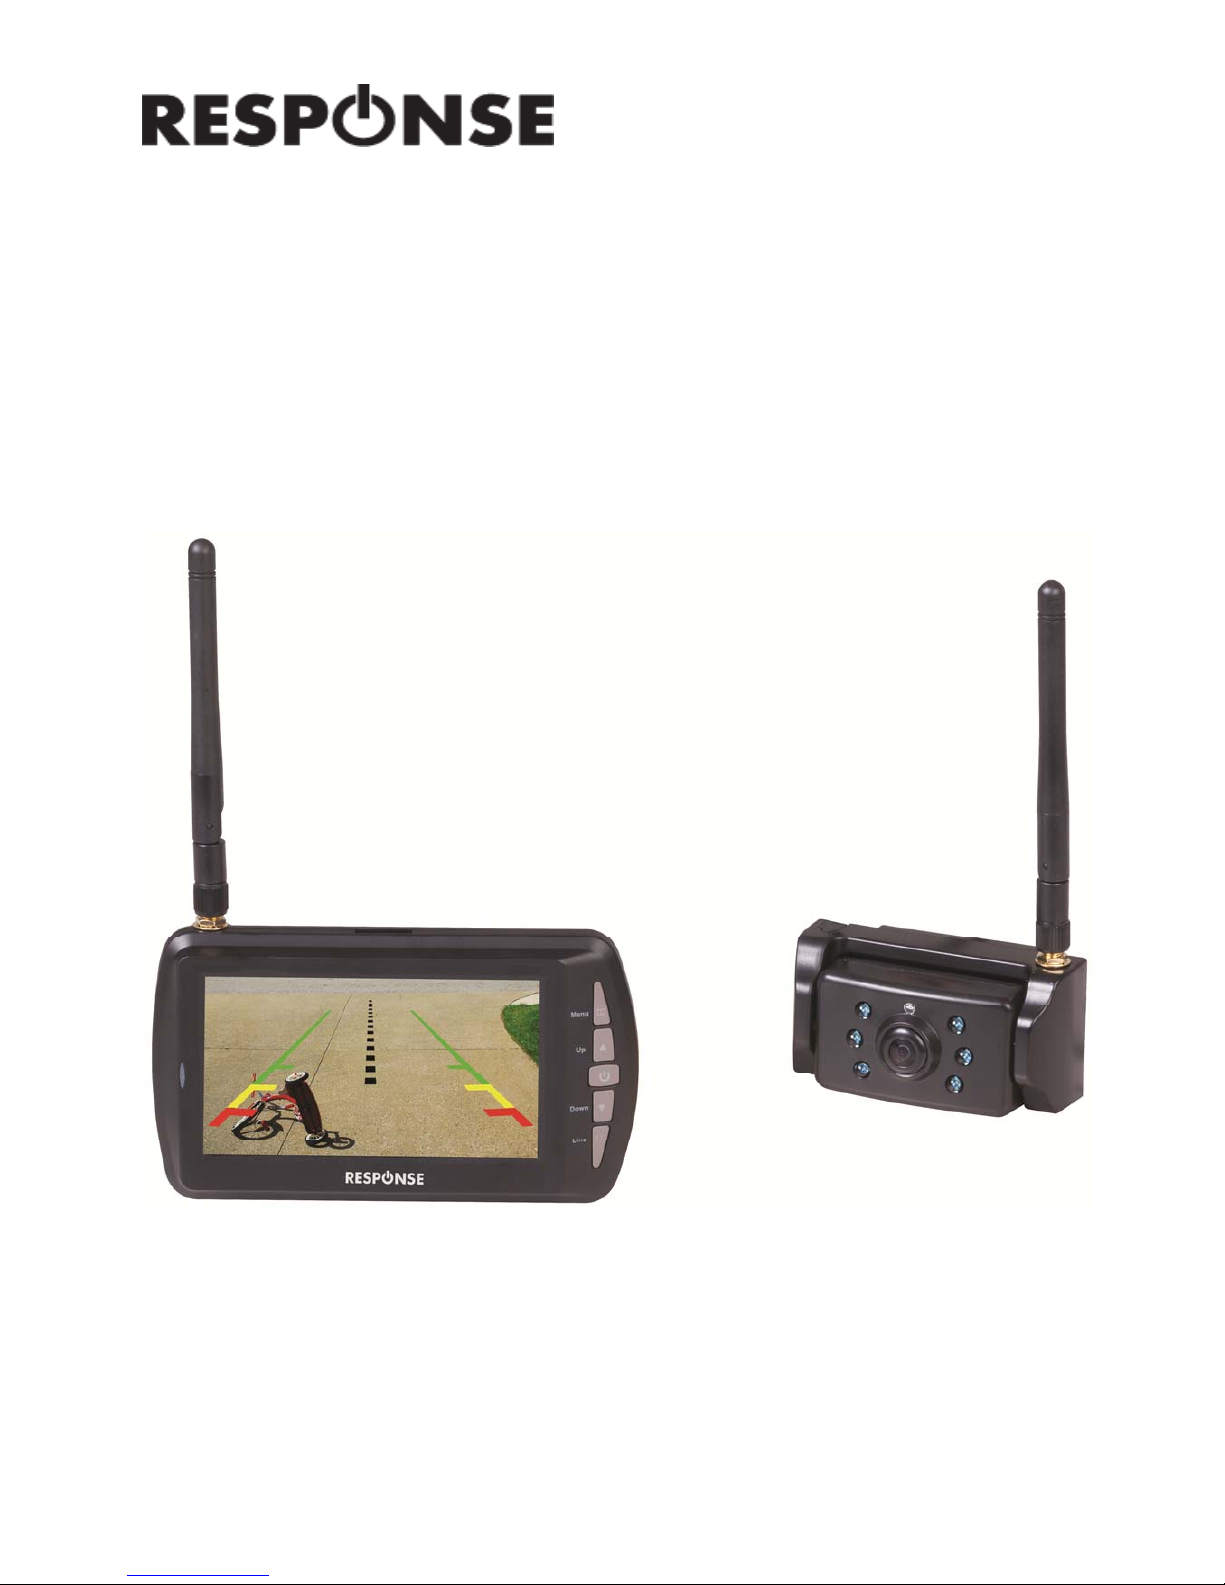
Long Range Reversing
Camera Kit
User Manual
QM-3856
Page 2
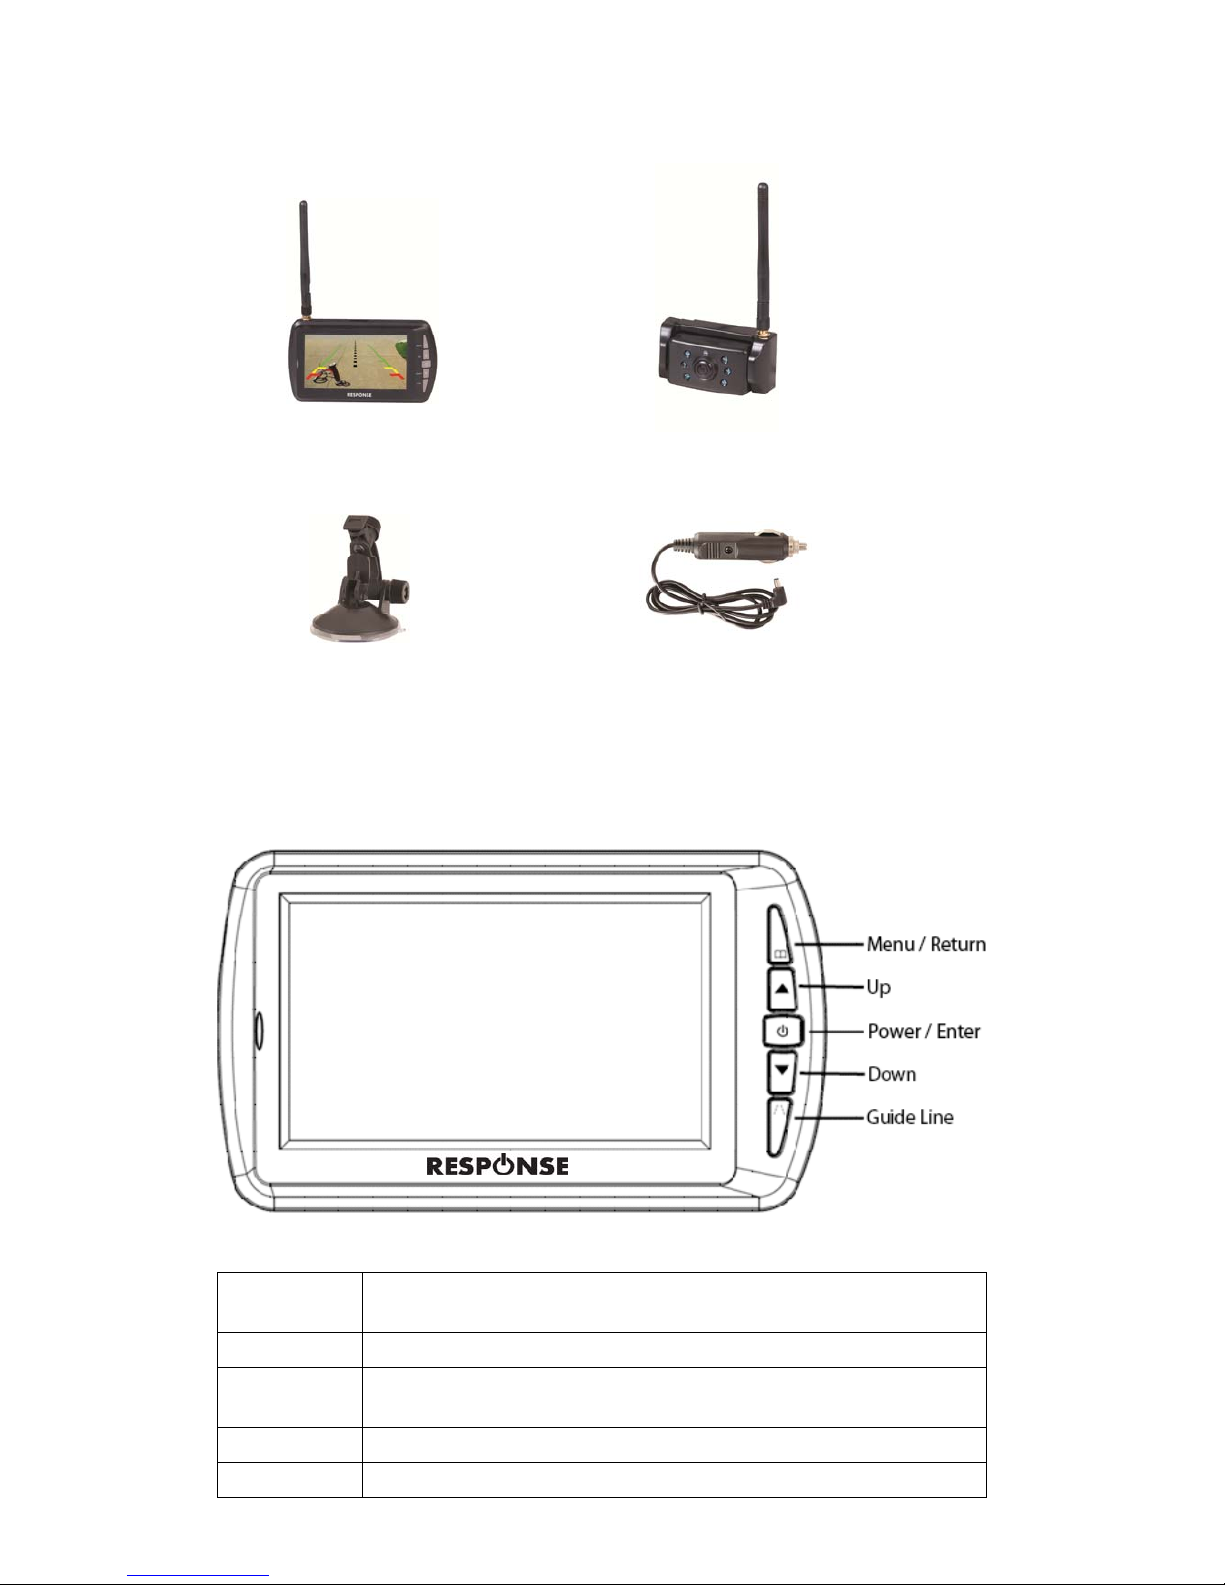
Box Contents:
1 x 4.3” Monitor 1 x Wireless Camera
1 x Suction Cup Mount 1 x Cigarette Lighter Power Adaptor
Product Diagram:
Menu /
Return
Press to show the menu or return to the previous menu
Up
Press to select up in the menu
Power /
Enter
Press to turn the unit on/off when the menu is not displayed or
to enter within the menu
Down
Press to select down in the menu
Guide Line
Displays the backup guideline
Page 3

Installation:
Monitor:
Positioning The Monitor:
1. Place the 4.3” monitor in the included bracket securely.
2. Connect the monitor bracket to the suction cup mount.
3. Position the suction cup on your windscreen or dash and make sure that it doesn’t obstruct
your view while driving.
4. Once the suction cup is placed in your desired location, press down the lock on the suction up
to fix securely in place.
5. Adjust the lock nuts for both tilt and swivel as shown in the picture below to get your desired
view:
Please Note: Ensure that the surface area of the suction cup is placed on a clean flat surface
otherwise the suction cup may fall off.
Connecting The Monitor:
1. Plug the cigarette lighter power adaptor in to the 12 or 24VDC cigarette lighter socket of your
vehicle.
2. Plug the DC plug of the cigarette lighter power adaptor in to the DC socket of the 4.3”
monitor.
3. Once the power is connected, the blue LED indicator will turn on.
Please Note: If there is no signal, the blue LED indicator will start flashing and the monitor will
turn off automatically.
Page 4

Camera:
Positioning The Camera:
1. Place the wireless camera on the license plate or rear of the vehicle using screws or the 3M
tape to securely fix in place.
2. Depending on where your camera is positioned; adjust the tilt accordingly to obtain the best
view.
Please Note: The camera has inbuilt infrared LEDs, these will automatically turn on when there is
insufficient light
Wiring The Camera:
1. Connect the wires of the camera to an 8-30VDC power source of your vehicle.
2. Ensure you have connected the camera wiring by the correct polarity which is RED (+Positive)
and BLACK (-Negative).
3. If you are using this device as a reversing camera; connect the camera to the tail/reversing
lights so the camera is automatically switched on once you place your vehicle in reverse.
4. If you are using this device for observation purposes; connect the camera to a constant power
source such as your interior lights so that the camera will automatically turn on once your
vehicle has started up.
Please Note: Ensure the camera is connected to an 8-30VDC source otherwise it may damage the
camera. If you are unsure how to wire the camera correctly, please consult an auto electrician.
Operation:
Pairing:
The reversing camera is already pre-paired with the monitor by default. If you need to pair the unit
again or need to apply a second camera to the monitor; then please complete the following
procedure:
1. Press the MENU button to enter the main menu.
Page 5
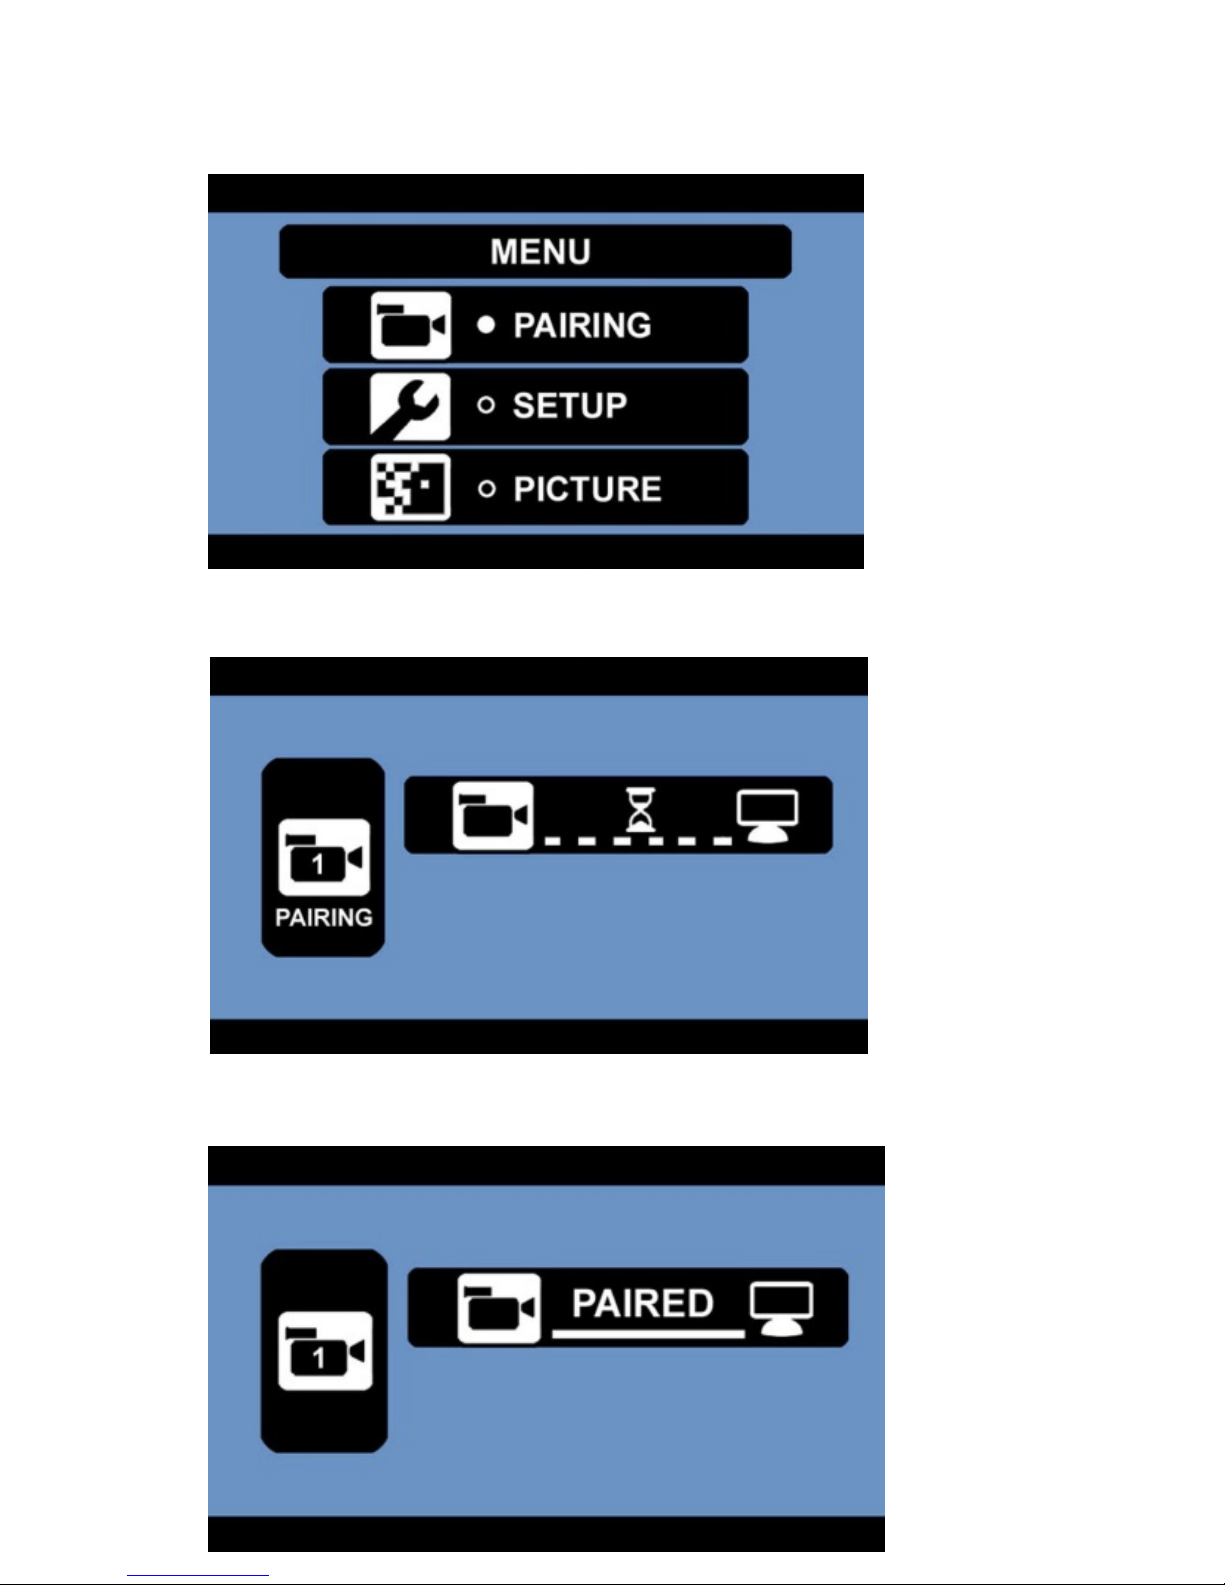
2. Press the POWER / ENTER button to enter the pairing menu.
3. The pairing now should begin automatically as shown below:
4. After the pairing is successful, you should see “Paired” displayed as shown below:
Page 6

5. Press the MENU / RETURN button to exit to the main menu.
Please Note: If the pairing is unsuccessful, please repeat the procedure again.
If connecting with one of two cameras; they can be both paired simultaneously or individually.
Setup:
Display:
Select between displaying camera 1, camera 2 or displaying both cameras if you have an additional
camera paired.
1. Press the MENU button to enter the main menu.
2. Press the DOWN button to select the setup menu.
3. Press the POWER / ENTER button to enter the setup menu.
4. Press the POWER / ENTER button to enter the auto display menu.
Page 7

5. Select which display you would like to choose between camera 1, camera 2 and split display.
6. Press the POWER / ENTER button to confirm.
7. Press the MENU / RETURN button to exit to the main menu.
8. You can press the UP button to enter the auto display when there is no menu shown.
9. Press the DOWN button to select between camera 1, camera 2 or both when there is no menu
shown.
Mirror:
This option allows you to display the image in normal mode, up 180°, flipped (mirror) or flipped 180°
(mirror) depending on how your monitor is positioned on your wind screen.
1. Press the MENU button to enter the main menu.
2. Press the DOWN button; then the POWER / ENTER button to enter the setup menu.
Page 8

3. Press the DOWN button; then press the POWER / ENTER button to enter the mirror menu.
4. Select which mirror mode you would like to choose depending on how your monitor is
positioned on your wind screen.
5. Press the DOWN button; then the POWER / ENTER button to confirm which option you prefer.
6. Press the MENU / RETURN button to exit to the main menu.
Version:
Page 9

Select the version menu to clear the paired devices so you may re-pair them again such as if you find
an intermittent fault.
1. Press the MENU button to enter the main menu.
2. Press the DOWN button to select the setup menu.
3. Press the POWER / ENTER button to enter the setup menu.
4. Press the DOWN button; then press the POWER / ENTER button to enter the version menu.
5. Press the POWER / ENTER button to view the version information of the monitor and camera.
Page 10

6. Once viewing the version information, press and hold the UP button for 5 seconds.
7. Once this has been done, it will have cleared the channels.
8. Press the MENU / RETURN button to exit to the main menu.
Picture:
This option allows you to change the brightness, contrast and colour for the camera display.
1. Press the MENU button to enter the main menu.
2. Press the DOWN button to select the picture menu.
3. Press the DOWN button; then the POWER / ENTER button to enter the picture menu.
4. Press the MENU / RETURN button to exit to the main menu.
Brightness:
Page 11

1. Press the DOWN button; then press the POWER / ENTER button to select the brightness
menu.
2. Press the UP or DOWN buttons to either increase or decrease the brightness settings, then
press the POWER / ENTER button to confirm the adjusted brightness.
3. Press the MENU / RETURN button to exit to the main menu.
Contrast:
Page 12

1. Press the DOWN button; then press the POWER / ENTER button to select the contrast menu.
2. Press the UP or DOWN buttons to either increase or decrease the contrast settings, then press
the POWER / ENTER button to confirm the adjusted contrast.
3. Press the MENU / RETURN button to exit to the main menu.
Colour:
Page 13

1. Press the DOWN button; then press the POWER / ENTER button to select the colour menu.
2. Press the UP or DOWN buttons to either increase or decrease the colour settings, then press
the POWER / ENTER button to confirm the adjusted colour.
3. Press the MENU / RETURN button to exit to the main menu.
Troubleshooting:
Page 14

Problem Solution
Monitor Won't Turn On
Check the monitor cigarette power socket is
connected
Check if the cigarette socket of your vehicle is
8-30VDC
Check the fuse of your cigarette light power adaptor
Monitor & Camera Not
Pairing
Check to see if the camera is connected to 8-30VDC
power
Check the polarity (positive & negative) of the
camera wiring is correct
Reduce the distance between the camera and
monitor when pairing first
Intermittent Signal
Check the antenna's on both the camera and
monitor to see if they are secure
Distance of the camera and monitor is too far, please
reduce it.
Pair the camera and monitor again
Safety Instructions:
Ensure the camera and monitor are connected to an 8-30VDC source only otherwise it may
damage the unit.
Ensure correct polarity of the camera wiring otherwise may result in damage to the unit.
Clean this unit only with a microfiber cloth, cleaning with water may damage the unit.
Ensure all power sources are isolated before installation.
Ensure the camera wiring is insulated correctly otherwise it may disconnect.
If you are unsure on how to install this reversing camera kit, refer to an auto electrician.
Specifications:
Page 15

Monitor:
Frequency: 2.4GHz Digital
LCD: 4.3”
Resolution: 480 x 272
Range: Up to 100m
Antenna: 3dBi
Voltage Input: 8-30VDC
Standby Current: Up to 200mA
Current Consumption: Up to 250mA
Suitable Temperature: -10° - 50°C
Dimensions: 140(L) x 87(W) x 21(H)mm
Camera:
Frequency: 2.4GHz Digital
Resolution: 720 x 480
Image Sensor: 1/3” CMOS
Frame Rate: 30fps
Lens Angle: 110°
Infrared LEDs: 6
Infrared Distance: Up to 1.5m
Antenna: 3dBi
IP Rating: IP65
Voltage Input: 8-30VDC
Standby Current: Up to 300mA
Current Consumption: Up to 350mA
Suitable Temperature: -10° - 50°C
Dimensions: 84(W) x 42(H) x 36(D)mm
Page 16

Distributed by:
TechBrands by Electus Distribution Pty. Ltd.
320 Victoria Rd, Rydalmere
NSW 2116 Australia
Ph: 1300 738 555
Int’l: +61 2 8832 3200
Fax: 1300 738 500
www.techbrands.com
 Loading...