

Rega Research Brio 3 Owners manual

Contents
Introduction..................................................................1
Installation........................................................................2
Input Connections...........................................................3-5
In Use.................................................................................5
Specifications.................................................................6
Troubleshooting.......................................................7-11
Brio 3 Manual (full).qxd 08/06/2006 16:27 Page 1

Introduction
Your REGA amplifier has been designed to reproduce music
effectively and easily.
The Brio
3
has been built to Rega's discriminating standards of
reliability and quality to ensure many years of musical enjoyment.
An amplifier's function is to boost the tiny signal generated by a
cartridge or other source so that it can drive loudspeakers. It is vital
that the amplifier achieves this without changing the signal and so
distorting the music.
We have avoided superfluous gadgets such as tone controls or a
head phone socket as they obstruct the signal path and degrade the
produced sound quality. In common with all REGA products, the
Brio
3
has been built using unusually high quality components and
no frills, so that you can simply switch on, sit back, and let your
amplifier speak for itself.......
1
Mission Statement
Rega’s philosophy is to make high quality products at sensible prices, as a means
of reproducing music as faithfully as possible. Rega is committed to the design
and development of new and existing products, both in hi-fi and other areas, that
will perpetuate Rega’s values of quality and value for money.
Brio 3 Manual (full).qxd 08/06/2006 16:27 Page 2

2
Installation
The Brio3will work well on most surfaces, such as a shelf or table,
provided there is sufficient air around the amplifier to prevent
overheating. To avoid magnetic interference, site the amplifier as far
away from the turntable as the tone arm lead will allow. If possible,
place it to the left of the turntable. Keep other equipment, such as
tuners, cassette decks or CD players away from the amplifier. Never
stack other hi-fi equipment on top of the amplifier.
Ventilation
The heat produced by the Brio3is dispersed to the air by the case,
particular from the base. Ensure that the case has an unobstructed
air passage around it. Never place the amplifier on carpet, rugs,
bedding, or other hi-fi equipment.
Brio 3 Manual (full).qxd 08/06/2006 16:27 Page 3
3
Input Connections
All the inputs and the tape outputs are made via RCA (Phono) type
connectors. The sockets on Rega amplifiers are clearly marked left
and right.
Right: always the lower row and marked in RED
Left: always the upper row and marked in WHITE
IMPORTANT: ALWAYS TURN OFF THE AMPLIFIER WHEN CHANGING LEADS
ESPECIALLY SPEAKER CABLES.
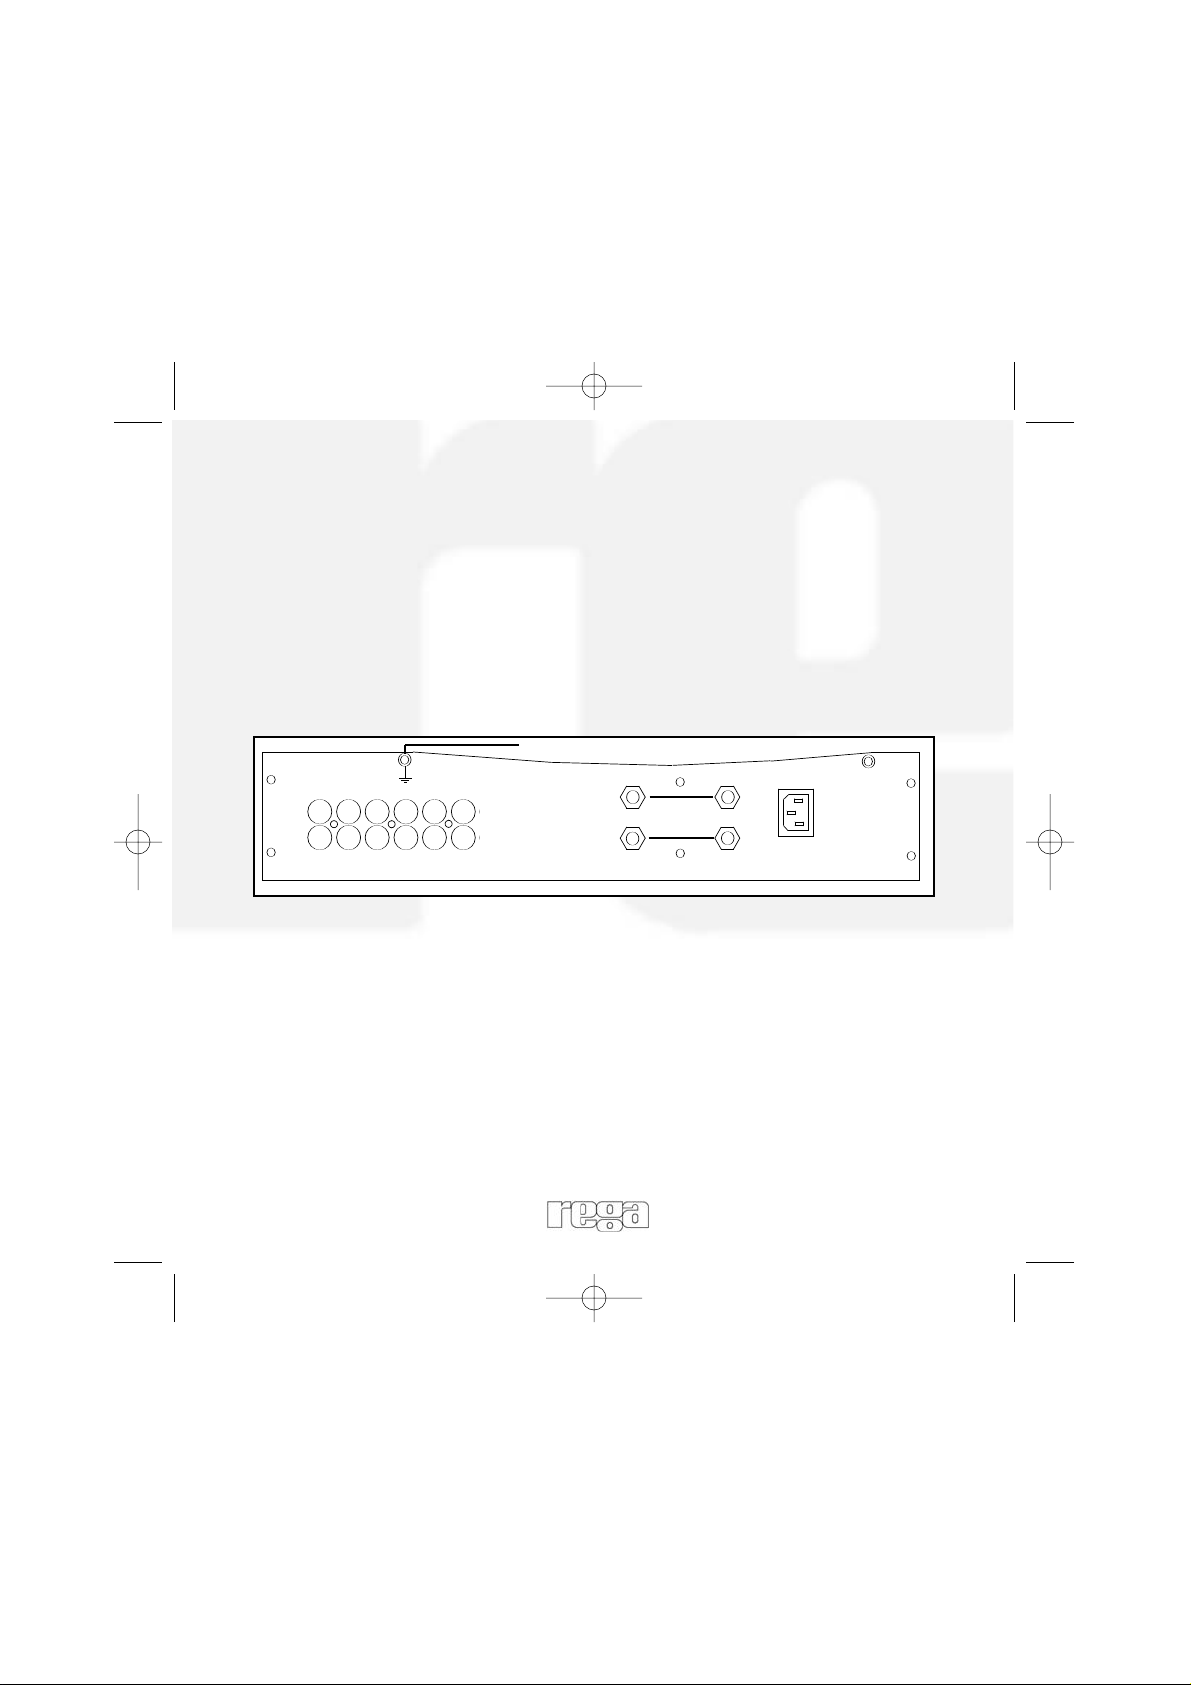
Rear Panel Connections
Earthing: Earthing is done via the Phono socket ground for Rega
turntables so a separate earth is not necessary. In the unlikely event
that your tonearm needs to be earthed to the amplifier, the grounding
tag may be connected to the case grounding screw above the input
sockets.
Phono Input
The Phono input can be used with moving magnet (MM) or HIGH
OUTPUT moving coil (MC) cartridges.
Rega Research Limited, England
CDPHONO
TUNER LINE1
TAPE
IN OUT
Left
SPEAKERS
Right
IEC
Grounding Screw
Brio 3 Manual (full).qxd 08/06/2006 16:27 Page 4
 Loading...