

Page 1
PRO-MELT
ELECTRIC
LEAD FURNACE
PRODUCT INSTRUCTIONS
Page 2
WARNING: Melting lead and casting lead
objects will expose you and others in the
area to lead, which is known to cause birth
defects, other reproductive harm and cancer.
REDUCING EXPOSURE: Lead contamination in the air, in dust, and on your skin
is invisible. Keep children and pregnant women away during use and until cleanup
is complete. Risk can be reduced-but not eliminated-with strong ventilation; washing
hands immediately after use of these products before eating or smoking; and careful
cleaning of surfaces and floors with disposable wipes, after lead dust has had a
chance to settle. Use a lead-specific cleaner with EDTA, or a high-phosphate detergent (like most detergents sold for electric dishwashers), and bag wipes for disposal.
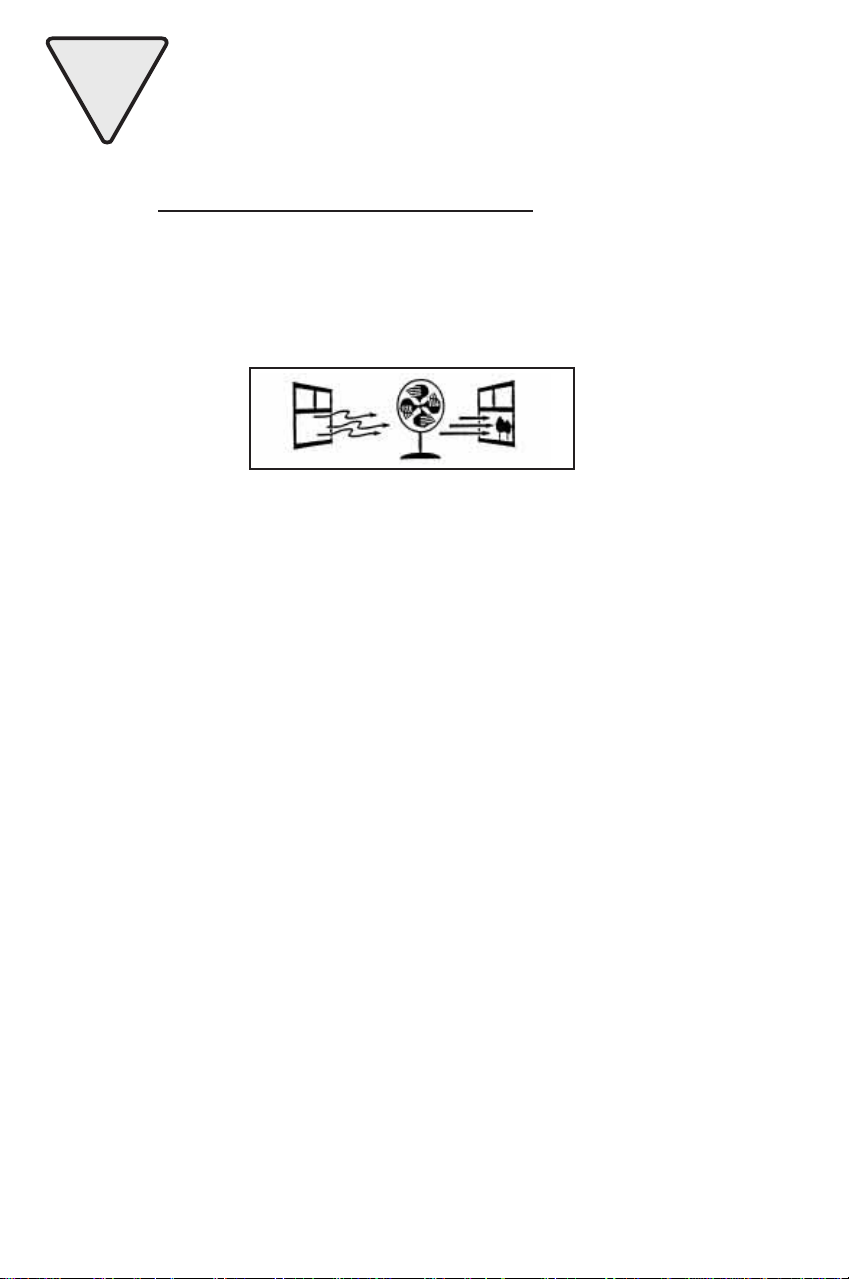
USE STRONG
VENTILATION
SAFETY
Reloading is an enjoyable and rewarding hobby that can be conducted safely. But carelessness or negligence can
make reloading hazardous. This product has been designed from the beginning with the user’s safety in mind.
When reloading, some safety rules must be followed. By observing these rules, the chance of a hazardous
occurrence causing personal injury or property damage is minimized.
GENERAL
●
Use all reloading equipment as the manufacturer recommends. Study the instructions carefully and become
thoroughly familiar with the operation of the product. Don’t take short cuts.
●
Observe “good housekeeping” in the reloading area. Keep tools and components neat, clean and orderly.
Promptly and completely clean up primer and powder spills.
●
Reload only when you can give your undivided attention. Do not reload when fatigued or ill. Develop a reloading
routine to avoid mistakes. Avoid haste — load at a leisurely pace.
●
Always wear adequate eye protection.
CASTING
Overexposure to lead can be harmful. Lead contributes to health impairment and diseases which occur after
periods of lead exposure over long periods of time.
●
Bullet casting should not be conducted in a confined space or in an enclosed room. Ensure that well-ventilated
areas are used to avoid build-up and breathing of lead dust, fumes and fluxing fumes. Good ventilation includes
continuous cross-ventilation by large amounts of fresh air.
●
Face dust masks should be worn during bullet casting activities.
●
When casting or otherwise working with molten lead, always wear effective eye protection, appropriate
protective clothing, leather or thick cotton work gloves, and shoes that cover your feet and ankles completely.
Protective clothing could include coveralls or one-piece jumpsuits. However, the clothing should not be used
for any other activities. It should be laundered separately from other clothing. These precautions will minimize
the likelihood of any lead dust being scattered around in other living areas.
●
Maintain good housekeeping practices to ensure that surfaces are as free as practical of the accumulation of
lead dust. Vacuuming is the preferred method. Compressed air should not be used.
●
Hands, face and hair should be washed after working around lead dust, fumes or fluxing fumes, and prior to
eating, drinking, smoking or applying cosmetics. The likelihood of lead ingestion increases if you don’t.
●
At all times, keep small children well away from the casting area.
●
Do not smoke, eat or handle food when handling lead.
●
Always make certain bullet mould, lead dipper and bullet metal are totally free of moisture.
●
All electrical melting pots should be grounded to reduce risk of electrical shock.
●
Melting pots in use should never be left unattended.
Page 3

●
Be sure your melting pot and heat source are stable, and the table or bench is solid.
●
An ingot mould or other container should be placed under the spout of bottom feed pots to catch lead
that may leak.
RECORD KEEPING
●
Keep complete records of reloads. Apply a descriptive label to each box showing the date produced, and the primer,
powder and bullet used. Labels for this purpose are packed with SPEER bullets.
Since RCBS has no control over the choice of components, the manner in which they are assembled, the use of this
product, or the guns in which the resulting ammunition may be used, no responsibility, either expressed or implied,
is assumed for the use of ammunition reloaded with this product.
INTRODUCTION
The heart of your RCBS Pro-Melt is the accurate, industrial quality thermostat located inside the unit. The placement
of the remote sensor, on the bottom surface of the melting pot, senses the actual temperature of the molten alloy. The
bottom-feed nozzle ensures smooth, even pouring with the weight of alloy in the melting pot providing the pressure
needed to fill mould cavities and eliminate shrinkage voids.
UNPACKING
Unpack the Pro-Melt carefully and look for the items listed below. Refer to the parts list for identification.
●
Pro-Melt body and base
●
Nozzle shut-off pin
●
Handle
●
Handle knob
●
Handle fulcrum
●
Adjustment bracket
●
●
●
Should any parts be missing, please notify your dealer immediately.
5
Screws:
10
/40 x 1/2 round head screw (1), 5/40 x 3/8 round head screw (1), 10/32 x 1 1/4 socket head cap screw (1),
/32 hex nut (1), 8/32 x 3/8 pan head screw (1).
Mould guide collars (2)
Allen wrenches (2)
INSTALLATION
This furnace has been shipped assembled, except for attaching the handle, handle knob, adjustment bracket, and
mould guide collars. To assemble:
●
Drawing 1: Using the 5/32 Allen wrench, unscrew the 10/32 x 3/8 socket head cap screw from the left rim of the melting
pot. Using this screw, attach the handle fulcrum A onto the left rim of the melting pot.
●
Using the 5/32 Allen wrench, unscrew the 10/32 x 3/8 socket head cap screw from the right rim of the melting pot. Using
this screw, attach the adjustment bracket B onto the right rim of the melting pot. Position the adjustment bracket
as shown in Drawing 1.
●
Insert the nozzle shut-off pin C into the nozzle. First remove the protective plastic coating from the end of the nozzle
shut-off pin.
●
Insert the handle D through the adjustment bracket and nozzle shut-off pin slots from the right side of the melting
pot. Attach the left end of the handle to the handle fulcrum A with the 5/40 x 1/2 round head screw.
●
Screw the nozzle shut-off pin C to the handle with the 5/40 x 3/8 round head screw.
●
Screw the 10/32 x 1 1/4 socket head cap screw and 10/32 hex nut E into the top of the adjustment bracket B.
●
Attach the handle knob to the handle with the 8/32 x 3/8 pan head screw.
●
Drawing 2: Using the 3/32 Allen wrench, loosen the setscrew in the mould guide housing bushing F. Adjust the mould
guide G at the desired height. Position clear of the nozzle to avoid any molten alloy which might drip from the nozzle
while using the Pro-Melt.
●
Slide the mould guide collars H onto the mould guide G. Position the collars to guide the mould and tighten the
setscrews with the 3/32 Allen wrench.
Page 4

Drawing 1
Drawing 2
TO USE:
●
Set the thermostat at its lowest temperature and turn on the Pro-Melt. The pilot light located in the on-off switch
will indicate when there is power to the element.
●
After the Pro-Melt has been on for approximately 15 minutes (the pilot light will go on and off), set the thermostat
at 650°F.
●
Add small pieces of scrap lead or ingots to the melting pot, stacking them against the sides as much as possible.
●
Continue adding small pieces of lead or ingots until you have approximately 1" to 1 1/2" of molten lead in the
melting pot. After you have 1" to 1
Do not operate the Pro-Melt with less than 1" of alloy in it.
●
The flow of alloy can be increased or decreased by raising or lowering the socket head cap screw. Usually
1
/32" to 1/16" of handle travel will give an adequate flow.
●
For bullet casting instructions, consult the instruction book you received with your bullet moulds.
●
When melting metals to produce an alloy, always be certain that you are using the recommended metals and
recommended amounts.
1
/2" of molten lead in the melting pot, more lead may be added in any amount.
Page 5

KEY PART# DESCRIPTION
1 81101 Furnace body
2 81103 Base
3 81104 Handle
4 81107 Handle fulcrum
5 81108 Round head screw 5/40 x 1/
2
6 81114 Nozzle shut-off pin
7 81115 Round head screw 5/40 x 3/
8
8 81110 Adjustment bracket
9 81112 Hex nut 10/
32
10 81111 Socket head cap screw 10/32x 11/4 (2)
11 81109 Socket head cap screw 10/32 x 3/8 (2)
12 81116 Mould guide rod
13 81117 Mould guide collar (2)
14 09099 Setscrew 10/32 x 1/4 FP (3)
15 81118 Mould guide housing bushing
Page 6

PRECISIONEERED® RELOADING EQUIPMENT
We think that we make the very best
reloading equipment in the world.
If you disagree, tell us - we want to do something about it!
If you agree, please tell your friends.
Customer Service
1-800-533-5000
(US or Canada) or
530-533-5191
Hours: Monday - Thursday, 6:30am - 3:00pm (hours may vary)
e-mail: rcbs.tech@atk.com • www.rcbs.com
RCBS • 605 Oro Dam Blvd. • Oroville, CA 95965
OUTERS • RAMLINE • ORBEX • FEDERAL
CCI • SPEER • RCBS
7200597/0603
 Loading...