

Page 1
u s e r m a n u a l
AM
W AKE 1
REPEA T
POWER
RADIO FREQUENCY
FM 88 90 92 94 96 98 100 102 104 106 108 MHz
AM 530 700 900 1200 1400 1650 kHz
ON
OFF - MUSIC - AL.
CD
STEREO
DUAL ALARM CLOCK RADIO
VOLUME
WAKE 1
SET
/ 2 BAND
AL. - MUSIC - OFF
WAKE 2
SET
RP3753 EN-US 3/13/01, 4:13 PM11
W AKE 2
RP3753
Page 2
FCC Information
This device complies with Part 15 of the FCC Rules. Operation is subject to the following two
conditions: (1) This device may not cause harmful interference, and (2) this device must accept
any interference received, including interference that may cause undesired operation.
In accordance with FCC requirements, changes or modifications not expressly approved by
Thomson multimedia Inc. could void the user’s authority to operate this product.
This device generates and uses radio frequency (RF) energy, and if not installed and used
properly, this equipment may cause interference to radio and television reception.
If this equipment does cause interference to radio or television reception (which you can
determine by unplugging the unit), try to correct the interference by one or more of the
following measures:
• Re-orient the receiving antenna (that is, the antenna for the radio or television that is
“receiving” the interference).
• Move the unit away from the equipment that is receiving interference.
• Plug the unit into a different wall outlet so that the unit and the equipment receiving
interference are on different branch circuits.
If these measures do not eliminate the interference, please consult your dealer or an experienced
radio/television technician for additional suggestions. Also, the Federal Communications
Commission has prepared a helpful booklet, “How To Identify and Resolve Radio TV Interference
Problems.” This booklet is available from the U.S. Government Printing Office, Washington, DC
20402. Please specify stock number 004-000-00345-4 when ordering copies.
This product complies with DHHS Rules 21 CFR Subchapter J. Applicable at the date of
manufacture.
THE LIGHTNING
FLASH AND ARROWHEAD WITHIN THE
TRIANGLE IS A
WARNING SIGN
WARNING:
OR ELECTRICAL SHOCK HAZARD,
DO NOT EXPOSE THIS PRODUCT
TO RAIN OR MOISTURE.
TO PREVENT FIRE
ALERTING YOU OF
"DANGEROUS
VOLTAGE" INSIDE
THE PRODUCT.
Service
This product should be serviced only by those specially trained in appropriate servicing
techniques. Attach your sales receipt to the booklet for future reference or jot down the date
this product was purchased or received as a gift. This information will be valuable if service
should be required during the warranty period.
Purchase Date _________________________
Name of Store ________________________
CAUTION
RISK OF ELECTRIC SHOCK
DO NOT OPEN
CAUTION: TO REDUCE THE
RISK OF ELECTRIC SHOCK,
DO NOT REMOVE COVER
(OR BACK). NO USERSERVICEABLE PARTS INSIDE. REFER SERVICING
TO QUALIFIED SERVICE
PERSONNEL.
SEE MARKING ON BOTTOM / BACK OF PRODUCT
THE EXCLAMATION
POINT WITHIN THE
TRIANGLE IS A
WARNING SIGN
ALERTING YOU OF
IMPORTANT
INSTRUCTIONS
ACCOMPANYING
THE PRODUCT.
RP3753 EN-US 3/13/01, 4:10 PM2
Page 3
Mains Connections
MAINS OUTLET POWER SUPPLY : 120V ~60Hz
NoteNote
Note:
NoteNote
Power is fed to the unit even when it is not functioning. To cut
the power supply off, the power cable must be unplugged.
For Your Safety
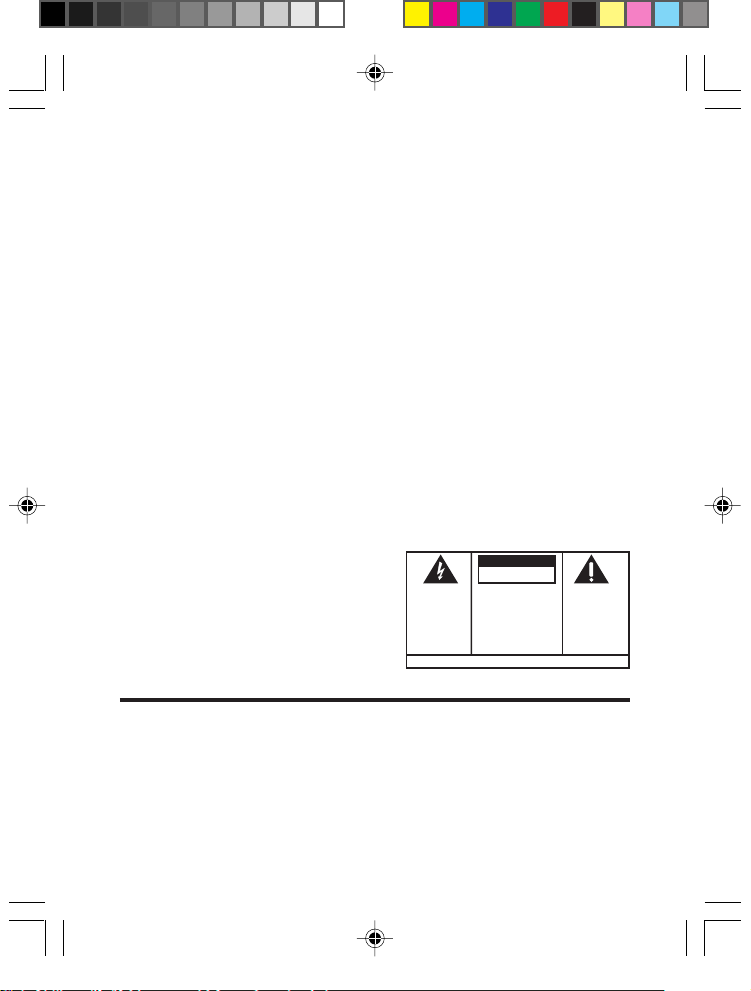
The AC power plug is polarized (one blade is wider than the other) and only fits into AC power
outlets one way. If the plug won’t go into the outlet completely, turn the plug over and try to
insert it the other way. If it still won’t fit, contact a qualified electrician to change the outlet, or
use a different one. Do not attempt to bypass this safety feature.
CAUTION: TO PREVENT ELECTRIC SHOCK, MATCH WIDE BLADE OF PLUG TO WIDE SLOT,
FULLY INSERT.
Battery Back-up
This clock radio is equipped with a memory holding system that can be powered with a 9-volt
battery (not included). The power failure protection circuit will not operate unless battery is
installed.
When normal household power is interrupted, or AC line cord is unplugged, the battery will
power the clock radio to keep track of time and alarm settings programmed into memory. When
the battery backup functions, the digital display will not light, however, the function of alarm
still occurs during the power interruption if remaining battery power is adequate. Normal
operation will resume after AC power is restored so you will not have to reset the time or the
alarm.
When AC power is interrupted (disconnected) for a short period of time, both time and alarm
settings will change (unless optional battery is installed). After AC power is restored
(reconnected), the Digital Display will blink to indicate that power was interrupted and you
should readjust the time and alarm settings.
Caution
Have a Blast- Just Not in Your Eardrums!
Make sure you turn down the volume on the unit before you put on headphones.
Increase the volume to the desired level only after headphone are in place.
The descriptions and characteristics in this owner’s manual are for the purpose of general reference only and not as a
guarantee. In order to provide you with the highest quality product, we may make changes or modifications without
prior notice. The English version serves as the final reference on all product and operational details should any
discrepancies arise in other languages.
RP3753 EN-US 3/13/01, 4:10 PM3
Page 4

THE DIGITAL CD CLOCK RADIO
N
Protection against mains power failures:
1. Remove battery compartment door (located on
the back of the radio) by applying thumb pressure
to area indicated on battery door and then lift the
door out and off the cabinet.
2. Connect a 9-volt battery connector plug. (6LR61
or NEDA 1604A)
3. Insert battery in the compartment and replace
the compartment door.
NOTE: Alkaline (6LR61/NEDA 1604A) batteries are recommended. Carbon-zinc battery may be
used but memory holding time will be substantially reduced. Memory holding time for a
fresh alkaline battery is approximately 8 hours (if radio or alarm are not operated) which
should take care of short, nuisance-type AC power failures. To preserve battery life, the unit
should remain plugged into an AC outlet. As the battery gets older, its voltage drops and
memory may be lost. Be sure to replace the battery periodically. Battery should be removed if
the unit will be stored for more than one month. Leaky battery can badly damage the clock
radio.
Setting time
1
2
SKIP
SLEEP
>>
<<
SKIP
SKIP
>>
<<
SKIP
TIME
W AKE 1
W AKE 2
SET
NOTENOTE
NOTE:
NOTENOTE
SNOOZE
SET
SET
1. Press and hold or to skip fast
2. The AM LED indicator will light to show AM time
Battery compartment at the
backside of the unit
Press and hold
Press or
SKIP
TIME
SET
>>
<<
SKIP
Adjusting display brightness
You may slide on the left side of the unit to vary the LED display
brightness.
OFF DIMMER O
1
RP3753 EN-US 3/13/01, 4:11 PM4
Page 5

THE DIGITAL CD CLOCK RADIO
E
Listening to radio
POWER
Press to turn on the radio
MONO FM STER
SLEEP
1
<<
TUNING
VOLUME
ON
SKIP
CD
AM
FM
SLEEP
>>
Select AM/FM
2
3
Turn to your desired station
Adjust to your desired listening level
4
POWER
Listen to CD/radio (AM/FM)
1
Press and hold and the LED indicator
2
will light
Press or to select time from 1 minute
SKIP
3
to 1 hour and 59 minutes (When 0 is reached,
the unit goes off)
SNOOZE
SLEEP
POWER
AM
WAKE 1
FM 88 90 92 94 96 98 100 102 104 106 108 MHz
REPEAT
AM 530 700 900 1200 1400 1650 kHz
DUAL ALARM CLOCK RADIO
ON
POWER
OFF - MUSIC - AL. AL. - MUSIC - OFF
WAKE 1
SET
RADIO FREQUENCY
STEREO CD/ 2 BAND
VOLUME
WAKE 2
WAKE 2
SET
• To improve reception, you may try and:
1. move or rotate the unit for AM reception
2. slide on the left side of the unit to MONO for FM
reception
• To turn off the radio, press again
Sleep to CD/radio
You can drift off to sleep to CD/radio knowing that the unit will turn itself off
automatically. If alarm is set, the unit will turn on again as programmed.
TIME
W AKE 1
WAKE 2
SET
SNOOZE
SET
SET
• If you decide to turn off the unit sooner, press or and
this will shut off the sleep cycle.
• When sleep mode is active, subsequent press on to show the
remaining time before the unit goes off.
>>
<<
SKIP
SKIP
RP3753 EN-US 3/13/01, 4:12 PM5
2
Page 6

THE DIGITAL CD CLOCK RADIO
/
/
Listening to compact disc
P
PLA
AUSE
VOLUME
CD
AM
FM
Y
1
Select CD
1
Lift to open the door
2
WAKE UP
REPEAT
CD TRACK
STOP
TIME
W AKE 1
WAKE 2
SET
SET
SET
PLAY /
PAUSE
OPEN
SLEEP
>>
<<
SNOOZE
SKIP
SKIP
3
Insert a disc and close the door
4
Press
5
Adjust to your desired listening
level
OPEN
You may listen through a headphone by inserting one into
on the left side of the unit.
Note that while the alarm is on, the speaker will sound as well
although a headphone is inserted.
REPEAT
Press to repeat the entire disc playback and the LED indicator
will light
Press to play music randomly and the LED indicator will light
Y
PLA
Press to pause playback
P
AUSE
Press to stop playback
STOP
>>
<<
Press or to select track
SKIP
SKIP
• If the disc compartment is empty, or the disc cannot be played,
the LED message “nd” flashes.
• Do not store CDs in damp areas. Do not expose CDs to high
temperatures.
• You should avoid leaving the CD door open. Dust is liable to
impair performance of the laser optical unit.
3
RP3753 EN-US 3/13/01, 4:12 PM6
PHONES
Page 7

THE DIGITAL CD CLOCK RADIO
1
Setting alarm with tone
W
Press and hold
WAKE UP
REPEAT
CD TRACK
STOP
TIME
WAKE 1
WAKE 2
SNOOZE
SET
SET
SET
3
Select AL. and WAKE 1 LED indicator will light
1
PLAY /
PAUSE
OPEN
2
SLEEP
>>
<<
SKIP
SKIP
OFF - MUSIC -
<<
Press or to set the time
SKIP
AL.
WAKE 1
SET
1. You cannot adjust the alarm tone volume.
GRADUWAKEGRADUWAKE
2. With the
gradually to its maximum in about 30 to 45 seconds.
GRADUWAKE
GRADUWAKEGRADUWAKE
feature, the alarm tone volume will increase
Setting alarm with music
Follow and of “Setting alarm with tone” above
1
Select MUSIC and WAKE 1 LED indicator will light
2
Slide on the right side of the unit
3
4
Turn to your desired wake-up volume
1
CD
AM
FM
CD: Insert a disc in the compartment
OFF - MUSIC -
WAKE 1
2
AL.
SET
To wake up to your preferred CD track: (default is track 1)
a. Press and hold
<<
b. Press or to select track
Radio: Select AM/FM and turn to your desired station
VOLUME
• If the CD compartment is empty, the alarm tone will sound instead
when in fact MUSIC mode is selected.
SKIP
• When setting WAKE 2, same procedure is followed.
• When both WAKE 1 and WAKE 2 are set to MUSIC,
or AM or FM) can be selected.
AKE
SET
>>
SKIP
WAKE UP
>>
CD TRACK
TUNING
SKIP
AM
WAKE 1
FM 88 90 92 94 96 98 100 102 104 106 108 MHz
REPEAT
AM 530 700 900 1200 1400 1650 kHz
ON
POWER
OFF - MUSIC - AL. AL. - MUSIC - OFF
WAKE 2
RADIO FREQUENCY
STEREO CD/ 2 BAND
DUAL ALARM CLOCK RADIO
VOLUME
WAKE 2
WAKE 1
SET
SET
ONLY 1 mode (CD
4
RP3753 EN-US 3/13/01, 4:13 PM7
Page 8

THE DIGITAL CD CLOCK RADIO
O
Stopping alarm
1. To silence the alarm momentarily:
SNOOZE
• Press and the alarm will sound again when the snooze period is over
(see “Adjusting snooze duration” below)
2.
To stop alarm from sounding:
POWER
• Press and the alarm will be on again the following day at the same
time
3.
To cancel alarm completely:
• Slide or to OFF and the corresponding alarm(s)
won’t sound again the following day
Adjusting snooze duration
AL.
OFF - MUSIC -
WAKE 1
AL. - MUSIC -
WAKE 2
SET
SET
• If uninterrupted, the alarms will stop sounding in 2 hours.
The snooze-alarm control allows extra sleep time after the unit comes on in alarm
mode. Press will turn off the alarm until the snooze period is over. You
SNOOZE
can use the SNOOZE feature repeatedly for up to about 2 hours, after which the
unit will turn off until the next alarm conditions are met.
TIME SET
WAKE TIME SET 1
WAKE TIME SET 2
SNOOZE
SLEEP
>>
<<
SKIP
5
RP3753 EN-US 3/13/01, 4:13 PM8
Press and Hold
1
2
Press or to set the “quiet” period
SKIP
(default is 9 minutes) from 1 minute to 30
SNOOZE
<<
>>
SKIP
minutes for which the alarm momentarily
goes off
Page 9

Limited Warranty
What your warranty covers:
• Any defect in materials or workmanship.
For how long after your purchase:
• One year (The warranty period for rental units begins with the first rental or 45 days from date
of shipment to the rental firm, whichever comes first.)
What we will do:
• Provide you with a new, or at our option, a refurbished unit.
• The exchange unit is under warranty for the remainder of the original product’s warranty
period.
How to make a warranty claim:
• Properly pack your unit. Include any cables, etc., which were originally provided with the
product. We recommend using the original carton and packing materials.
• Include in the package evidence of purchase date such as the bill of sale. Also print your name
and address and a description of the defect. Send standard UPS or its equivalent to:
• Pay any charges billed to you by the Exchange Center for service not covered by the warranty.
• Insure your shipment in case of loss of damage. Thomson accepts no liability in case of damage
or loss.
• A new or refurbished unit will be shipped to you prepaid freight.
What your warranty does not cover:
• Customer instruction. (Your Owner’s Manual provides information regarding operating
instructions and user controls. For additional information, ask your dealer.)
• Installation and set-up service adjustments.
• Batteries.
• Damage from misuse or neglect.
• Products which have been modified or incorporated into other products.
• Products purchased or serviced outside the USA.
• Acts of God, such as but not limited to lightning damage.
Product Registration:
• Please complete and mail the Product Registration Card packed with your unit. It will make it
easier to contact you should it ever be necessary. The return of the card is not required for
warranty coverage.
How state law relates to this warranty:
• This warranty gives you specific legal rights, and you may have other rights which vary from
state to state.
If you purchased your product outside the USA:
• This warranty does not apply. Contact your dealer for warranty information.
Thomson multimedia Inc.
Product Exchange Centre,
11721 B Alameda Ave,
Socorro, TX 79927
RP3753 EN-US 3/13/01, 4:13 PM9
6
Page 10

STEREO
CD
/ 2 BAND
DUAL ALARM CLOCK RADIO
FM 88 90 92 94 96 98 100 102 104 106 108 MHz
AM 530 700 900 1200 1400 1650 kHz
WAKE 1
SET
WAKE 2
SET
VOLUME
OFF - MUSIC - AL.
AL. - MUSIC - OFF
ON
RADIO FREQUENCY
AM
W AKE 1
W AKE 2
POWER
REPEA T
RP3753 EN-US 3/13/01, 4:13 PM10
Thomson multimedia Inc.
10330 North Meridian St.
Indianapolis, IN 46290
© 2001 Thomson multimedia Inc.
Trademark(s) © Registered
Marca(s) © Registrada(s)
Marque(s) © Deposée(s)
55147640 (EN/E)
www.rca.com
 Loading...