

USER'S
GUIDE
CO
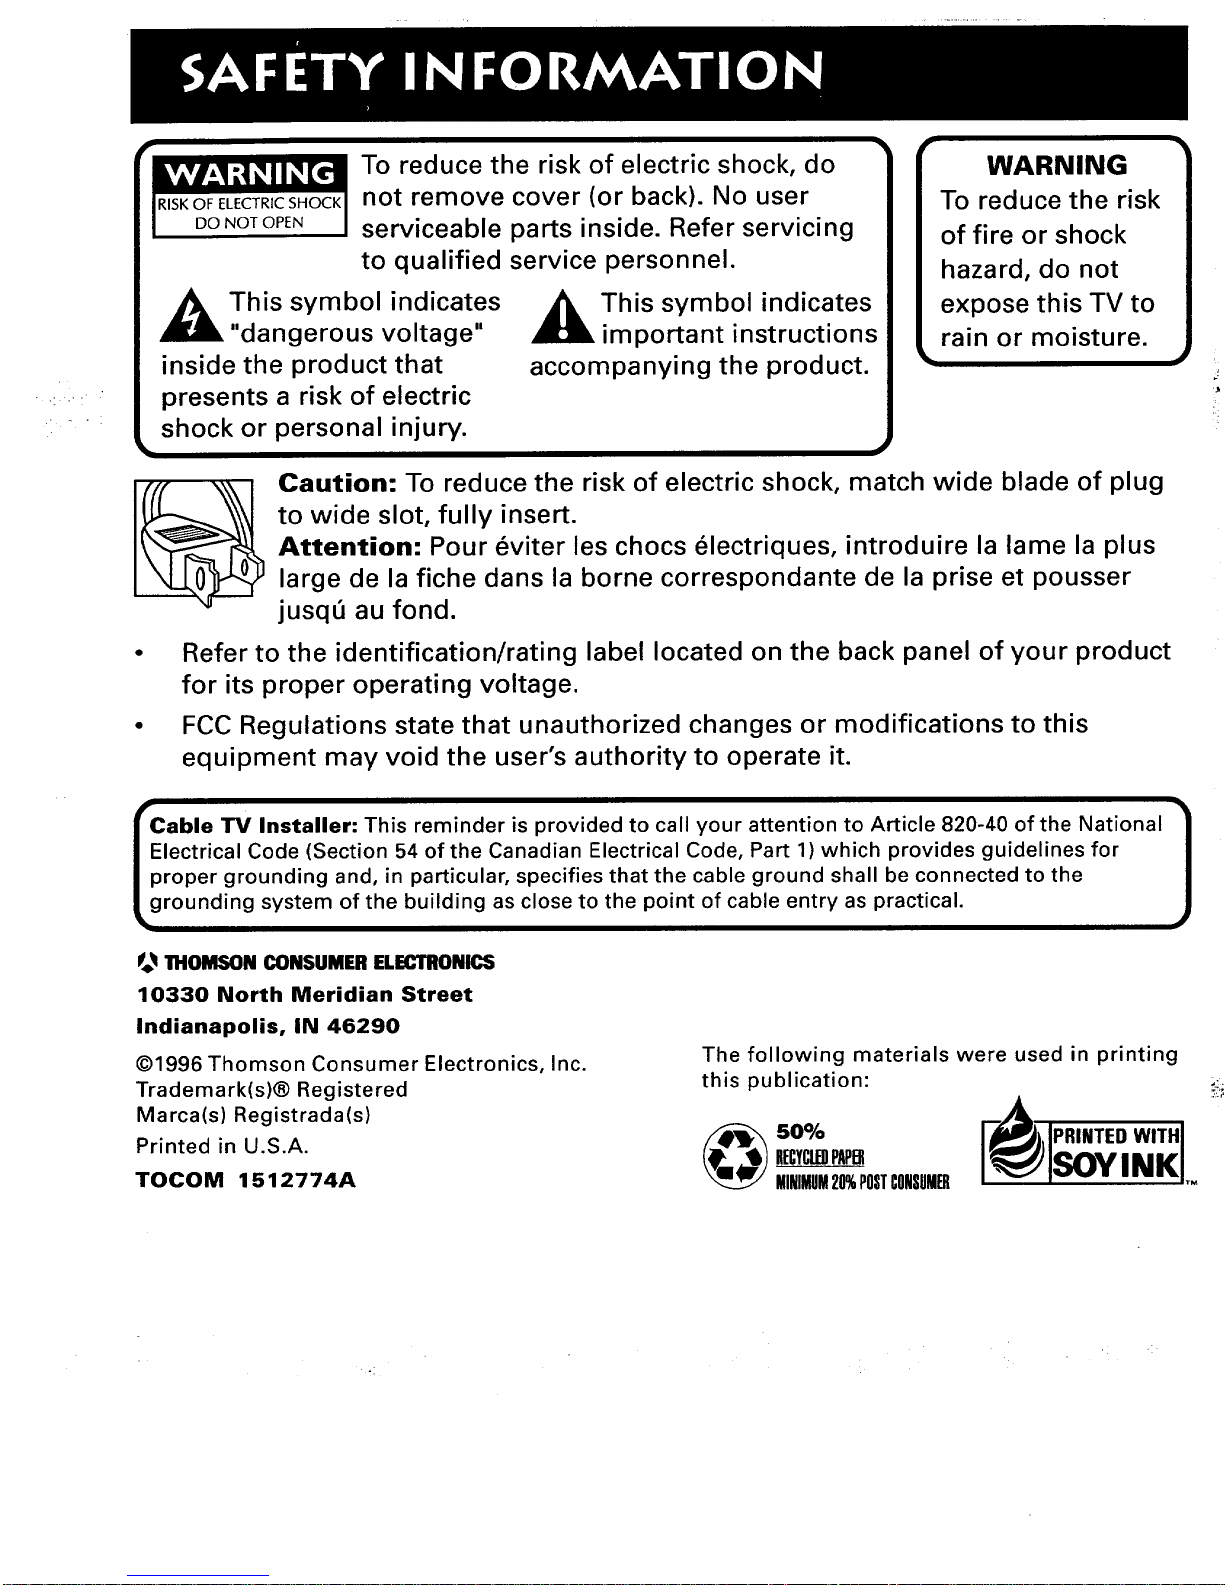
ikvAvi;WtJ_ll _[_.!1 To reduce the risk of electric shock, do
RISKOFELECTRIC SHOCK I not remove cover (or back). No user
DONOTOPENI serviceable parts inside. Refer servicing
to qualified service personnel.
_k his symbol indicates
"dangerous voltage"
inside the product that
presents a risk of electric
shock or personal injury.
_llL his symbol indicates
important instructions
accompanying the product.
WARNING
To reduce the risk
of fire or shock
hazard, do not
expose this TV to
rain or moisture.
Caution: To reduce the risk of electric shock, match wide blade of plug
to wide slot, fully insert.
Attention: Pour _viter les chocs _lectriques, introduire la lame la plus
large de la fiche dans la borne correspondante de la prise et pousser
jusqe au fond.
Refer to the identification/rating label located on the back panel of your product
for its proper operating voltage.
FCC Regulations state that unauthorized changes or modifications to this
equipment may void the user's authority to operate it.
able TV Installer: This reminder is provided to call your attention to Article 820-40 of the National |
ectrical Code (Section 54 of the Canadian Electrical Code, Part 1) which provides guidelines for
J
roper grounding and, in particular, specifies that the cable ground shall be connected to the
rounding system of the building as close to the point of cable entry as practical.
_ 1HOMSON CONSUMER ELECTRONICS
10330 North Meridian Street
Indianapolis, IN 46290
©1996 Thomson Consumer Electronics, Inc.
Trademark(s)® Registered
Marca(s) Registrada(s)
Printed in U.S.A.
TOCOM 1512774A
The following materials were used in printing
this publication:
uEcYctmPAPm SOYINK
MINIMUM20%POSTCONSUMER ,-
+:.
STEP 1
Unpack the TV and remote control.
IMPORTANT IN FORMATION: OPTIONAL STAN D
Matching stands were designed to be used with 25 inch and larger table
model TV(s) included in this book. The recommended stands are provided
with hardware to secure the TV to the stand so that it cannot be easily
pushed off, pulled off, or tipped over. Your RCA dealer can help you choose
the appropriate stand for your TV.
Caution: If you choose not to use the stand recommended for your TV,
take precautions that the stand or other furniture the TV is placed on is
properly located and of adequate size and strength to prevent the TV from
accidentally being pushed off, pulled off, or tipped over. This could cause
damage to the TV and/or personal injury.
STE P 2:
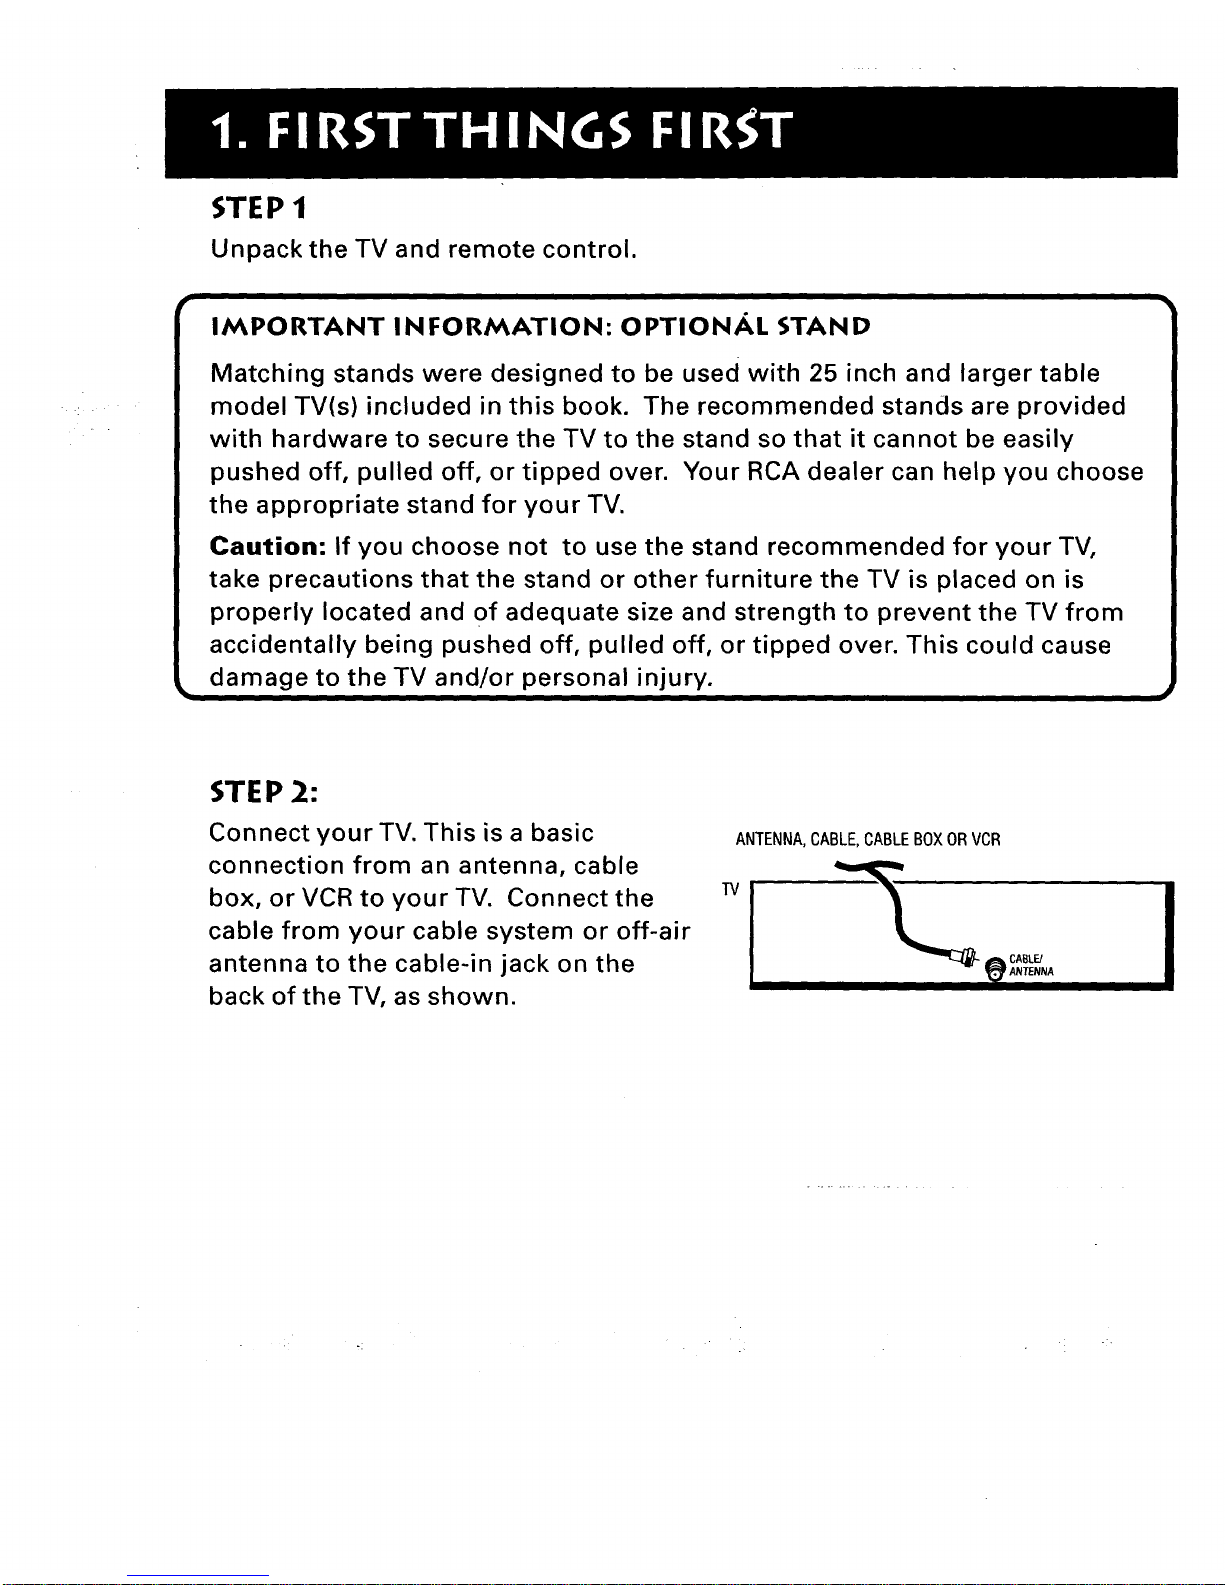
Connect your TV. This is a basic
connection from an antenna, cable
box, or VCR to your TV. Connect the
cable from your cable system or off-air
antenna to the cable-in jack on the
back of the TV, as shown.
ANTENNA,CABLE,CABLEBOXORVCR

STEP 3:
Plug in the TV. Plug the end of the power cord into the wall
outlet, matching the wide blade of the plug with the wide
slot in the outlet. Be sure to insert the plug completely.
STE P 4
Put batteries in the remote.
• Remove the battery compartment cover from
the back of the remote.
• Insert four AAA batteries as shown, matching
the + and- ends of each battery in the
compartment.
• Replace the cover.
STE P 5
Turn on the TV.
• Press TV on the remote.
Read the next section, Using the Menu System, which is a brief overview of
the basic rules for getting around in the menus using the remote or TV's front
control panel.
THE MENU RULE" POINTAND SELECT
You only need to know one rule to use the on-screen menus and control
r-,_n,_le- _,"_;n÷ _nA e._l_.,',÷
. C

WHAT IS POINT AND SELECT?
The point and select method has two steps.
1. Point to a menu item using the MOVE arrows on the
remote.
2. Select a menu item by pressing MENU.
Selecting an item tells the TV's menu system to go ahead
and make the change or go to a place you have indicated.
(You can also select an item by pressing the corresponding
number button on the remote.)
p_
.-,3 e ,o^
Once you know how to point and select your way through the menus, you
can apply this rule in the menu control panels, which do the real work in the
menu system.
The setup routine walks you through the steps needed to configure the TV.
These steps allow you to select a menu language, complete the auto channel
search, which puts available cable TV or antenna signals into the TV's
memory, label the channels and set the parental controls. After you select a
menu language, you can skip any of the remaining steps and return to them
later.
BEGIN SETUP
1. Press MENU to bring up the Main menu.
2. Point to Setup and press MENU. The first Setup screen comes up, asking
you to select a language.
Setu

3. Point to your preferred language by pressing the up and down arrows
until the language is highlighted in green.
4. Press MENU to select the language.
5. A screen appears asking if you would like the TV to search for all
channels.
- .-. r •
Set
6. Complete the Setup routine or skip any of the steps and return to them
later.
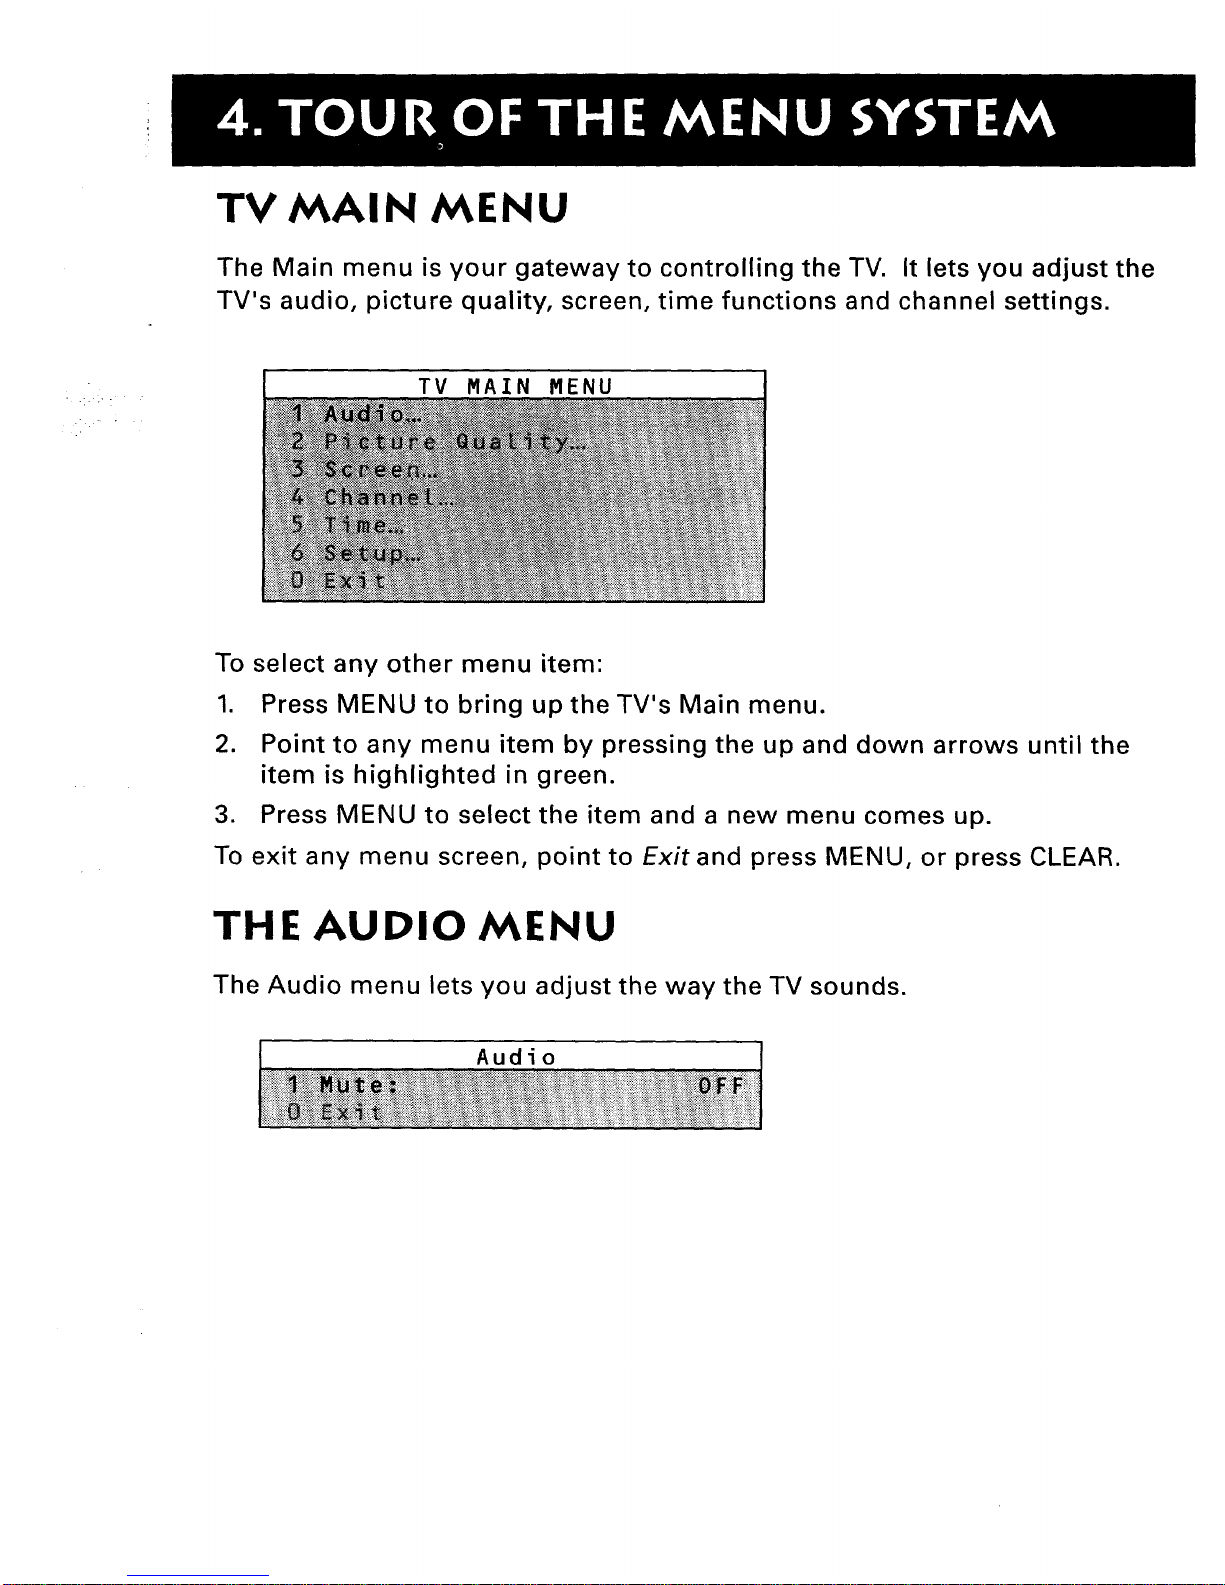
TV MAIN MENU
The Main menu is your gateway to controlling the TV. It lets you adjust the
TV's audio, picture quality, screen, time functions and channel settings.
TV MAIN MENU
To select any other menu item:
1. Press MENU to bring up the TV's Main menu.
2. Point to any menu item by pressing the up and down arrows until the
item is highlighted in green.
3. Press MENU to select the item and a new menu comes up.
To exit any menu screen, point to Exit and press MENU, or press CLEAR.
THE AUDIO MENU
The Audio menu lets you adjust the way the TV sounds.
Audio
Mute lurns OTTme I vs souncl. I-ress IVII-I_IU [0 IOCJgl_ [I]e IVlUU{_ I_LILUI'_
between ON and OFF.
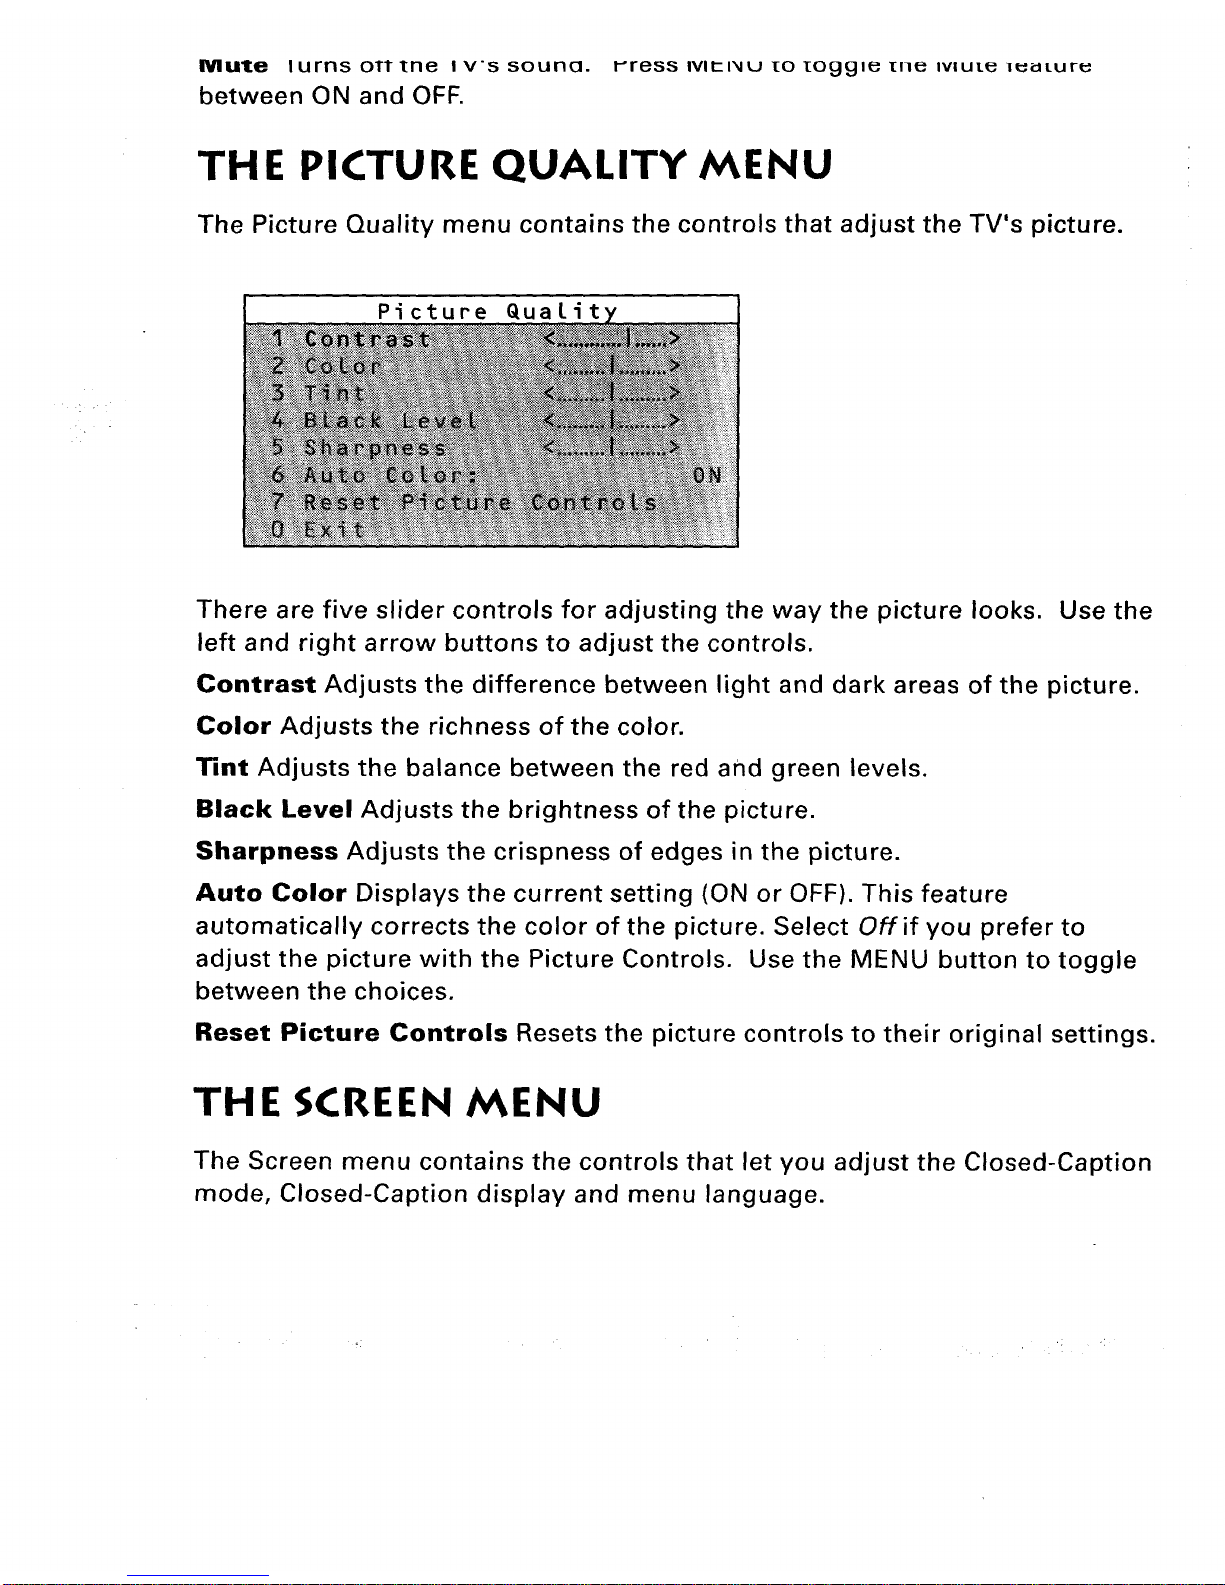
THE PICTURE QUALITY MENU
The Picture Quality menu contains the controls that adjust the TV's picture.
Picture Qualit
There are five slider controls for adjusting the way the picture looks. Use the
left and right arrow buttons to adjust the controls.
Contrast Adjusts the difference between light and dark areas of the picture.
Color Adjusts the richness of the color.
Tint Adjusts the balance between the red and green levels.
Black Level Adjusts the brightness of the picture.
Sharpness Adjusts the crispness of edges in the picture.
Auto Color Displays the current setting (ON or OFF). This feature
automatically corrects the color of the picture. Select Off if you prefer to
adjust the picture with the Picture Controls. Use the MENU button to toggle
between the choices.
Reset Picture Controls Resets the picture controls to their original settings.
THE SCREEN MENU
The Screen menu contains the controls that let you adjust the Closed-Caption
mode, Closed-Caption display and menu language.
 Loading...