

RCA CTC179 Owner's Manual

C
0

TO RI:_L_UCL I HE RIbK OF ELEC] I<IC 5H_CK, DO
NOT REMOVE COVER (OR BACK). NO USER
SERVICEABLE PARTS INSIDE. REFER SERVICING
TO QUALIFIED SERVICE PERSONNEL.
This symbol indicates
"dangerous voltage" inside
the product that presents a
risk of electric shock or
personal injury.
_[_ his symbol indicates
important instructions
accompanying the
product'.
WARNING
To reduce the risk of fire
or shock hazard, do not
expose this TV to rain or
moisture.
o Caution: To reduce the risk of electric shock,
match wide blade of plug to wide slot, fully
insert.
Attention: Pour_viter les chocs 61ectriques,
intro_luire,la lame la .plus large de la fiche dans la
borne correspondante de la prise et pousser jusq_
au fond. ""
_"Do not defeat the safety feature of the plug. The wide blade
._f'its into the wall socket only one way. If you need an
_i_extension cord, make sure it matches the plug of the TV.
_._,:.-_..:.,.. . . . , , ,
•Operate TV only on 120 volts, 60 Hz AC power (normal house
-..-power).
•For safety reasons, make sure any equiPment or accessories
: connected to this product bears the UL listing mark or the
" CSA or certification mark. If in doubt, contact qualified
011.ser-vicepersonnel.
-F.CCRegulations state that unauthorized changes or
. modifications to this equipment may_void the user's authority
....to operate it. -
der is provided to call your attention to Article 820-40
oElectrical Code. (Section 54 of the Canadian
Part 1) which provides guiclelines for proper
and, in. particular, specifies that the cable ground
ected to the grounding system of the building as
the point of cable entry as practical.
,NOTE .,TO (,_ABLE. TV
INIC,TAI I I:R

First Things First ........................................................ 3
Using the Menu System ............................................ 7
The Menu Rule: Point and Select ........................................................ 8
What is Point and Select? ..................................................................... 8
Menus and Control Panels ................................................................. 10
Interactive setup ..................................................... 15
Entering Setup ..................................................................................... 16
Auto Channel Search .......... . ................................ ............................... 16
Set the Time ........................................................................................ 17
Label the Channels ............................................................................. 18
Set the VCR1 Channel ........................................................................ 19
Set the VCR2.LD Channel .................................................................. 20
Set the DSS'CABLE Channel .............................................................. 21
Programming the Remote ....... ............................... 23
l_.rogra,,,mingD._ the _--'._mo.-l:_..,....,,............ .............. ,............. i....
,About 24
Programming the i_emote'to Control a VCR.._.., ............... ....._........ 24
Programming the Remoteto Control a Laserdisc Player ......... ,..... 26
Programming the Remote to Control an Audio Device: ............... 26
Programming _heRem:0te t6 Contr61 a DSS Receiver....: ...............'27
Programming the Remote to Control a Satellite
or Cable BOx...-................. ...;........................................................... 27
Usingthe Remote tO Control a Device 28
Tour of the TV...:.., .... .......,........ ............... .... ............. 129
Remote Buttons .......................... ,........ ................................... ............ 30
Back Panel ............................ 32
Front Panel ....................... _.......................... i .........,.....i.................... i.... 34
Channel Marker. ........ ............................... :....................... ;........ ......... 35
•Quick Reference.. .... " ..... ,................................ ......... 37
Audio Menu .......................................................................................... 38
Picture Quality Menu ........................................... .............................. 39
Screen Menu ................................................... _............ ......._................ 40
Time Menu ............................................................................................. 41
Channel Menu ........................................ ..................... ......................... 42
Setup ..................................................................................................... 45
_ Advanced Features.,....... ..... .., .... ......... ;....,_,...... ..... 47
PIP (Picture-in-Picture) Operation 48
_ Closed Captiohing .............................................................................. 50
_: 0n-screen Program Details .................................................. t............. 52
Choos;na an Audio Processor 53
Appendix A: TV Connections ................................. 55
Things to Do Before Connecting Components ............................... 55
TV and MONO VCR (Connection A) .................................................. 56
TV and STEREO VCR (Connection B)................................................. 57
TV, VCR and Laserdisc Player (Connection C) .................................. 58
TV and (2) VCRs (Connection D) ....................................................... 59
TV and Laserdisc Player(Connection E)............................................ 61
I"V and DSSReceiver (Connection F) ................................................ 62
TV, VCR, and DSSReceiver (Connection G)....................................... 63
TV, VCR, DSSReceiver, and Laserdisc Player (Connection H) ....... :. 64
TV, (2) VCRs, and DSS Receiver (Connection I) ................................ 66
Appendix B- Connecting Other Components ...... 68
Connecting External Speakers .......:................................................... 68
Connecting Audio Components. ....................................................... .69
:c0nnectjngaCamcorder. ....._...................... .................................. _.... 70
Appefidix C- Tr0ubleshooting Tips. ......... ...... ;.... ..72
Appendix D:; Limited Warranty ........ ..... . ...... ,........ 74
Appendix E:. Care and Cleaning .......................... ;. 75
Accessories ......... ................................................. 76
• ., ,e ! -
_"D'ssTsatra:demark Of Hughes communications,
a unit of GM Hughes Electronics
2
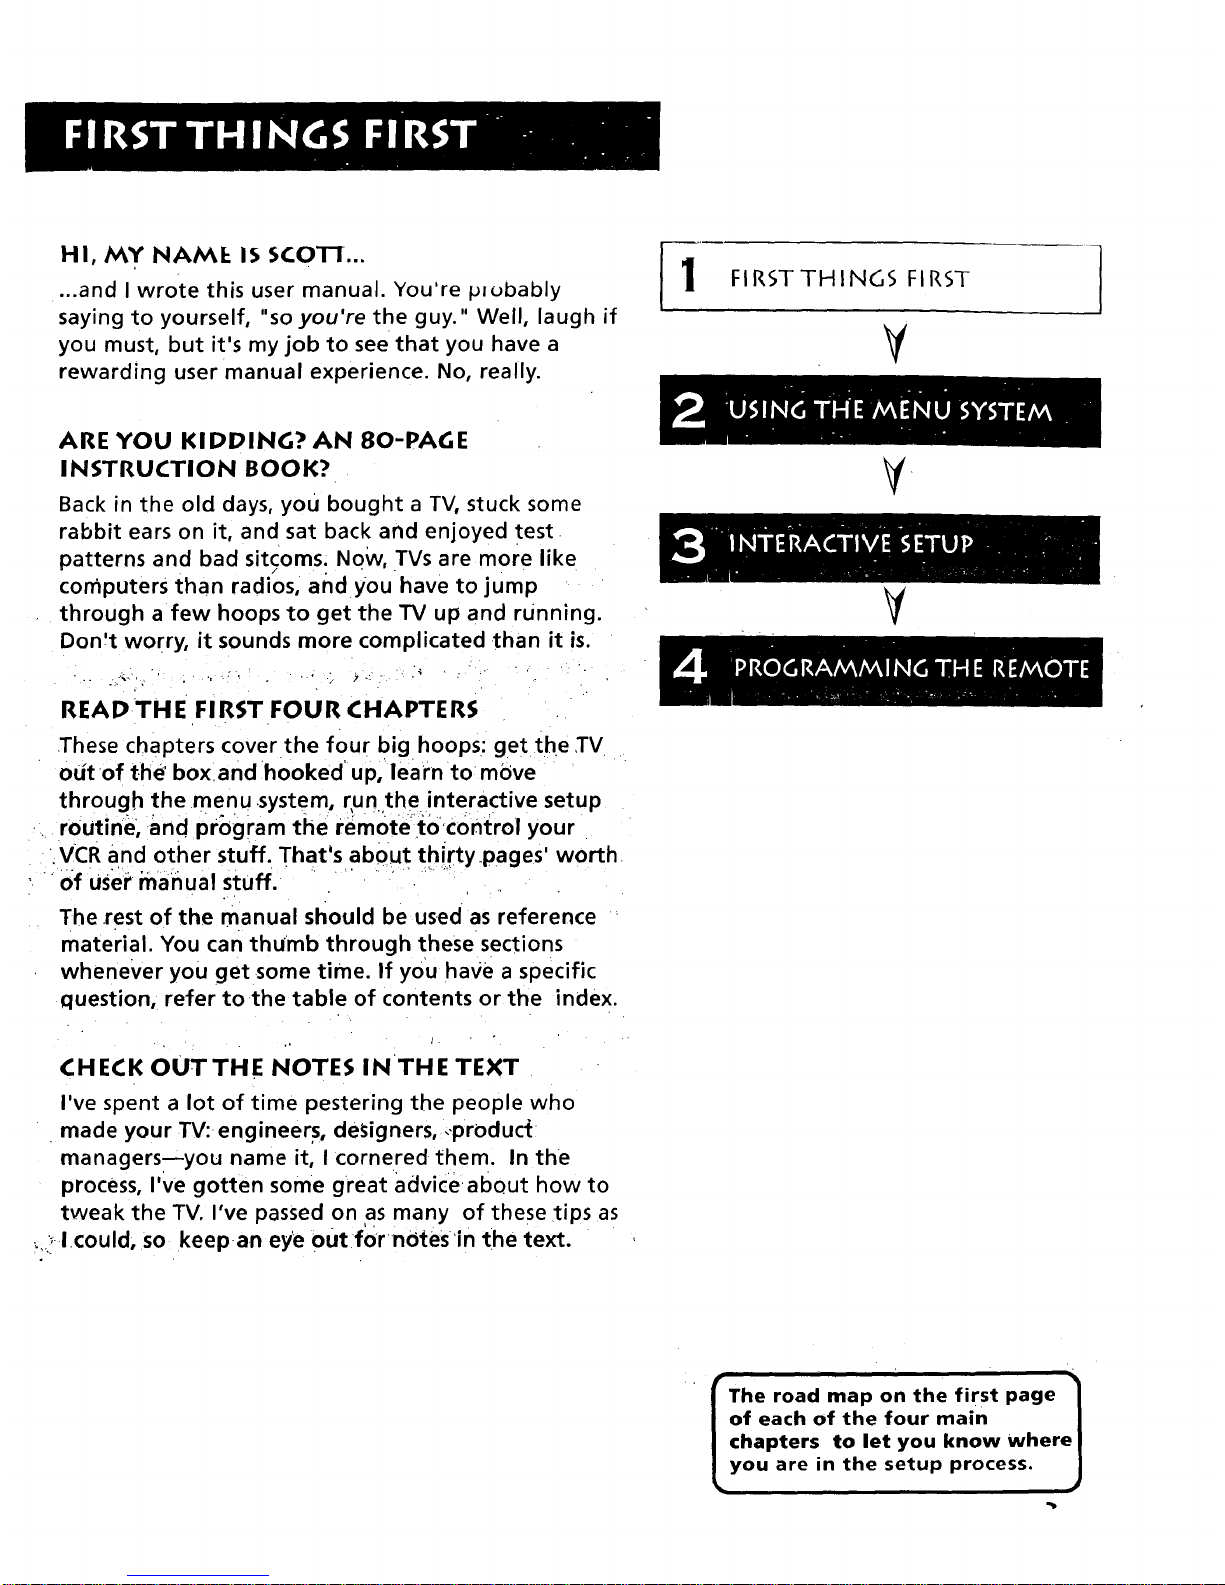
HI, MY NAME 155COTI..,
...and I wrote this user manual. You're p_obably
saying to yourself, "so you're the guy." Well, laugh if
you must, but it's my job to see that you have a
rewarding user manual experience. No, really.
1 FIRST THINGS FIRST
¥
1
ARE YOU KIDDING? AN 80-PAGE
INSTRUCTION BOOK?
Back in the old days, you bought a TV, stuck some
rabbit ears on it, and sat back and enjoyed test
patterns and bad sitcoms; Now, TVs are more like
computers than radios, and you have to jump
through a few hoops to get the TV up and running.
Don!t worry, it sounds more complicated than it is.
READTHE FIRST FOUR CHAPTERS
These chapters cover the four big hoops: get the TV
out of the' boxand hooked'up, learn to move
through the menu .system, r,un the interactive setup
routine, and program the remote_to control your
VCR and other stuff. That'sabou t th!rtypages' worth
Of user rnanual stuff.
The rest of the manual should be used as reference
material. You can thumb through these sections
whenever you get some time. If you have a specific
question, refer tothe table of contents or the index.
CHECK OUTTHE NOTES IN THE TEXT
I've spent a lot of time pestering the people who
made your TV: engineers, designers, ..produc{
managers--you name it, I cornered •them. In the
process, I've gotten some great advice about how to
tweak the TV. I've passed on as many of these ,tips as
_,,! I could, so keep an eye out for notes'in the text.
V
The road map on the first page 1
of each of the four main I
chapters to let you know where I
you are in the setup process. J

•.STEP 1
accessories packed with IUnpack the TV and accessories. The I _
TV include the Universal Remote, the four AAA batteries, an
antenna adapter, and an AV jack for plugging your camcorder
or other audio/video component into the front of the TV.
Make sure to locate the Connections Foldout.
Important Information: Optional Stand
A matching stand has been designed to be used With this
television. The recommended stand, model RB3509, is
provided with hardware to secure the TV to the stand so that
it cannot be pulled off easily or tipped over. This stand is
available from your local RCA dealer, and is not available by
mail order. To locate your nearest dealer, call this toll-free
number: 1-800-336-1900.
r
Caution If you choose not to use the recommended
stand for your television, take precautions that the stand
or other furniture on which the TV is placed is properly
located and of adequate strength to prevent the TV from
being tipped over accidently or pulled off the stand•
Tipping over the TV or pulling it off the stand could cause
both personal injury and damage to the set.
STEP 2: CONNECTINGYOUR"IV " .i.
J
if you're only going toconnect the TV to your home antenna
or cable box, use the "TV Only" connection shown below. If
you're going to connect the TV to a VCR, laser disc player or
other component, we recommend you use the Connections
Foldout. The Connections Foidout details ten diagrams that
are recommended for hooking up the TV to a cable box or
antenna, one or two VCRs0a laserdisc player, and a DSS
receiver.
• ,, •, .
TV ONLY "
This is a basic connection from an antenna or Cable box to
your TV. Connect the cable as shown. If you have a VCR or
other components to connect to the TV, skip to the top of the
next page.
I i I i
OB_ANTENNA
i i iill¸ i_ i ill
4 L :
• L

"l'V WITH OTHER COAAPONENT5
Use the Connections Foldout to connect your TV to a VCR,
laserdisc player, and/or DSS" receiver. After cor_necting your
TV and other components, proceed to the next step. See
Appendix A, p. 57, for detailed information about using each
of these connections.
If your components don't match those shown on the foldout,
or if you prefer a different connection, see your dealer or
specific component user manuals.
DSS is a trademark of Hughes Communications,
a unit of GM Hughes Electronics
++
= i m m
m
STEP 3
Plug in the TV.
Plug the end into the wall outlet, matching the wide blade of
the plug with the wide slot in the outlet. Be sure to insert the
plug completely.
STEP 4
Put batteries in the remote.
• Slide the battery compartment cover off back of the
remote. .
• < Insert the four AAA batteries as shown, matching the +
and - ends of each battery in the compartment.
• Replace the cover.
5
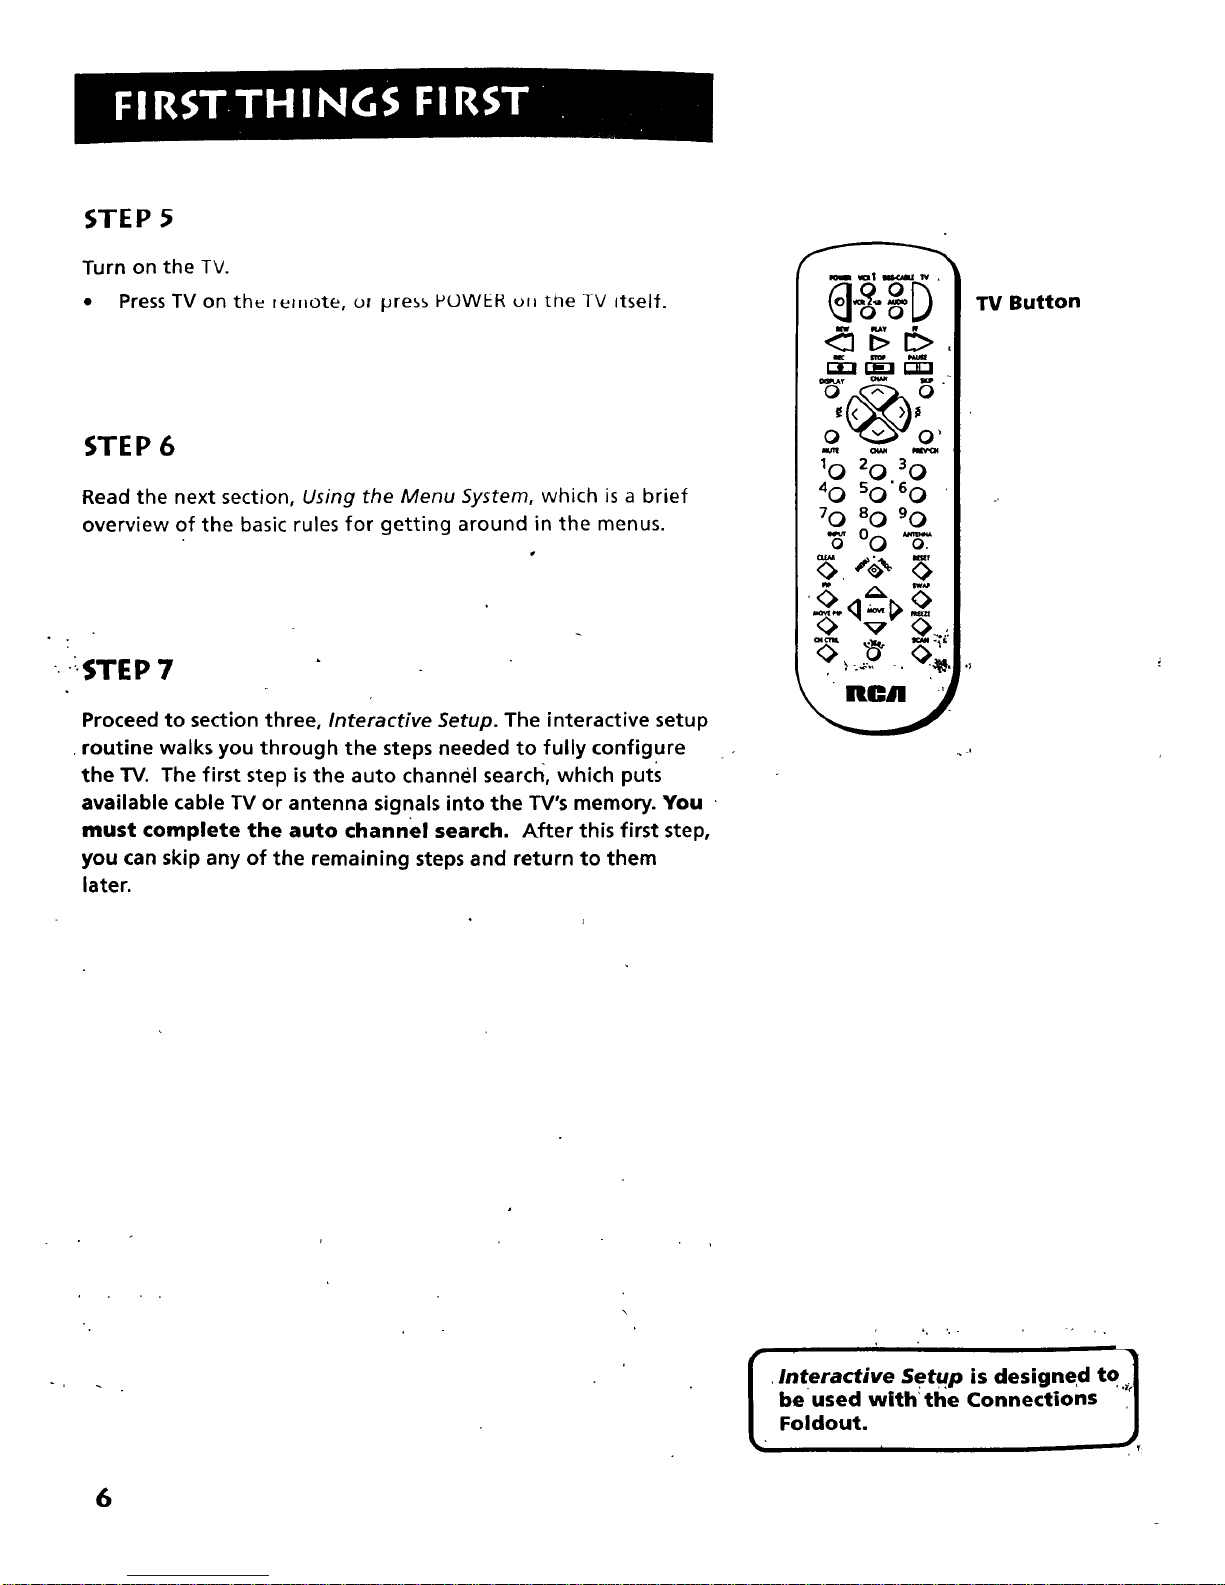
STEP 5
Turn on the TV.
• Press TV on th_ re_uote, ol pre_ PUWEP, _fJ the _V itself.
STEP 6
Read the next section, Using the Menu System, which is a brief
overview of the basic rules for getting around in the menus.
:'STEP 7
Proceed to section three, Interactive Setup. The interactive setup
•routine walks you through the steps needed to fully configure
the TV. The first step isthe auto channel searcl_, which puts
available cable TV or antenna signals into the TV's memory. You
must complete the auto channel search. After this first step,
you can skip any of the remaining steps and return to them
later.
m _I eu,c.Aauw .
mew _y
10 20 30
40 so'6 O
7O 8 0 90
"_o O "_.
<_-_-
TV Button
J
_, ., . , , ,
r. Interactive Setup is designed to I
L be usedwith:theC°nnecti°ns "_Foldout. ,
6

ONE RULE TO REMEMBER
You control and customize the TV by making
changes to various control panels in the menu
system. The great thing is, you only need to know
one rule: point and select.
¥
USING THE MENU SYSTEiv\
V
V
i •
If you want a lot of cool /
features, you have to use some
kind of menuing system. Look at
it this way: you only need to
know one rule.
7
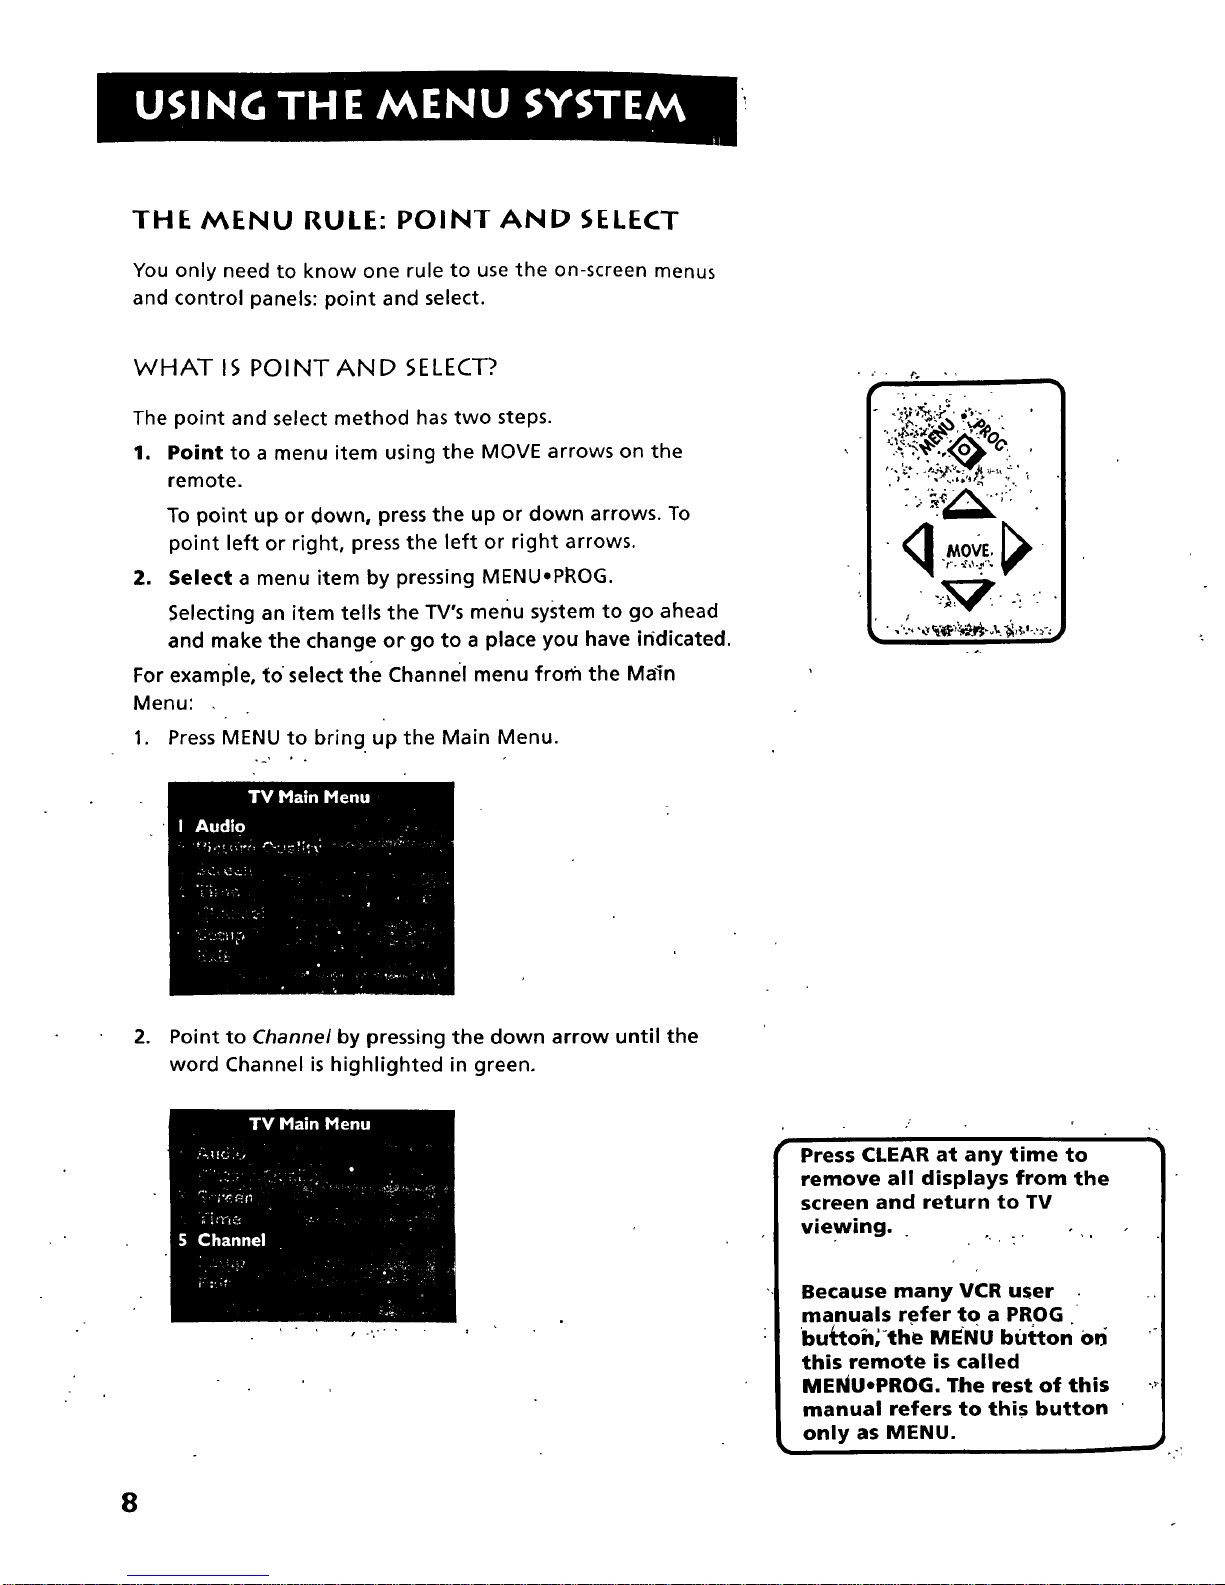
THE MENU RULE: POINT AND SELECT
You only need to know one rule to use the on-screen menus
and control panels: point and select.
WHAT IS POINTAND SELECT?.
The point and select method has two steps.
1. Point to a menu item using the MOVE arrows on the
remote.
To point up or down, press the up or down arrows. To
point left or right, press the left or right arrows.
2. Select a menu item by pressing MENU,PROG.
Selecting an item tells the TV's menu system to go ahead
and make the change or go to a place you have iridicated.
For example, to select the Channel menu from the Ma_n
Menu:
1. Press MENU to bring up the Main Menu.
• ... p. • ,
• ..... ÷ -
°'€,- ,_'_ _ '
L
-..:€_,__ '_-÷o"
J
I
2. Point to Channel by pressing the down arrow until the
word Channel is highlighted in green.
• .,,-" •
Press CLEAR at any time to
remove all displays from the
screen and return to TV
viewing.. ,,.
,. , : '
Because many VCR user
manuals refer to a PROG
bu_toi%-th_e MENu button Orj '"
this remote is called
MENU*PROG. The rest of this ._
manual refers to this button
only as MENU.
i i
8

3. Press MENU to select Channel. 1he Chdlmel iue;lu comes
up.
.
5.
Point to /-xlt dlld pres_ MENU to return to the Main Menu.
Point to Exit and press MENU to leave the menu system
and return to TV viewing.
If you ever_want to leave the menu system, press CLEAR.
Once you know how to point and select your way through
•the menus, yo u can apply this rule in the control panels-,
which do the real work in the menu system.
/.
i
menus is to press zero (0) until
you back out of the menu
system and return to TV
viewing.
9

MENUS AND CONTROL PANELS
There are two parts to the menu system: menus and control
panels. But before you can use a control panel, you first have
to move through at least one menu--the Main Menu.
MENUS
The first menu is called the Main Menu. To bring up the Main
Menu:
1. Press MENU on the remote or front panel:
Menus take you to another menu or a control panel. There
are two ways to make a choice in a menu:
• Point and select with the MOVE arrows and MENU.
• Press a number button on the remote. For example, in the
Main Menu press 3 to go straight to the Screen menu.
Exiting a menu
There are three ways to exit a menu:
• Point to Exit and press MENU.
• Press 0 on the remote.
• Press CLEAR. The on-screen displays are cleared from the
screen and you are returned to TV viewing;
.Feel free._Q explore the,menu ,.|
or
System,_ if.you ever get lost
.I
'confuseil_n,_h_menus, or I
you're just' plain tired of
exploring, '_i)ress'CLEAR to
'remove the menus from_he
screen and start over again.
10

C.ON-I R.OL PANkL.S
Control Panels do the work an Lhe n_ef_u system: nt's where
you choose a setting, enter a number, or adjust a level such as
tint or brightness. There are three kinds of control panels:
sliders, choice lists, and numeric entry.
Sliders
Sliders are used to make adjustments toa particular control.
For example, to adjust the TV's tint:
1. Press MENU to bring up the Main Menu.
2. Point to Picture Quality and press MENU. The Picture
Quality menu comes up.
. Press MENU to select Picture Controls.
o
4. Press the down arrow to point to Tint.
,._ • , _#_.. ;_ ,
You don't need to remember
the names of the control panel
types. Once you've learned how
each type works, you'll be able
to use any part of the menu
system.
41

HI
5. Press the right ol lett alloW to adjust the indicator line.
Notice that the picture changes as you adjust the tint.
Now that you know how the Tint slider works, you know how
all sliders work.
Choice Lists
Choice lists are used to choose a particular setting from a list
of settings. The current setting ,in a choice list is always
highlighted in green.
For example, to indicate whether you're currently using a
home antenna or a cable TV signals:
1. Press MENU to bring up the Main Menu.
2. Point toChannel and press MENU. The Channel menu
comes up.
.
Point to Signal Type and press MENU. The Signal Type
choice list comes up with the current setting highlighted
in green. For example:
.
o
6.
Point to the correct setting for your connection and press
MENU. As soon as'yOu sete_t a'choice, the TV saves your
change, and you are returned to the previous menu.
Point to Exit anclpress MENU to return tO :the Main Menu.
Point to Exit and press MENU to return to TV viewing.
You can enter numbers directly 1!
by using the number buttons. _J_
12

Numeric Entry
A numeric entry control parh_l is u_d to eHt_ _umber_ or
letters.
For example, to set the current time:
1.. Press MENU to bring up the Main Menu.
2. Point to Time and press MENU.
3..Poin't to Set Time and press MENU. The Set Time numeric
entry control panel comes up. Notice the pointer
Undernea'th;the first dash.
.
5.
.
Press the up arrow to enter a number in that column.
Press the right arrow to move to the next column, then
press the up,or down arrow to enter a number.
Repeat Step 5 until you have entered the hour and
minute forthe current time. Notice that when you reach
the last column, pressing the-up or down arrow changes
whether the time reads AM or PM.
Trivia: This type of control panel_
is referred to as a "one-armed
bandit." I don't know why.
If the control panel is not set at
the current time, use the left
arrow to go back over the
columns and the up arrow to
make changes.
i

14
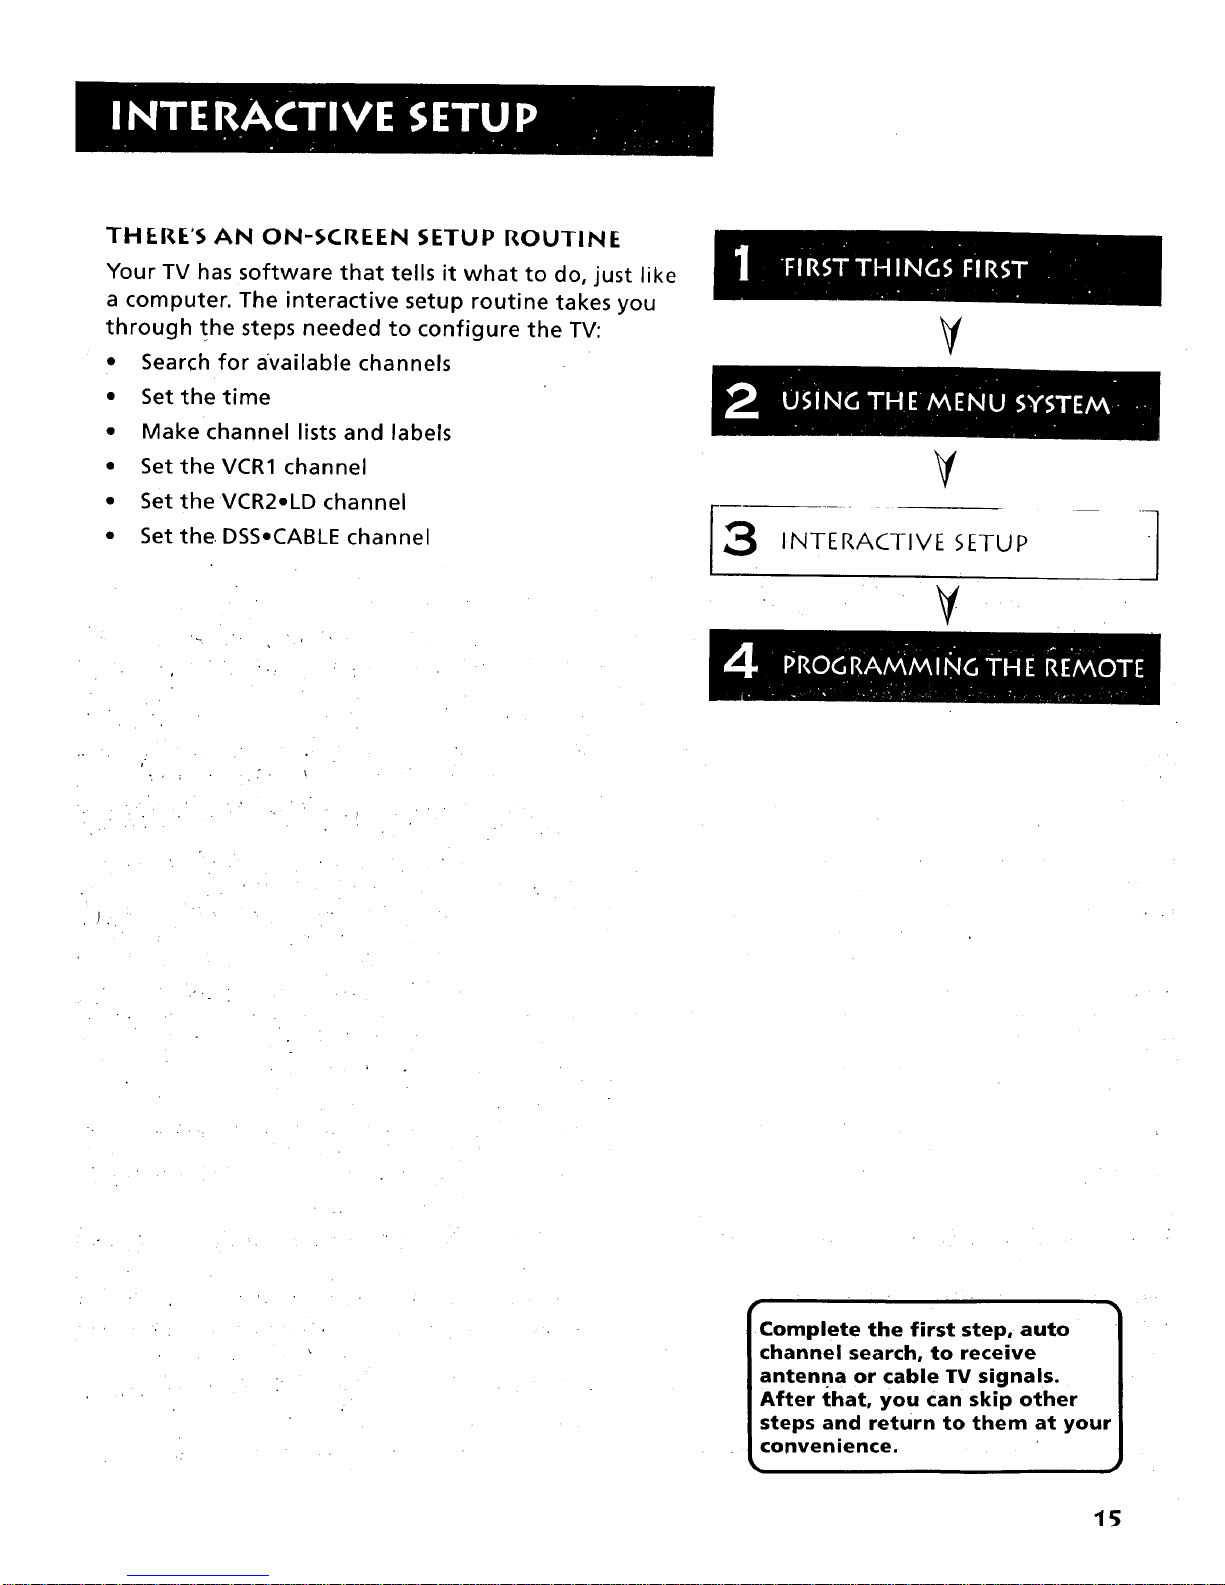
THERE'S AN ON-SCREEN SETUP ROUTINE
Your TV has software that tells it what to do, just like
a computer. The interactive setup routine takes you
through the steps needed to configure the TV:
• Search for available channels
• Set the time
• Make channel lists and labels
• Set the VCR1 channel
• Set the VCR2•LD channel
• Set the DSS•CABLE channel
V
3
INTERACTIVE SETUP
¥
Complete the first step, auto
channel search, to receive
antenna or cable TV signals.
After that, you can skip other
steps and return to them at your
convenience.

ENTERING SETUP
Setup is accessed through the Main Mel_u.
1. Press MENU to bring up the Main Menu•
2. Point to Setup and press MENU. The first Setup screen
comes up, asking you to confirm that you want to begin.
3. Press MENU to ,begin the Setup routine.
AUTO CHANNEL SEARCH
The :Pirst partof the setup routine asks you if you want the TV
to search automatically for all channels available through
your antenna or cable TV system. This is sometimes called
"autoprogramming."
1. Press MENU to tell,the TV to begin searching for channels.
The display gives you a progress report and teils you when
it has finished.
\. ,
2, Press MENU to, continue, "
• ..-.,:. ;'. _,:,_ _ .:.
You must complete the Auto
Channel Se'arch to-receive TV
signals andPUt channels in
memory.
Auto Channel Search can also be
accessed through the Channel
menu:
i
.11'#
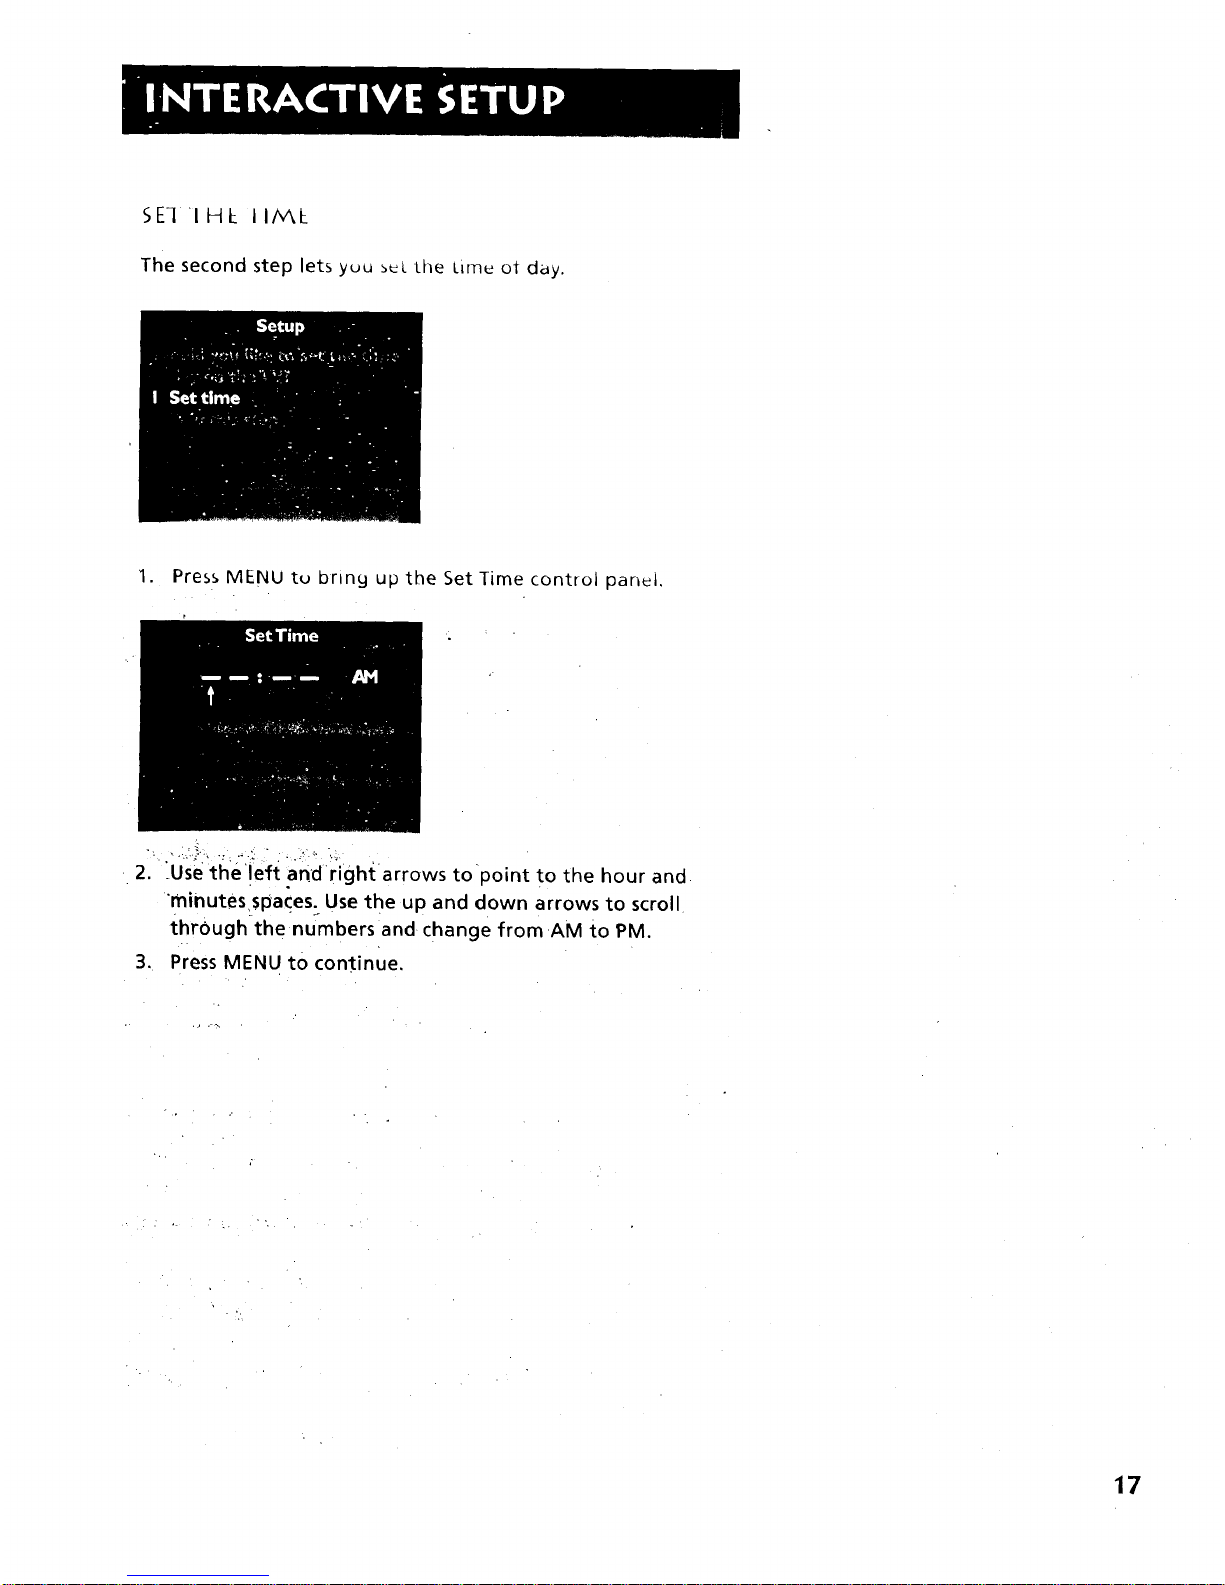
SEI IHE IIA_L
The second step lets yuu _L the Lim_ ot day.
I. Press MENU tu bnn 9 up the Set Time control panel,
2. :Usetti_e"ieft andr'ightarrows to point to the hour and
minutesspaces: Use the up and down arrows to scroll
through the numbers and change from AM to PM.
3. Press MENU to continue,
17
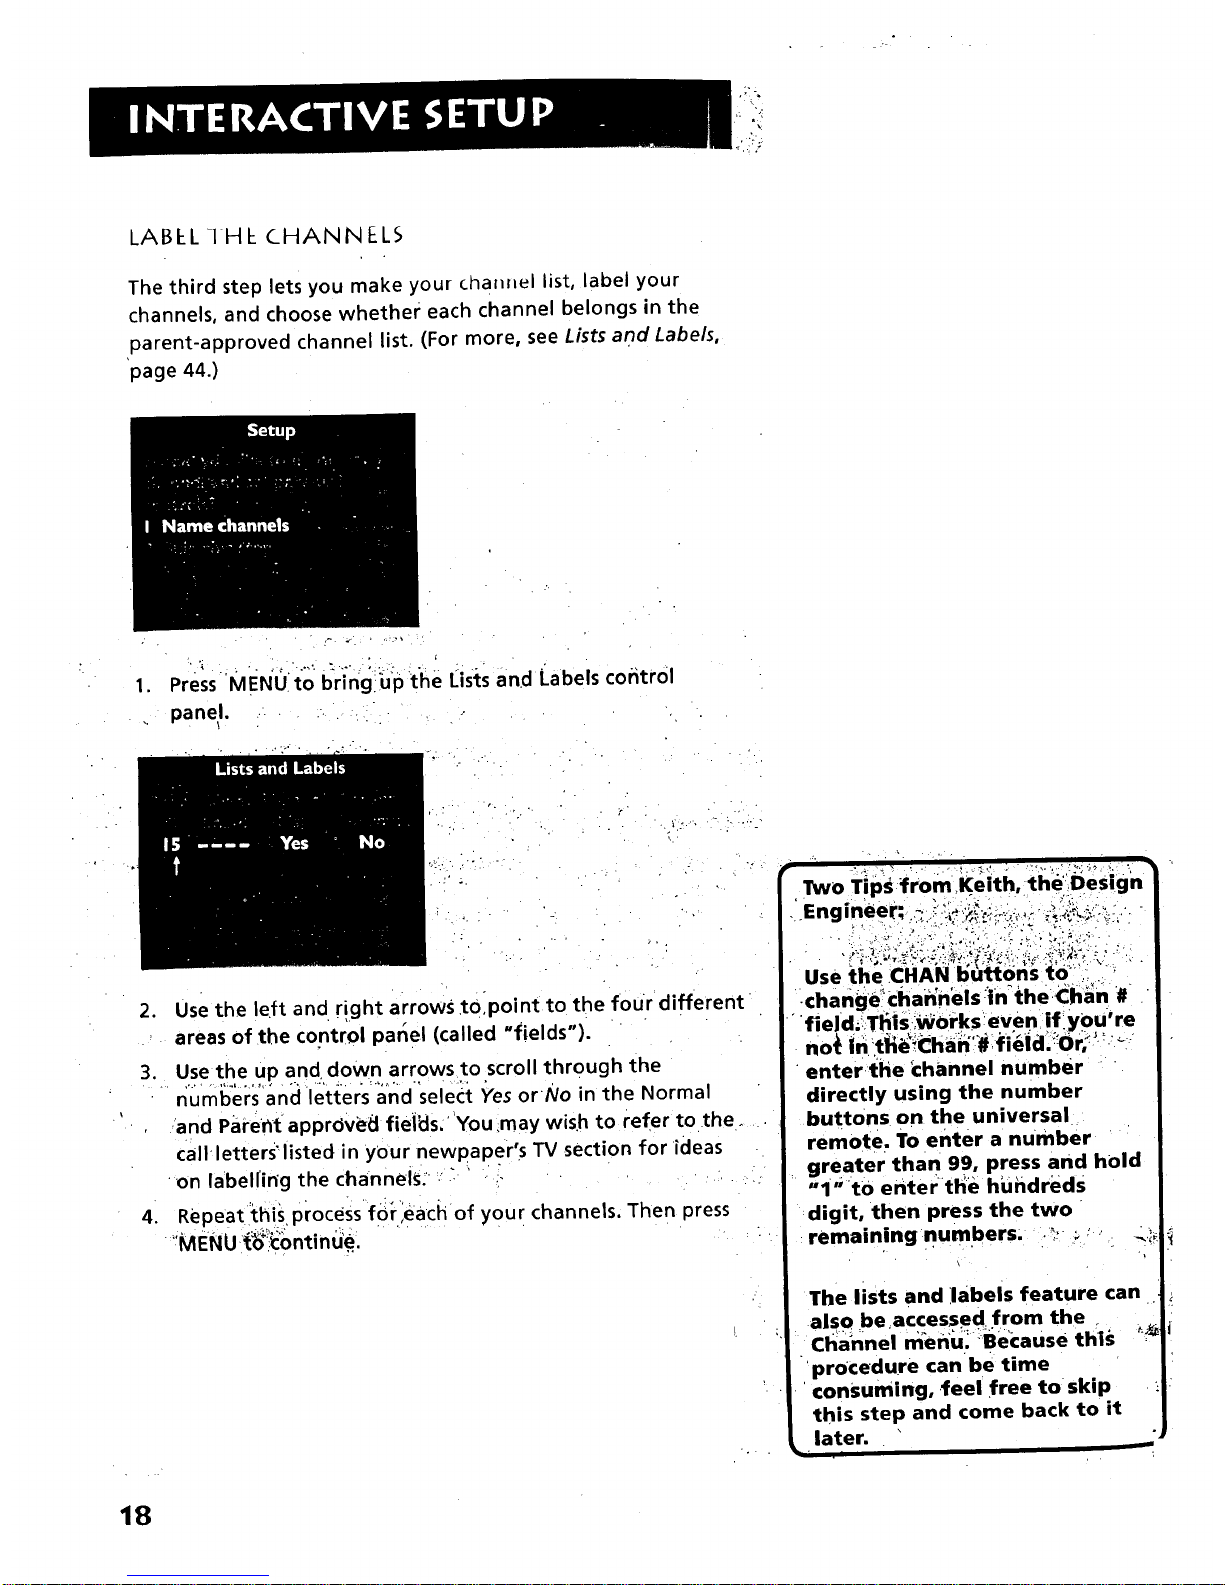
LABEL-1HECHANNELS
The third step lets you make your channel list, label your
channels, and choose whether each channel belongs in the
parent-approved channel list. (For more, see Lists and Labels,
page 44.)
.
Press MENIJI to bring!u:pthe I_istsand Labels cofftrol
panel ........ .
-_ ."
. Use the left and r!ght arrows tolpoint to the four different
areas of the control panel (called "fields").
3. Use the up and down arrows to scroll through the
numb'ers_'andiet;cers:andselect Yes orNo in the Normal
,and Parent apprOvbd fiei_ls, You may wish to refer to the°
callletters _listed in your newpaper's TV section for ideas
on labelling the channels:"-
4. Repeat =this process fbr.each of your channels. Then press
"MEN U"_"i_'b nti n_.
Two Tip_:from the':Design
. Engineer; ._:i
Use the
• change_i.Cha_n'els :in_theCh_n #
"'fi eld ..:iT!:liS_;laiorks!even if yOu're
no_ in =t_i_Ch=in°"#1fi_id'.;_()r? 'L__:-
enterthe channel number
directly using the number
buttons on the universal
remote. To enter a number
greater than 99, press and hold
"l"t0 enterthe huiidreds
digit, then press the two
remainingnumbers; ._:_ _ _..,:
The lists and labels feature can
also be accessed from the
channel m_enui::Be'(:aus e thi_;
procedure can be time
consuming, feel free to skip
this step and come back to it
later.
18
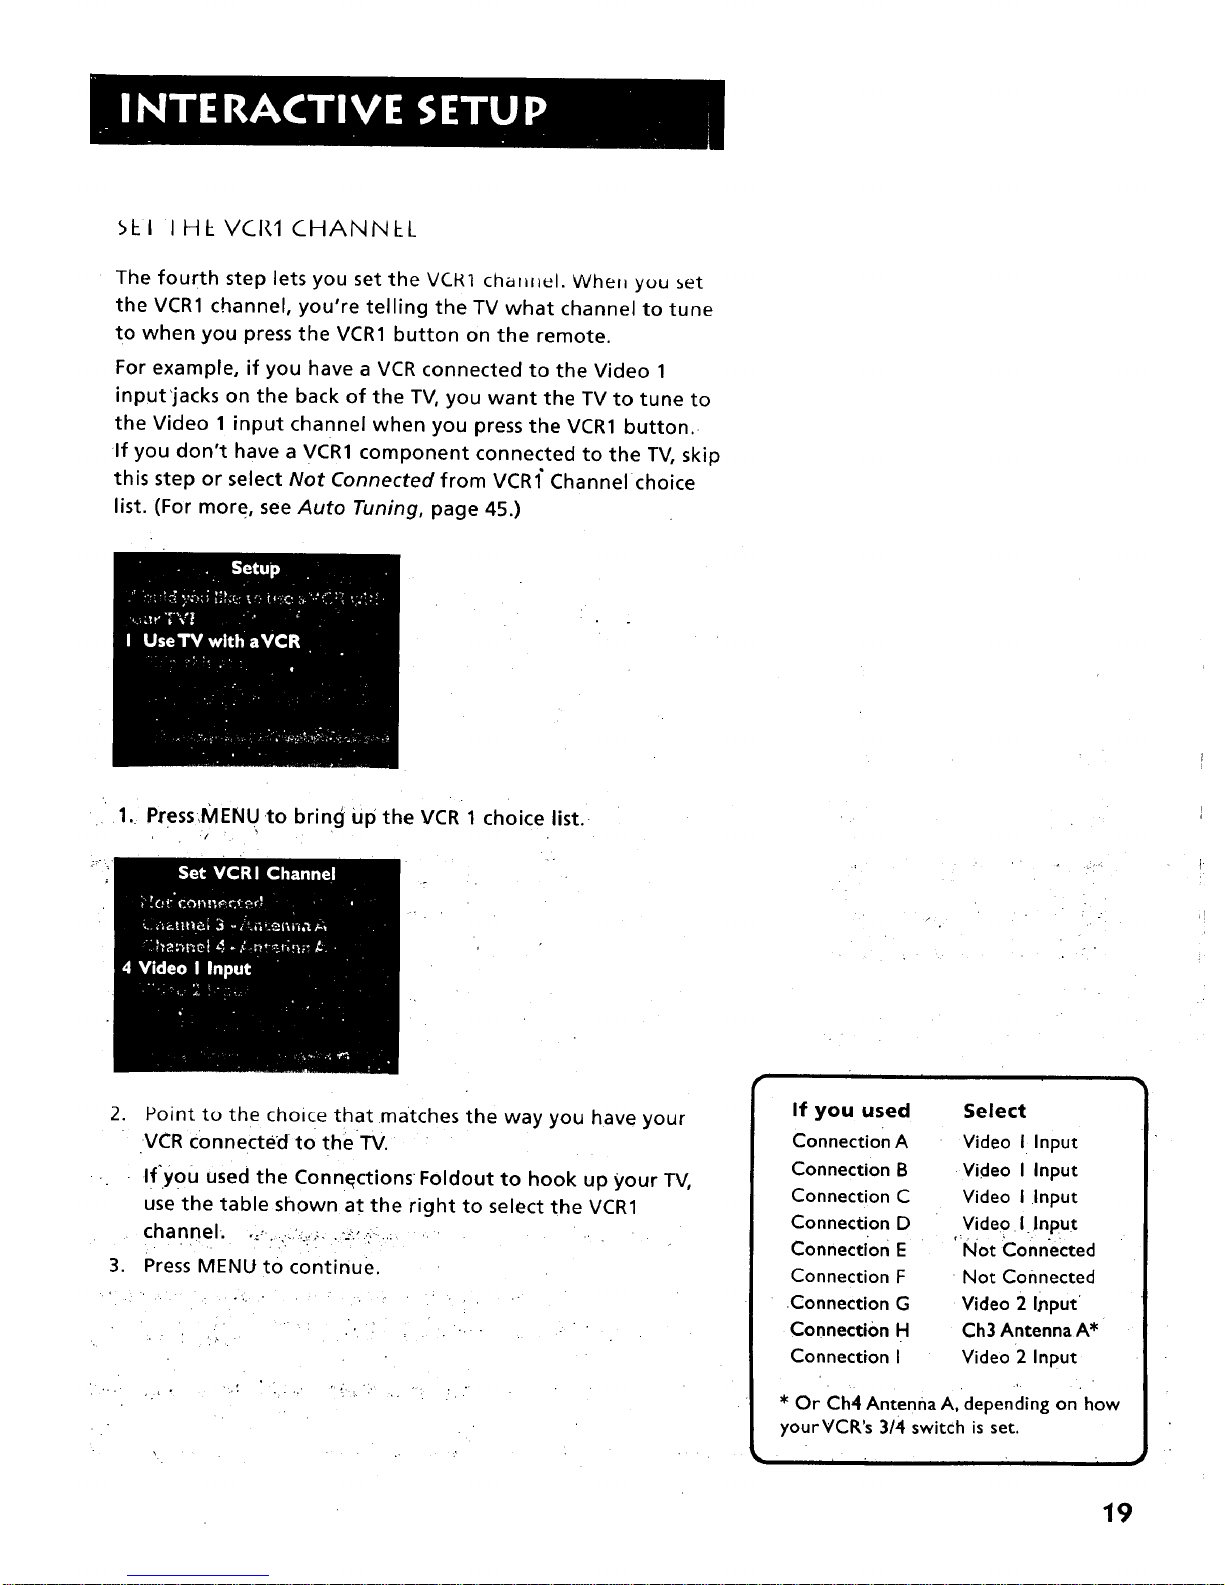
_kl I HE VCI{1 CHANNLL
The fourth step lets you set the VCN1 challllel. Whell you set
the VCR1 channel, you're telling the TV what channel to tune
to when you press the VCR1 button on the remote.
For example, if you have a VCR connected to the Video 1
input'jacks on the back of the TV, you want the TV to tune to
the Video 1 input channel when you press the VCR1 button.
If you don't have a VCR1 component connected to the TV, skip
this step or select Not Connected from VCRI" Channel choice
list. (For more, see Auto Tuning, page 45.)
1.. PressMENU to bring up the VCR 1 choice list.
t
' , .::4
.
Point to the chonce that matches the way you have your
VCR connected •to the TV.
If you used the Connections Foldout to hook up your TV,
use the table shown at the right to select the VCR1
channel-. ,_._.,......... =,:,.-,:...:
3. Press MENU to continue.
.... ., . :
If you used
Connection A
Connection B
Connection C
Connection D
Connection E
Connection F
.Connection G
Connection H
Connection I
Select
Video I Input
Video I Input
Video I .Input
Video I Input
Not Connected
• Not Connected
Video 2 I_put'
Ch3 Antenna A*
Video 2 Input
* Or Ch4 Antenna A, depending on how
yourVCR's 3/4 switch isset.
19

SELl 1HE VCK2.LD CHANNEL
The fifth step lets you set the VCR2oLD chaaH_ul. Whef_ you set
the VCR2oLD channel, you're telling the TV what channel to
tune to when you press the VCR2°LD button on the remote.
For example, if you have a laserdisc player connected to the
Video 2 input jacks on the back of the TV, you want the TV to
tune to the Video 2 input channel when you press VCR2oLD.
If you don't have a VCR2oLD component connected to the TV,
skip this step or select Not Connected from VCR°LD Channel
choice list. (For more, see Auto Tuning, page 45.)
, . .t .a
1. Press MENU't61 6Hng:up the VCR2.LD choice list,
I
• 2. Point to the choice that matches the way you have your
• second vcR or laserdisc player connected to the TV.
If you used the Connections Foldout to hook up your TV0
use the table at right to select the VCR2 channel.
3. 'Press MEN U.to continu_e_,;:/_._',_"_.
,if you used
Connection A
Connection B
Select
Not Connected
Not Connected
Connection C Video 2 Input
Connection D Ch3 Antenna A*
.-Connection E Video I Input
Connection F Not Connec'ted
C:onnection G Not Connected
o'Co_nectioh "H Vide_o2 Input
Connection I CH3 Antenna A_
* Or Ch4 Antenna A, depending on how
yourVC'R's 3/4 switch is
set.
2O
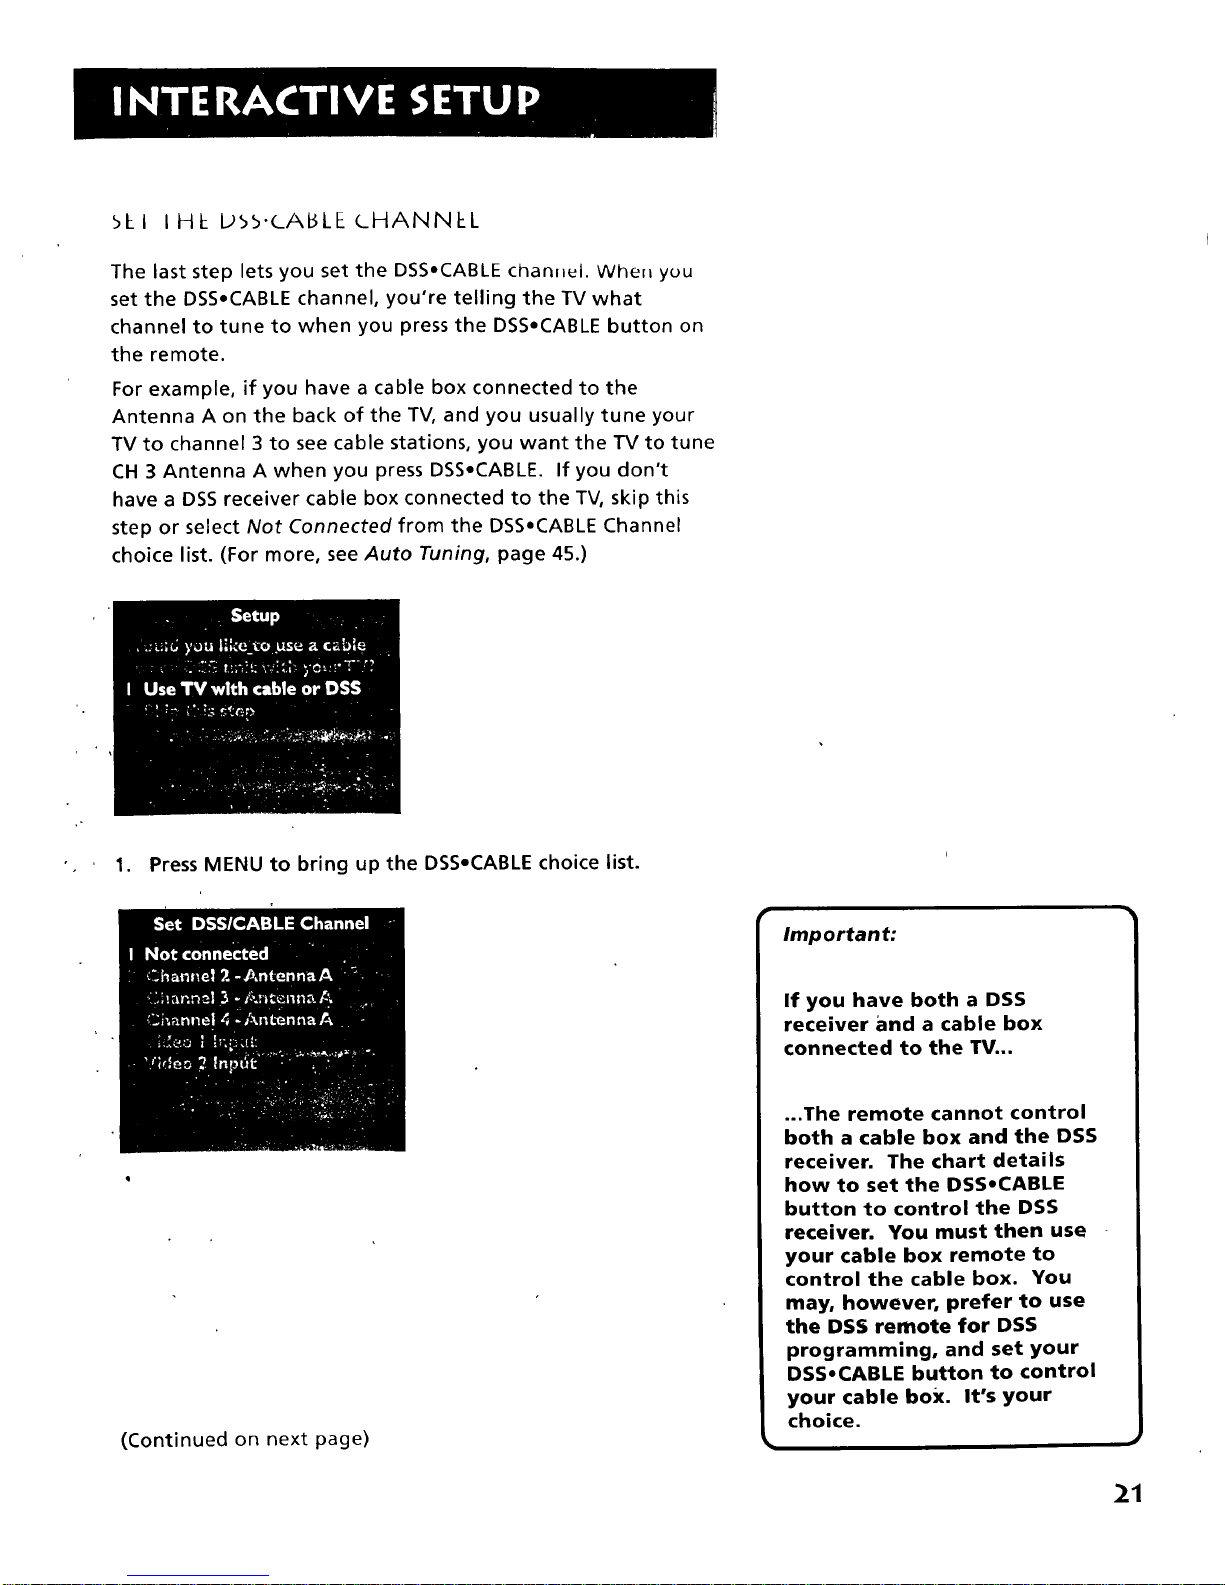
bkl IHI- L_Sb.CAI_LE (_HANNkL
The last step lets you set the DSS.CABLE chamlul. When you
set the DSS*CABLE channel, you're telling the TV what
channel to tune to when you press the DSS*CABLE button on
the remote.
For example, if you have a cable box connected to the
Antenna A on the back of the TV, and you usually tune your
TV to channel 3 to see cable stations, you want the TV to tune
CH 3 Antenna A when you press DSSoCABLE. If you don't
have a DSS receiver cable box connected to the TV, skip this
step or select Not Connected from the DSSoCABLE Channel
choice list. (For more, see Auto Tuning, page 45.)
I. Press MENU to bring up the DSSoCABLE choice list.
(Continued on next page)
Important:
If you have both a DSS
receiver and a cable box
connected to the TV...
...The remote cannot control
both a cable box and the DSS
receiver. The chart details
how to set the DSS.CABLE
button to control the DSS
receiver. You must then use
your cable box remote to
control the cable box. You
may, however, prefer to use
the DSS remote for DSS
programming, and set your
DSSoCABLE button to control
your cable box. It's your
choice.
21
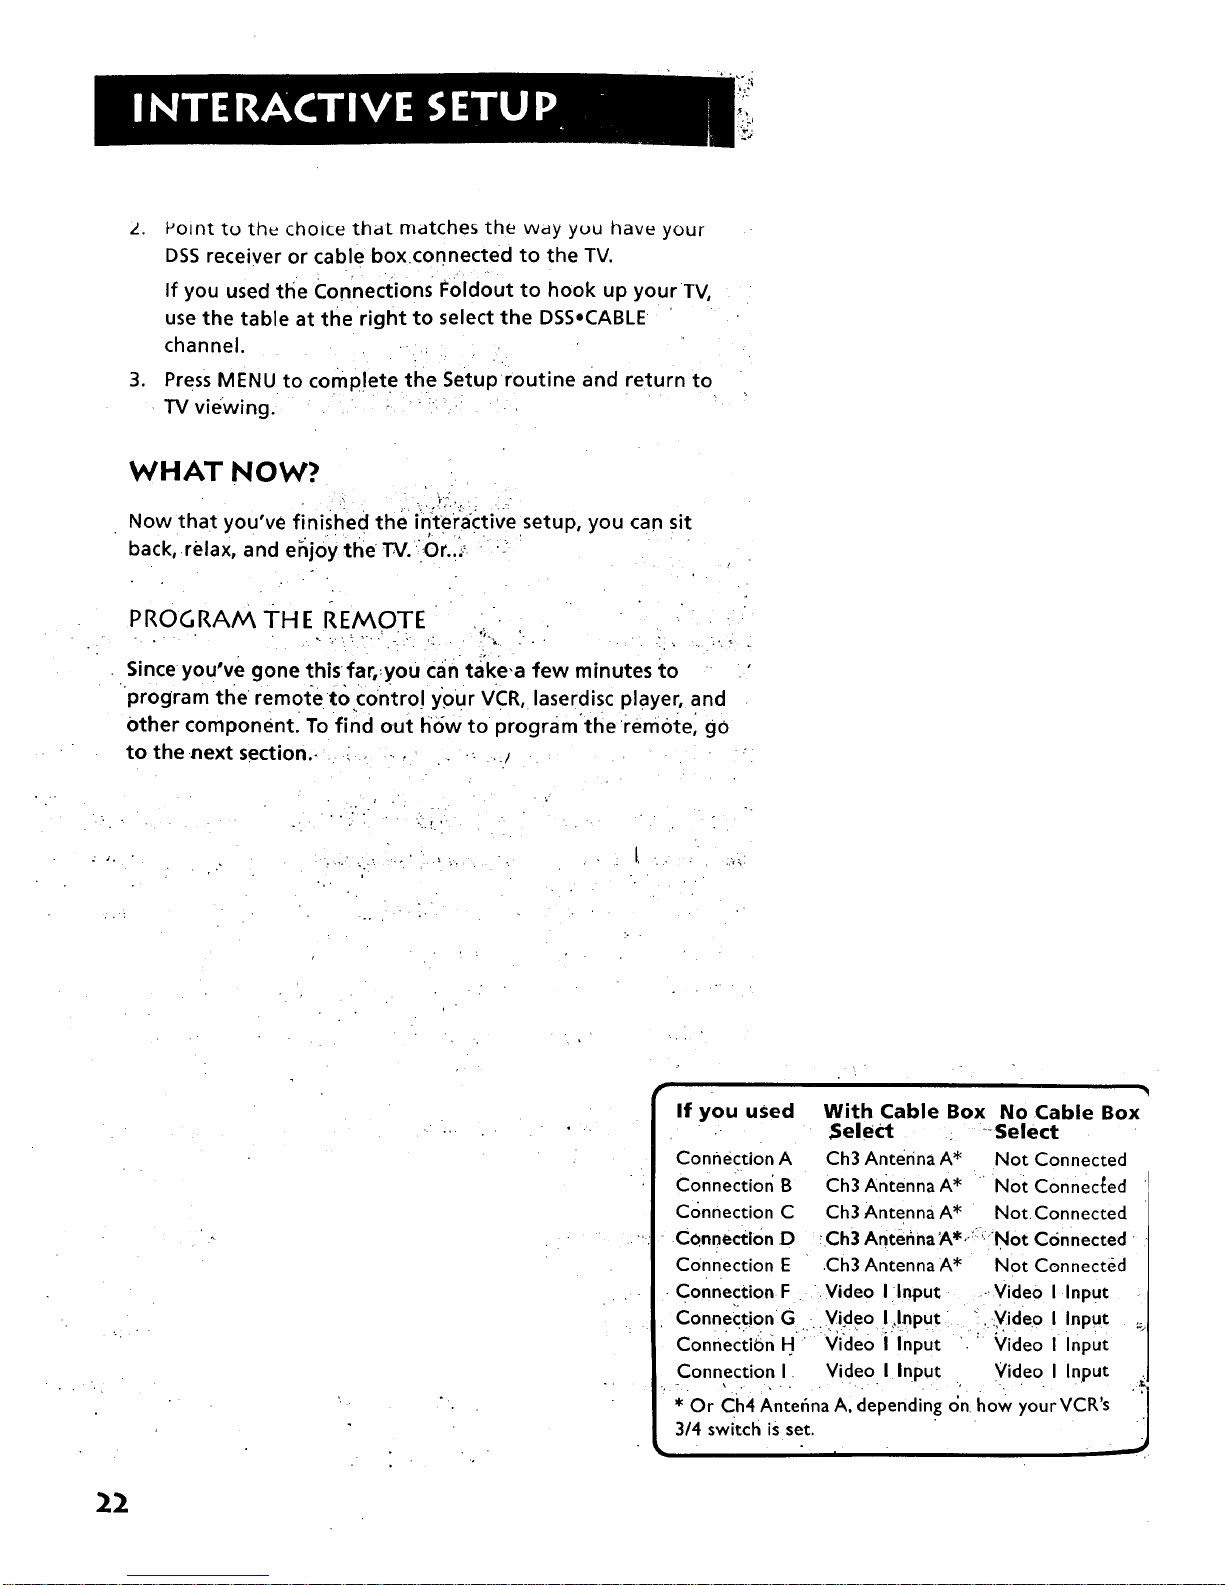
,
Point to thu clqolce that matches the Wdy you nave your
DSS receiver or cable boxconnected to the TV.
If you used the Connections F01dout to hook up your TV,
use the table at the right to select the DSS,CABLE
channel.
Press MENU to complete the Setup routine and return to
TV viewing.
WHAT NOW?
= ;fT.,
Now that you've finished the intei;active setup, you can sit
back, ridax, and e6joy the TM. ()r.i._ _
PROGRAM TH E REMOTE
Since you've gone this far, you can ta'ke,a few minutes to
program the remote tocontro! your VCR, laserdisc player, and
Other component. To find out how to programthe rem0tel go
to the next section.. : . = ,_/
• .°
If you used
With Cable Box No Cable Box
Select _Select
Connection A
Connection B
Connection C
Connection D
connection E
Ch3 Antenna A* Not Connected
Ch3 Antenna A* Not Connectced
Ch3 Antenna A* Not Connected
' Ch3 Antefina A =/:': Not Con nected
.Ch3 Antenna A* Not Connect&d
Connection F ,Video I Input -.Video I Input
Connection G Video I,Input " :Video I Input
ConnectiOn H Video I Input Video I Input
Connection I Video I Input Video I Input
* Or Ch4 Ante6na A, depending 6n how yourVCR's
3/4 switch is set.
22
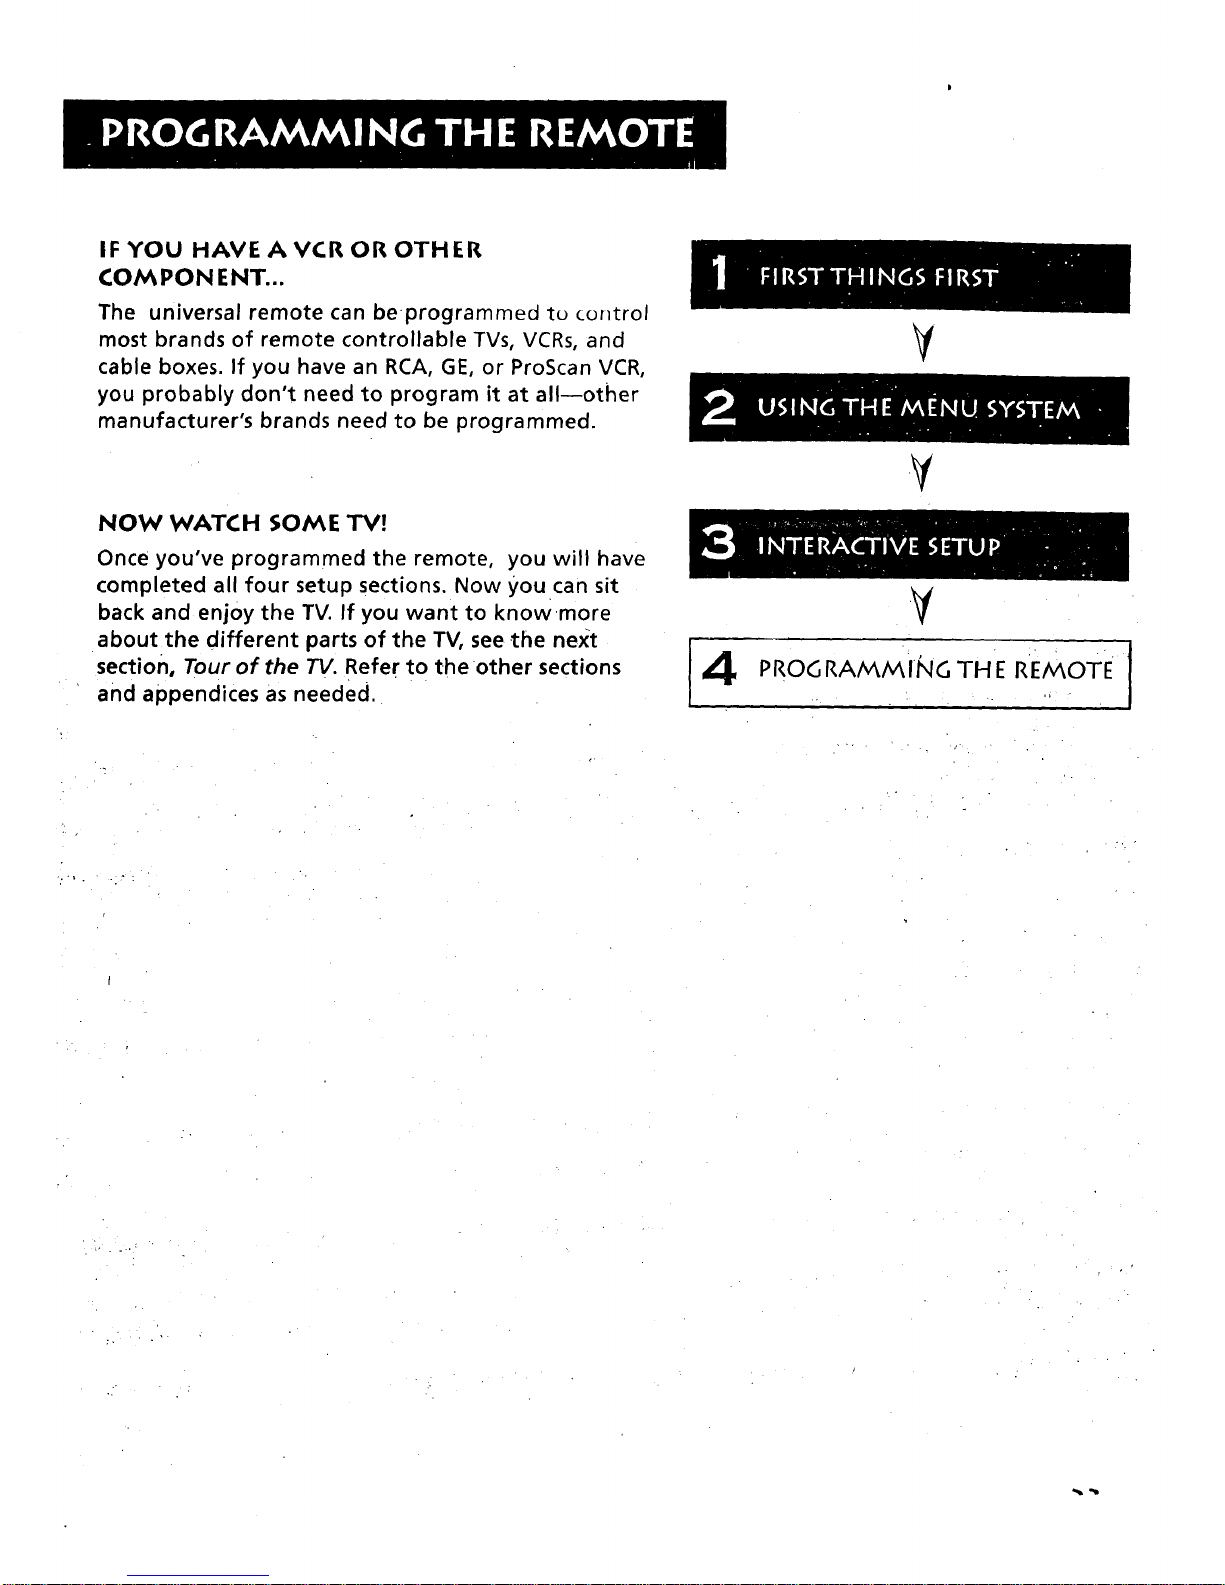
IF YOU HAVE AVCR OR OTHER
COMPONENT...
The universal remote can beprogrammed to control
most brands of remote controllable TVs, VCRs, and
cable boxes. If you have an RCA, GE, or ProScan VCR,
you probably don't need to program it at allwother
manufacturer's brands need to be programmed.
NOW WATCH SOME TV!
Once you've programmed the remote, you will have
completed all four setup sections. Now you can sit
back and enjoy the TV. If you want to know more
about the different parts of the TV, see the next
section, Tour of the 7_. Refer to the other sections
and appendices as needed.
14
V
.V
V
PROG RAM/V_IIklG TH E REMOTE
I

ABOUT PROGRAMMING THE REMOTE
The universal remote can be programmed to control mos't
brands of remote controllable TVs, VCRs, and cable boxes.
Most RCA0 GE and ProScan TVs and VCRs are already
programmed. Other manufacturer's brands need to be
programmed.
PROGRA/v_iv_ING THE RE/v_OTE TO CONTROL
A VCR
To determine whether the universal remote needs to be
programmed, turn the VCR on, point the remote at the VCR,
and press the VCR1 button. Then press POWER or CHAN UP or
DOWN to see if the VCR responds to the _remote commands. If
not, the remoteneeds to be programmed.
Follow these steps to program _our universal remote to
control your VCR:
• ,,, ;
1. Turn on the VCR to be programmed.
2. Look UI_your'VCR brand and code number{s) on the code
list on the next page. "
3. Press and I_old tl_e VCR1 I_uttonon the i;emote.
4. Enterthe two-digit code f¢om_the code list. ': "' ":" ' :-
5. Release .VCR1,then press POWER to see i.f the VCR
responds to the remote commands. If it doesn't, try
pressing VCR1 and POWER to see if the VCR respor_ds.
right or onthe sheet packed
To program the VCR2*LD button_
these steps but use the VCR2 "L!
24
 Loading...