

Page 1
3-5362
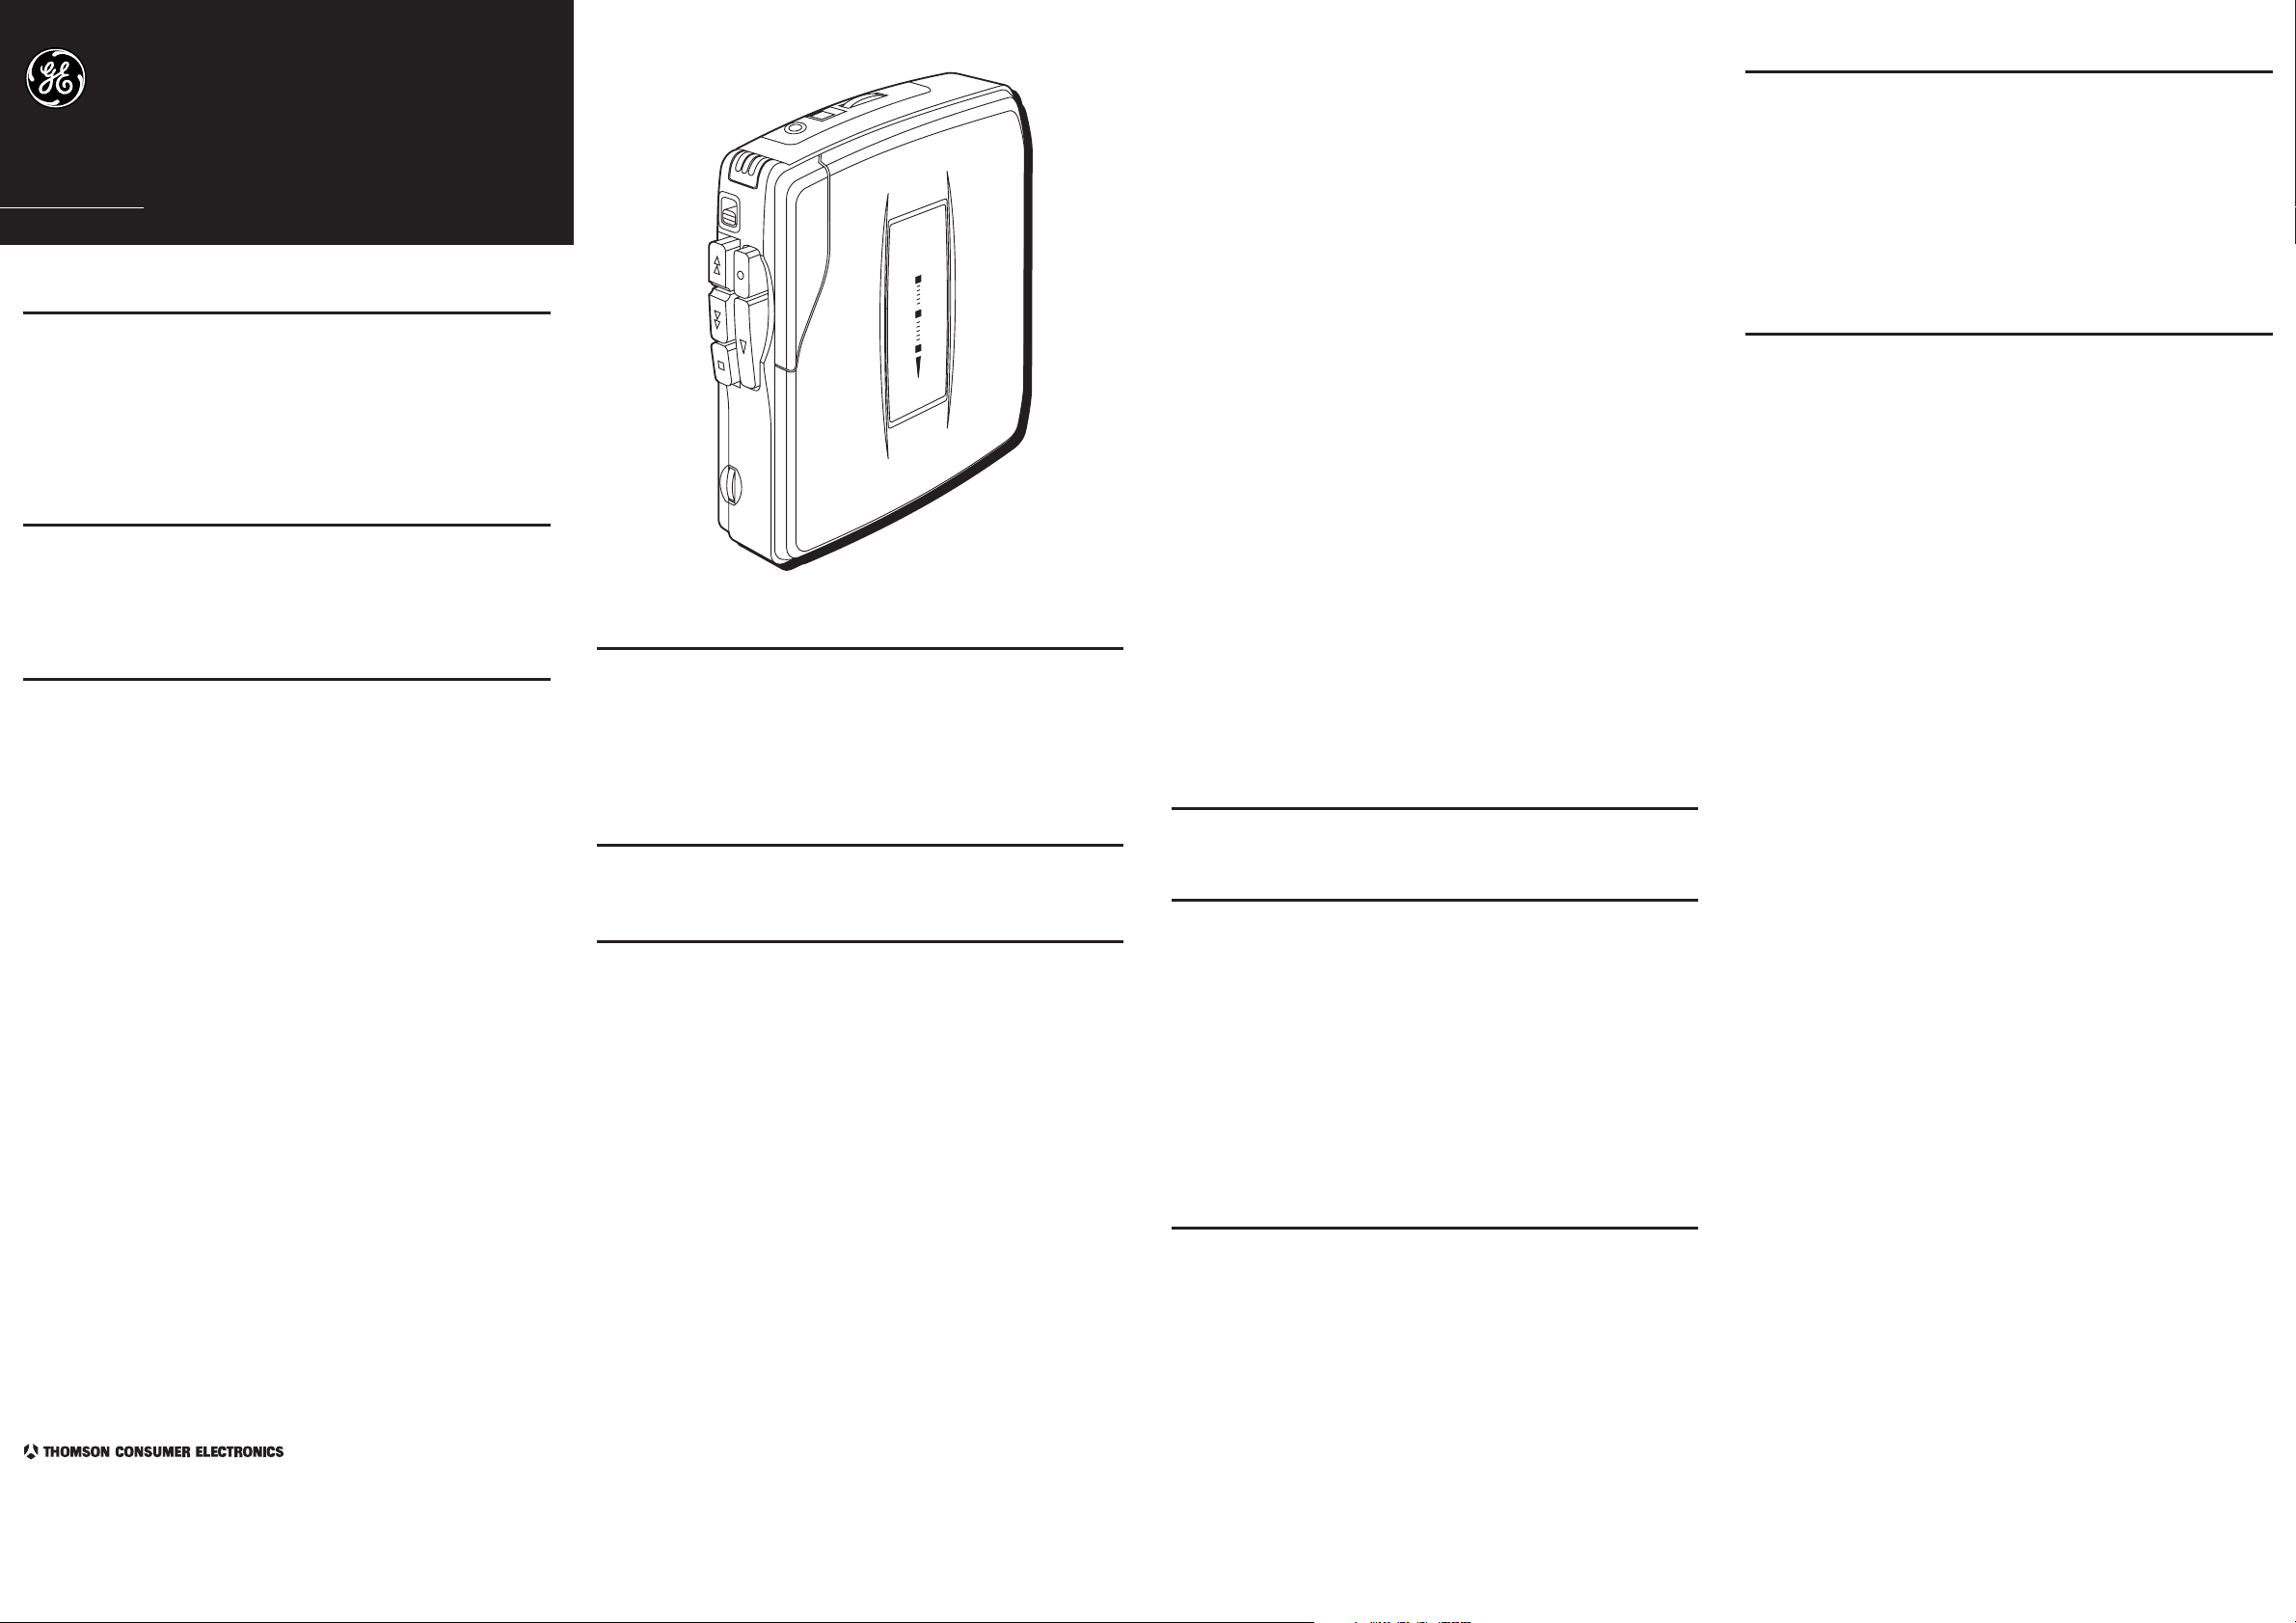
Mini Cassette Recorder/Player
with Variable Speed Playback
User’s Guide
FCC INFORMATION
This device complies with Part 15 of the FCC Rules. Operation
is subject to the following two conditions: (1) This device may
not cause harmful interference, and (2) This device must
accept any interference received, including interference that
may cause undesired operation.
In accordance with FCC requirements, changes or modifications not expressly approved by Thomson Consumer Electronics could void the user’s authority to operate this product.
HEADPHONES USE
When you attach headphones (not included), the speaker is
automatically silenced for private listening.
Make sure you turn down the volume on the unit before you
put on headphones. Increase the volume to the desired level
only
after
headphones are in place.
POWER
There are two ways to supply power to your recorder:
B
ATTERY INSTALLATION
1.Press down on the battery door and slide in the direction of
the arrow.
2.Insert two "AA" batteries - not included- as shown in the
diagram on the back of the unit.
3.Replace the battery door.
I
MPORTANT BATTERY INFORMATION
•Alkaline batteries are recommended for best results. Using
nickel-cadmium rechargeable batteries may result in shorter
playing time.
•If you do not intend to use the unit for a month or more,
remove the batteries to avoid leakage or subsequent
damage.
•Dispose of batteries in the proper manner, according to
federal, state and local regulations.
•Any battery may leak electrolyte if mixed with a different
battery type; if inserted incorrectly; if all batteries are not
replaced at the same time; if disposed of in fire; or if an
attempt is made to charge a battery not intended to be
recharged.
•Discard leaky batteries immediately to avoid possible skin
burns or other personal injury.
AC/DC P
You can use an AC/DC power converter to operate your
recorder. Plug the barrel end of the converter into the
recorder's 3V DC jack - automatically disconnecting the
batteries - and then plug into an AC household outlet.
OWER CONVERTER
(NOT I
NCLUDED
)
TO INSERT OR REMOVE A CASSETTE
Make sure all buttons are in their "off" (up) position before
attempting to open the cassette compartment door.
1.Grasp both sides of the cassette compartment door and lift up.
2.Gently slide in a cassette with the exposed tape facing out
and the side you want to hear/record on showing through
the cassette door window.
3.Close cassette compartment door.
MIC SENSITIVITY SWITCH
Select HI sensitivity for recording at conferences or for general use.
Select LO sensitivity for close dictation.
RECORDING
1. Insert a blank cassette.
2. Select MIC sensitivity (HIGH or LOW).
3.Press the RECORD button. (The PLAY button will automatically depress at the same time).
NOTE: If the RECORD button does not depress, see "Preventing
Accidental Erasure."
4.Speak normally into the microphone. To obtain optimum
recording quality, place the recorder with the microphone
freely exposed to sound source and as close as conveniently
possible.
5.When you finish recording, press the STOP button.
NOTES: The ALC (Automatic Level Control) will set the record level for
optimum recordings, regardless of volume setting.
Avoid recording near unwanted noise sources, such as air conditioners, fans, etc.
P
AUSE
The PAUSE feature allows you to momentarily stop tape
activity in any mode without resetting the control buttons.
To use, simply slide the PAUSE switch to the ON position to
stop activity. Slide the switch back to the OFF position to
resume activity.
P
LAYBACK
To listen to a prerecorded cassette:
1. Insert a cassette as explained above.
2. Press the REW button to rewind the tape to its starting point
if necessary.
3. Press the PLAY button.
4. Adjust VOLUME to desired level.
V
ARIABLE SPEED PLAYBACK
During the Play mode, you can adjust the speed of prerecorded
tapes by rotating the Variable Speed Playback knob towards the
MAX (maximum) position. Tape playback will be approximately
30-50 percent faster than normal at the full MAX position.
F.
FWD AND REW
When not in the Play mode, you can use these buttons to
adjust the tape position. Press F.FWD to move the quickly
forward. Press REW to move the tape quickly backward.
CUE/R
This feature is helpful in finding the beginning or the end of
the recorded segment on the tape.
When in the Play mode, press and hold the F.FWD or REW
button and listen for a change from noise to silence (signaling
the end of the recording) or from silence to noise (beginning of
recording).
When you reach the portion of tape you want to hear, release
the F.FWD or REW button. Use the same procedure if you want
to skip a prerecorded portion or if you want to hear the same
portion again.
A
When the unit is operating in the Play or Record mode and the
tape reaches its end, the unit will automatically shut itself off
and return all buttons to their off position.
EVIEW
UTOMATIC STOP
ERASING CASSETTES
To erase a tape or a portion of a tape, simply rewind and
record over the unwanted material.
PREVENTING ACCIDENTAL ERASURE
Whenever you make a recording, any previous material on the
tape is automatically erased.
When you have a recording you want to keep permanently, break
out the rear left tab of the side you want to save (as shown in the
diagram).
When a cassette with the tab broken out is inserted in the
cassette compartment, accidental erasure is prevented by a lever
in the mechanism that keeps the RECORD button from depressing.
Cellophane tape can be placed over the broken tab if you decide
later that you want to record over the material on that side.
NOTE: This unit is equipped with a cassette sensing mechanism. This
mechanism prevents the RECORD button from being depressed when a
cassette is not present.
CAUTION/CARE
Do not expose the unit to extreme temperatures, such as those
caused by a hot stove or the inside of a car parked in the
summer sun. Such conditions can damage the unit. Always
clean with a soft cloth, dampened with water only.
Cleaning the Heads: Iron oxide particles eventually build up
on parts that touch the tape. This can cause a muffled sound.
Use liquid head cleaner or a head cleaning tape to clean the
heads.
SERVICE
This product should be serviced only by those specially trained
in appropriate servicing techniques. For instructions on how to
obtain service, refer to the warranty included in this Guide.
Attach your sales receipt to the booklet for future reference, or
jot down the date this product was purchased or received as a
gift. This information will be valuable if service should be
required during the warranty period.
Purchase Date ______________________
Name of Store ______________________
LIMITED WARRANTY
What your warranty covers:
•Any defect in material or workmanship.
For how long after the original purchase:
•One year.
(The warranty period for rental units begins with the first
rental or 45 days from date of shipment to the rental firm,
whichever comes first.)
What we will do:
•Provide you with a new or, at our option, a refurbished unit.
•The exchange unit is warranted for the remainder of your
product’s original warranty period.
How to make a warranty claim:
•Properly pack your unit. Include any cables, etc., which were
originally provided with the product. We recommend using
the original carton and packaging materials.
•Remove cassette tapes or CDs from unit before shipping as
these will not be returned.
•Include in the package evidence of purchase date, such as
the bill of sale. Also print your name and address and a
description of the defect. Send standard UPS or its equivalent to:
Thomson Consumer Electronics, Inc.
Product Exchange Center
32 Spur Drive
El Paso, Texas 79906
•Pay any charges billed to you by the Exchange Center for
service not covered by the warranty.
•Insure your shipment in case of loss or damage. Thomson
accepts no liability in case of damage or loss.
•A new or refurbished unit will be shipped to you prepaid
freight.
What your warranty
•Customer instruction. Your owner's manual provides
information regarding the operating instructions and user
controls. For additional information, ask your dealer.
•Installation and setup service adjustments
•Batteries
•Damage from misuse or neglect
•Products that have been modified or incorporated into other
products.
• Product purchased or serviced outside the USA
•Acts of God, such as but not limited to lightning damage.
Product Registration:
•Please complete and mail the Product registration Card
packed with your unit. It will make it easier to contact you
should it ever be necessary. The return of the card is not
required for warranty coverage.
How state law relates to this warranty:
•This warranty gives you specific legal rights, and you may
also have other rights which vary from state to state.
If you purchased your product outside of the U.S.A.:
•This warranty does not apply. Contact your dealer for
warranty information.
does not
cover:
©1997 Thomson Consumer Electronics, Inc.
Trademark(s) ® Registered
Marca(s) ® Registradas
Model 3-5362
20800020 (Rev. 0, E/S)
Printed in China
97-08
 Loading...