

Raritan Dominion SX DSXA-16-DL Quick Setup Manual
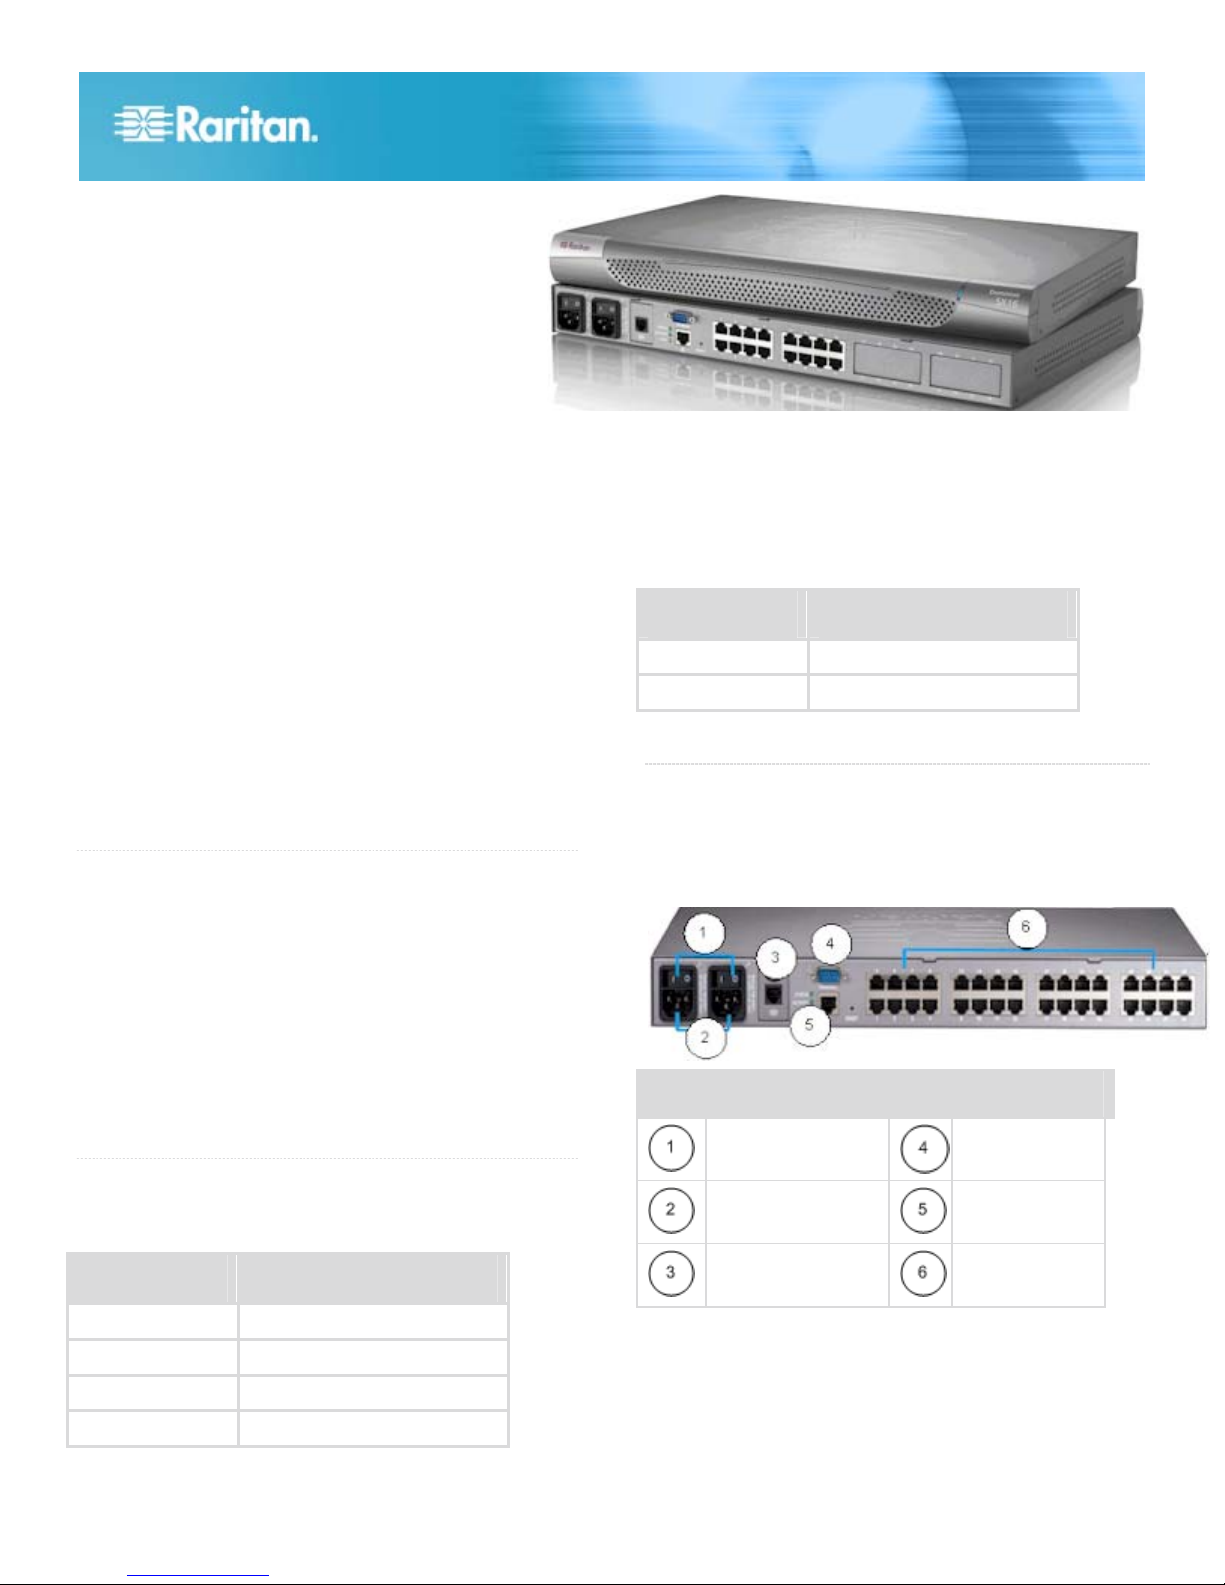
Dominion SX®
Quick Setup Guide
Thank you for your purchase of the Dominion SX, which offers convenient and secure remote access and control through LAN/WAN,
Internet, or dial-up modem to all networking devices. The Dominion SX is a fully configured stand-alone product in a standard 1U high
19" rack mount chassis.
For additional information on any aspect of the Dominion SX, see the accompanying Dominion SX User Guide, which can be
downloaded from the Firmware and Documentation section (http://www.raritan.com/support/firmware-and-documentation/) of Raritan's
website.
What You've Got
Check the contents of the carton containing the Dominion SX.
• Dominion SX device
• Rack mount kit (depending upon the Dominion SX model)
• 1 or 2 power cords (depending on the Dominion SX model)
• RJ-45 adapter (for loopback testing of console ports)
• CD-ROM and warranty card
If any piece is missing or damaged, contact your Raritan sales
representative.
QS Rule
What Else You'll Need
In addition to the equipment in the carton, you will need:
• 1 crossover Ethernet cable to configure the Dominion SX
through a browser-based interface, or
• 1 null modem cable for models with a DB9 terminal port, or
1 standard Cat5 cable and 1 Raritan ASCSDB9F adapter
for models with a RJ45 terminal port to configure the
Dominion SX through the Terminal Port.
• Enough cables to connect your managed devices to the
Dominion SX. Refer to the Raritan Price book for the types
of cables needed for each type of device you intend to
connect.
QS Rule
Factory Defaults
The Dominion SX device is shipped from the factory with the
following default settings built in:
Setting Default
IP address 192.168.0.192
Subnet mask 255.255.255.0
Gateway 192.168.0.192
Username admin (all lowercase)
Setting Default
Password raritan (all lowercase)
Device name Dominion SX
QS Rule
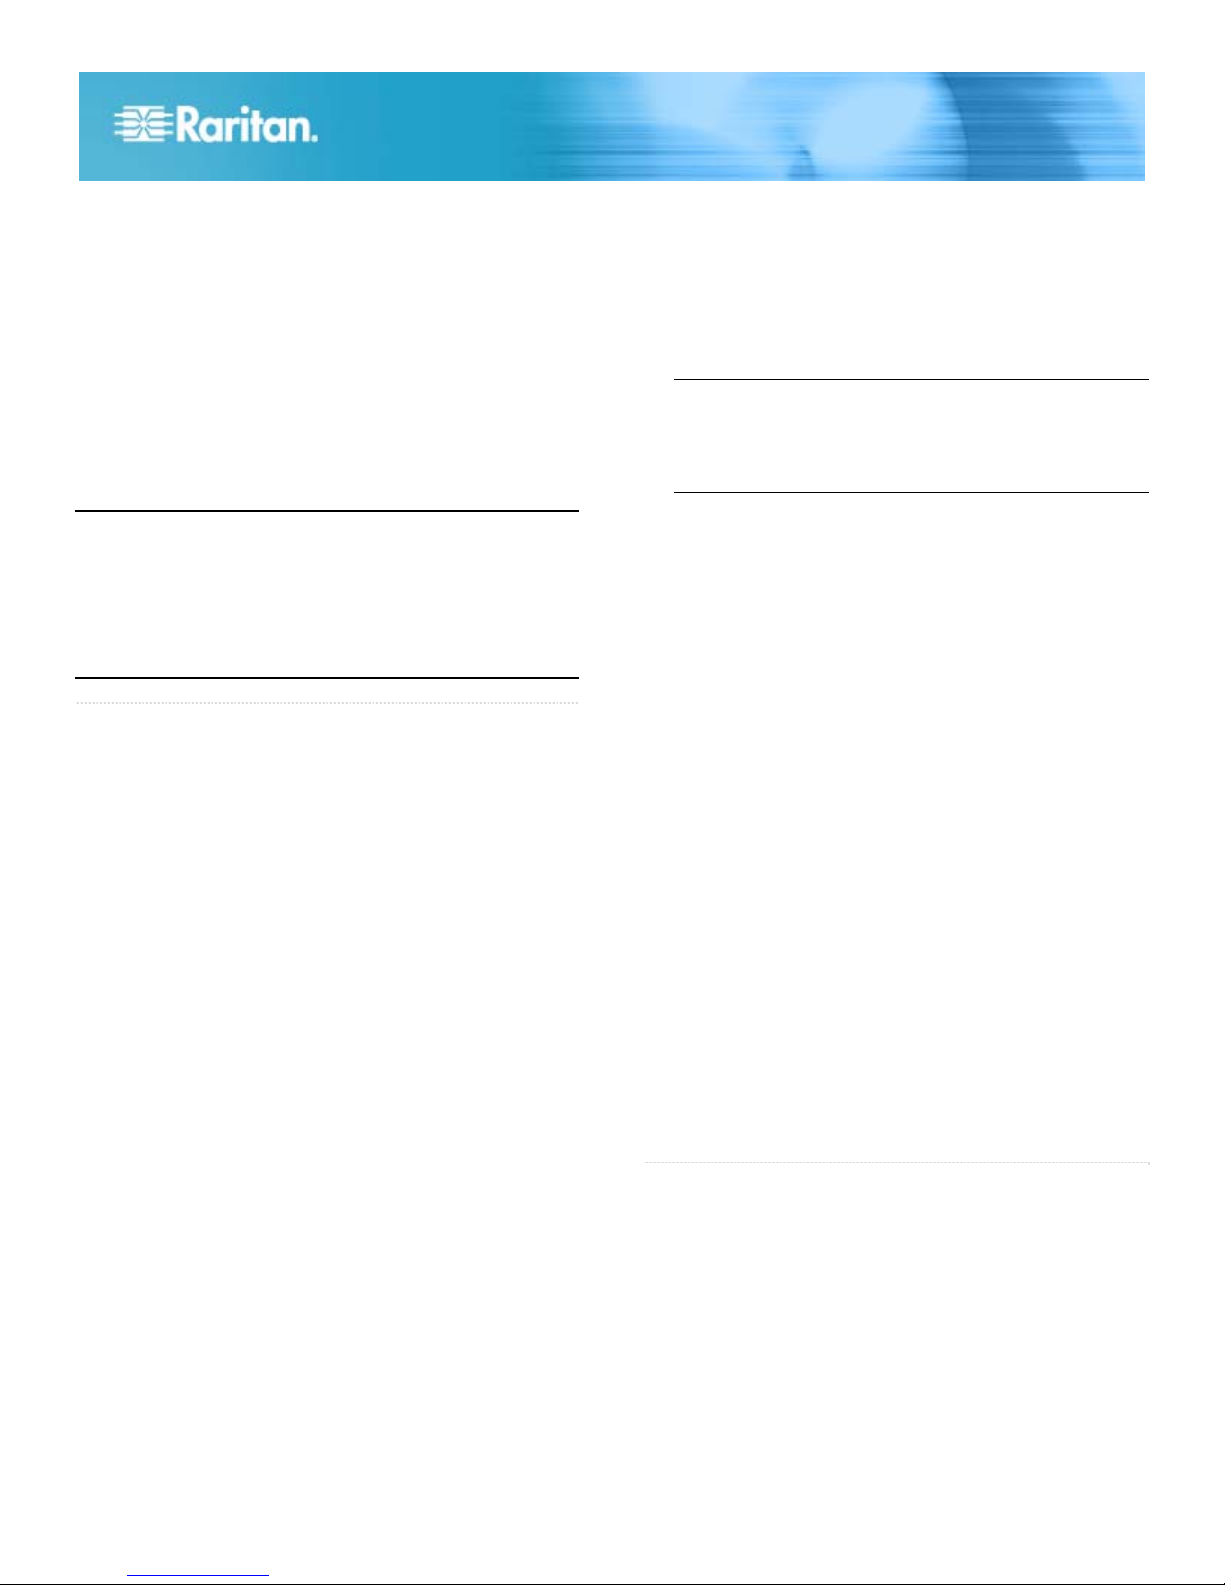
Connect the Target Devices
The Dominion SX comes in a variety of models. The model
shown contains two power outlets, one LAN interface, and 32
console ports. Your model may differ, but this will not affect
the following installation instructions.
Diagram key
Power on/off switch
Power connectors
Modem
1. Install the Dominion SX in your chosen location. Rack
mounting is recommended but not required.
2. Connect the power cord to the power connector on the
Dominion SX and to an external power source. If your
device has two power connectors, you can connect the
second power connector to a backup power source.
Terminal port
LAN interface
Console ports
Dominion SX Quick Setup Guide 1
QSG-DSXv3-1-7-0J-E y 255-60-2010-00
3. Flip the power switch to turn the Dominion SX device on.
The device performs a hardware and firmware self test.
The software boot sequence starts and is complete when
the light goes on and remains on.
4. Connect your target servers or other serially managed
devices to the console ports on the Dominion SX.
a. Connect one end of a standard Cat5 Ethernet cable to
one of the console ports on the Dominion SX.
b. Connect the other end to a Raritan Nulling Serial
Adapter (p/n ASCSDB9F, ASCSDB9M, ASCSDB25F,
ASCSDB25M) as appropriate.
c. Connect the adapter to the console port on the target
device.
Important: Many Cisco and Sun devices have console
ports with non-standard RJ-45 connections. Most can be
connected to the Dominion SX with a “serial rollover
cable.” This is NOT a standard Ethernet cable or
crossover Ethernet cable. If you have misplaced the
rollover cable that came with your Cisco or Sun device,
you can purchase one from Raritan (Part Number CRLVR15 or CRLVR-1).
QS Rule
Configure the Dominion SX Using a Browser
You can configure the Dominion SX using a Web browser or a
command line interface (CLI). If you prefer a CLI, skip this
section and proceed directly to the next section.
1. Connect a computer to the LAN interface on the Dominion
SX using a crossover Ethernet cable. If your Dominion SX
has two LAN interfaces, use LAN1.
2. Make sure the computer has a route to the Dominion SX’s
default IP address (192.168.0.192). Open a console
window and enter the route print command. If the default
IP address is NOT on the Active Routes list, do the
following:
a. On a Windows machine, type ipconfig and note your IP
address. Then type: route add 192.168.0.192
<installation computer IP address>
b. On a Unix or Linux machine, type ifconfig and note
your IP address. Then type: route add
192.168.0.192 <installation computer IP
address> -interface
c. Type: ping 192.168.0.192. This should produce a
reply. If it does not, check the physical connection
between the computer and the Dominion SX, and
make sure you executed the route add command
correctly.
3. Open a browser and enter this URL: http://192.168.0.192
4. When the Login window appears, enter the default
username (admin) and password (raritan). Use all
lowercase letters.
5. You will be prompted to change the default password. Do
so now, and be sure to remember this password for future
login.
6. Choose Setup > Network. In the Network Basic Settings
panel, select an IP configuration method (DHCP is
enabled by default), give Dominion SX an IP address,
subnet mask, and gateway address on your LAN. You can
give the device a name to help identify it (up to 64
characters, but special characters and spaces are not
allowed.) and a domain (required to send SMTP
messages).
Note: If DHCP is selected and the client computer used to
configure Dominion SX via crossover cable is running a
DHCP server, the Dominion SX will not be accessed at
192.168.0.192, but instead at any IP address the
configuring machine assigns.
7. The Dominion SX will now reboot. Once it is rebooted,
enter new IP address in a browser and log in again using
your new password.
8. Choose Setup > Date/Time.
a. Select your time zone from the drop-down menu in the
UTC Offset field.
b. You can enter the date and time manually, or you can
enter the IP addresses of up to two Network Time
Protocol (NTP) servers.
c. When you are finished, click OK. The Dominion SX's
clock is now set.
9. Choose Setup > Port Configuration. You can now
configure each console port that has a target device
connected to it:
a. Click the checkbox next to a port with a target device
connected to it. If more than one target device will have
the exact same settings, you can select multiple ports.
b. Click Edit to display the settings for the port(s) and
enter the information. See the user guide for details.
c. When finished, click OK and repeat for any other ports.
Congratulations! Your Dominion SX is configured and ready
for use. We suggest you get started by doing the following:
1. Create additional user profiles and groups.
2. Enhance the authentication and security capabilities of
Dominion SX.
3. Launch the Raritan Serial Console (RSC) and manage
your target devices remotely.
QS Rule
Configuring Dominion SX Using the Command
Line Interface
1. Connect a computer to the Terminal port on the Dominion
SX. This port is a DB9 male port on all models except
those that have 2 power connectors and 2 LAN interfaces.
These models have both RJ-45 connectors and DB9 male
port, such as Dominion SX model - DSXA-16-DL.
2. Open a terminal emulation program and connect to the
Dominion SX. Make sure the communications parameters
are set to 9600 bps, no parity, 8 data bits, and 1 stop bit.
3. When the Login prompt appears, enter the default
username (admin) and password (raritan). Use all
lowercase letters.
Dominion SX Quick Setup Guide 2
QSG-DSXv3-1-7-0J-E y 255-60-2010-00
 Loading...