

Page 1

32-300 1.fm Page 1 Tu e sday, Aug ust 10, 1999 8:02 AM
Audio Mixer with Echo (Rack Mount Type)
Cat. No. 32-3001
OWNER’S MANUAL
Please read before using this equipment.
SM-1000
Page 2

y
y
g
32-300 1.fm Page 2 Tu e sday, Aug ust 10, 1999 8:02 AM
FEATURES
Your Radio Shack SSM-1000 Audio
Mixer with Echo is a sophisticated
control center for recording from multiple playback sources such as a CD
player, tuner, turntable, or VCR, or
from live performances. A s even band
equalizer and an echo effect are incorporated into the mi xer so you can tailor the sound to compensate for
environmental conditions or for personal preference. The mixer’s many
features give you almost limitless
sound combinations.
Its features include:
7-Band Frequenc
Equalizer
— allows you to tailor the sound output to
your preference.
Two Pairs of Stereo PHONO Inputs
— for using turntables with either
magnetic or ceramic cartridges.
Stereo Line Inp ut s
— let you connect
most high level audio sources, such
as a tape deck, amplifier, tuner, or
VCR.
Low-Noise Tape Out Jack
— for
high-quality tape recording.
Monitor Controls
— let you he ar and
check line inputs using headphones
before mixing.
Normal/Standb
/Talkover Switch
—
lets you control when you talk with
music, talk over music, or talk without
interrupting the music or being heard
through the mixer, to give you a “DJ’s”
control.
Phono 1/Phono 2 Fader Control
—
allows you to quickly and smoothly
switch between playing PHONO 1 and
PHONO 2.
Monit orin
Controls
— lets you listen to the outputs of MIC, PHONO 1,
PHONO 2, LINE 1, LINE 2, or MASTER through headphones.
To obtain best performance of your
audio SSM-2200 Mixer, please read
this manual carefully before you connect it to other audio components.
For your important records, we recommend you record this unit’s serial
number in the space provided. You’ll
find the serial number on the bottom of
the unit.
Slide Controls
— for fingertip control
Serial Number:
of sound mixing and fading adjustments.
© 1995 Tandy Corporation.
Radio Shack is a registered trademark used by Tandy Corporation.
All Rights Reserv ed .
2
Page 3
g
g
32-300 1.fm Page 3 Tu e sday, Aug ust 10, 1999 8:02 AM
CONTENTS
Preparation.............................................................................................................4
Connecting the Outputs ....................................................................................4
Connecting Inputs and Presetting Levels .........................................................4
Pre-Adjusting the Monitor Levels......................................................................5
Listening Safely..........................................................................................6
Operation................................................................................................................7
Basic Operat io n .......... .............. ....... .............. .............. .............. ........ .............. .7
Using The “DJ’s” Microphone............................................................................8
Normal........................................................................................................8
Talkover...................................................................................................... 8
Standby ......................................................................................................8
Using Echo........................................................................................................8
Using the 7-Band Frequency Equalizer ........................................................ ....9
Troubleshootin
Care and Maintenance........................................................................................11
Specifications......................................................................................................12
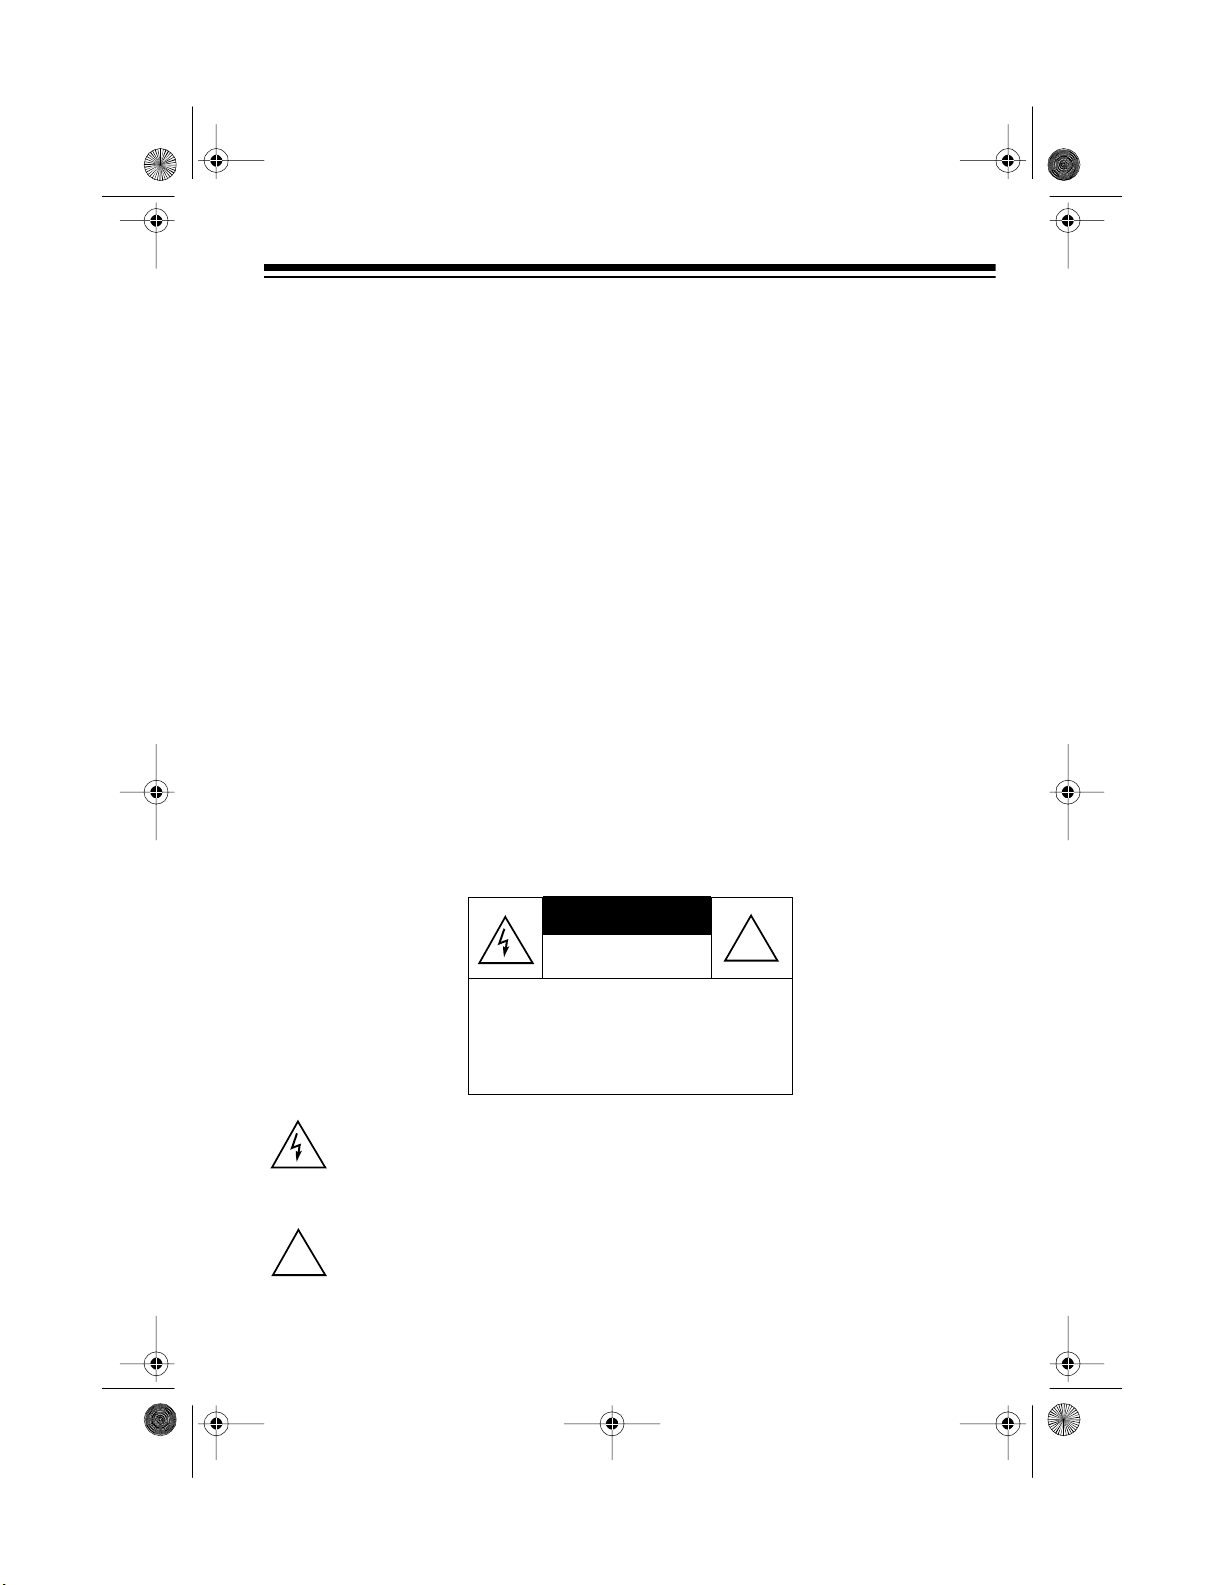
Warnin
ture.
: To prevent fire or shock hazard, do not expose this mixer to rain or mois-
This symbol is intended to alert you to the presence of uninsul ated dangerous voltage within the mixer’s enclosure that might be of sufficient
magnitude to constitute a risk of electric shock. Do not open the mixer’s
case.
This symbol is intended to inform you that import ant operating and maintenance instructions are included in the literature accompanyi ng this mix-
!
er.
..................................................................................................10
CAUTION
RISK OF ELECTRIC SHOCK.
DO NOT OPEN.
CAUTION
ELECTRIC SHOCK, DO NOT REMOVE
COVER OR BACK. NO US ER-SERVIC EABLE PARTS INSIDE. REFER SERVICING TO QUALIFIED PERSONNEL.
: TO REDUCE THE RISK OF
!
3
Page 4

g
32-300 1.fm Page 4 Tuesday, August 10, 1999 8:02 AM
PREPARATION
CONNECTING THE
OUTPUTS
Connect your amplifier and a cassette
recorder to the audio output jacks on
the back of the mixer.
(illus - show the
left and ri
ht out-
put jacks.)
1. Connect the amplifier’s left and
right input jacks to the mixer’s
MAIN OUT
mixer’s sound.
2. Connect the tape recorder’s left
and right input jacks to the mixer’s
TAPE OUT
the mixer’s sound.
output jacks to play the
output jacks to record
1. Connect the AC power cord to a
standard AC outlet.
2. Before turning on the power:
•Set
•Set
•Set
•Set
MIC, PHONO 1, PHONO 2
LINE 1
OVER
MONITOR LEVEL
terclockwise to minimum.
EQUALIZER BYPASS/ON
BYPASS
LINE 2
, and
NORMAL/STANDBY/TALK-
STANDBY
to
.
to 0.
.
fully coun-
to
(illus)
3. Set
POWER OFF/ON
on the mixer’s power. The VU
meters and the power indicator
lights.
to ON to turn
,
CONNECTING INPUTS
AND PRESETTING
LEVELS
Connect your audio sources (AM/FM
tuners, CD players, cassette decks, or
phonograph players) to the audio input jacks on the back of the mixer.
(illus - show the
left and right input
jacks.)
4
4. Connect a high-quality microphone with a
MIC
terminal.
: This is the remote (guest)
Note
microphone.
MIC
5. Set
main volume control to 5.
1
/4-inch plug to the
Page 5

32-300 1.fm Page 5 Tuesday, August 10, 1999 8:02 AM
Note: You can set the control to
any other position (except
However, to get an accurate preset, all the volume controls must
set to the exact same position.
0
(illus)
5. While you use the microphone,
insert a flat bladed screwdriver
into the slot above the corresponding volume control and
adjust it until you obtain a reading
0
of
on the
meters.
OUTPUT LEVEL
VU
(illus)
MIC
6. Temporarily set the
ume control to
0
.
main vol-
• Except for the
).
inputs, you can connect a ny hi ghlevel audio source (tuner, cassette
tape deck, CD player, magneticcartridge turntable, or VCR) to any
set of input jacks.
• Connect the ground wires (usua lly
black or green) from your magnetic cartridge turntable to the
GND
screw terminal on the back of
the mixer.
PHONO
ceramic
PRE-ADJUSTING THE
MONITOR LEVELS
To listen in privacy or monitor the audio source inputs so you can locate an
exact passage or section before mixing it int o the
pair of stereo headphones (not supplied) equipped with a
into the
front corner of the mixer. Your local
Radio Shack store sells a wide selection of headphones.
MAIN OUTPUT
PHONES
, insert a
1
/4-inch plug
jack on the lowe r l eft
7. Repeat Steps 4 t hrough 7 to connect and adjust the preset levels
of all your other audio input
sources.
Notes:
• Do not connect the h igh-level outputs of an audio source to the lowlevel
(ceramic) jacks.
PHONO CERAMIC 2
(illus)
1. Set the volume control of the input
sources to be monitored to their
minimum setti n gs.
5
Page 6

32-300 1.fm Page 6 Tuesday, August 10, 1999 8:02 AM
2. Set
MONITOR
to
MIC
to select the
remote microphone.
(illus)
: The DJ’s microphone input
Note
cannot be monitored.
3. Set
MONITOR LEVEL
to approximately halfway between minimum and maximum.
(illus)
4. Adjust the volume control of the
input source you selected until
you hear the signal in the headphones at the desired level.
Caution
dentally slide up the main volume
control of the monitored source
before you are ready to put it “on
the air.”
5. Repeat Steps 1 through 4 to
select and preadjust the monitor
volume level of the rest of the
audio input sources (
PHONO 2, LINE 1
want to monitor.
To monitor an audio input source, simply select the desired
and use
volume as desired.
: Be careful not to acci-
PHONO 1
LINE 2
, or
MONITOR
MONITOR LEVEL
to adjust the
) you
switch
Listening Safely
Do not listen at extremely high volume
levels. Extended, high-volume listening can lead to permanent hearing
loss.
Follow these guidelines to protect your
hearing, especially when you use
headphones.
• Always start by setting the vo lume
to the lowest level possible before
you begin listening. Put the earphone or headsets on, then gradually increase the volume as
necessary.
• Once you set the volume, do not
increase it. Over a period of time,
your ears adapt to the volume
level, so a volume level that does
not cause discomfort might still
damage your hearing.
Caution:
careful not to get into the habit of always increasing volume levels to
achieve the proper balance. You can
bring high levels down just as easily
as bring low levels up . Try to k eep t he
independent level controls in the middle position (
overall volume with the
,
ume control as well as the volume
control of your input audio equipment.
Listening at excessive volume levels
will soon give you ‘’tired ears’’ and you
won’t be as pleased with your f ini shed
product later.
As you begin to mix, be
3
to 8), and adjust the
MASTER
vol-
6
Page 7

32-300 1.fm Page 7 Tuesday, August 10, 1999 8:02 AM
OPERATION
BASIC OPERATION
You can mix up to 6 inputs at the
same time and us e the built-in equalizer and echo generator to tailor the
sound as desired.
1. Set
MASTER
to approximately 5.
2. Set the switch above each volume
control to select the input you
want to activate. (For example, set
MIC HI/LOW
to HI when you use a
high impedance microphone, or
LOW
when you use a low impe d-
ance microphone.
(illus)
3. Adjust the corresponding volume
level control to obtain a reading of
0
on the
meters.
: The
Note
meter indicates the output signal
levels of the left and right channels.
4. Adjust
wise to increase the main (DJ)
microphone’s volume; rotate it
counterclockwise to decrease the
volume.
OUTPUT LEVEL
OUTPUT LEVEL
MONITOR LEVEL
VU
VU
clock-
5. Set
ECHO BYPASS/ON
to ON to
produce an ECHO effect and to
BYPASS
to eliminate the ECHO
effect. (See “Using Echo.”)
6. Push in
EQUALIZER BYPASS/ON
to ON to operate the right and left
7-channel frequency equalizer
controls. (See “Using the 7-Band
Frequency Equalizer. ”)
7. When two turntables (or other
audio components connected to
PHONO 1
the
and
PHONO 2
inputs)
are playing at the same time, slide
FADER (PHONO 1/PHONO 2
):
• Left, to fade in the volume of
PHONO 1
ume of
and fade out the vol-
PHONO 2
.
• Right, to fade in the volume of
PHONO 2
ume of
: This lets you quickly and
Note
and fade out the vol-
PHONO 1
.
smoothly change from playing
PHONO 1
to playing
PHONO 2
(or
vice versa).
8. Set the
MASTER
volume to the
desired volume.
9. Set
POWER OFF/ON
to
OFF
to turn
off the mixer’s power. The VU
meters lights go off.
7
Page 8

32-300 1.fm Page 8 Tuesday, August 10, 1999 8:02 AM
USING THE “DJ’S”
MICROPHONE
Normal
For equal blending of voice and music, set
to
“DJ”
ly with all the main volume inputs
MIC, PHONO 1, PHONO 2, LINE 1
(
LINE 2
crease or decrease the microphone
level without affecting the main volume inputs.
Talkover
Start with a microphone level that
gives a VU reading of
To talk over music, set
STANDBY/TALKOVER
The mixer automatically reduces all
the main volume inputs (
1
enough for you to hear yourself in the
headphones or speakers (over the
music).
When you finish speaking, set
MAL/STANDBY/TALKOVER
BY
the main volume inputs to their original levels.
NORMAL/STANDBY/ TALKOVER
NORMAL
. In the
MIC
input is mixed to blend equal-
). You can adjust
PHONO 2, LINE 1
,
NORMAL
LEVEL
5
to 3.
TALKOVER
to
MIC, PHONO
, and
mode, the
to in-
NORMAL/
LINE 2
) just
NOR-
STAND-
to
. The mixer automatically returns all
, and
.
Standby
To disable the
NORMAL/STANDBY/TALKOVER
set
STANDBY
Note
: Set
counterclockwise) when the microphone is not in use.
MIC INPUT
.
MIC LEVEL
microphone,
to
to min imu m (ful l
USING ECHO
The echo mode is applied to the
sound after all the inputs are mixed.
ECHO BYP ASS/ON
Set
the echo mode and activate the
LAY
BYPASS/ON
and
REPEAT
to
to ON to turn on
functions. Set
BYPASS
to turn off the
DE-
ECHO
echo mode.
DELAY
The
control lets you induce a
measured time delay to simulate an
echo. Set
wise for a minimum (
DELAY
to full counterclock-
0
) time delay and
to full clockwise for a maximum time
delay.
REPEAT
The
control lets you control
the length of tim e a tone is repeated
(reverberation). Set
REPEAT
to 10 for
the longest time and to 0 for the shortest time.
(illus)
8
Page 9

32-300 1.fm Page 9 Tuesday, August 10, 1999 8:02 AM
USING THE 7-BAND
FREQUENCY
EQUALIZER
With the seven sliding f requency controls, you can tailor the sound processed through the mixer to fit the
acoustic surroundings and your personal taste.
Each control varies by ±12 dB the lev el of a narrow band of frequencies
centered around the frequenc y noted
between the controls (60 Hz, 150 Hz,
400 Hz, 1 kHz, 2.4 kHz, 6 kHz, and 15
kHz).
Frequency Purpose
60 Hz Adjusts the frequencies in the low bass range (low organ notes
and bass drums). Reduces rumble or other low-frequency noise
150 Hz Adjusts the frequencies in the low to middle bass range (low
organ notes, bass drums, timpani and some low-bass)
Set the
switch to ON to turn on the frequency
equalizer. Then slide the cont rol up to
boost the indicated frequency range or
down to reduce it.
Notes
• If you set the control to the center
position, the frequency range is
unaltered.
• In order to provide smooth frequency control, the effect of these
controls must overlap slightly.
Thus, the 1 kHz control has a
slight effect on the range of frequencies covered by the 400 Hz
and the 2.4k Hz controls.
EQUALIZER BYPASS/ON
:
400 Hz Adjusts frequencies in the middle-bass range (timpani and
some low-bass instruments)
1 kHz Adjusts the range of frequencies in the middle frequency range
where the ear is most sensitive (vocals).
2.4 kHz Adjusts the range of frequencies in the upper middle frequency
range that include vocals and some upper-midrange instruments (clarinet and saxophone)
6 kHz Adjusts the range of frequencies in the lower high frequency
range that include some vocals and upper-midrange instruments (clarinet and saxophone).
15 kHz Adjusts high-frequency sounds (cymbals, flutes, and violins).
9
Page 10

32-300 1.fm Page 10 Tuesday, August 10, 1999 8:02 AM
TROUBLESHOOTING
Your SSM-1000 M ixer should require very little maintenanc e. If you do have problems, refer to the troubleshooting chart below for possible solutions.
Caution
1000 Mixer!
Nothing works
No signal from an
audio input source
Hum from PHONO Connect the turntable’s ground wire (usually black or
Hum from other
inputs
Feedback “squeals” Move the microphone farther away from the output
: Only a qualified service technician should perform repairs on this SSM-
Problem Solution
Check the AC power connection.
Make sure the AC outlet is ‘’li ve’’.
Check the power connections to the rest of the system
(amplifier/receiver, etc.)
Check the control setting.
Check the connections between the mixer and the input
.
source.
green) to one of the GND screws on the back of the
mixer.
Make sure there are no low level inputs connected to the
LINE 1 and 2 jacks.
speakers or use a directional microphone.
10
Page 11

32-300 1.fm Page 11 Tuesday, August 10, 1999 8:02 AM
CARE AND MAINTENANCE
Your Radio Shack Audio SS M -1000 M ixer wi th Echo is an exa mple of superio r design and craftsmanship. The following suggestions will help you care for your SSM1000 Mixer so you can enjoy it for years.
Keep the mixer dry. If it gets wet, wipe it dry immediately. Liquids
might contain minerals that can corrode the electronic circuits.
Use and store the mixer only in no rmal temperature environments.
Temperature extremes can shorten the life of electronic devices and
distort or melt plastic parts.
Keep the mixer away from dust and dirt, which can cause premature
wear of parts.
Handle the mixer gently and carefully. Dropping it can damage circuit
boards and cases and can cause the mixer to work improperly.
CLEANER
Do not use harsh chemicals, cleaning solvents, or strong detergents
to clean the mixer.
Modifying or tampering with the mi xer’s internal co mponent s c an caus e a m alfunc tion and might invalidate your mixer’s warranty (and void your FCC authorization to
operate it). If your mixer is not performing as it should, take it to your local Radio
Shack store for assistance.
11
Wipe the mixer with a damp cloth occasionally to keep it looking new.
Page 12

32-300 1.fm Page 12 Tuesday, August 10, 1999 8:02 AM
SPECIFICATIONS
Input Impedance
Microphone .......................... .. ....... ....... .......... ....... ....... ....... ....... ..600 ohm (Low)
10k ohm (High)
Phono Magnetic 1 and 2........................................................................50k ohm
Phono Ceramic 1 and 2 .......................................................................100k ohm
Line 1 and 2 .........................................................................................100k ohm
Output Level (Tape Out /Main Out).................................................................. 2V
Sensitivity (Master volume at 10 (Max) position)
Microphone ....................................................................................0.5 mV (Low)
2.5 mV (High)
Phono Magnetic 1 and 2.............................................................................3 mV
Phono Ceramic 1 and 2 ..................................................................................2V
Line 1 and 2 (±3 dB Range)............................................................... 20–20 kHz
Signal-to-Noise (S/N) Ratio
Microphone ................................................................................................55 dB
Phono Magnetic 1 and 2............................................................................ 65 dB
Line 1 and 2...............................................................................................70 dB
(T.H.D. at rated out put (From 20 Hz to 20 kHz at Maximum Master Volume)
0.05 %)
Channel Separation at 1 kHz...........................................................................60 dB
Maximum Input Level
Microphone .................................................................... ................... ..........7 mV
Phono Magnetic 1 and 2...........................................................................20 mV
Phono Ceramic 1 and 2 .............................................................more than 1.2 V
Line 1 and 2 (at Maximum Master Volume)..................................more than 1 V
Control Frequency Accuracy..................................................................+/- 10 %
(at 60 Hz, 150 Hz, 400 Hz, 1k Hz, 2.4k Hz, 6k Hz, 15k Hz)
Control Range at Rated Output............................................................+/- 12 dB
12
Page 13

32-300 1.fm Page 13 Tuesday, August 10, 1999 8:02 AM
NOTES
13
Page 14

32-300 1.fm Page 14 Tuesday, August 10, 1999 8:02 AM
14
Page 15

32-300 1.fm Page 15 Tuesday, August 10, 1999 8:02 AM
15
Page 16

32-300 1.fm Page 16 Tuesday, August 10, 1999 8:02 AM
RADIO SHACK LIMITED WARRANTY
This prod u ct is wa rr ante d agai nst defe ct s for 1 yea r from date of pu rcha se from R adi o
Shack co mpany-own ed stores an d authorize d Radio Shack f ranchisee s and dealers .
Within this period, we will repair it without charge for parts and labor. Simply
Radio Shack sales sli p
does not cover transportation costs. Nor does i t cover a product subjected to misuse or
accidental damage.
EXCEPT AS PROVI DED H EREIN, RADI O SHA CK MAKES NO EX PRESS WARRANTIES AND ANY IMPLIED WARRANTIES ARE LIMITED IN DURATION TO THE DURATION OF THE WRITTEN LIMITED WARRANTIES CONTAINED HEREIN. Some states
do not pe r m it lim i t at io n or ex cl us io n of im p lie d warra n tie s; there f o re, the afo r e sa id li m itation(s) or exclusion(s) may not app ly to the purchase r.
This warranty gives you specific l egal rights and y ou may also have other rights which vary from
state to state.
as proo f of purchase date to any Radio Shack store. Warranty
We Se rvi ce What We Sell
bring your
9/94
RADIO SHACK
A Division of Tandy Corporation
Fort Worth, Texa s 76102
#A5 Printed in (Site)
 Loading...